


Salvaged maple for our butcher blocks
A great thing about NYC is you never know what's around any given corner. On a cold, rainy day, we stumbled upon a house renovation in SOHO. The workman had cut up what was once a beautiful maple countertop and put it on the curb. We were lucky enough to get to it before the rain swelled the wood.
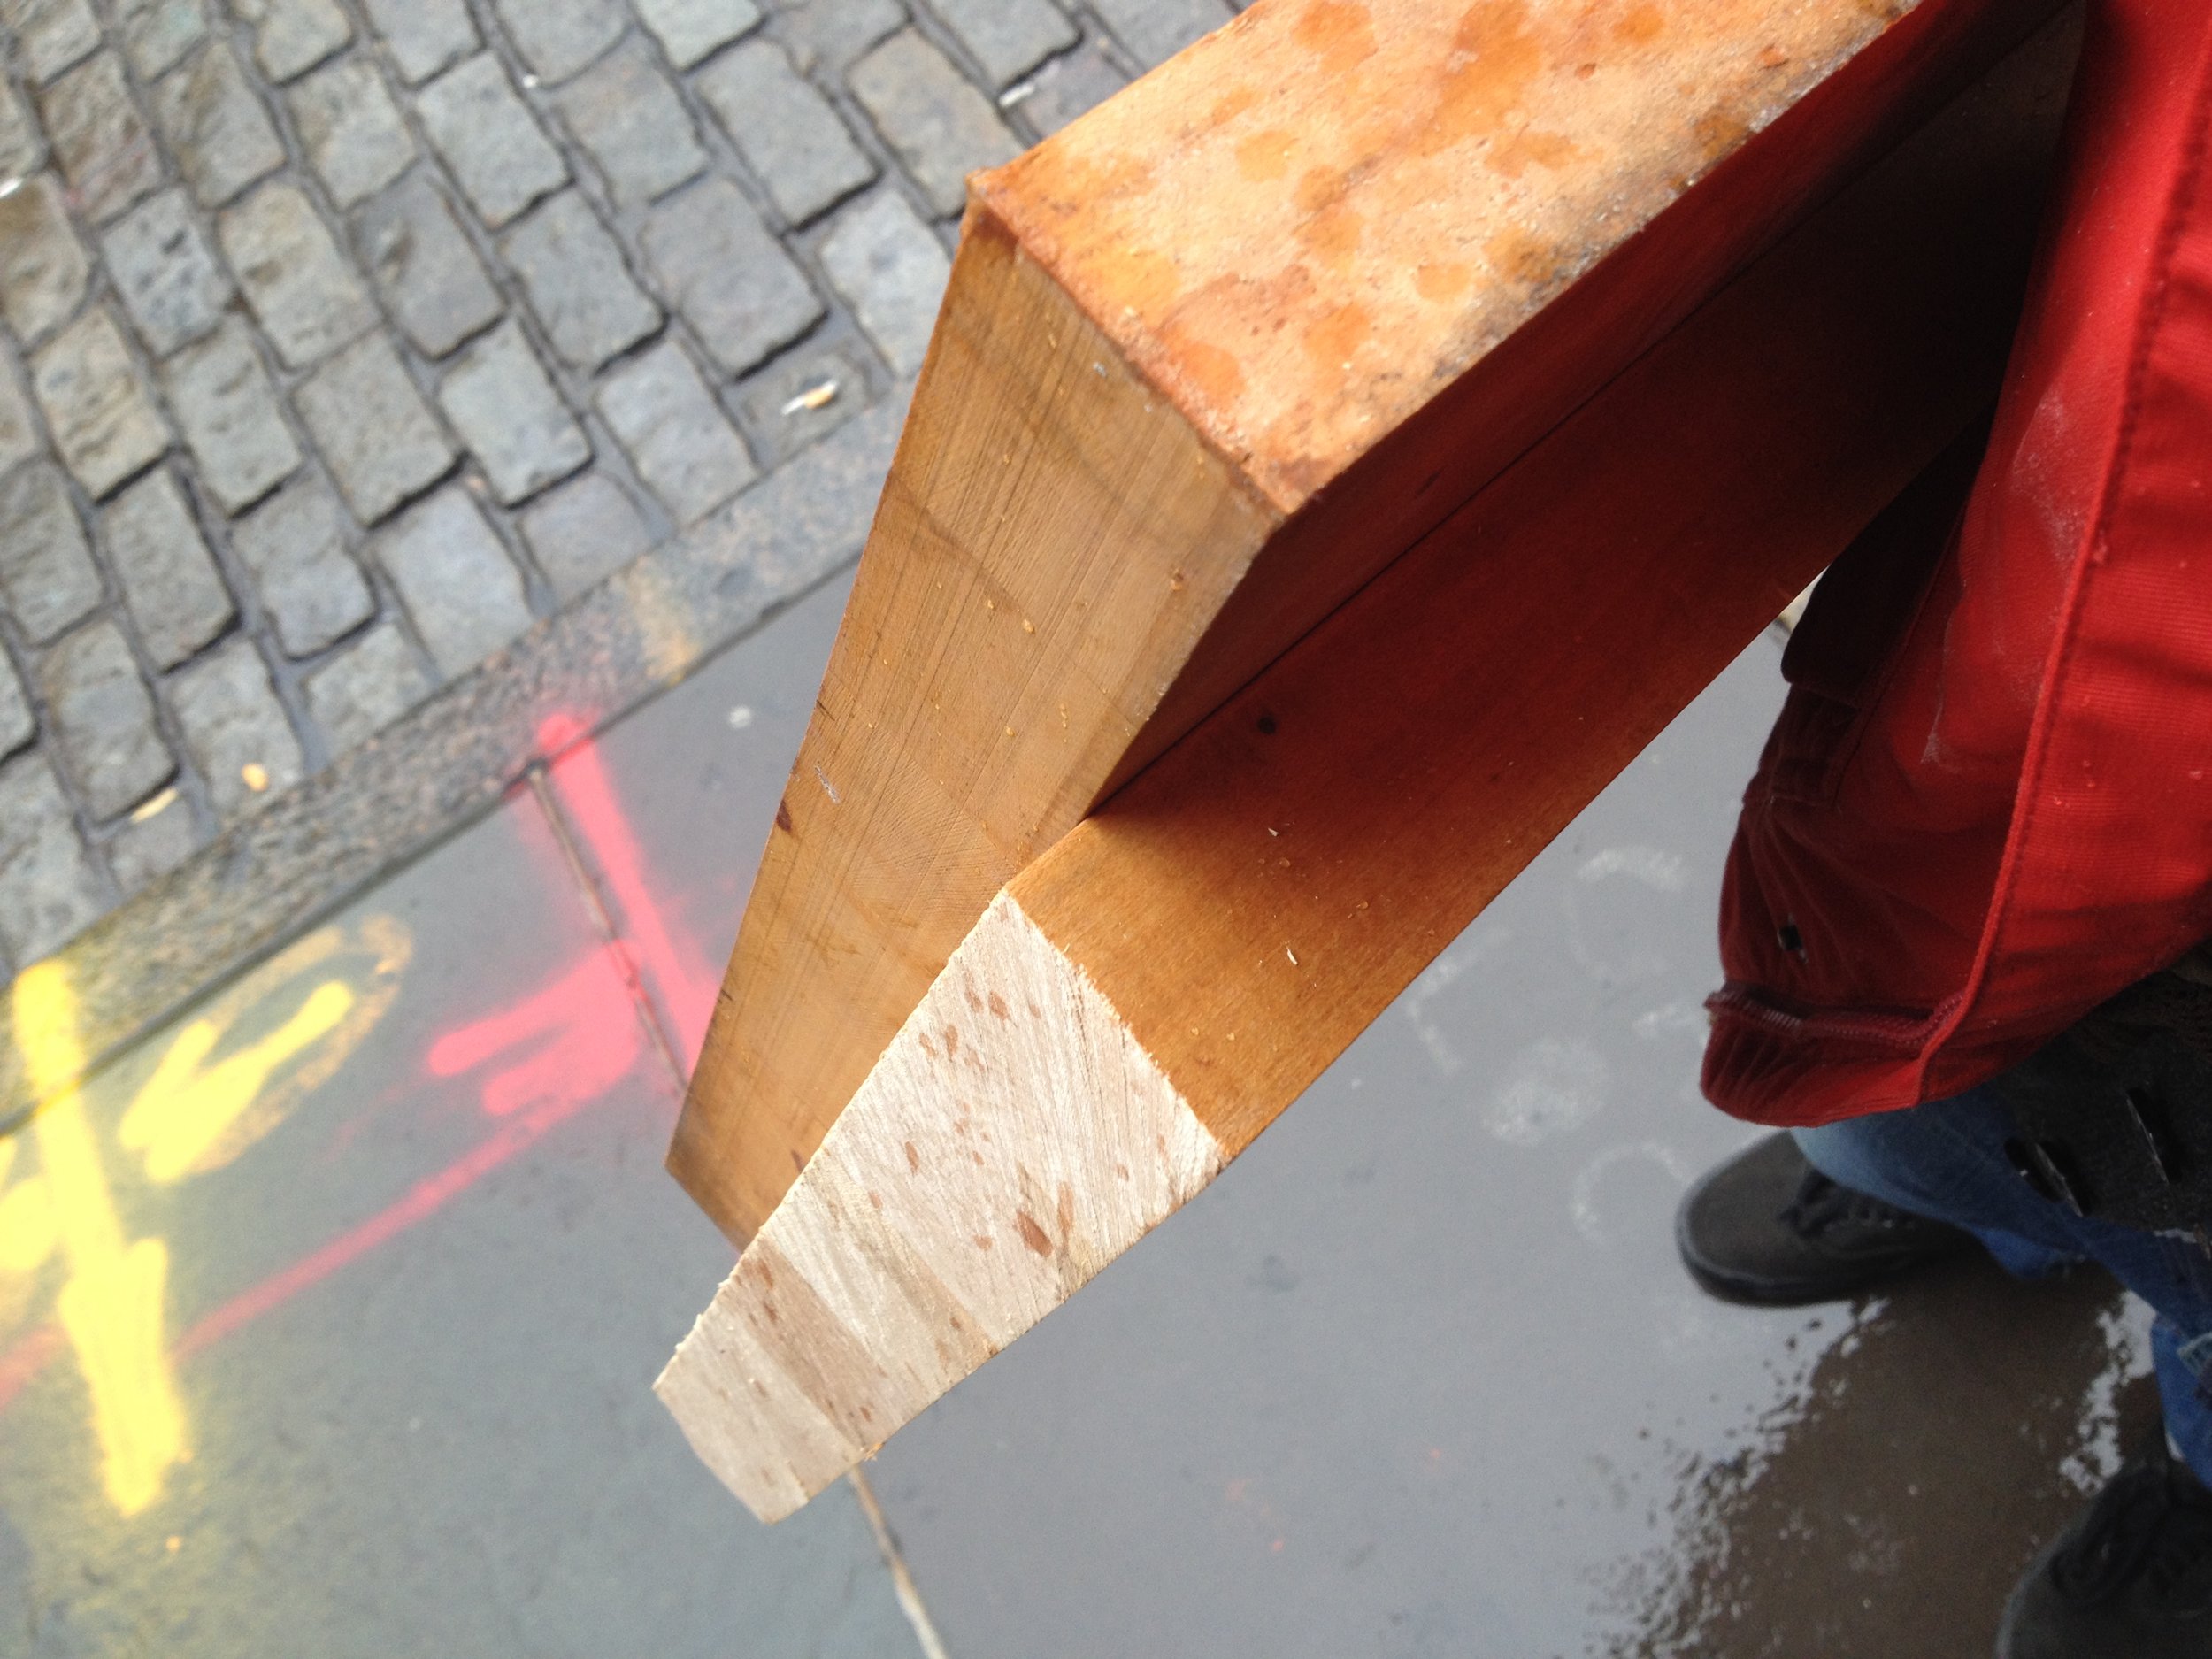
We took all we could carry back to our shop, and made a series of beautiful maple cutting boards, cheese boards, and butcher blocks. We used the same restoration process that we've discussed in an earlier post, and sealed the boards with our Organic Beeswax Board Butter.
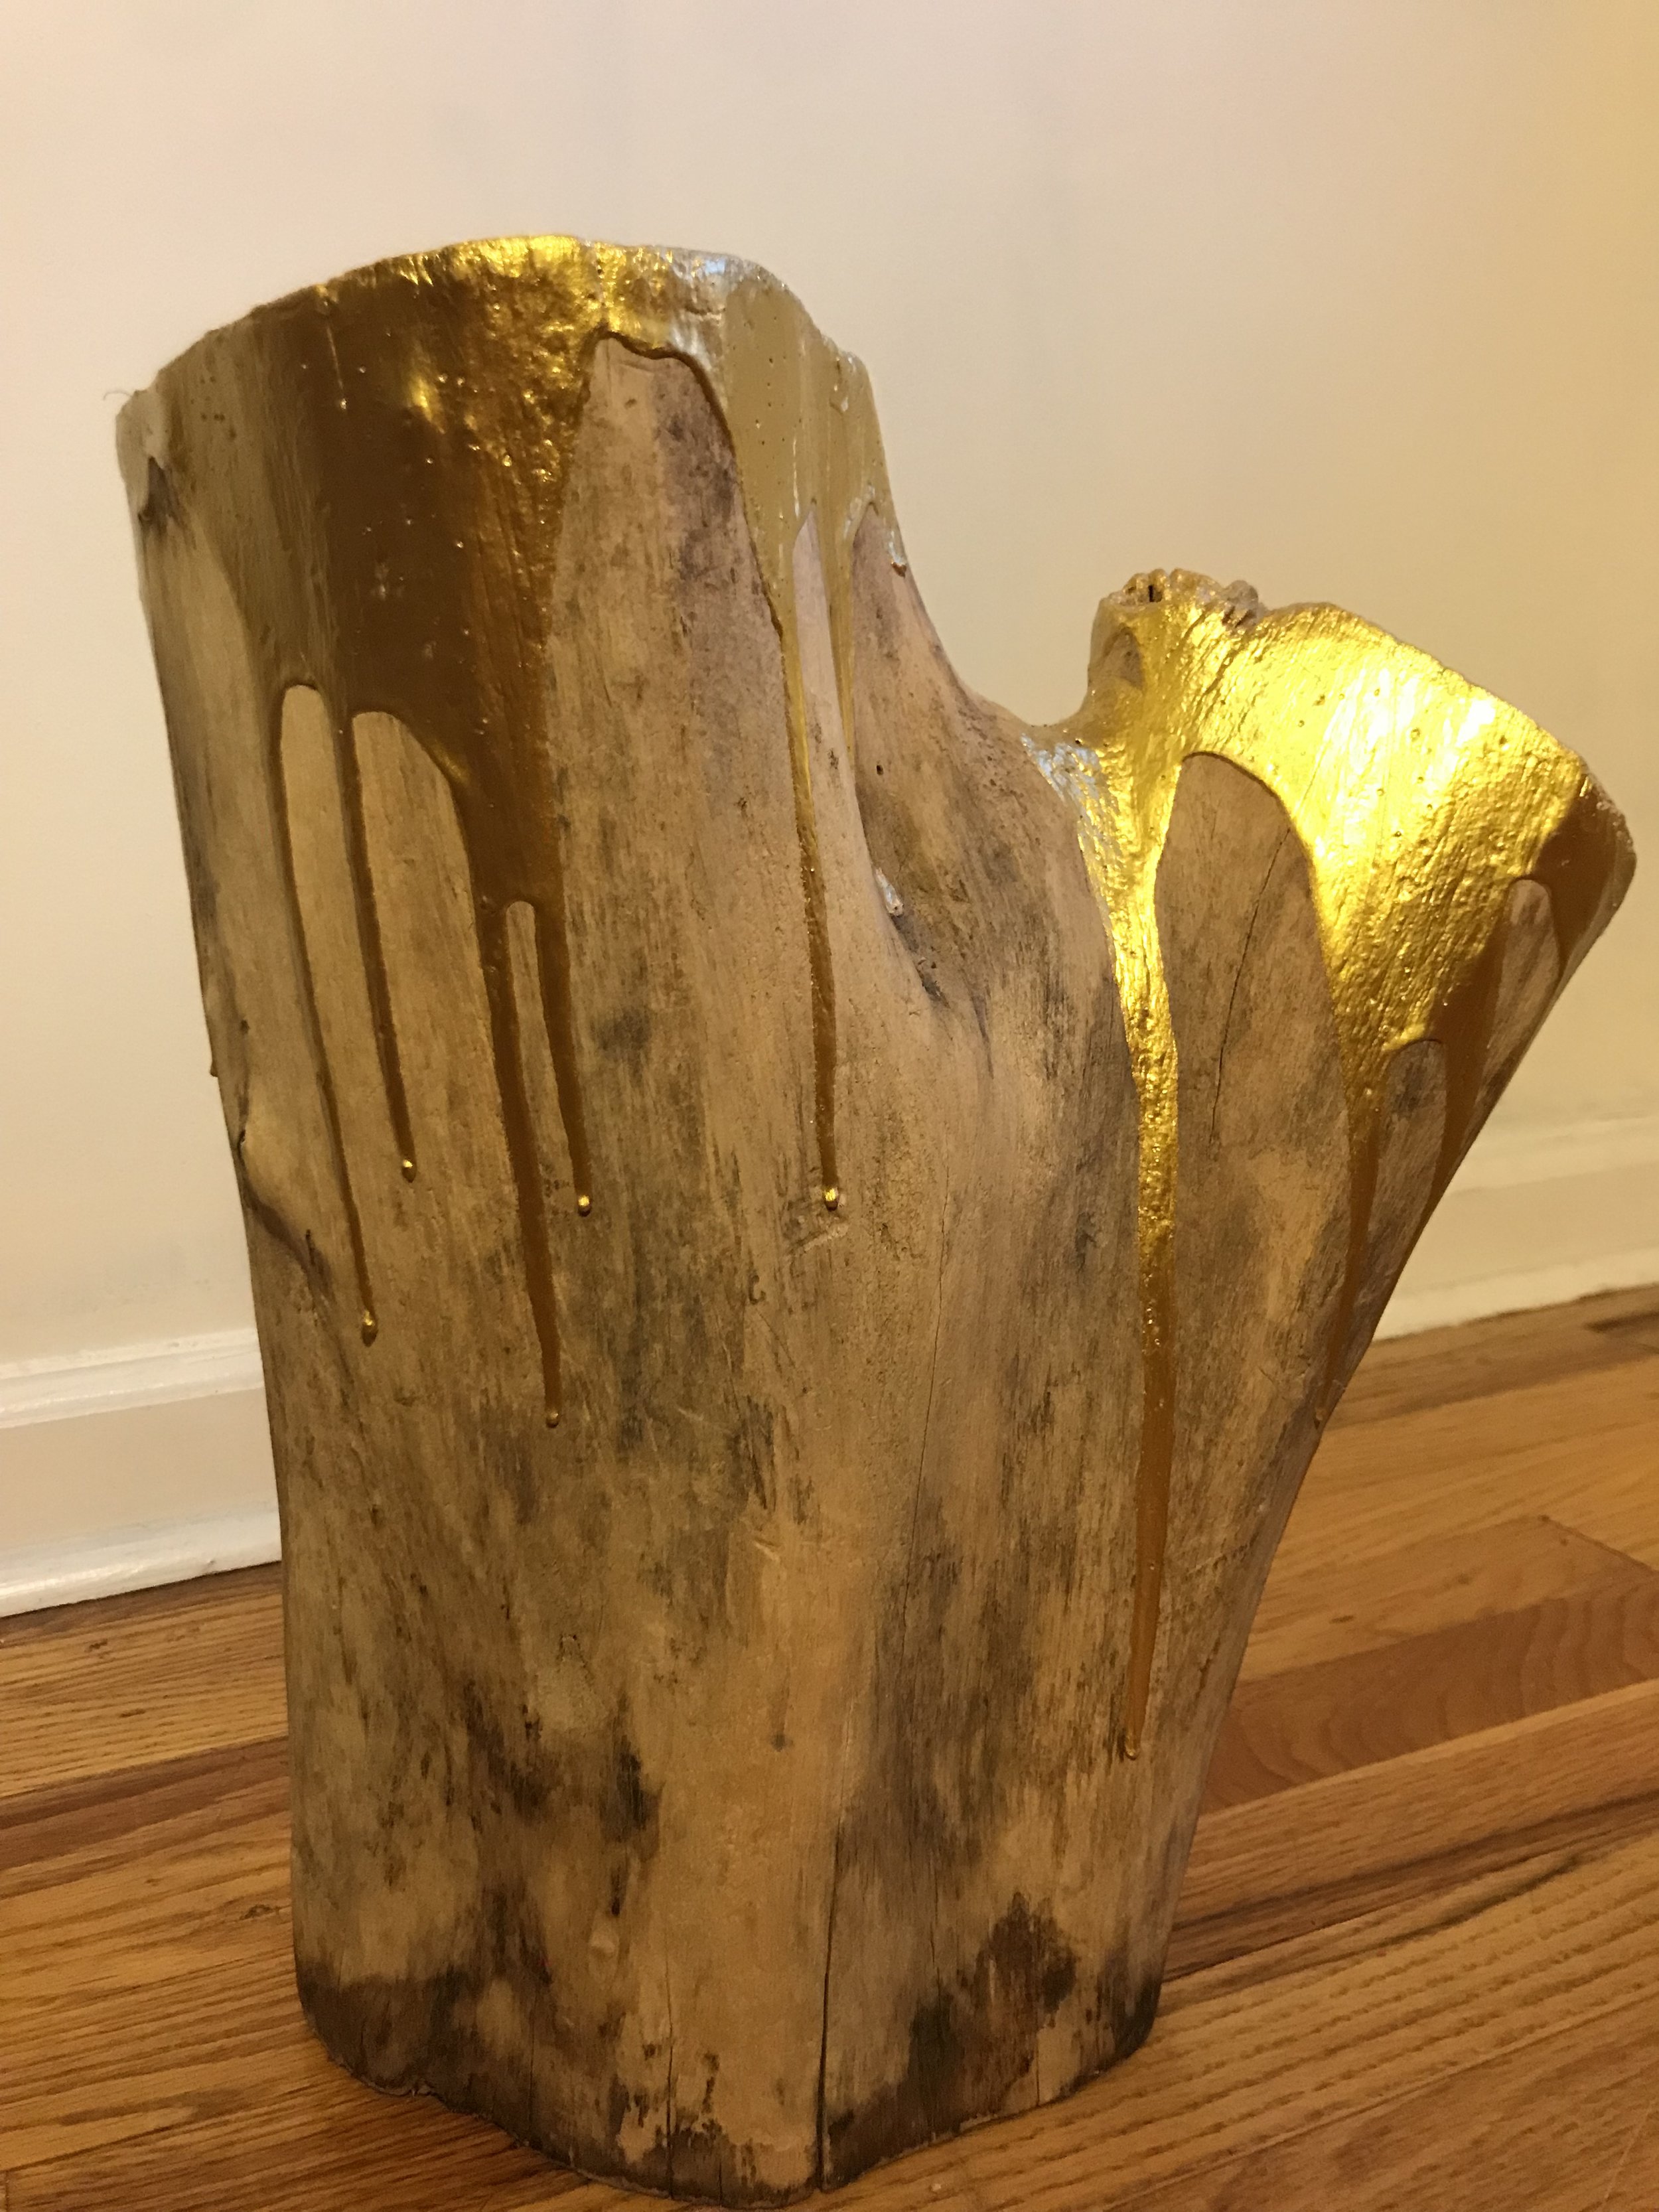
Salvaging Nature: Drying green wood at home
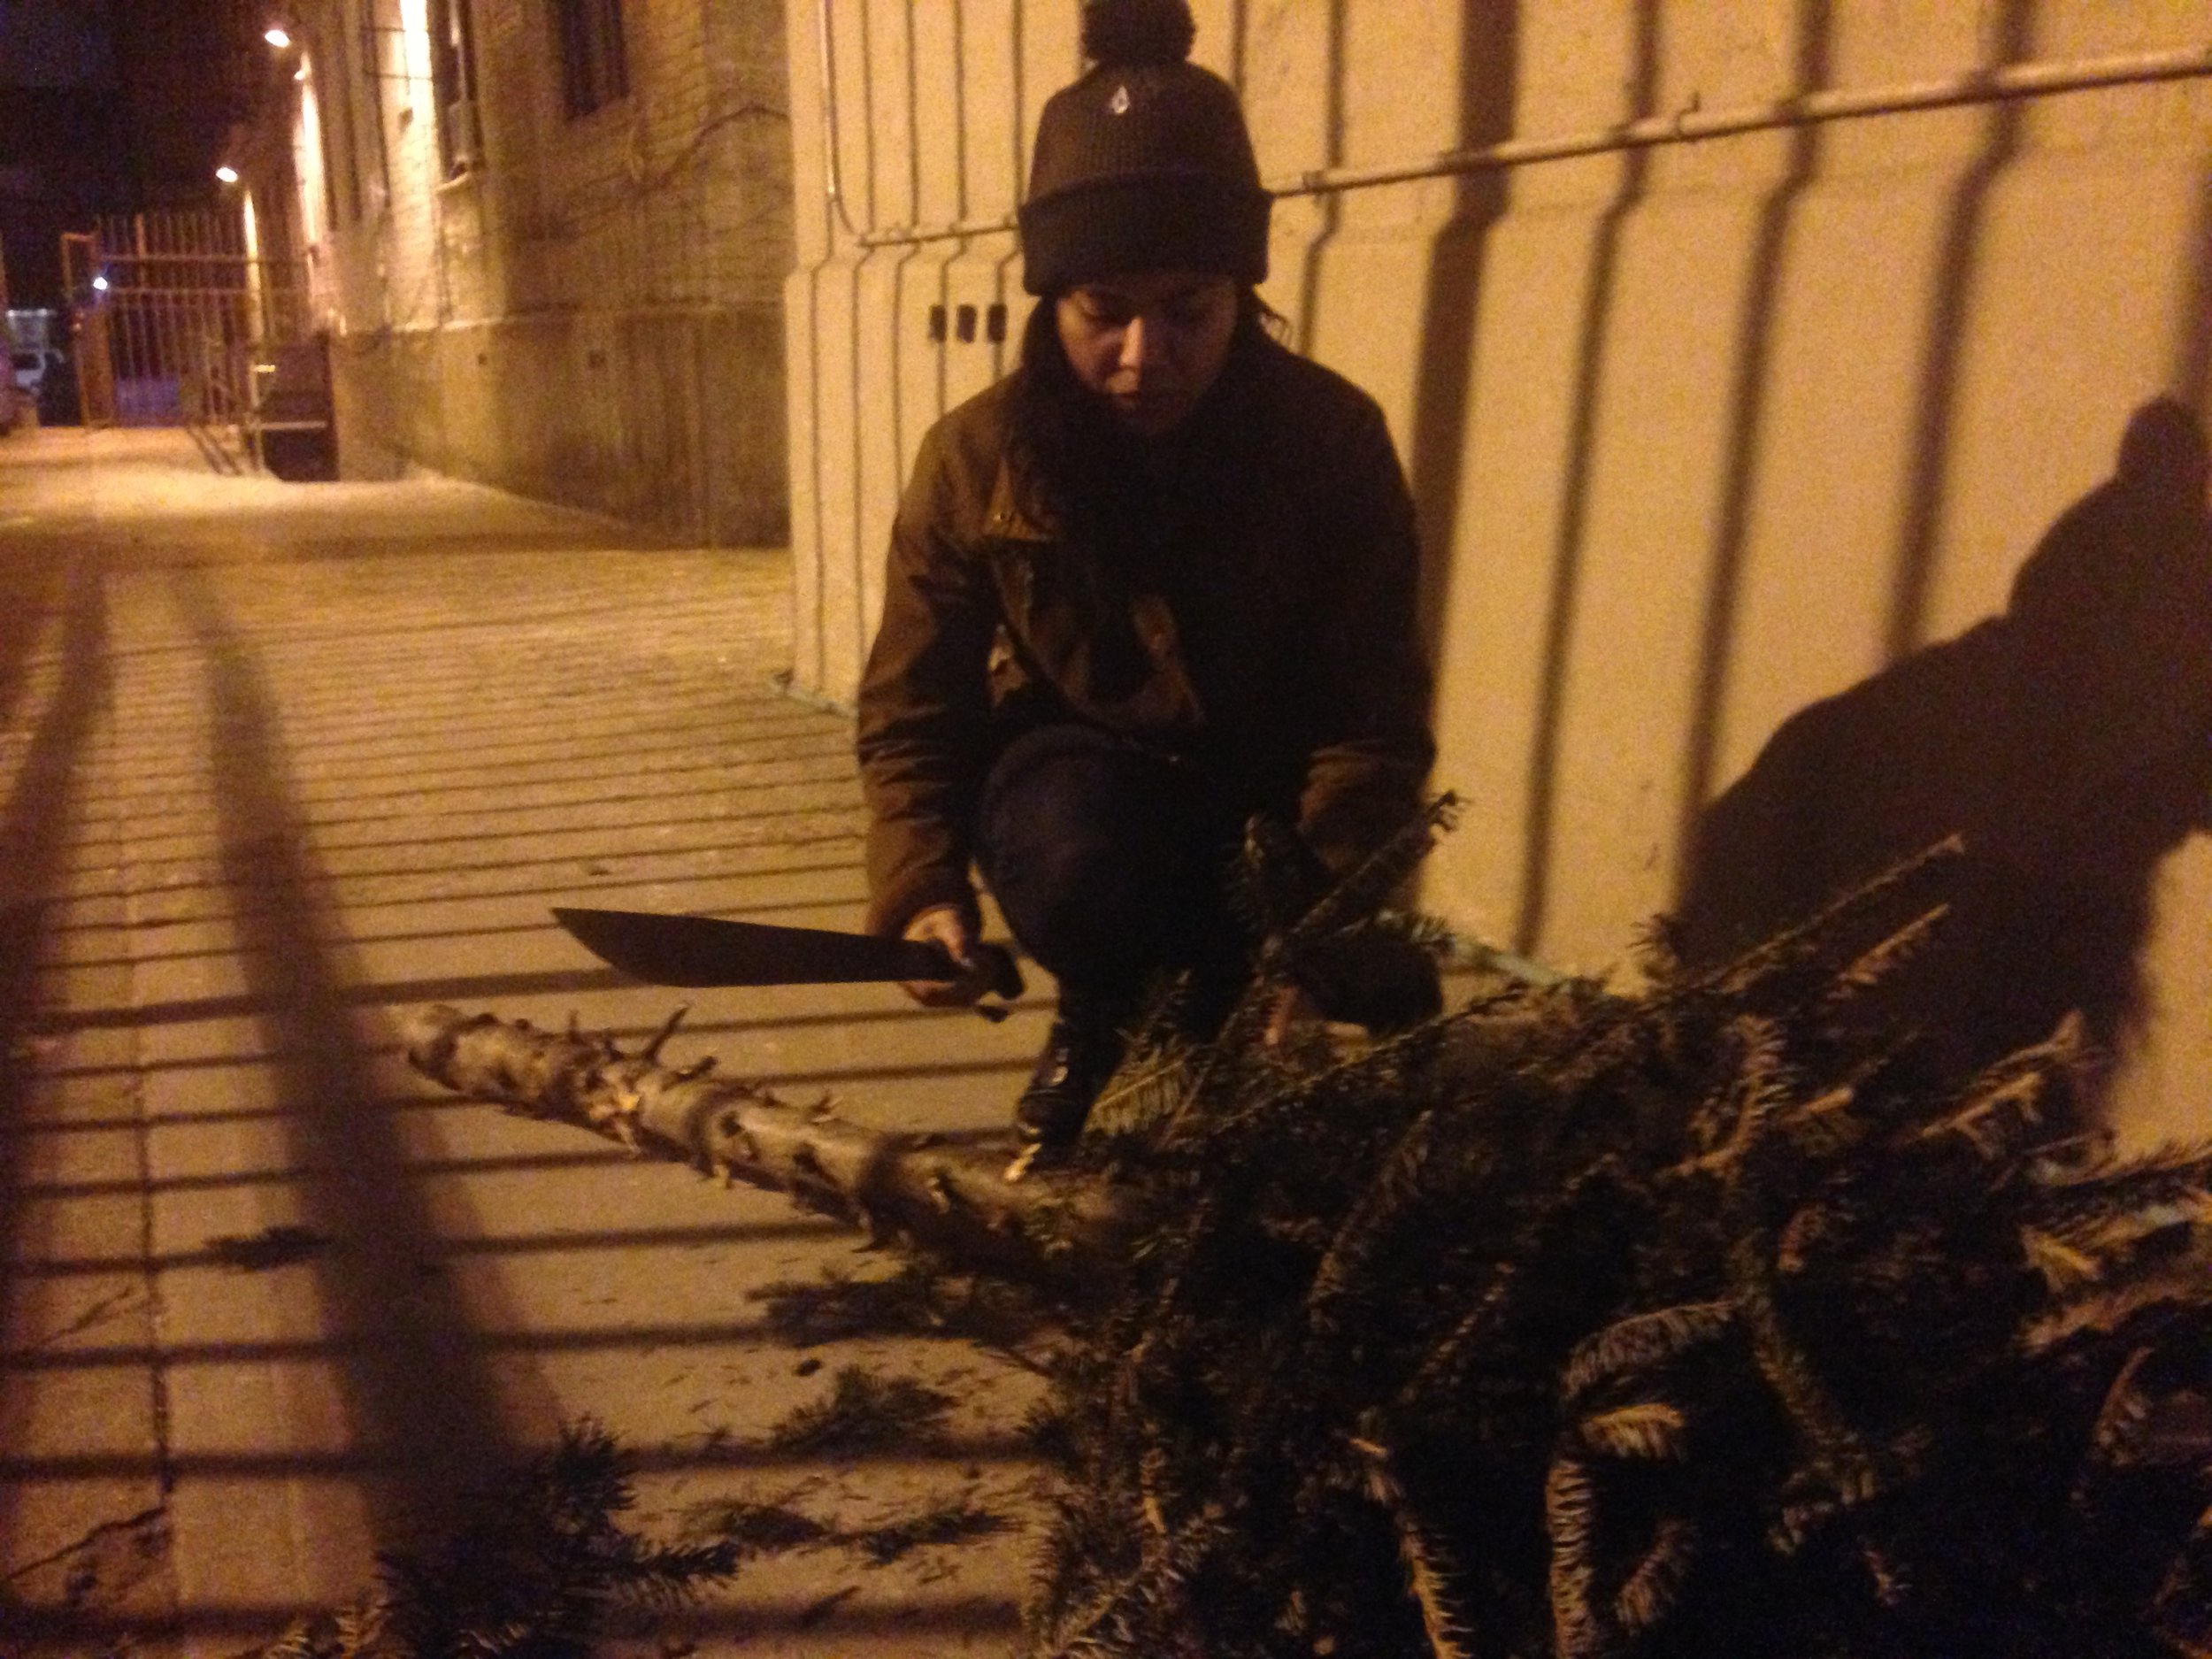
That backbone of Real Good Goods is to reduce and repurpose waste. Since humans produce a lot of waste, especially in densely populated areas like New York City, there's is hardly ever a shortage of opportunities to be creative. After the holiday and stormy weather however, we found new opportunities.
When working with live or green wood, it's necessary to let the wood dry before building anything with it. Green wood contains more moisture than seasoned wood, which has been dried through passage of time or by forced drying in kilns. It's considered to have 100% moisture content relative to air-dried or seasoned wood which is considered to have 20%. Though green lumber is more commonly used in arid regions of the United States, such as Arizona and parts of California, because the wood will dry more quickly. Damper regions often require kiln-dried wood, which must have a moisture content of 19% or less. Depending on thickness, it can take a considerable amount of time before it reaches that recommend moisture content when you don't have a kiln available.
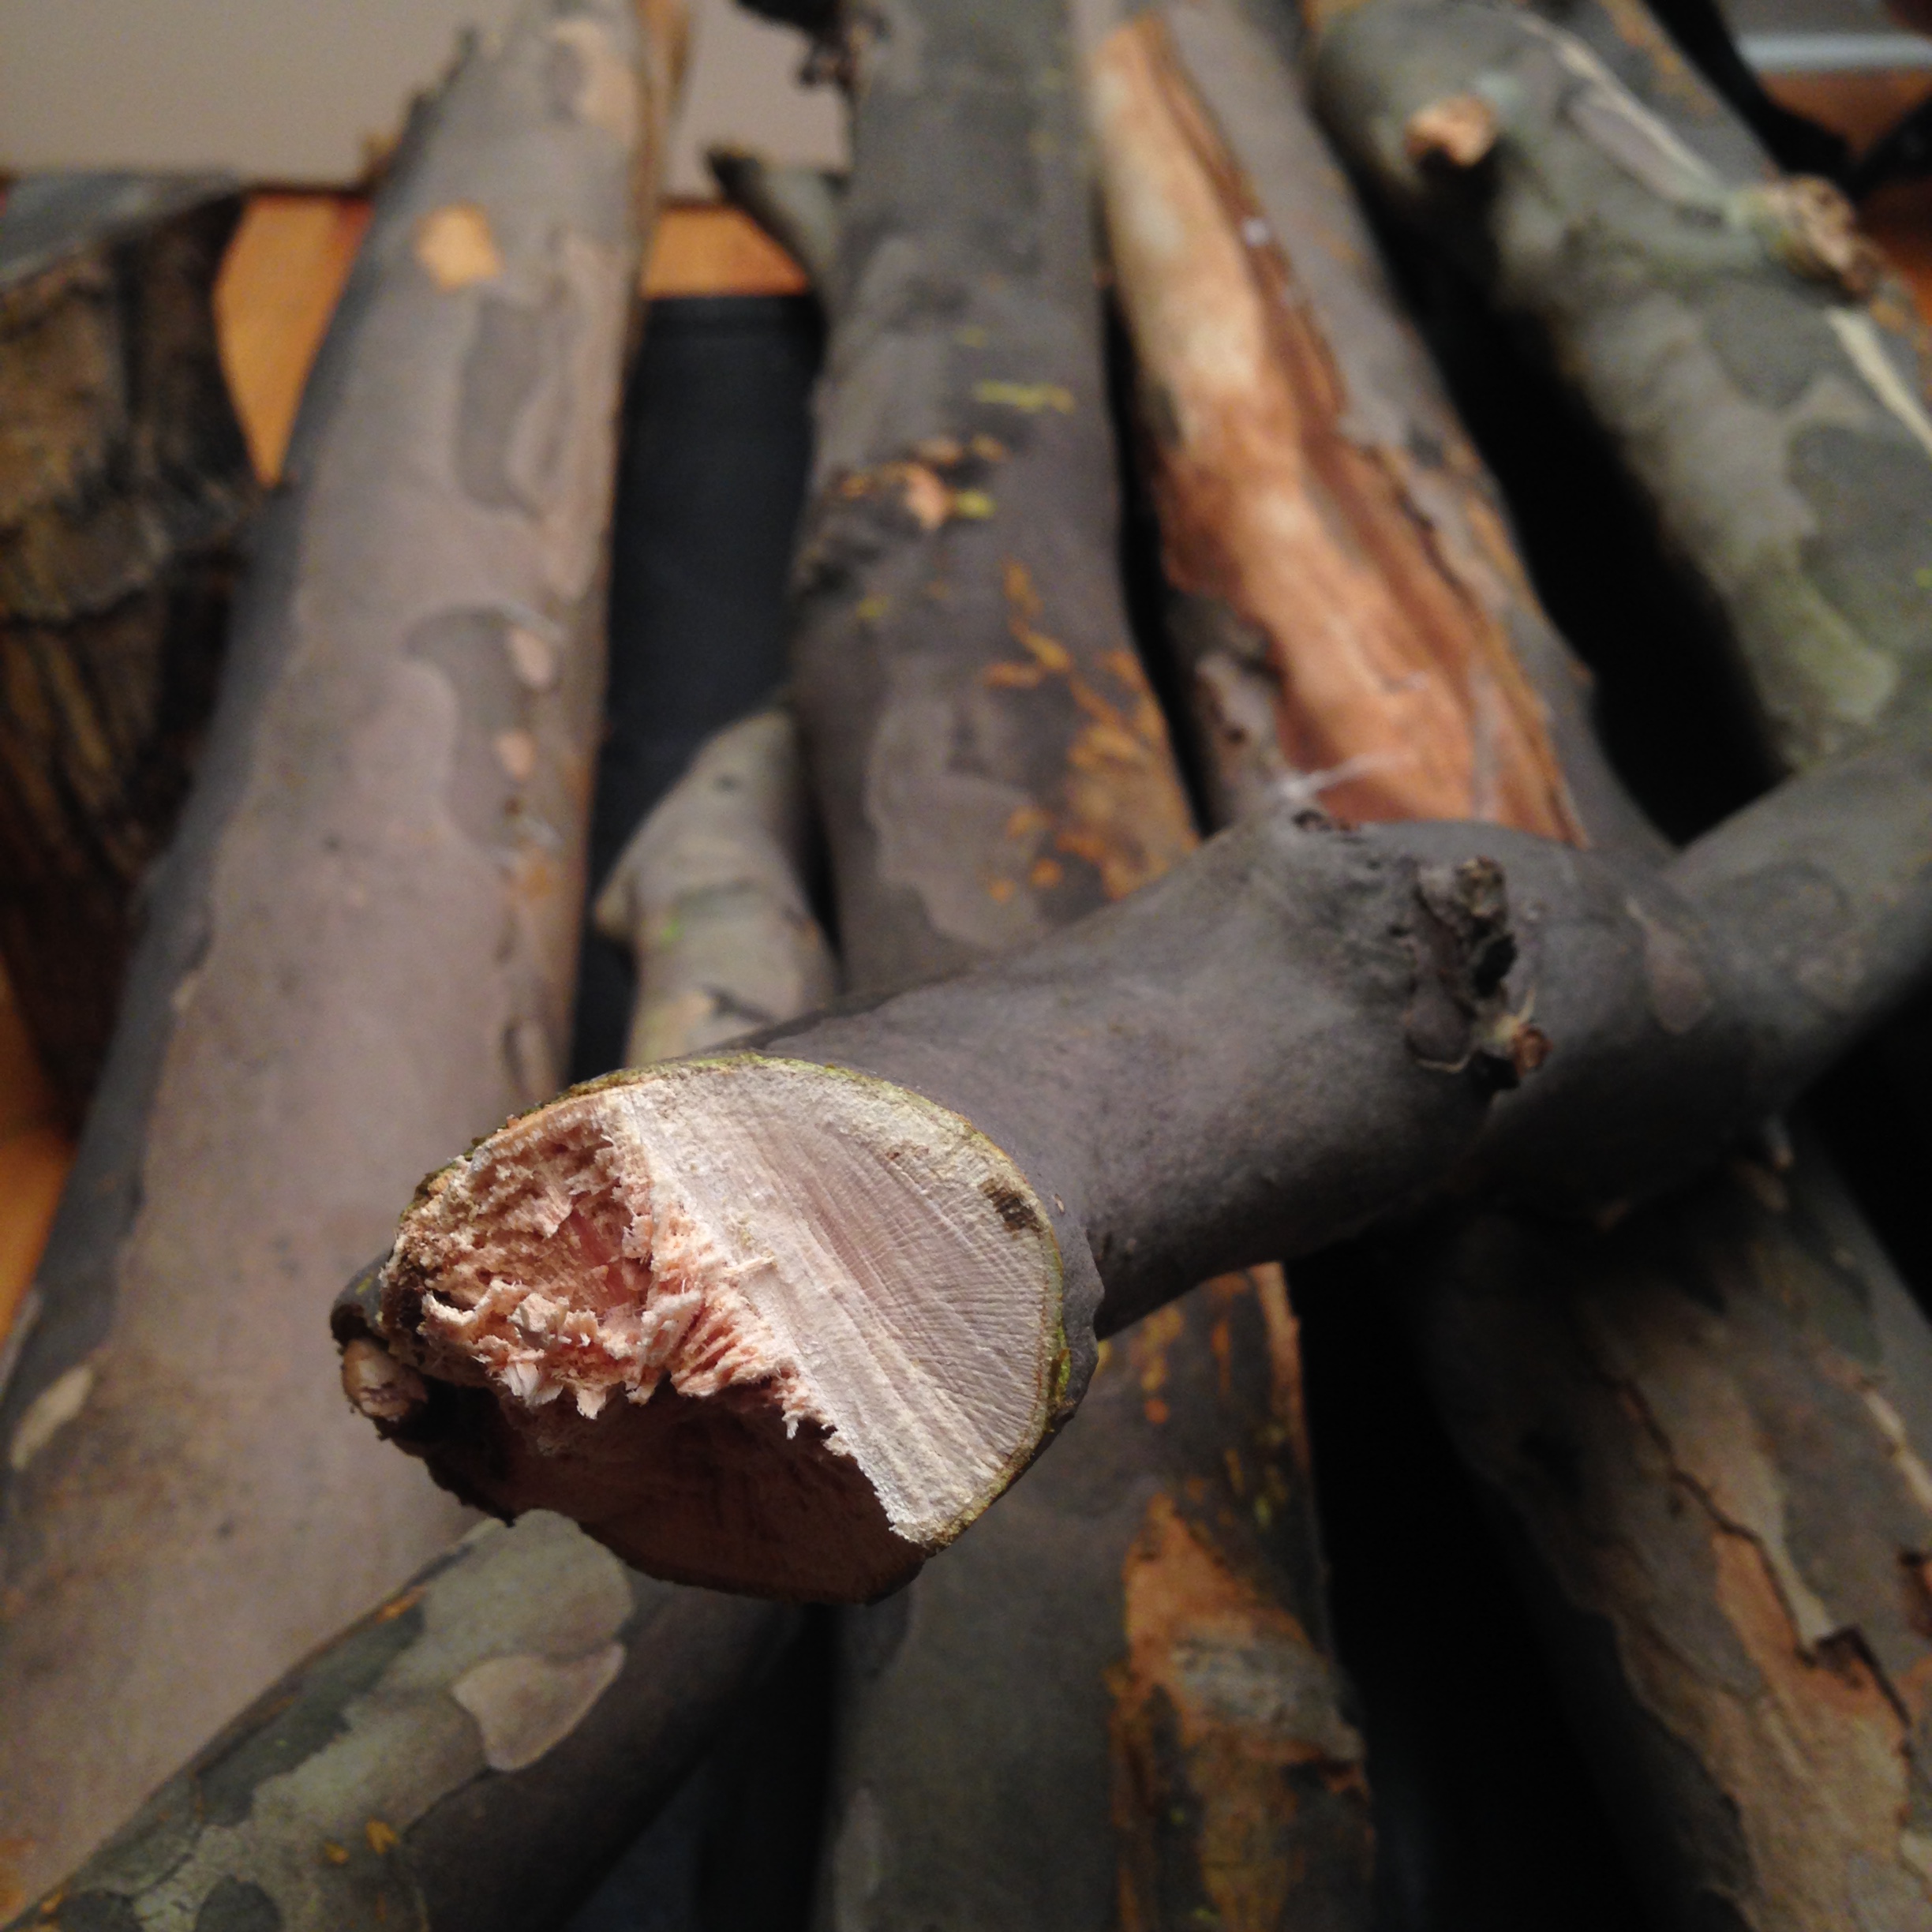
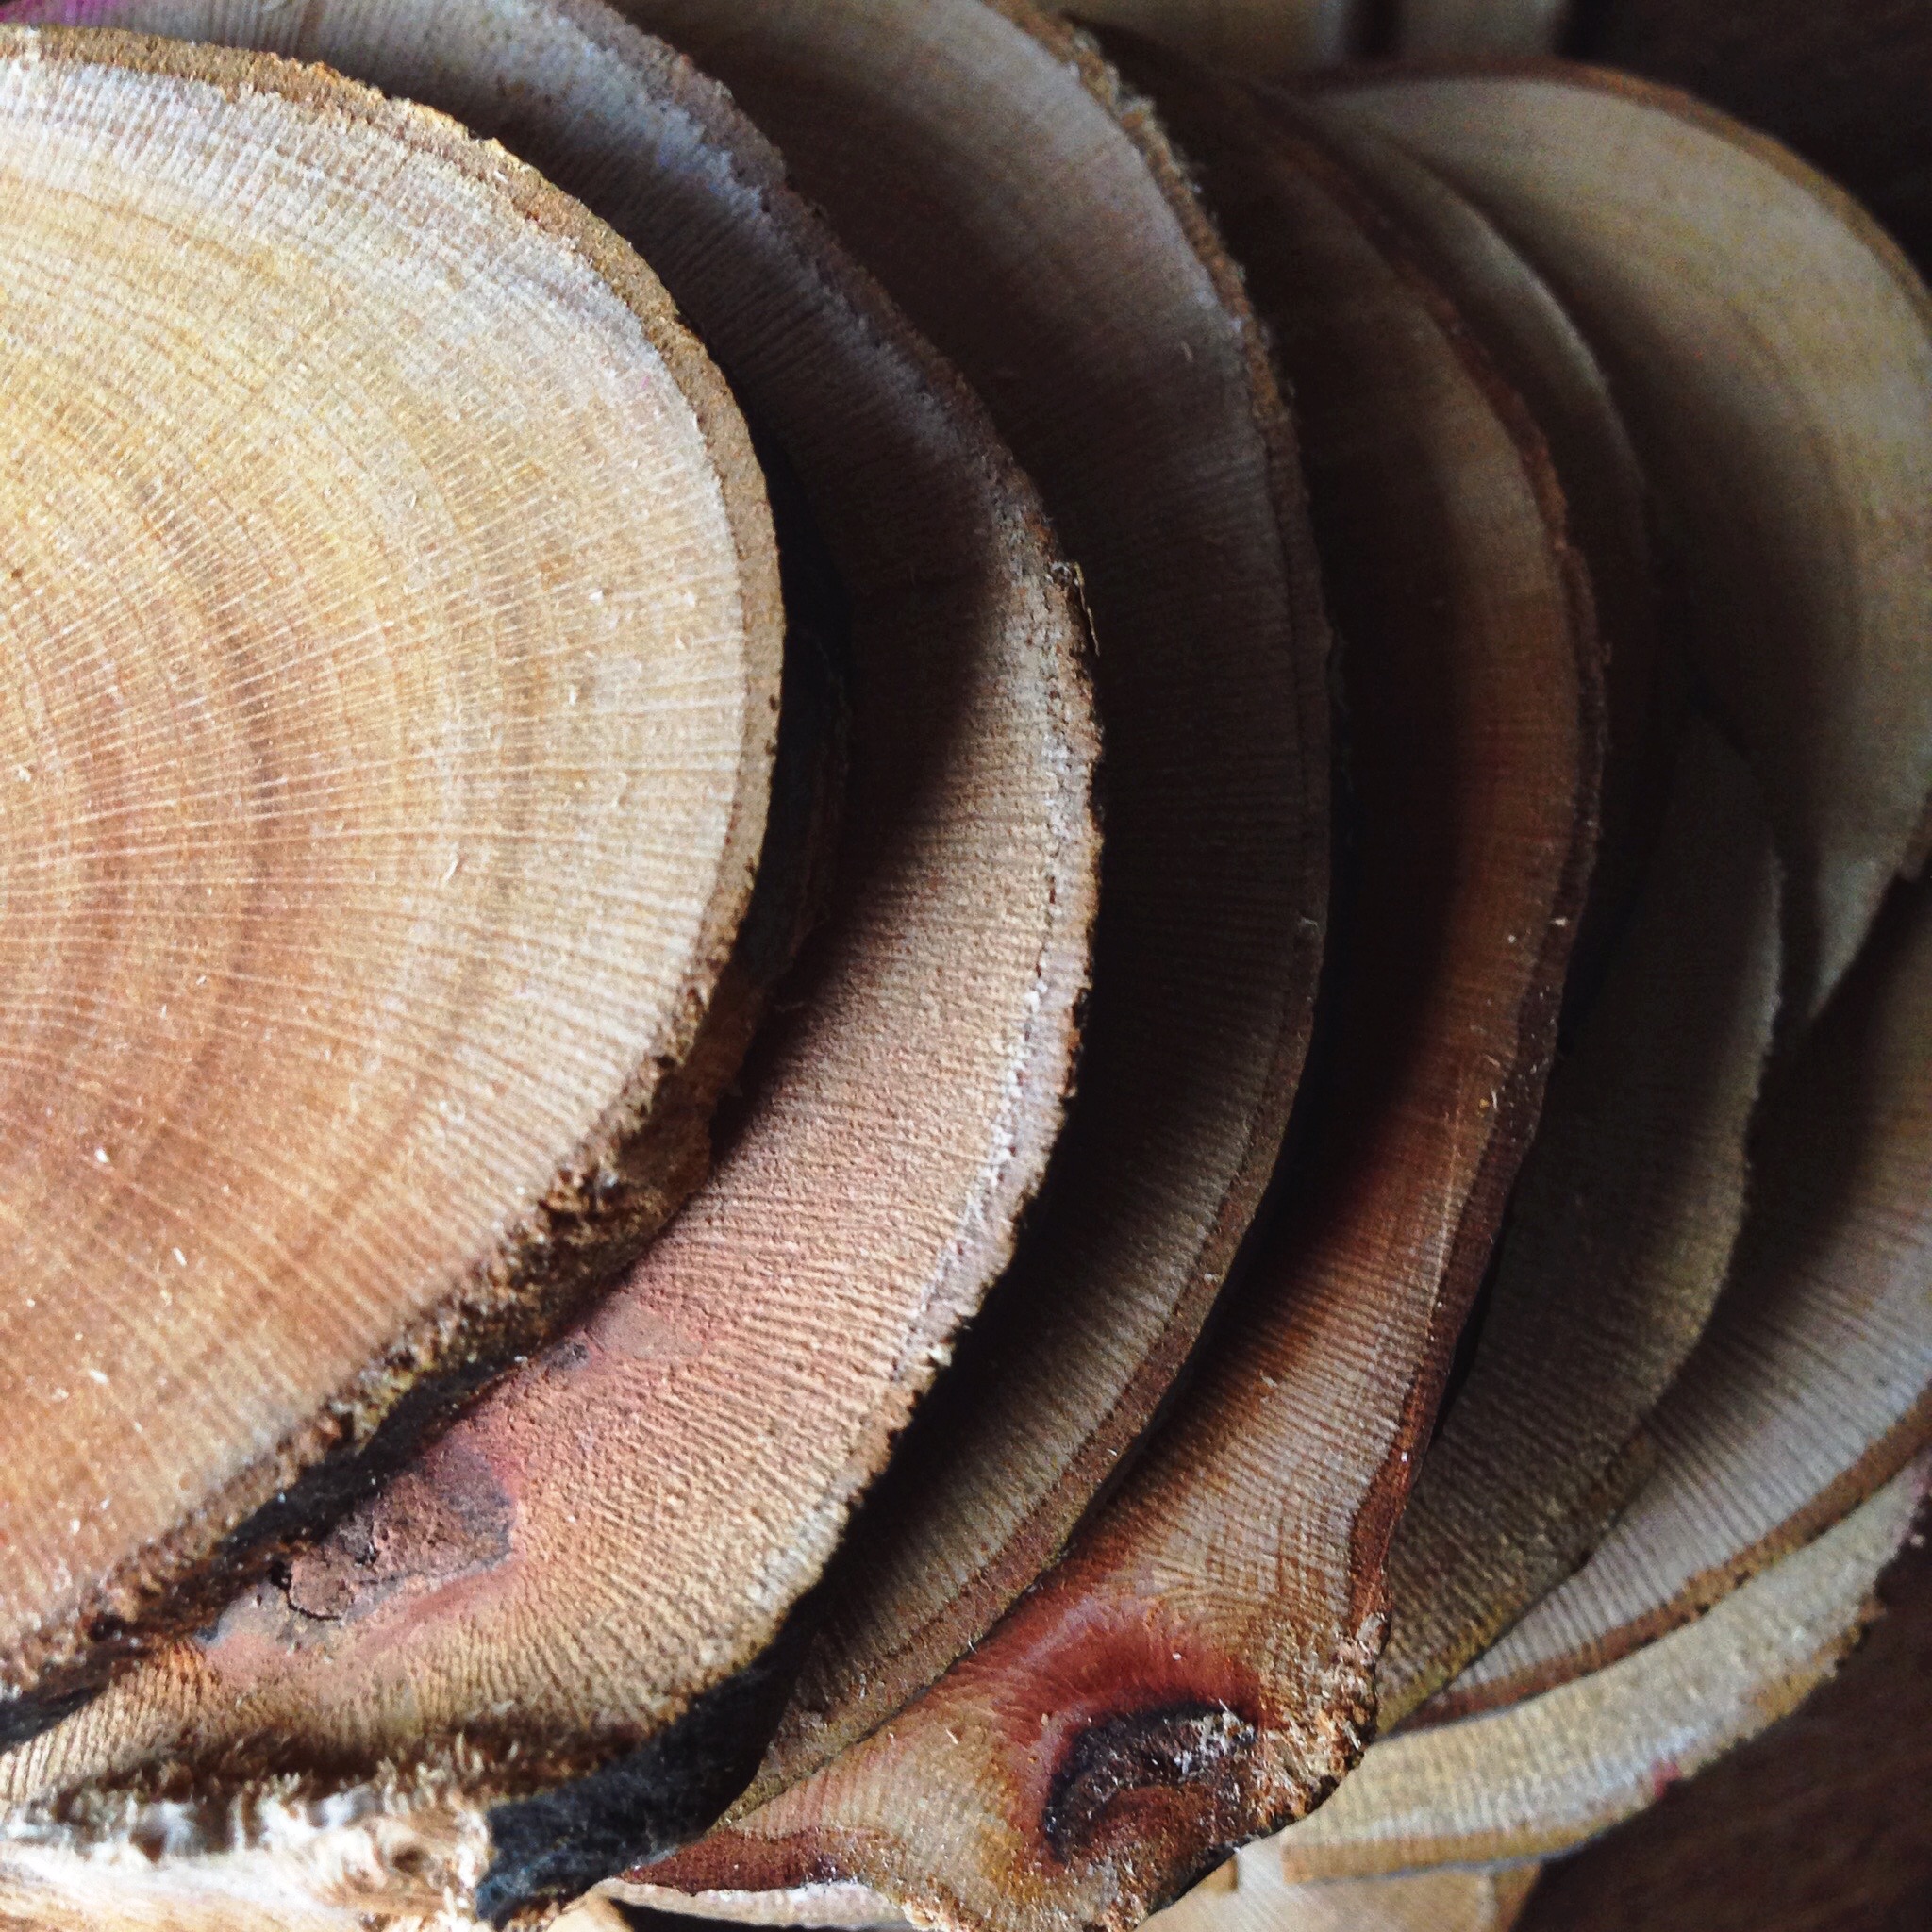
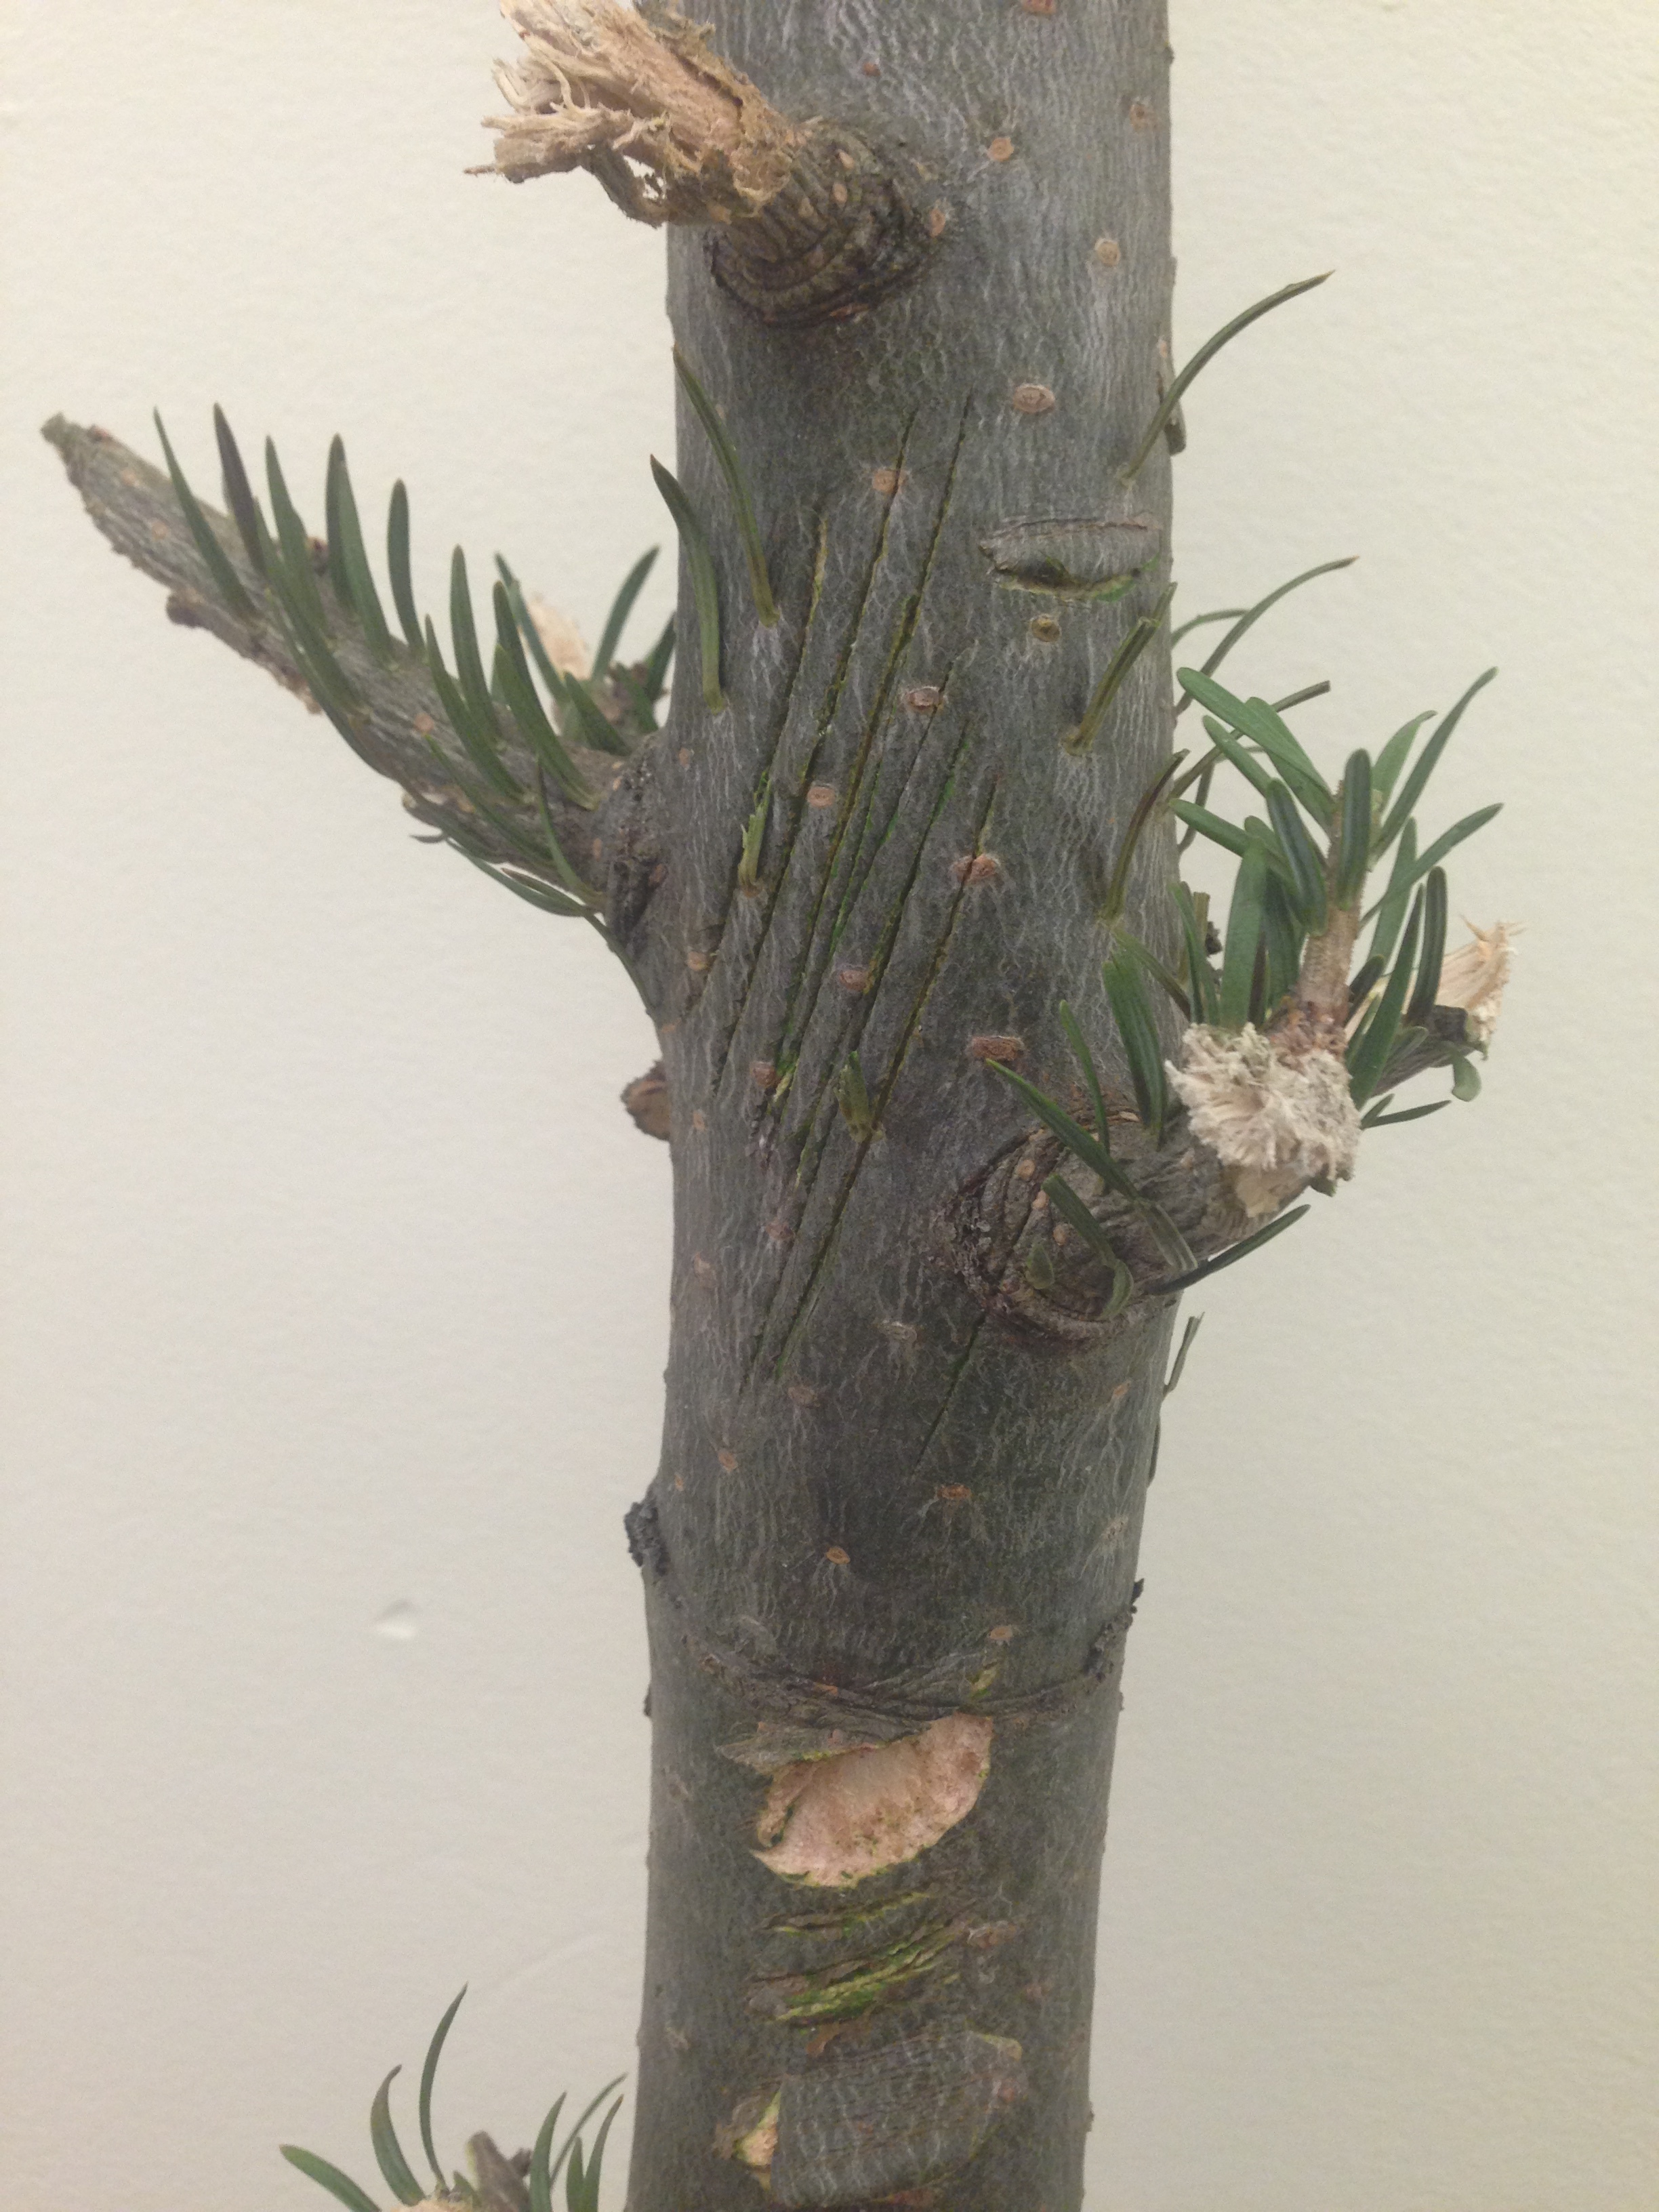
These Sycamore branch have been stored and air-drying for two years. Smaller pieces can be cut and dried in a household oven.
Drying wood in your home oven
Set your oven racks so one is in the bottom and another is in the center. Place a large sheet pan on the bottom oven rack or line it with foil.
Set the oven as close to 218° F as possible.
If available, turn on the convection fan. Check the oven thermometer after 15 minutes have passed. Adjust the oven settings until the internal temperature reading is between 210° and 225° F.
Place your wood on the center rack without letting them touch. Set smaller wood pieces perpendicular to the wires of the oven rack so they do not fall through. Dry the wood for 1 hour.
While wearing heat-resistant gloves, remove a 2-3 pieces a varying sizes. Press the two metal contact points of the moisture meter to the surface of the wood to test. Return the wood to the oven if the desired moisture-level has not been reached.
Test again every 15 minutes until moisture content reads 20% or less. Remove wood and place on a wire cooling rack in a dry place.

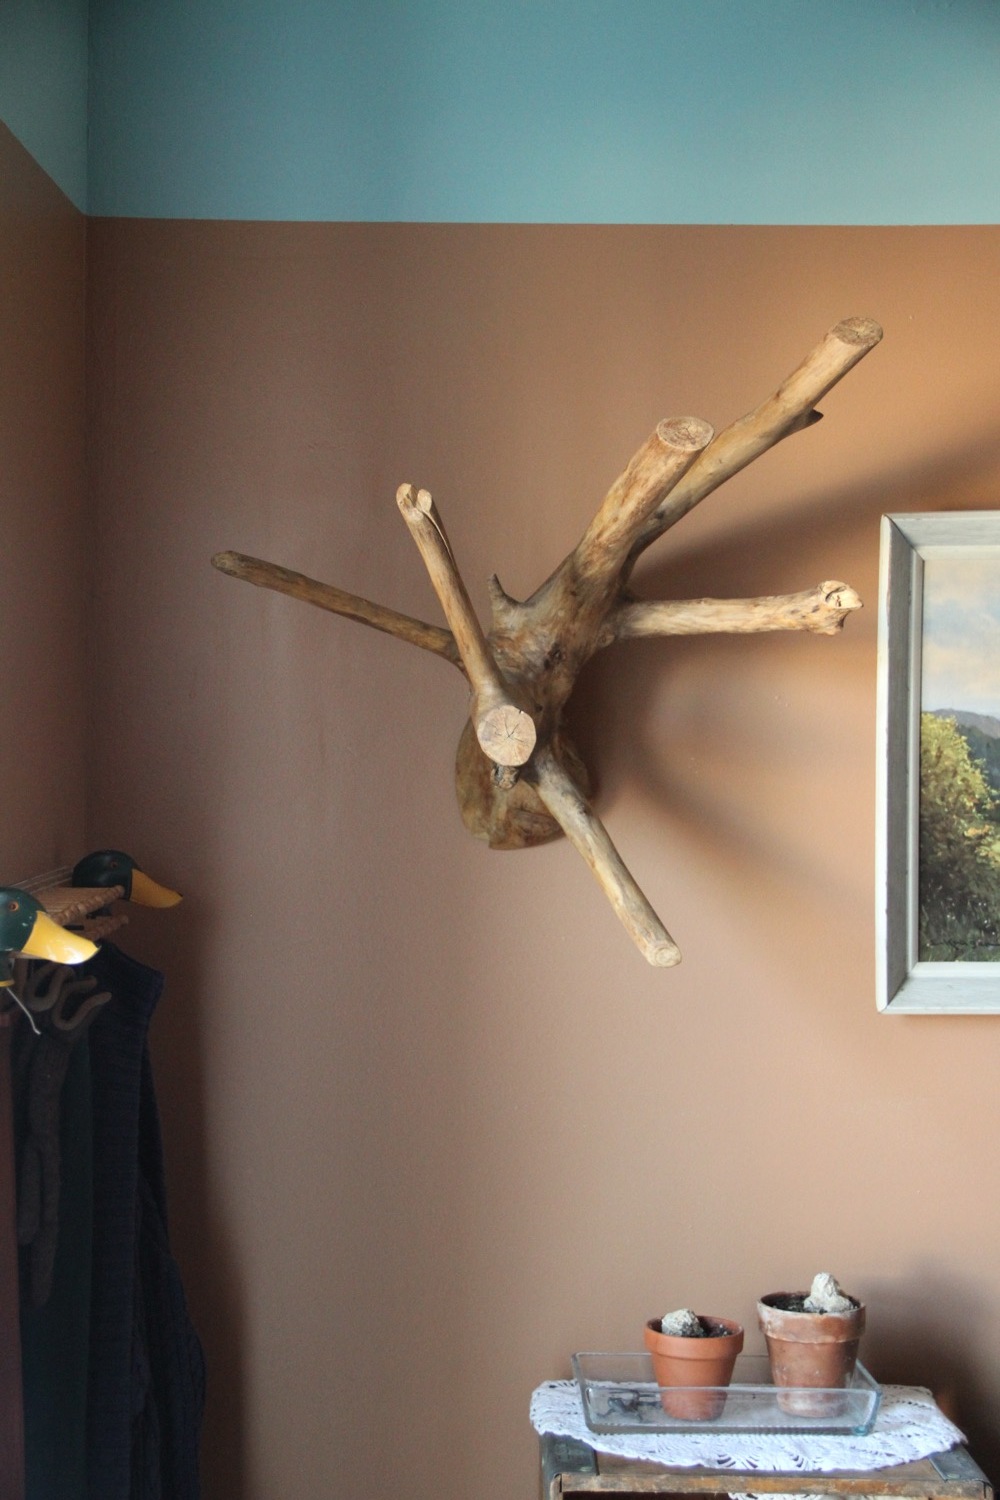
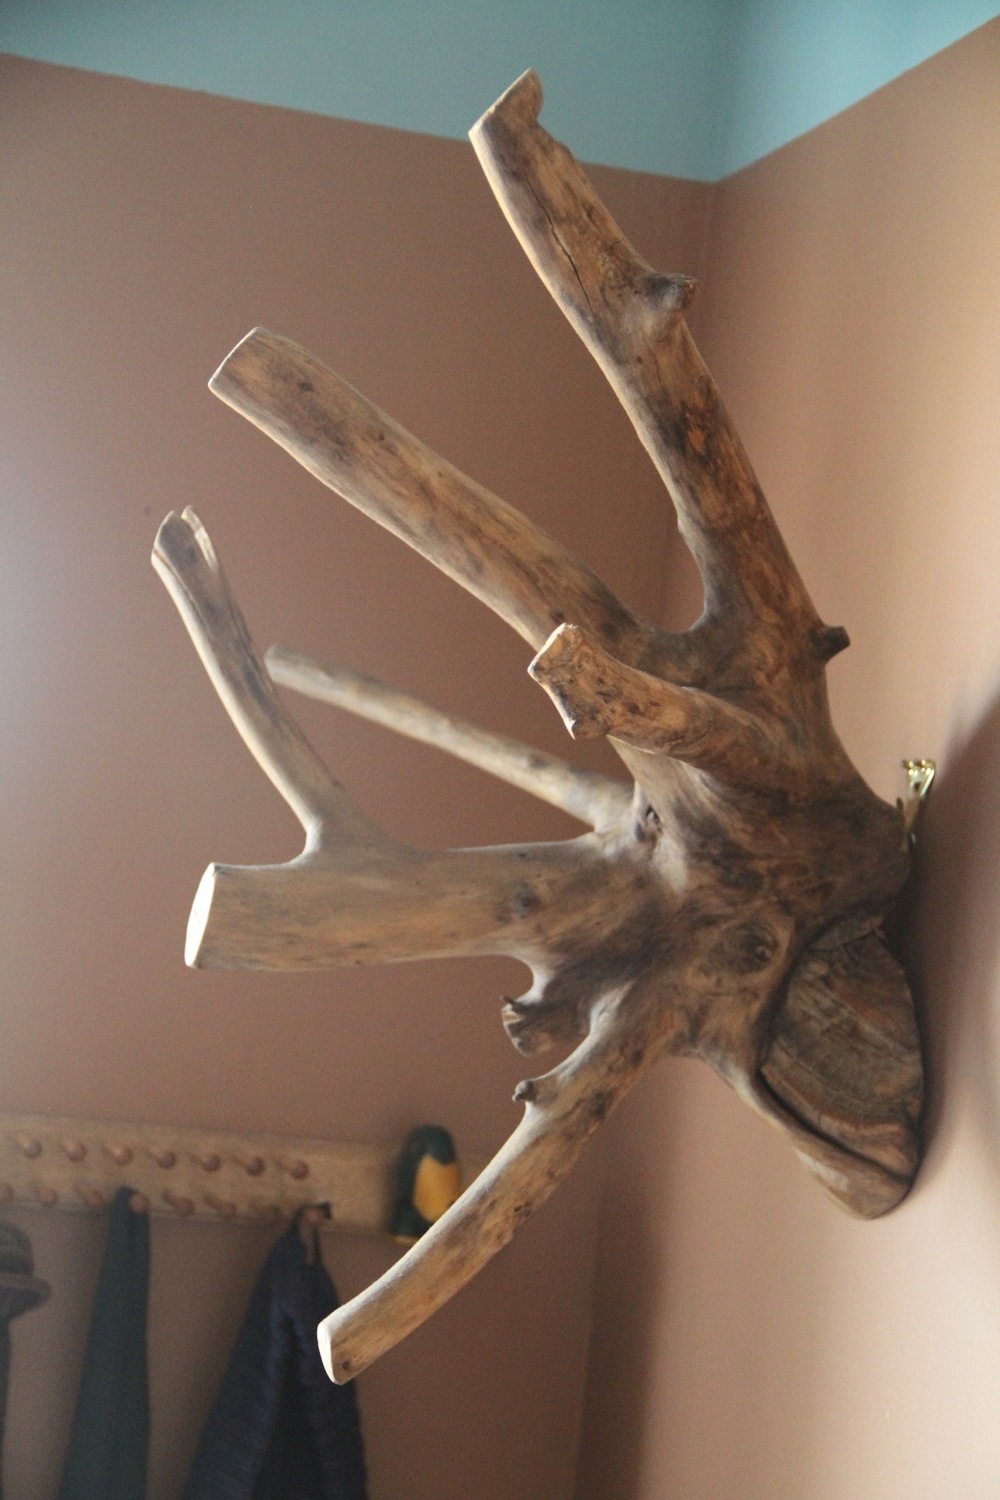
Natural Tree Wall Hanging
$150.00


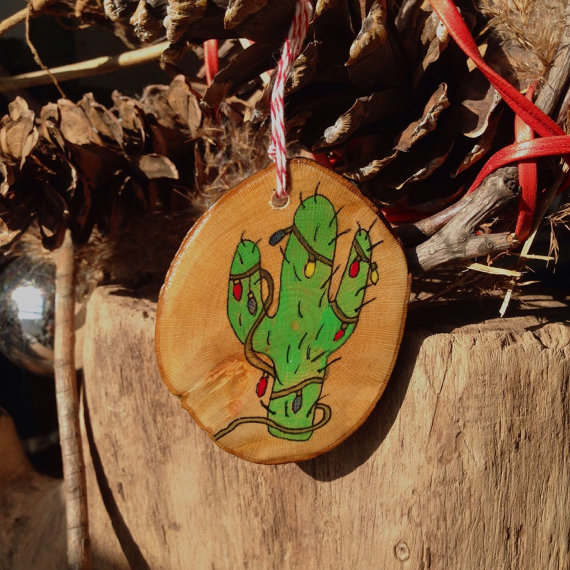
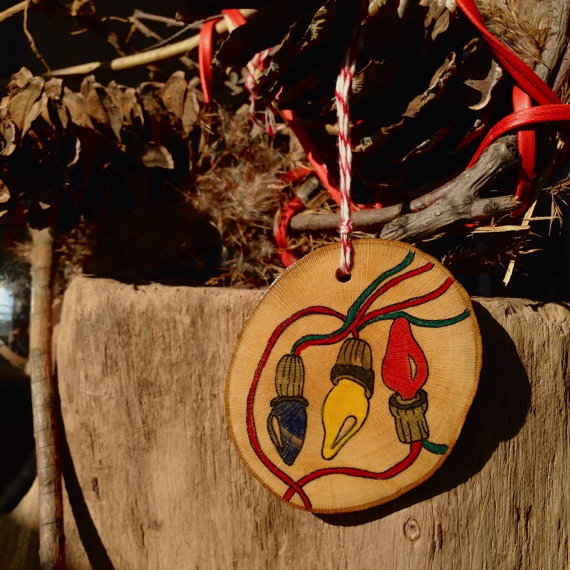
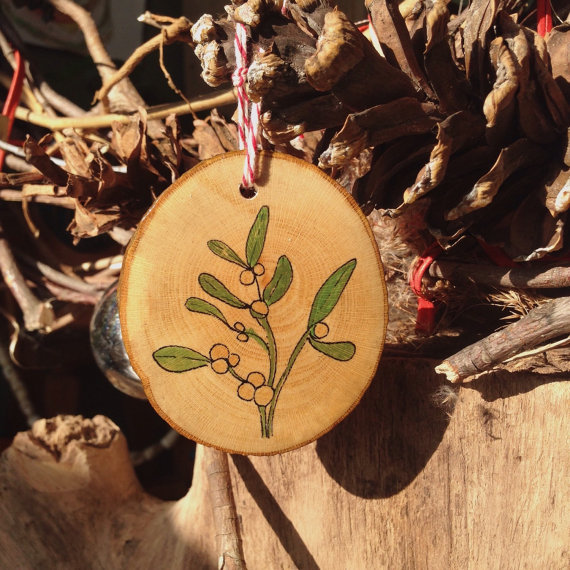
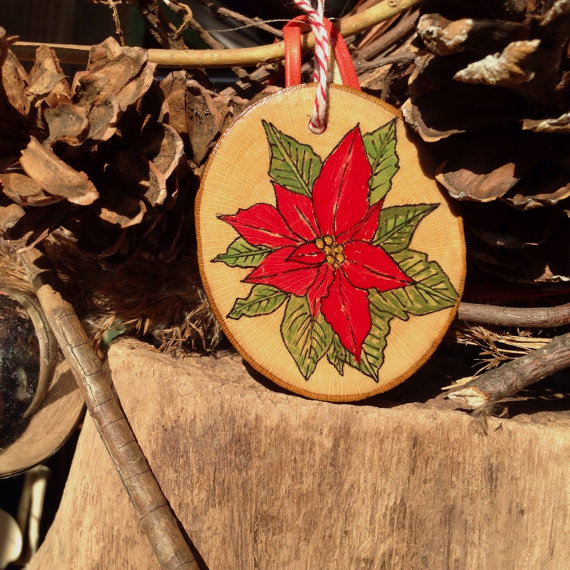
Holiday Ornaments
from $25.00
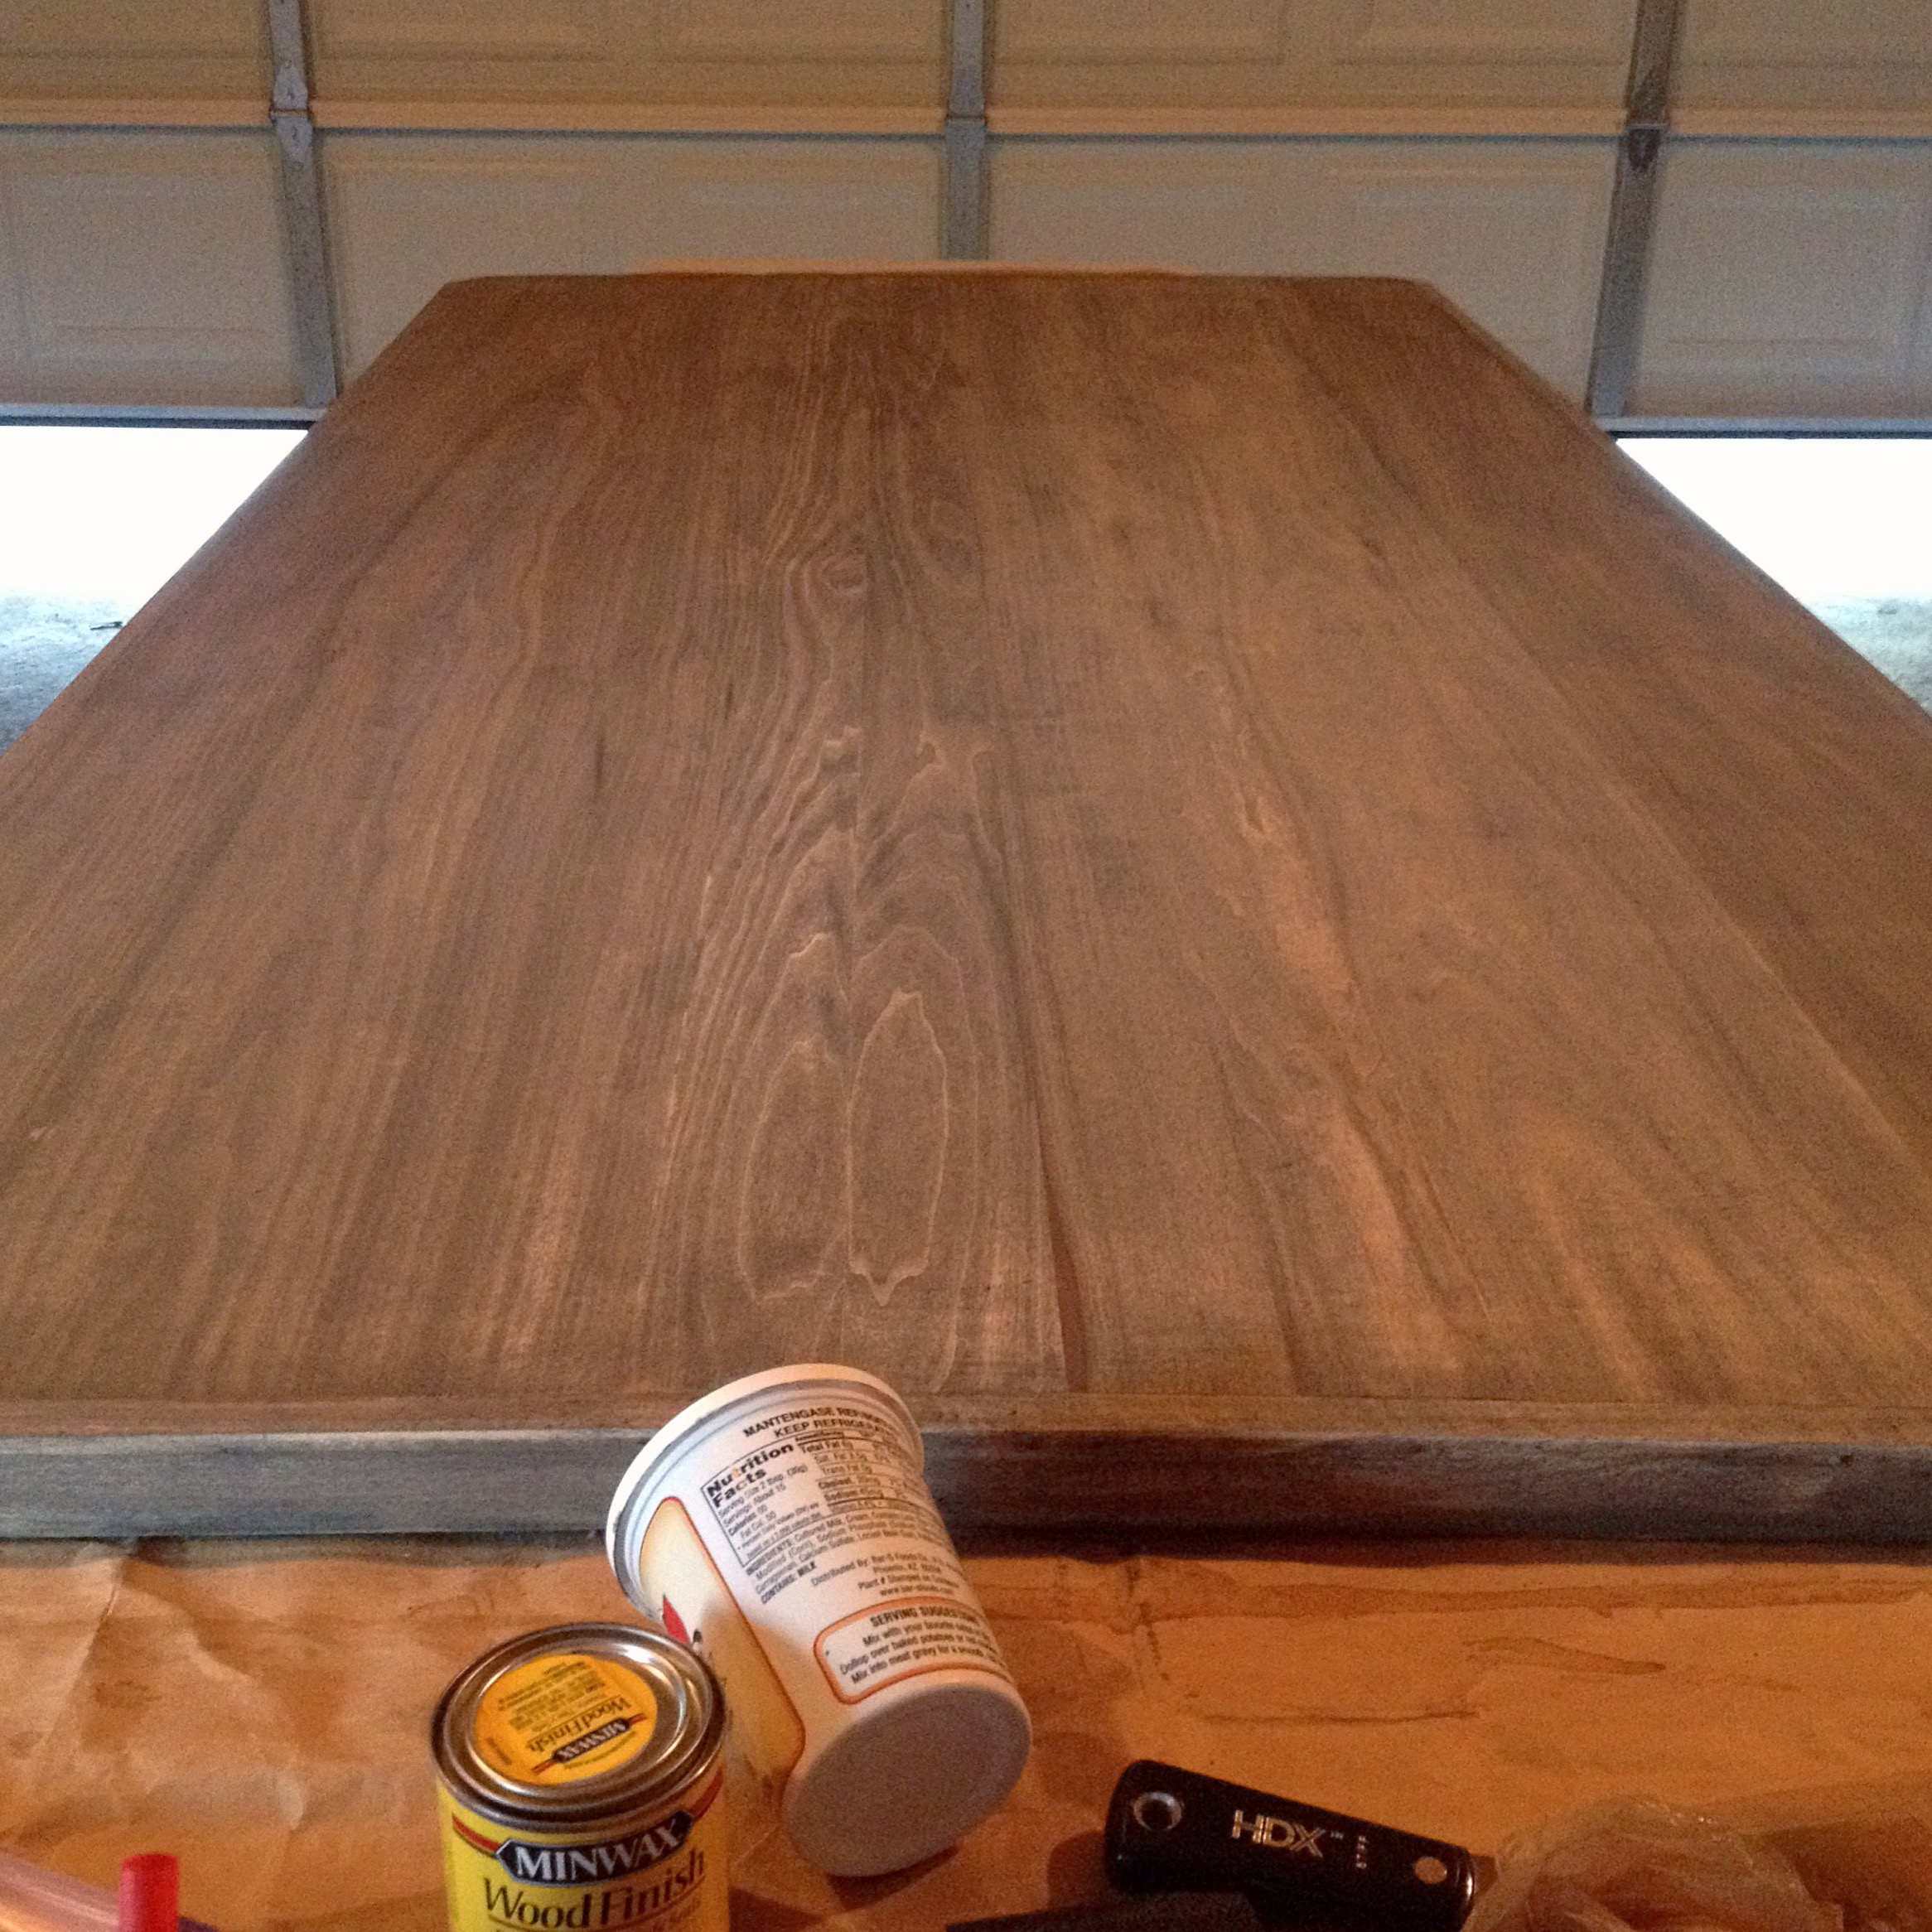
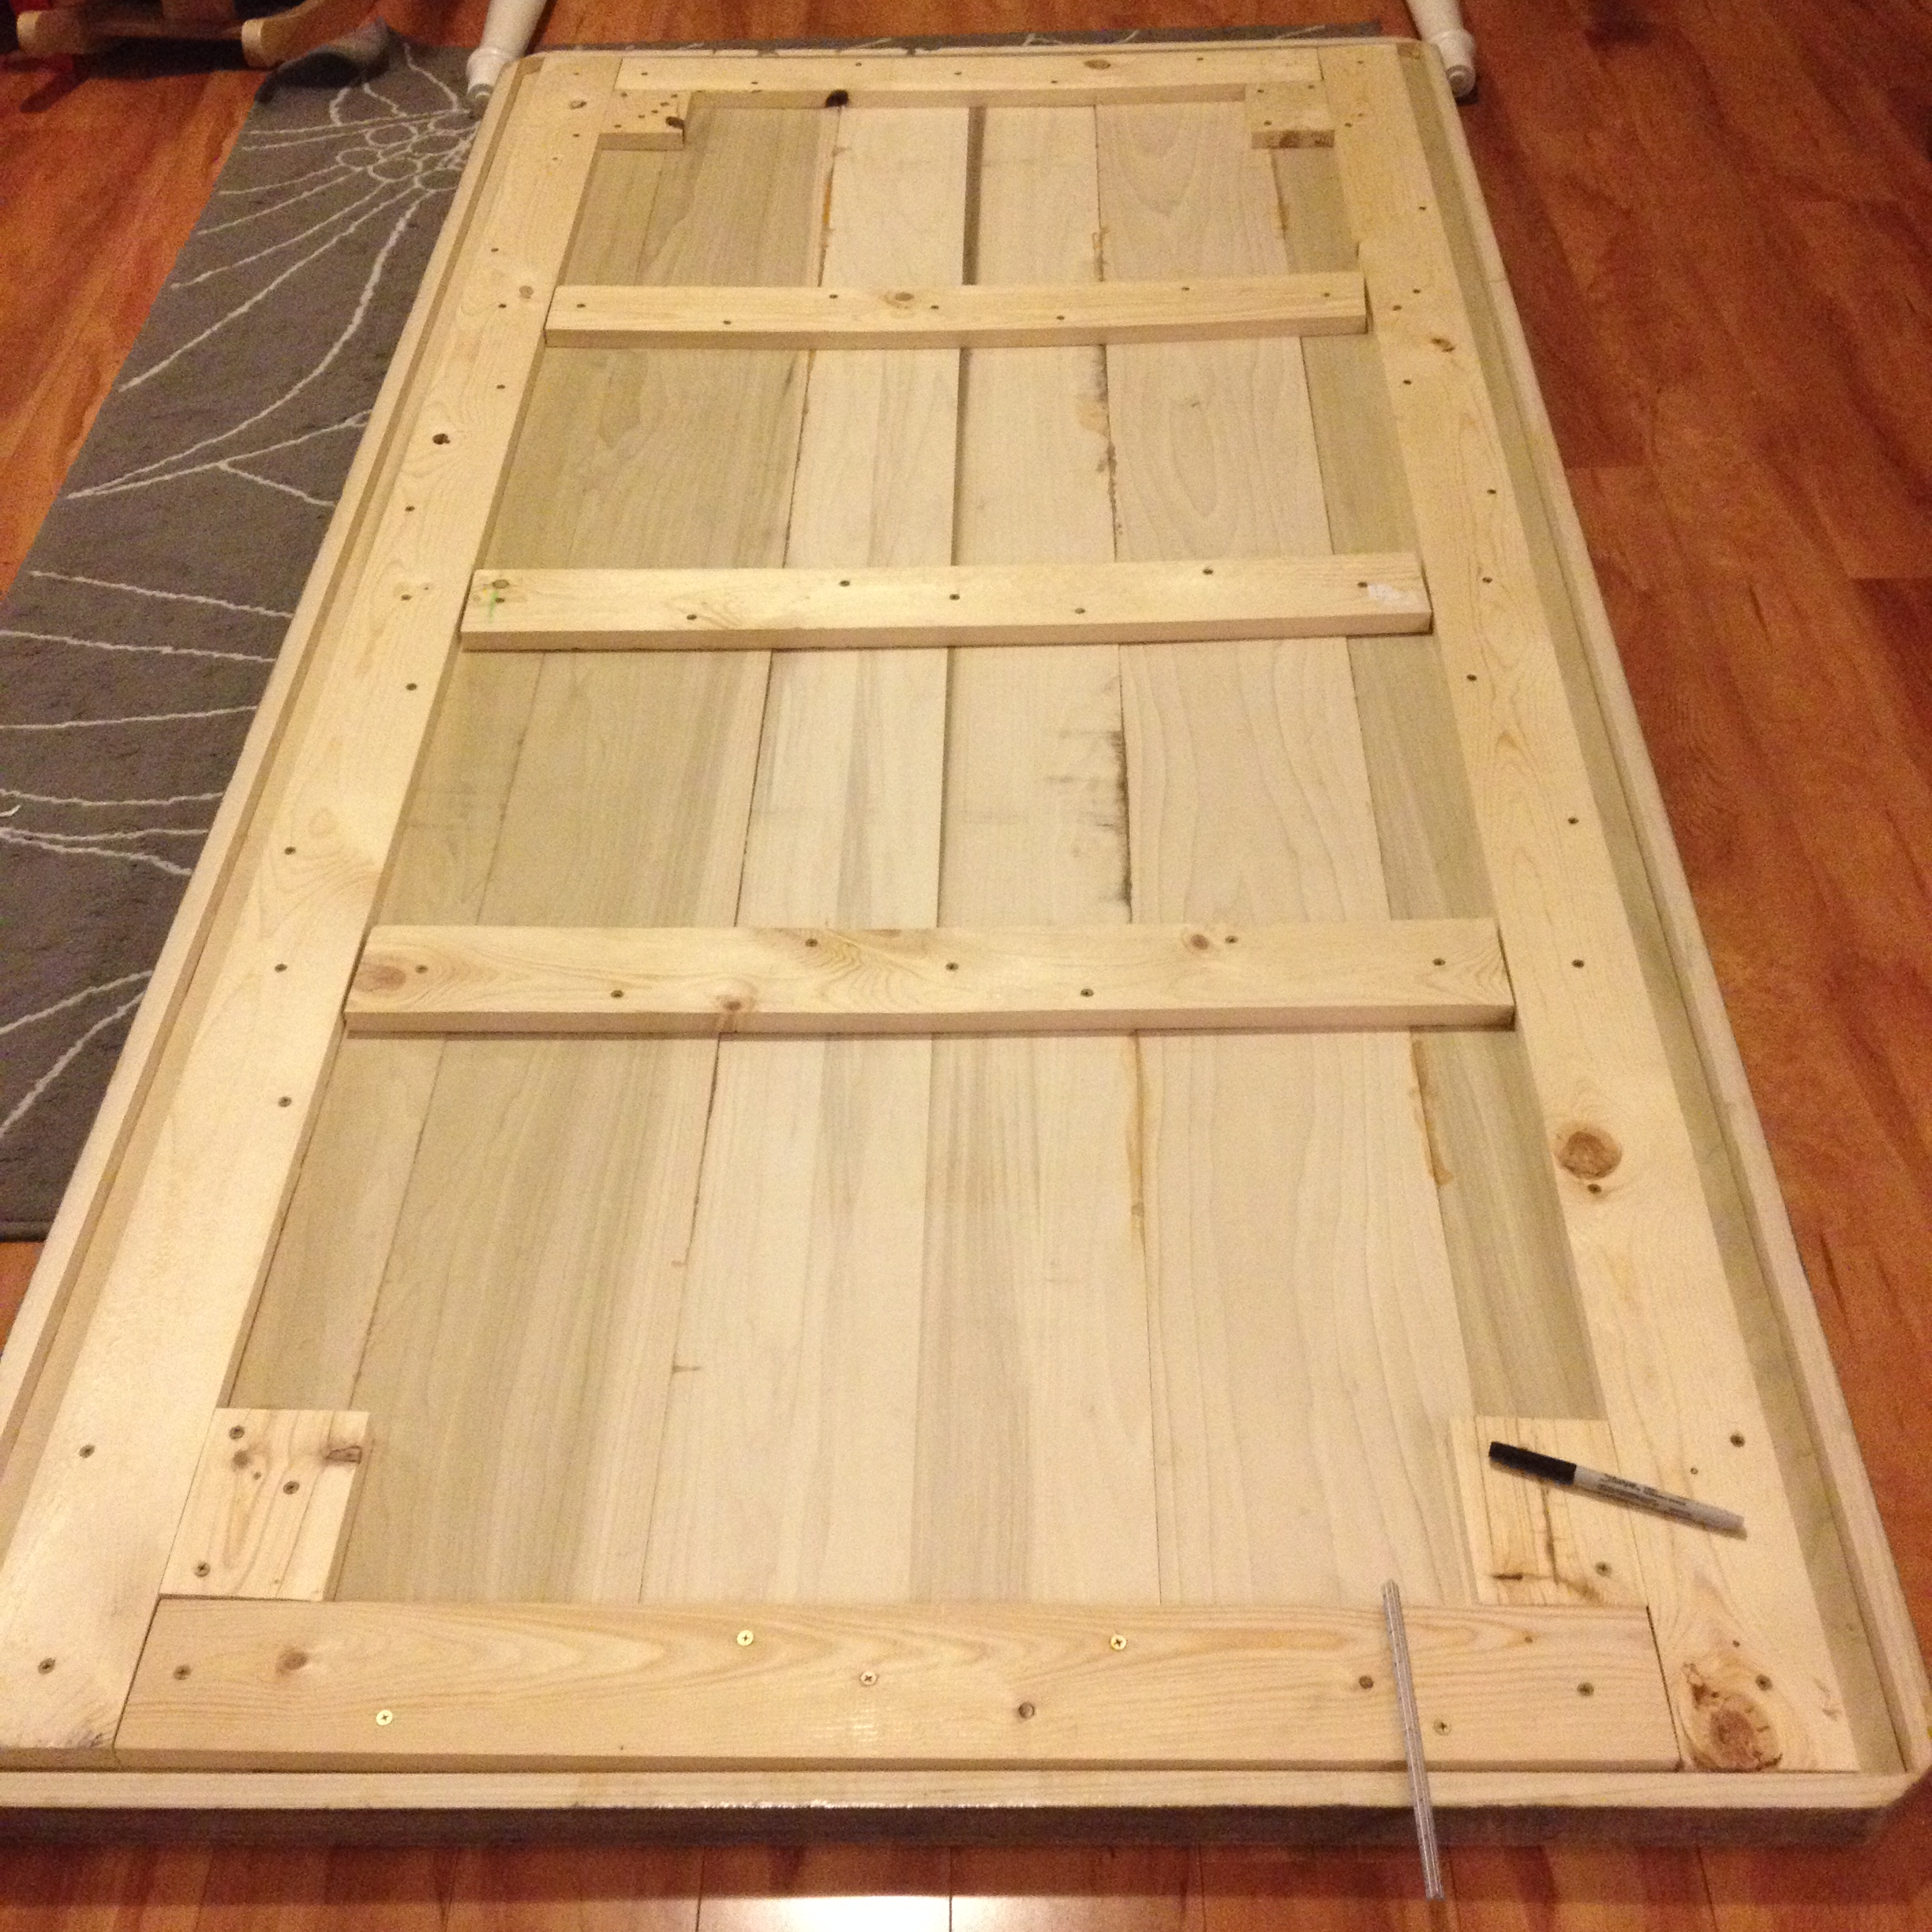
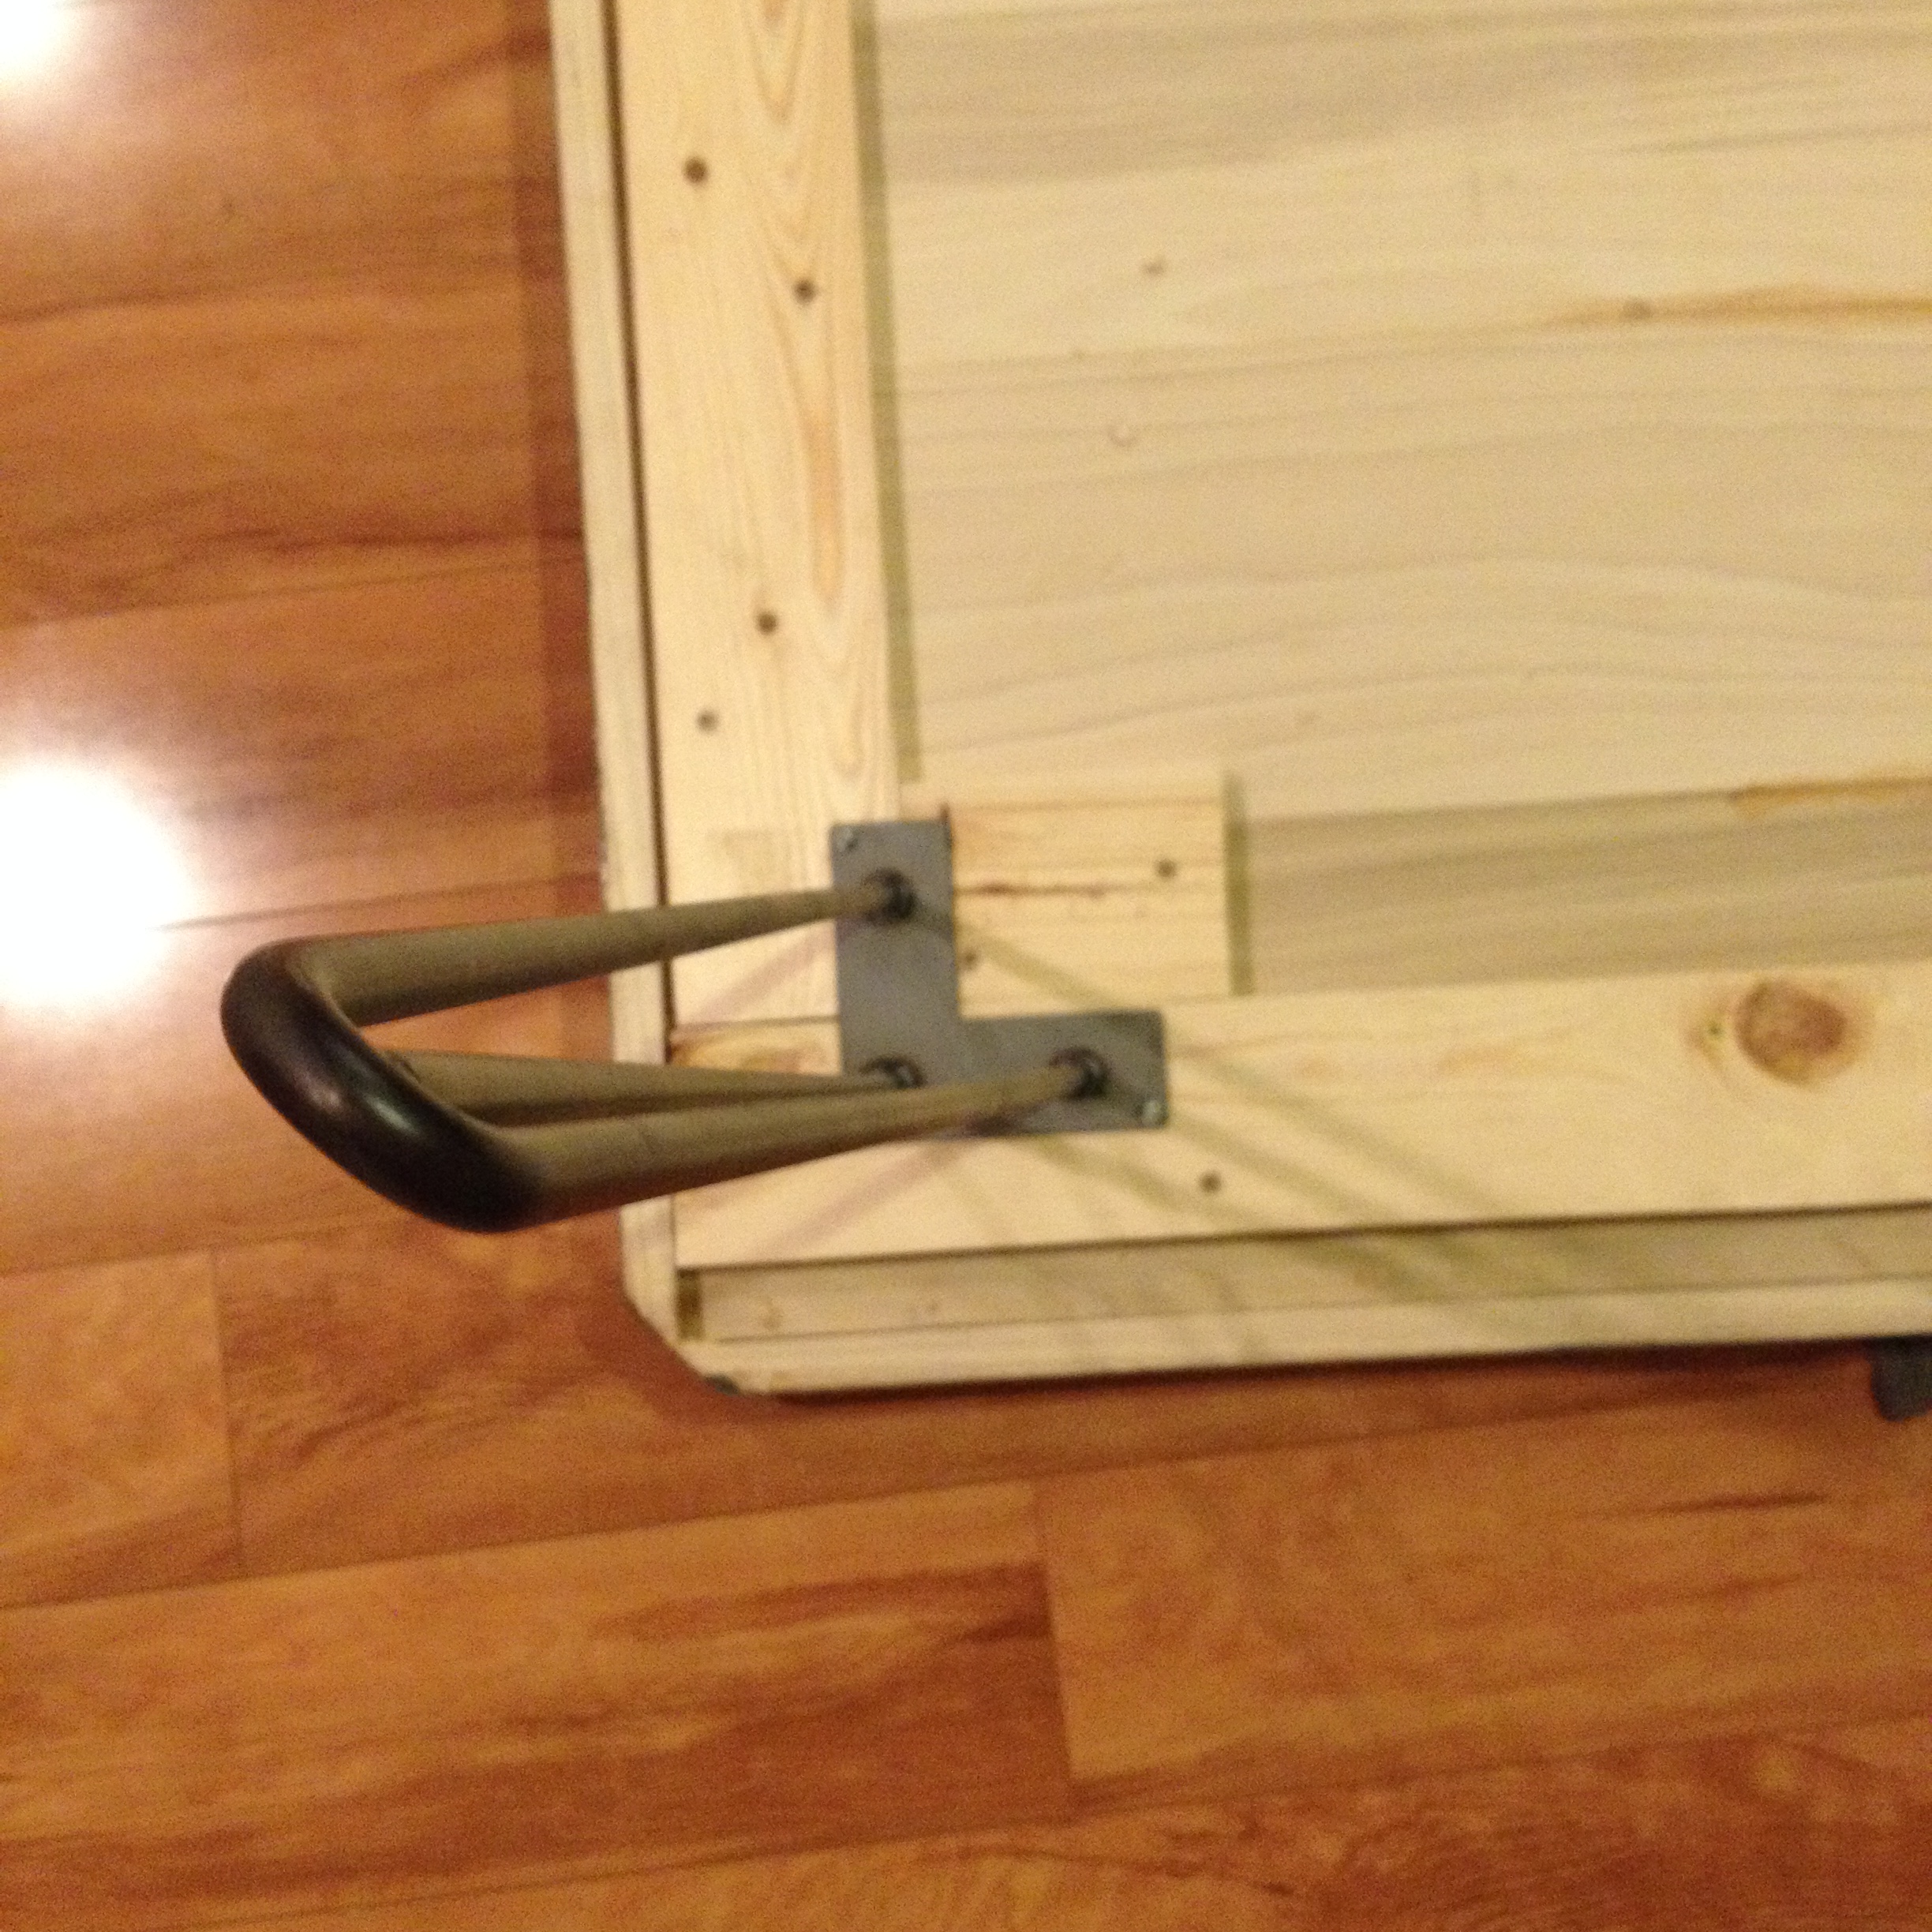
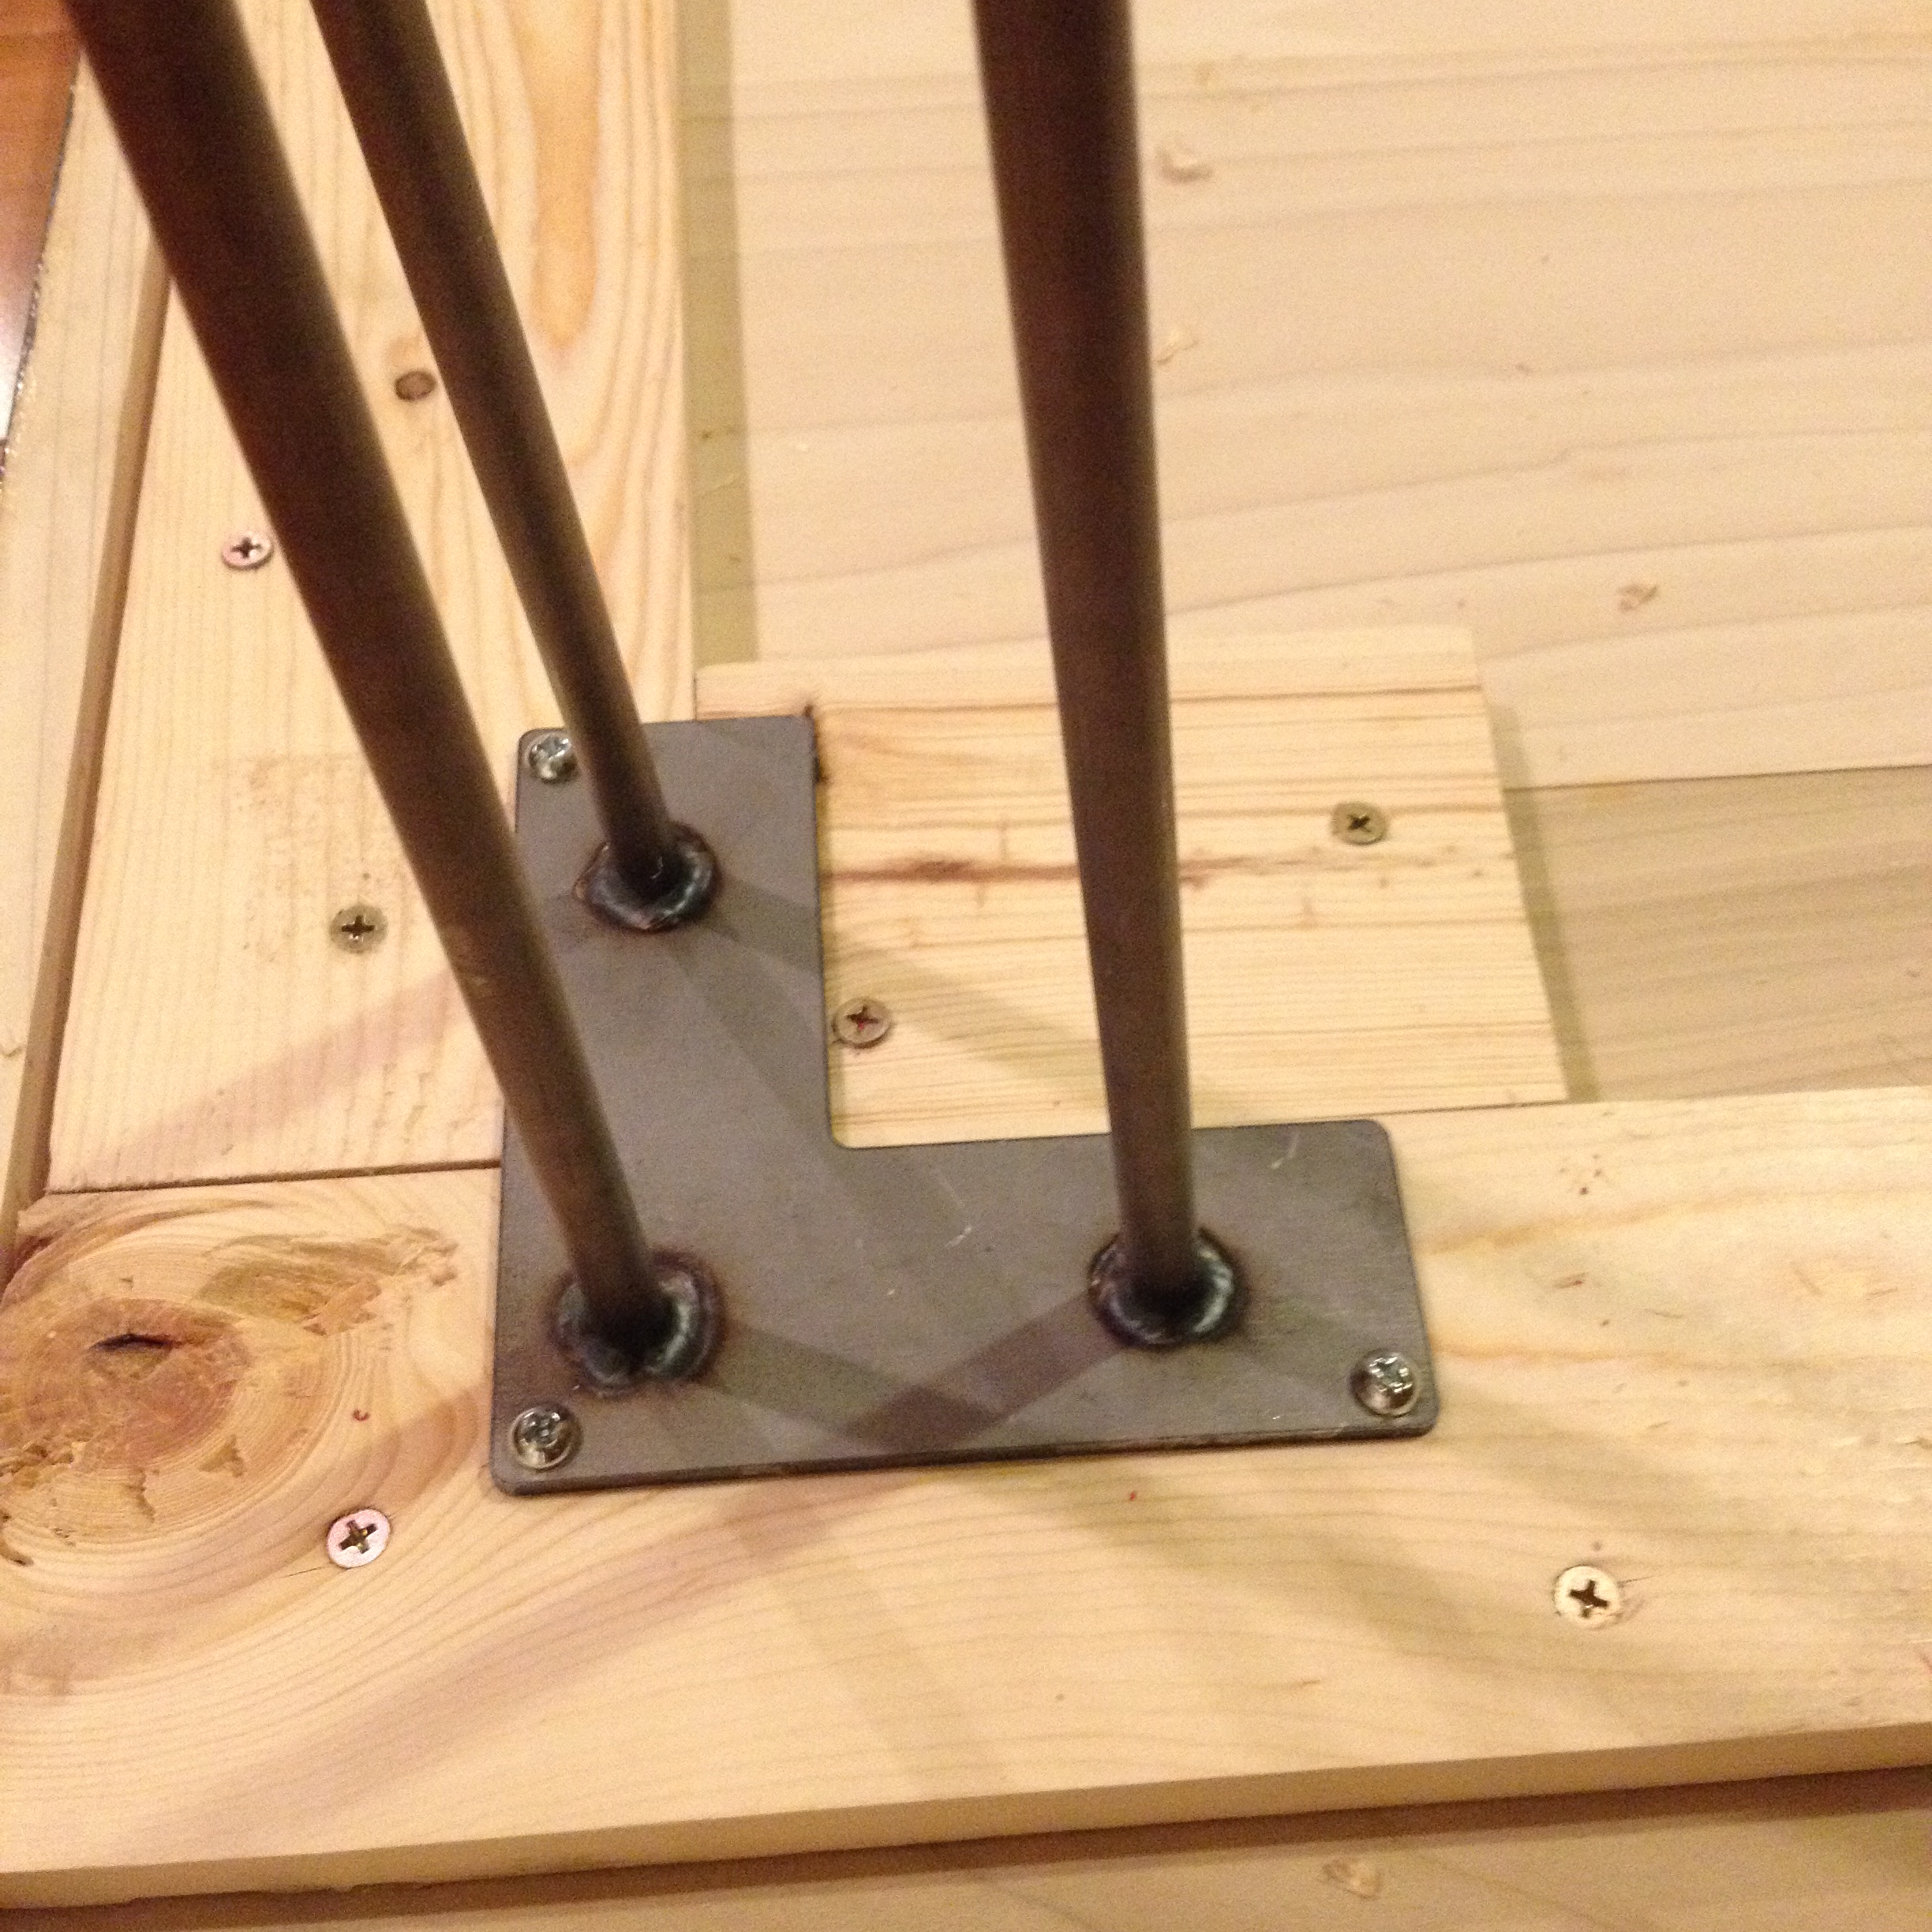
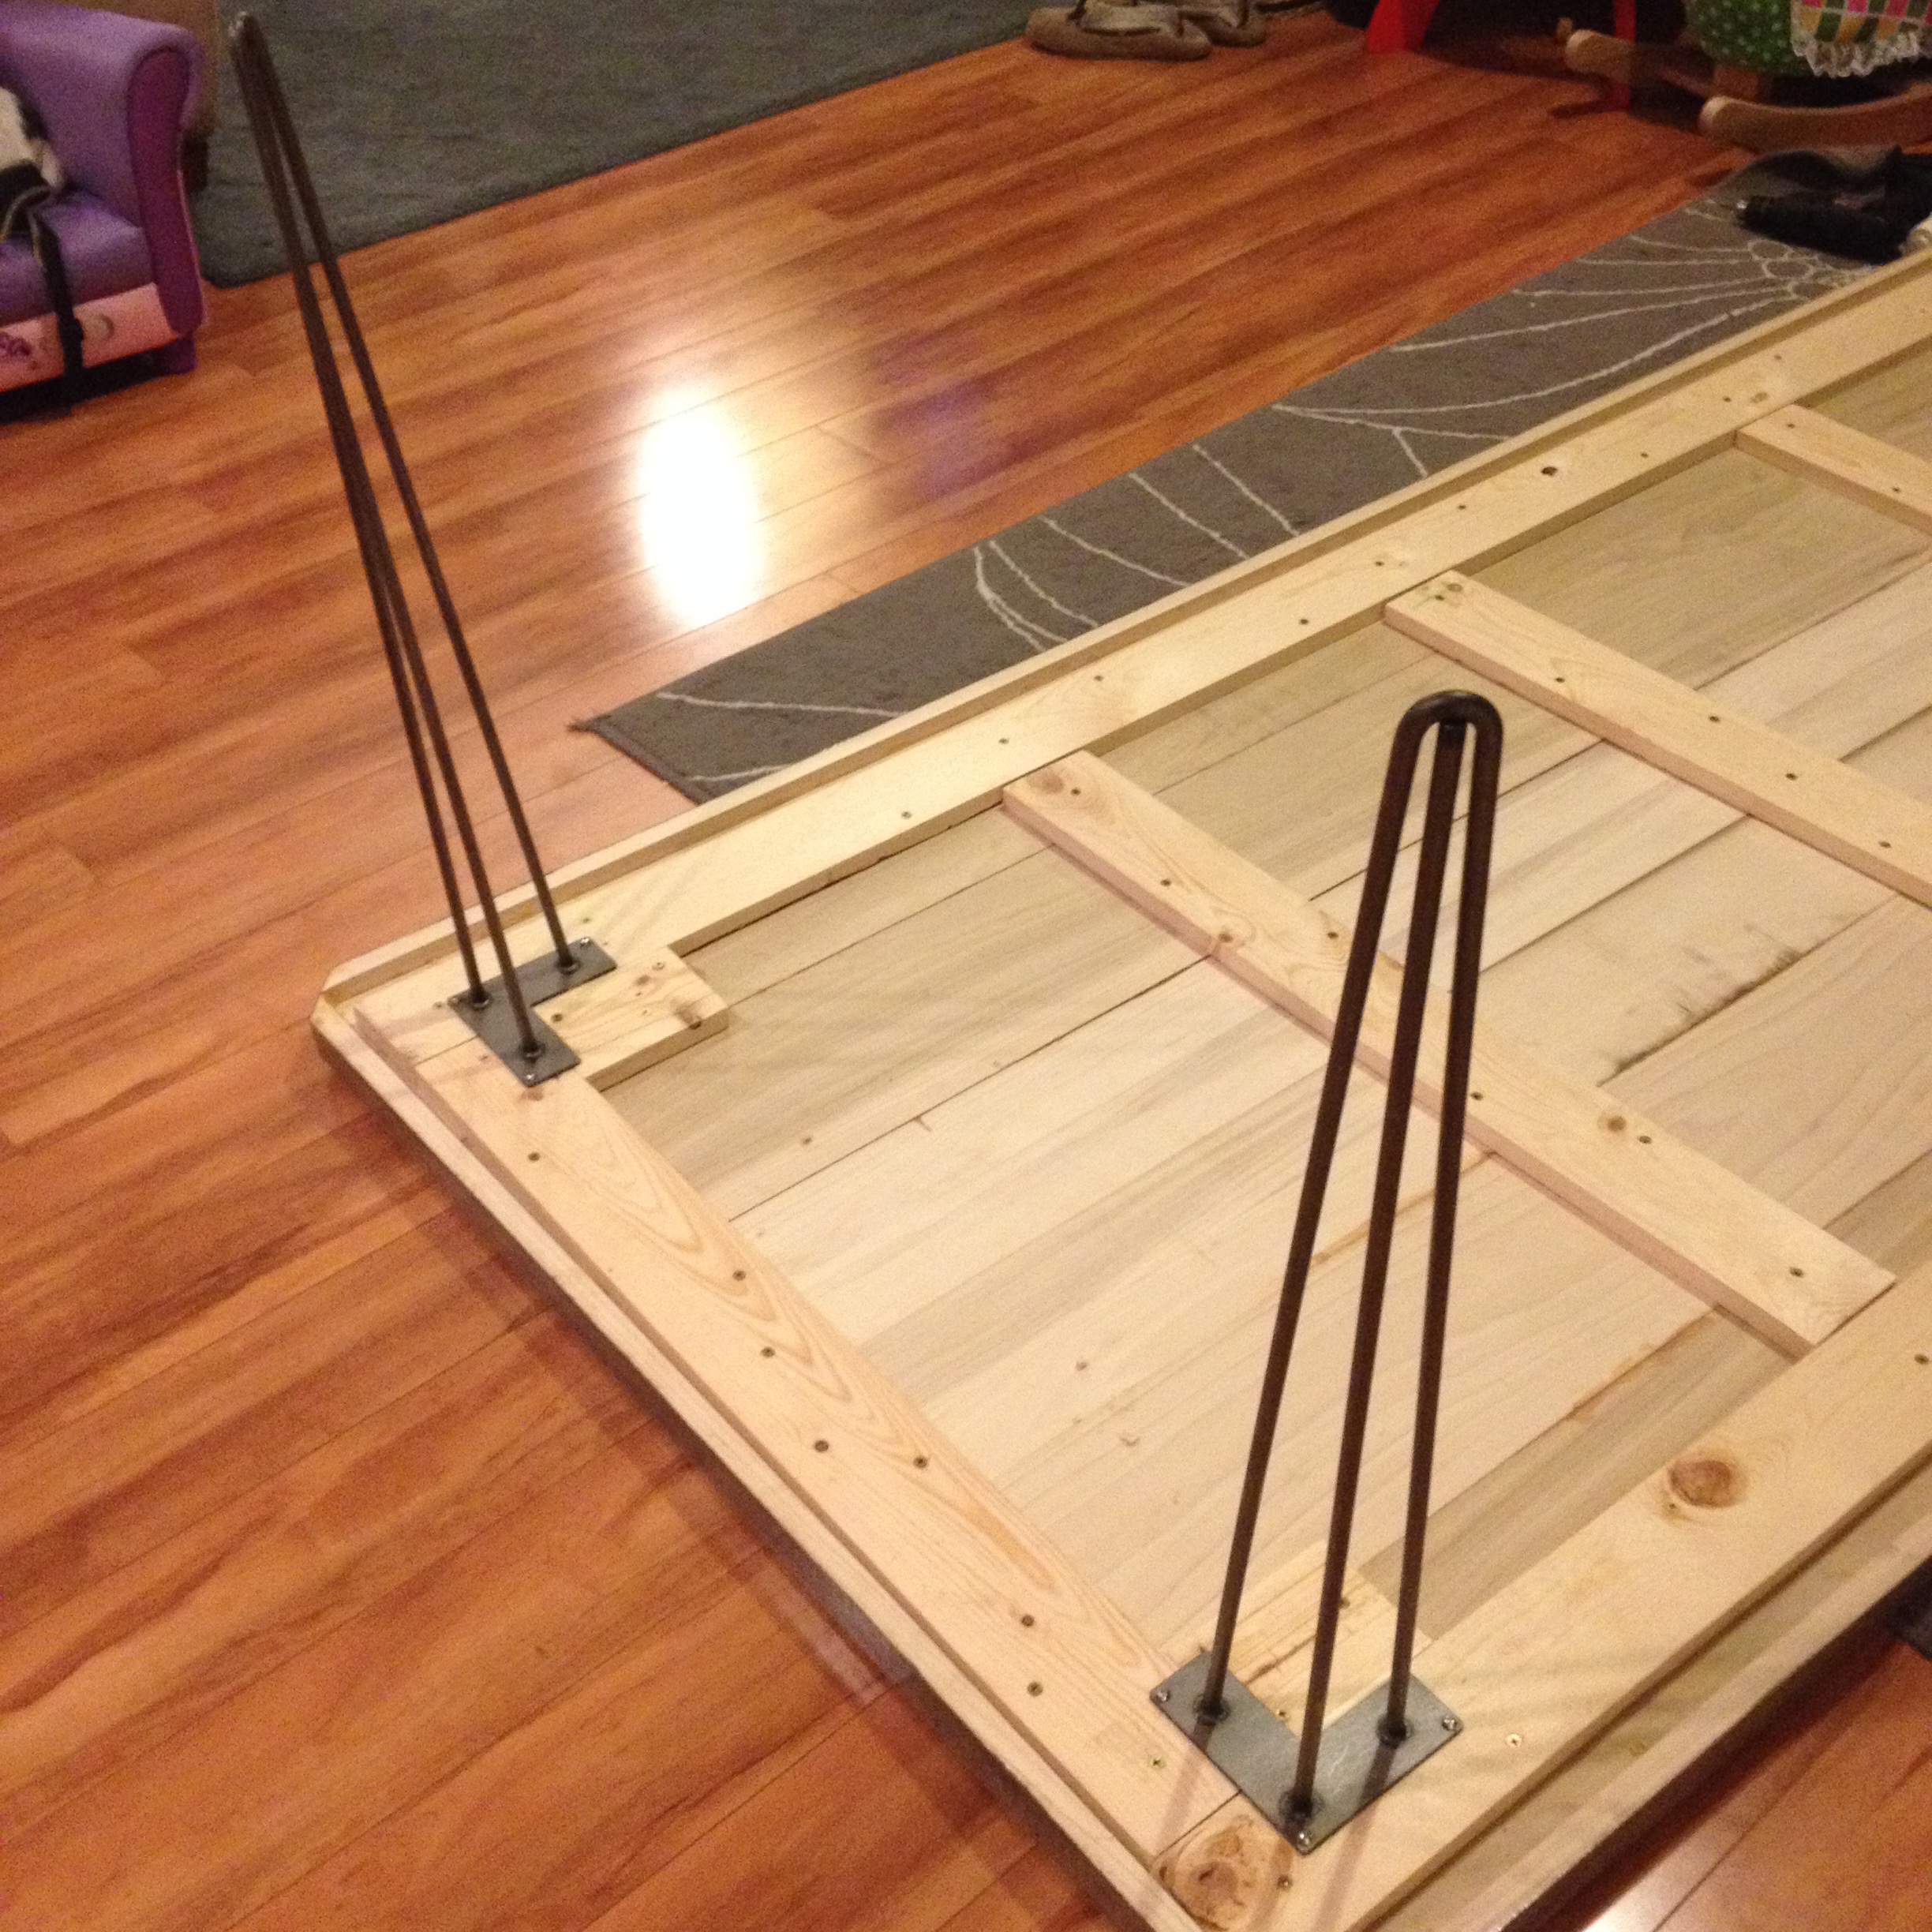
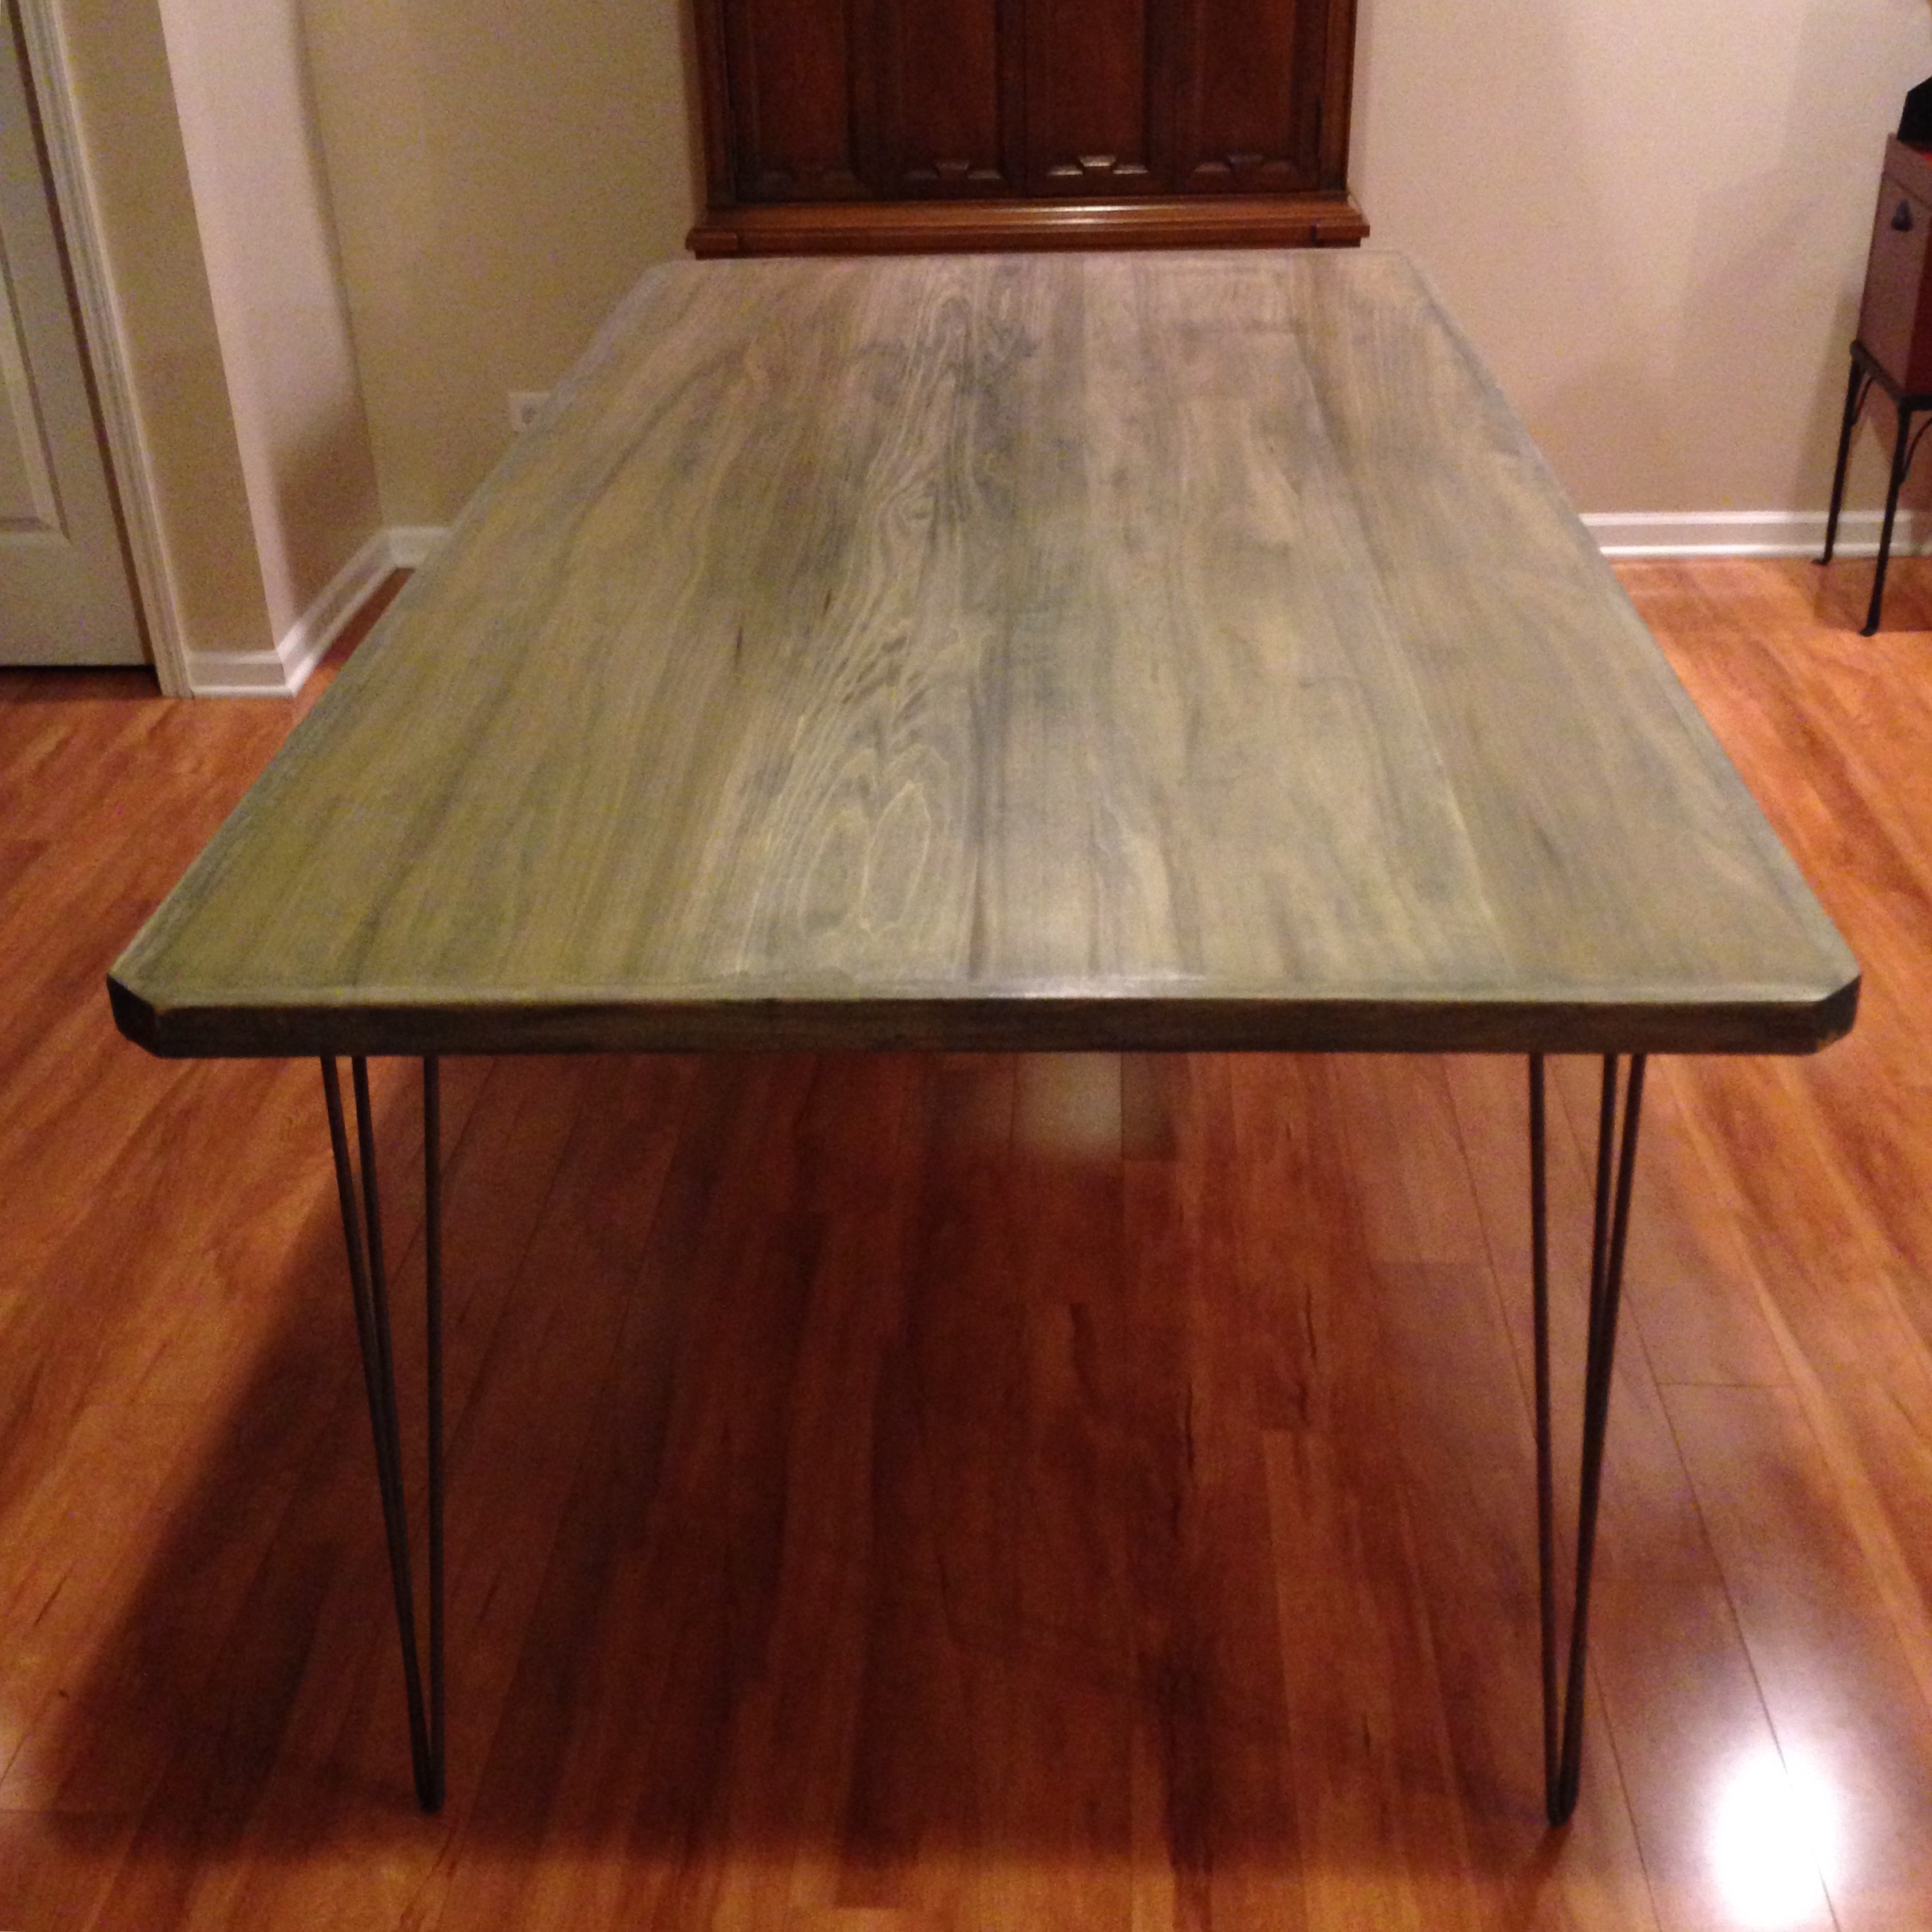
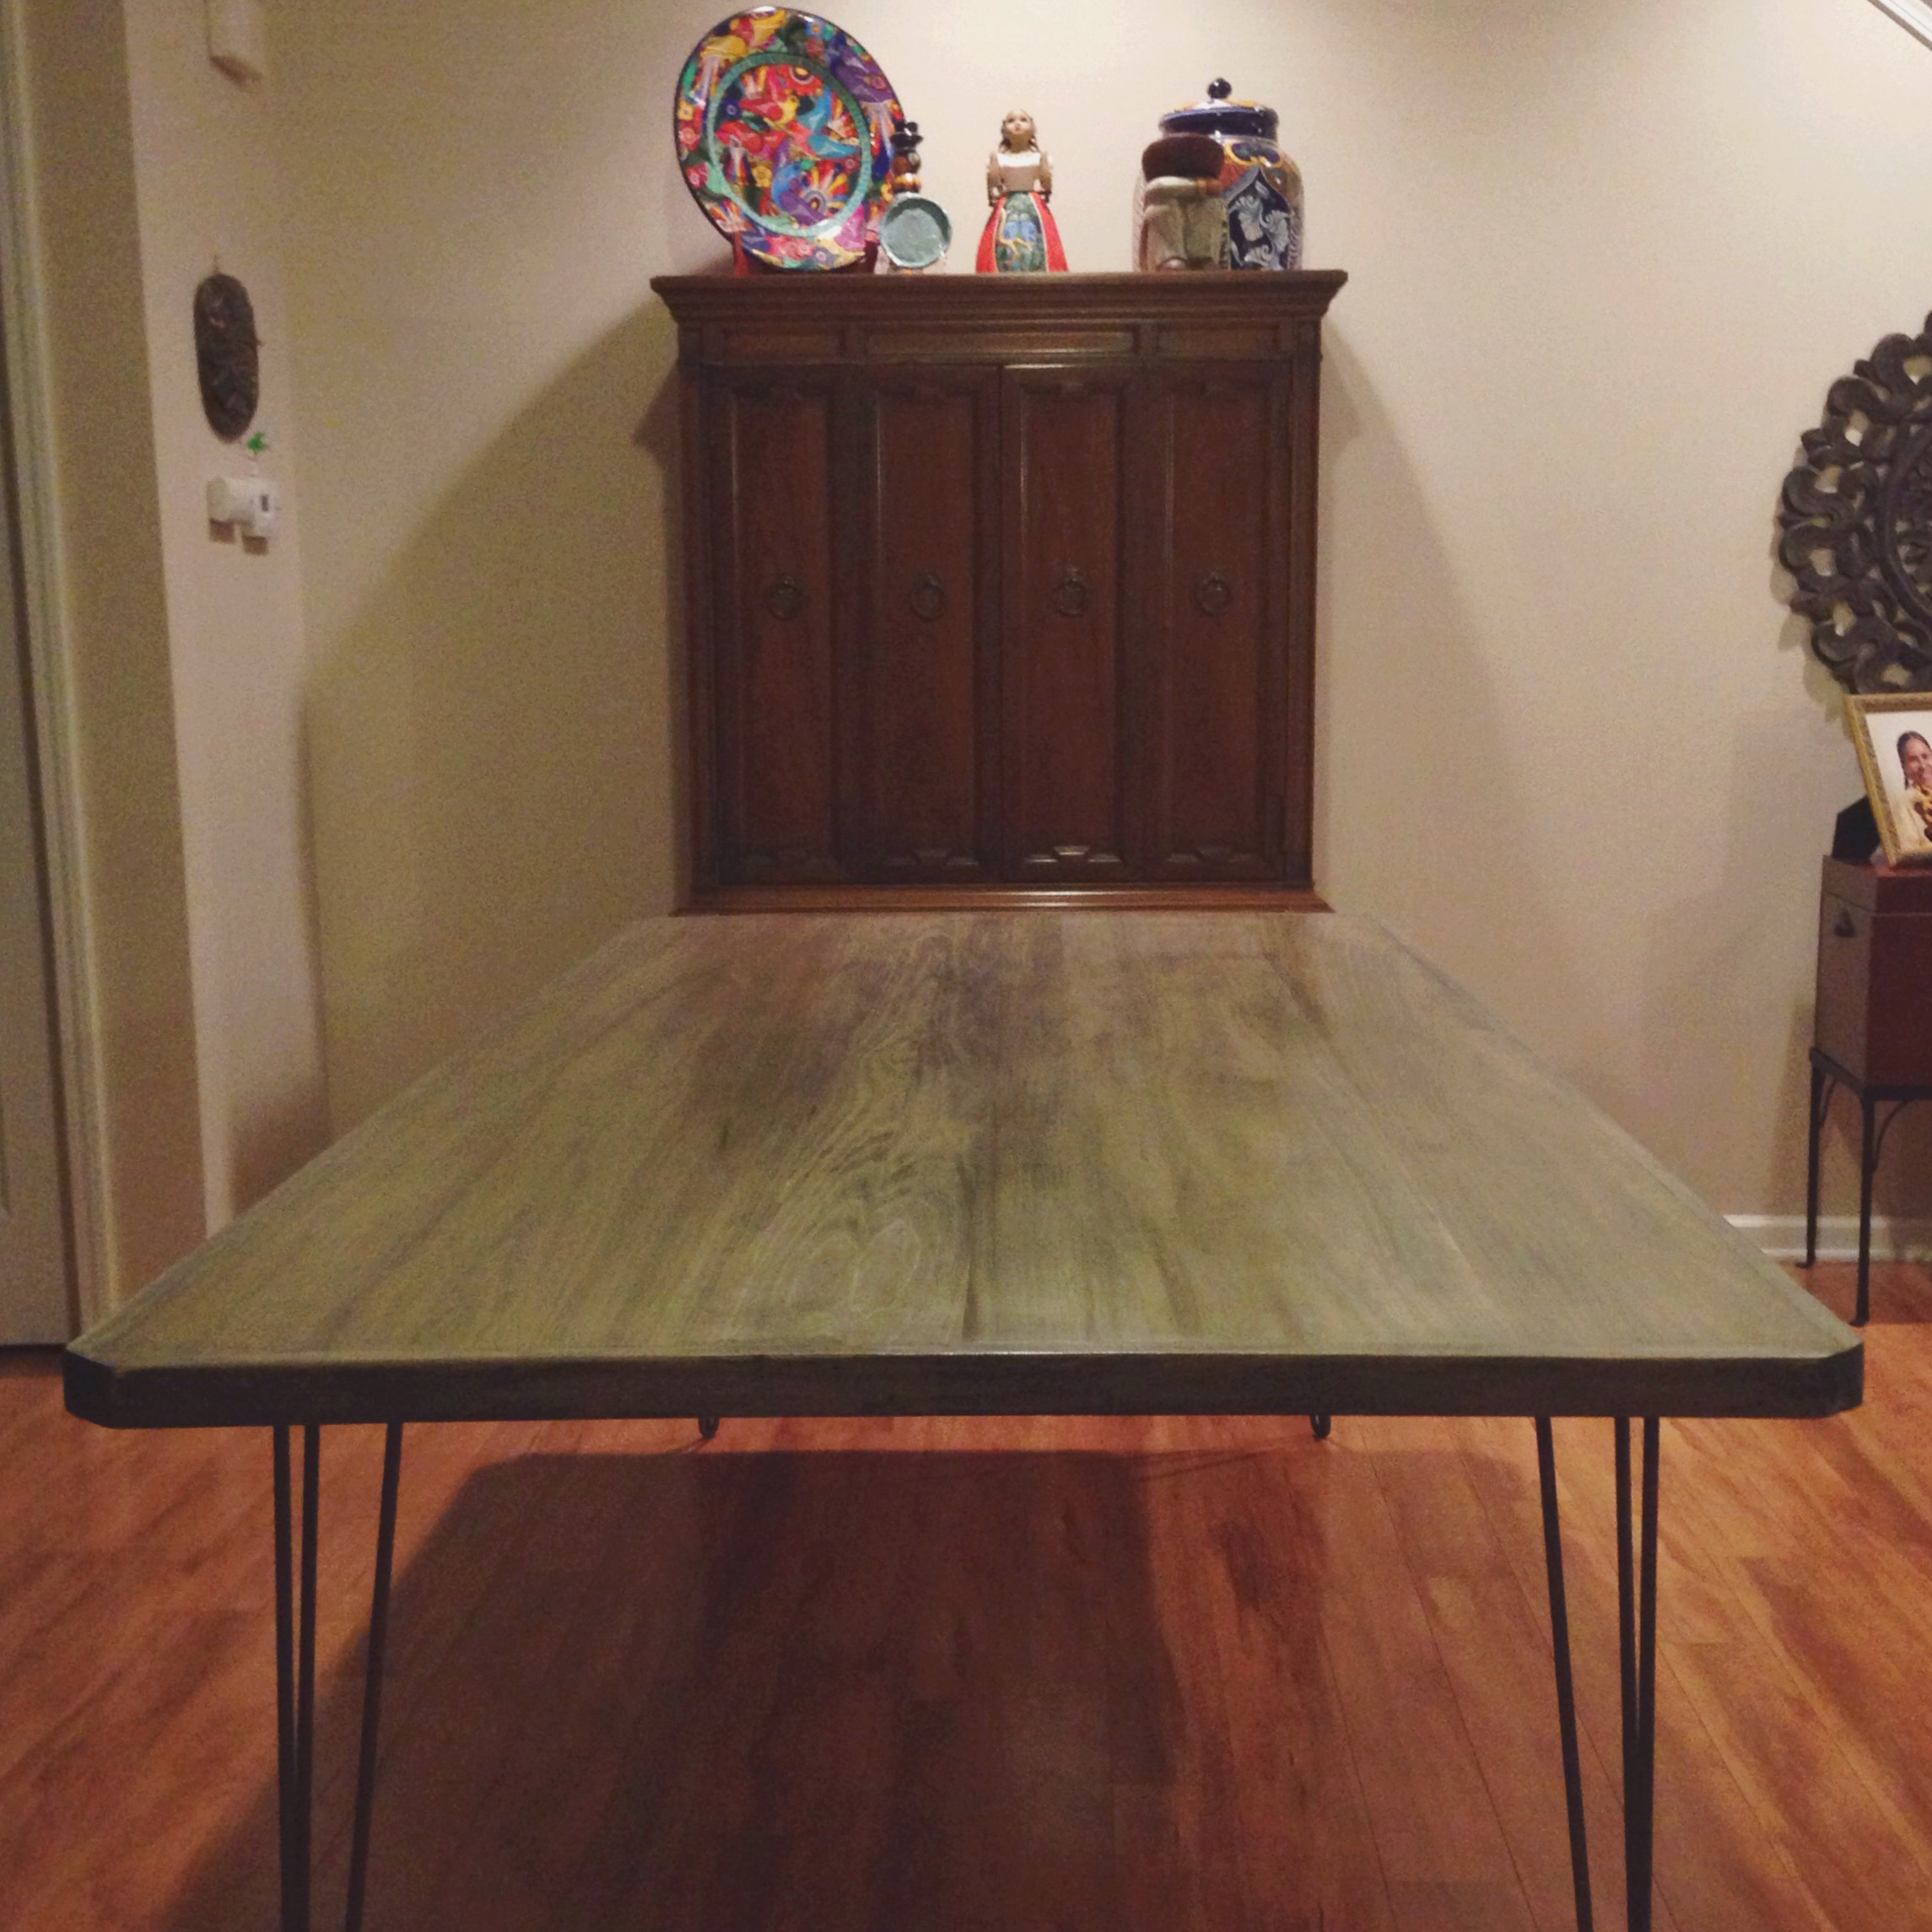
We built a table!
This was a family project that we wanted to share. We proud of the final product, but we give just a brief overview of the steps. Using poplar boards, we glued the sides overnight and built a pine frame to brace from underneath. To level the board edges we planed by hand, and sanded the full surface even. The surface was then sealed with 3 coats of shellac, wet-sanding between coats. Shellac is non-toxic and food safe once it cures. The last step was attaching the hairpin legs and sharing a delicious meal!
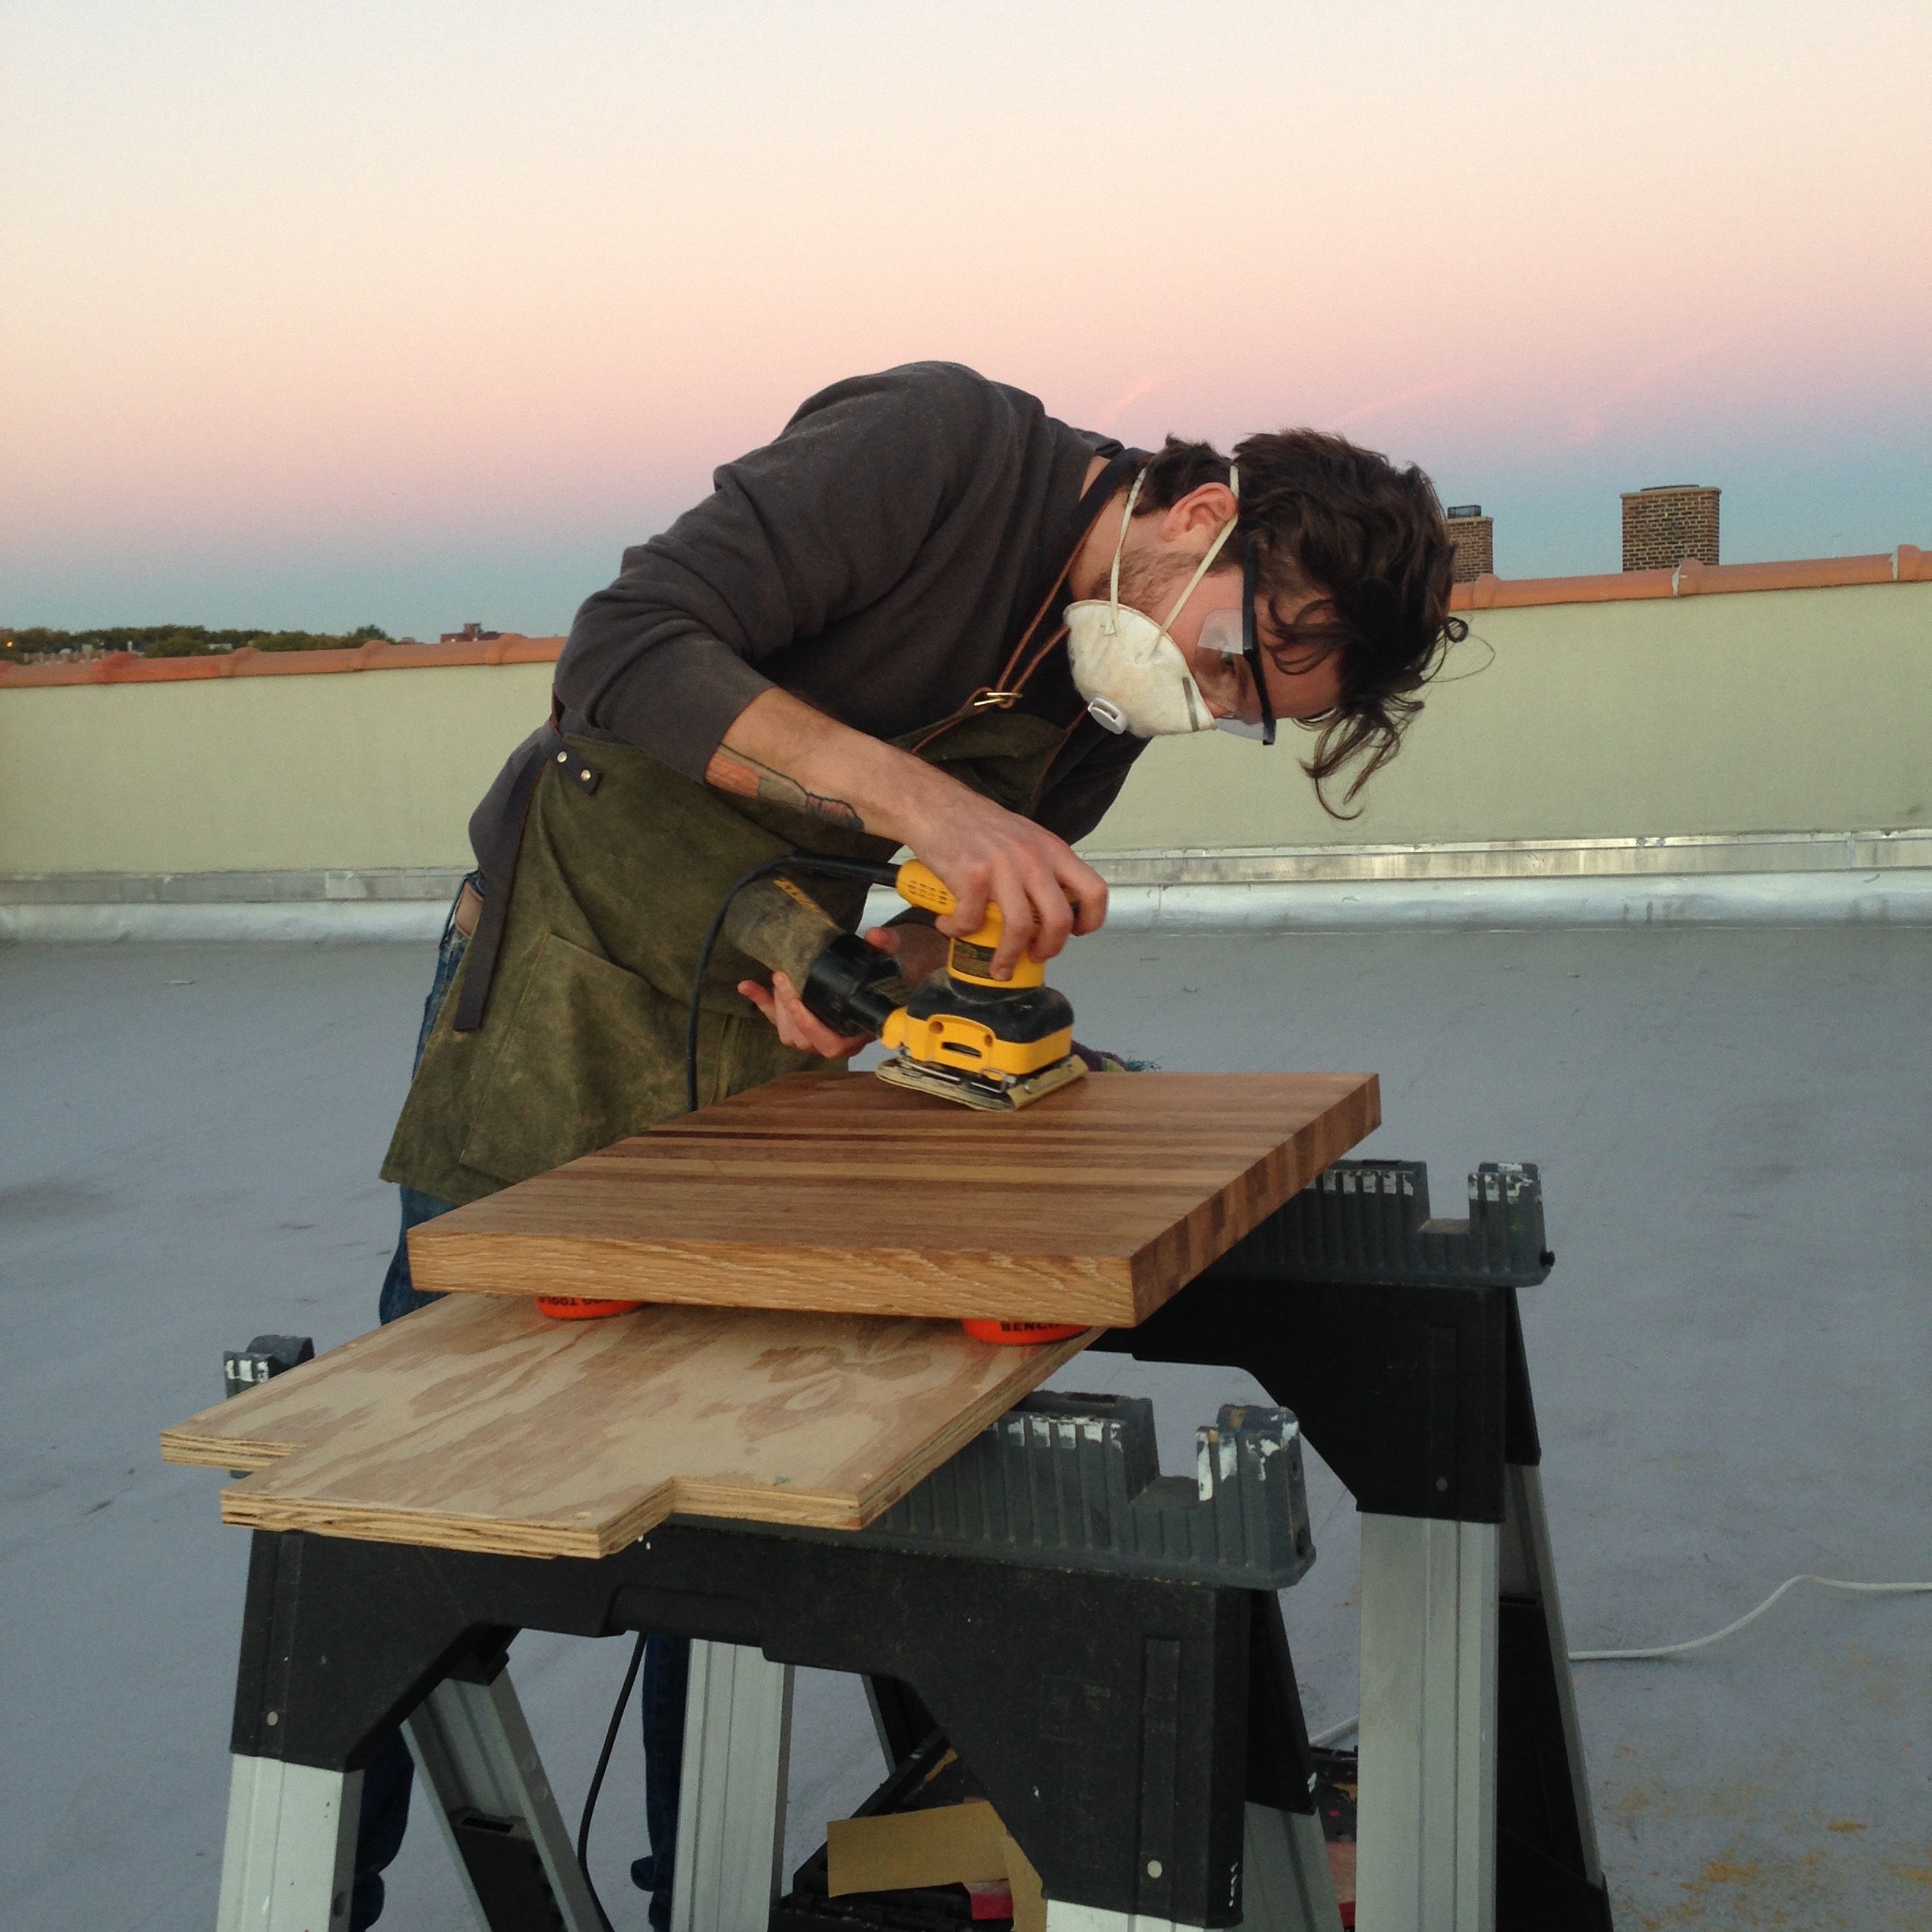
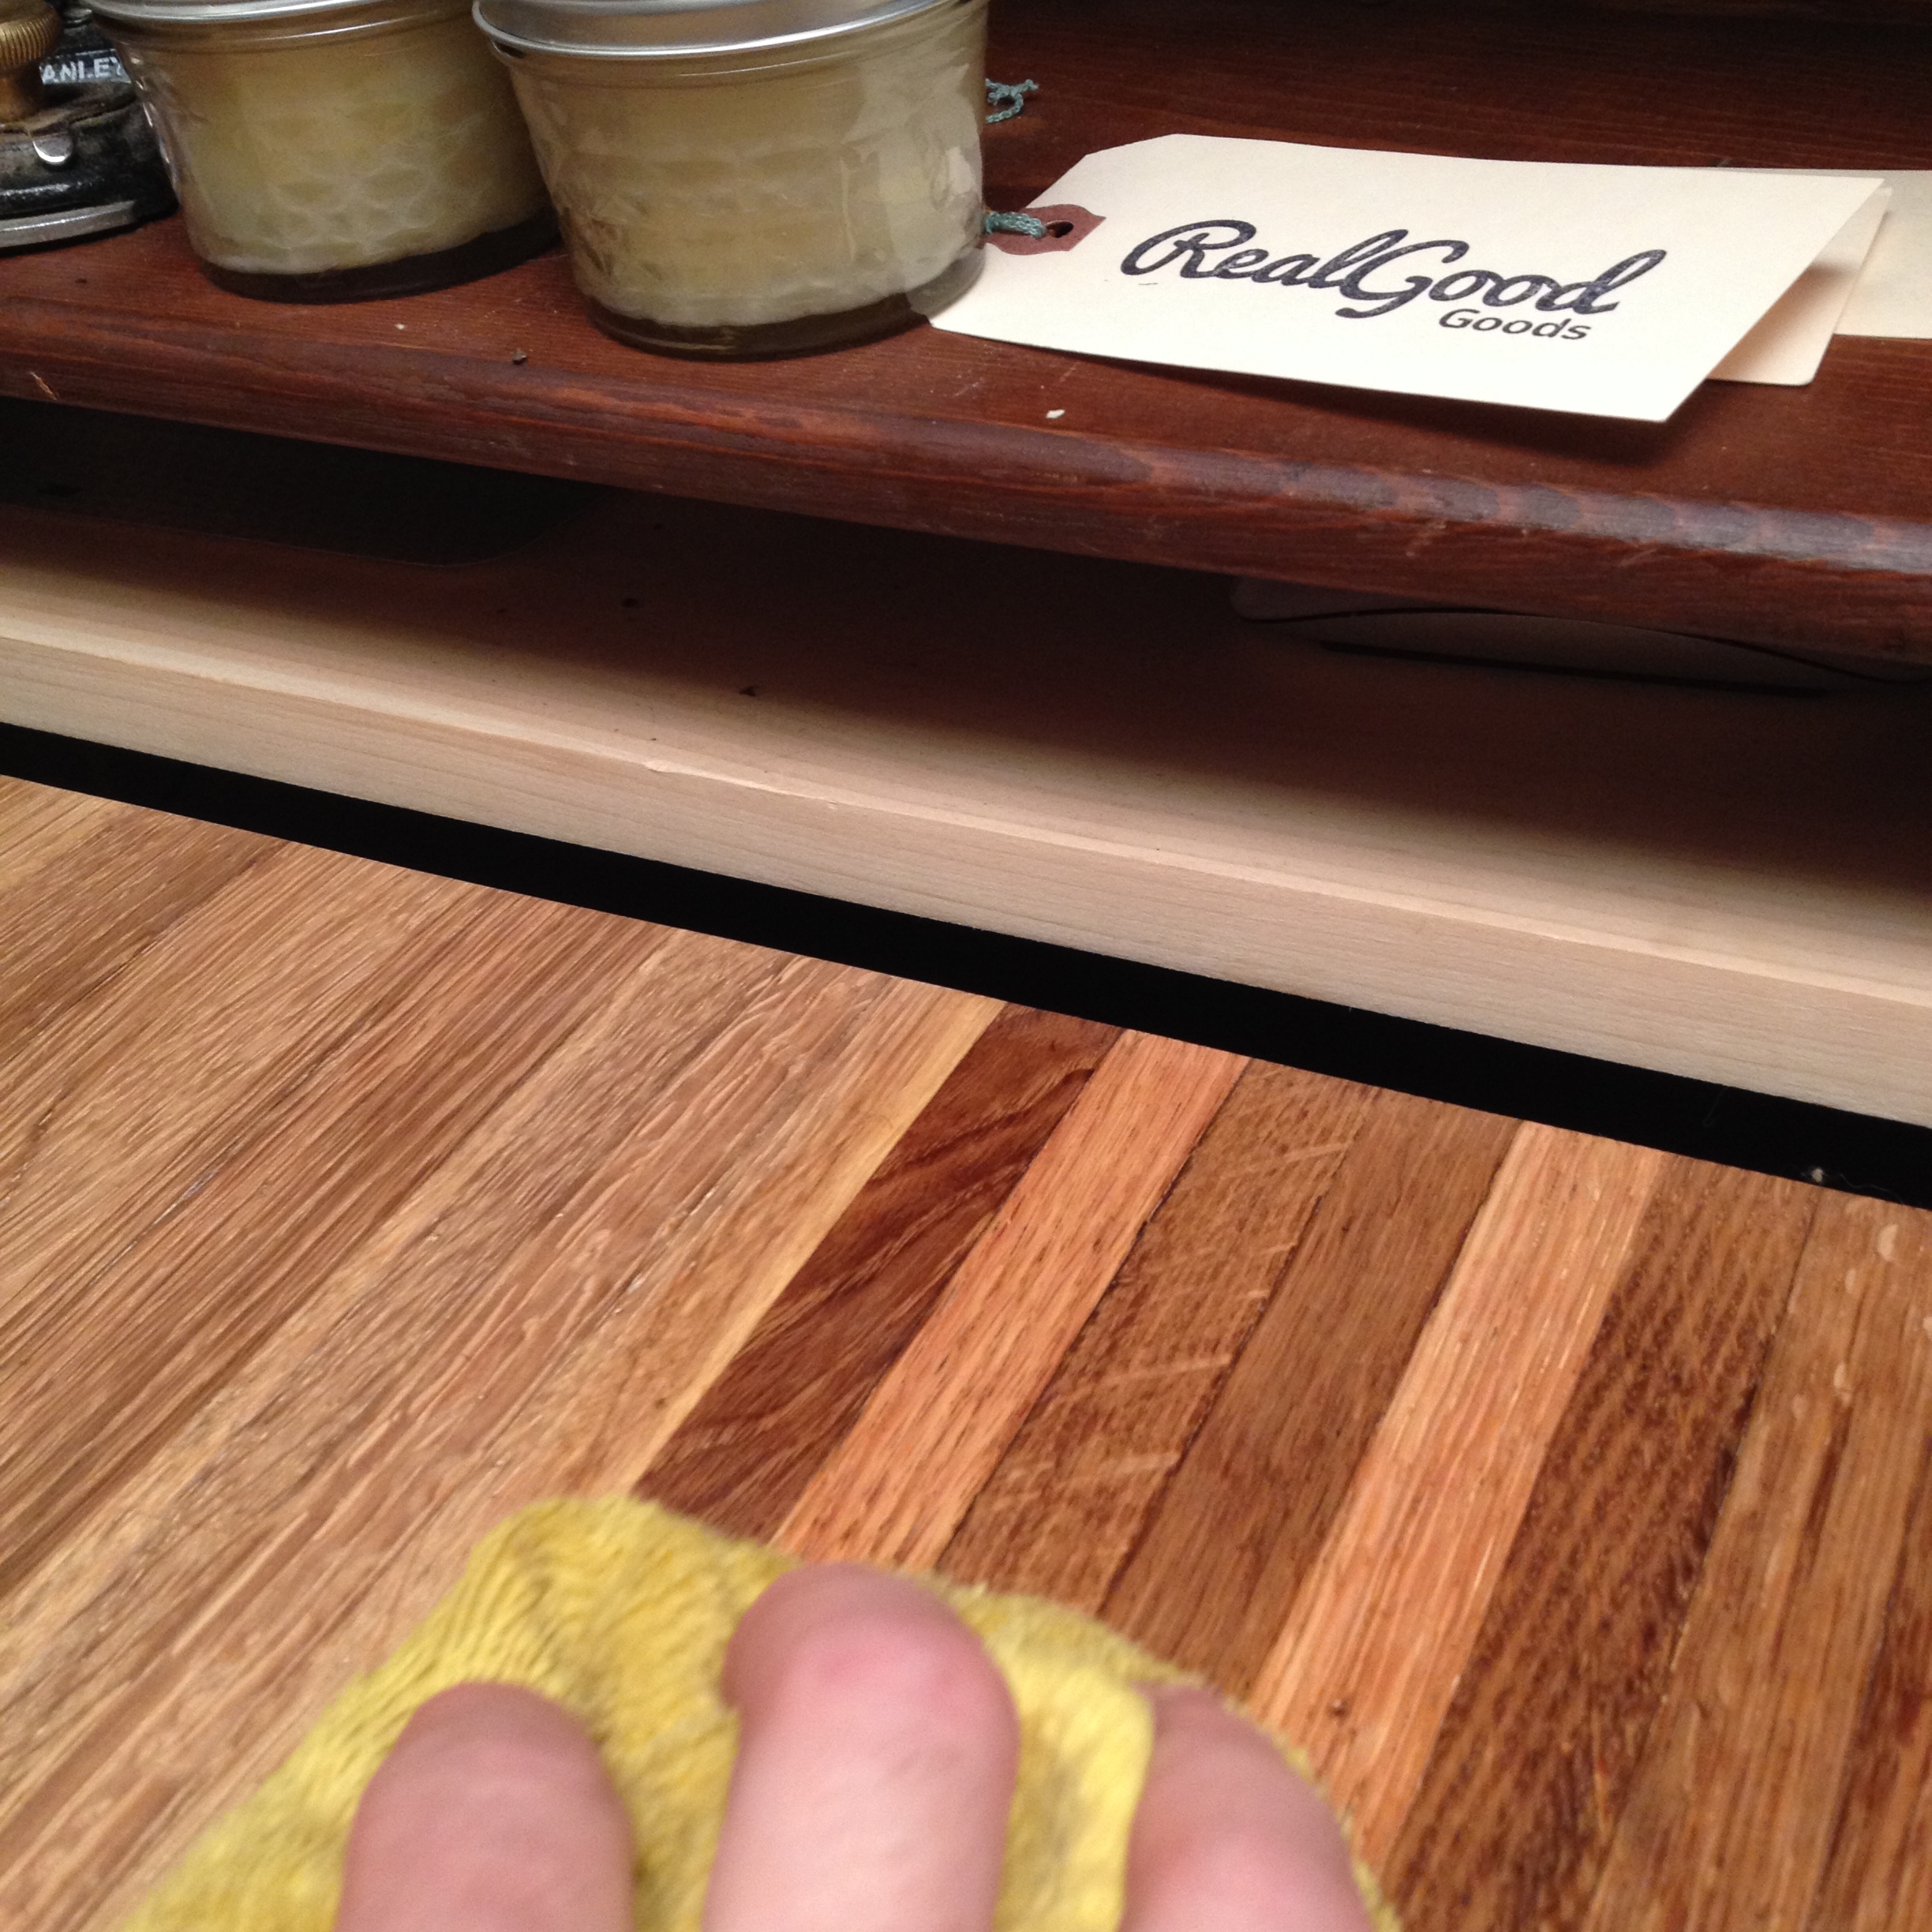
Restoring a butcher block
Think twice before tossing out a cutting board because of a few scratches consider the extent of its damage and having it restored. With a few hand tools, oil, and board wax you could have you board looking like new again. We'll walk you through the process of how we restore cutting boards at Real Good Goods.
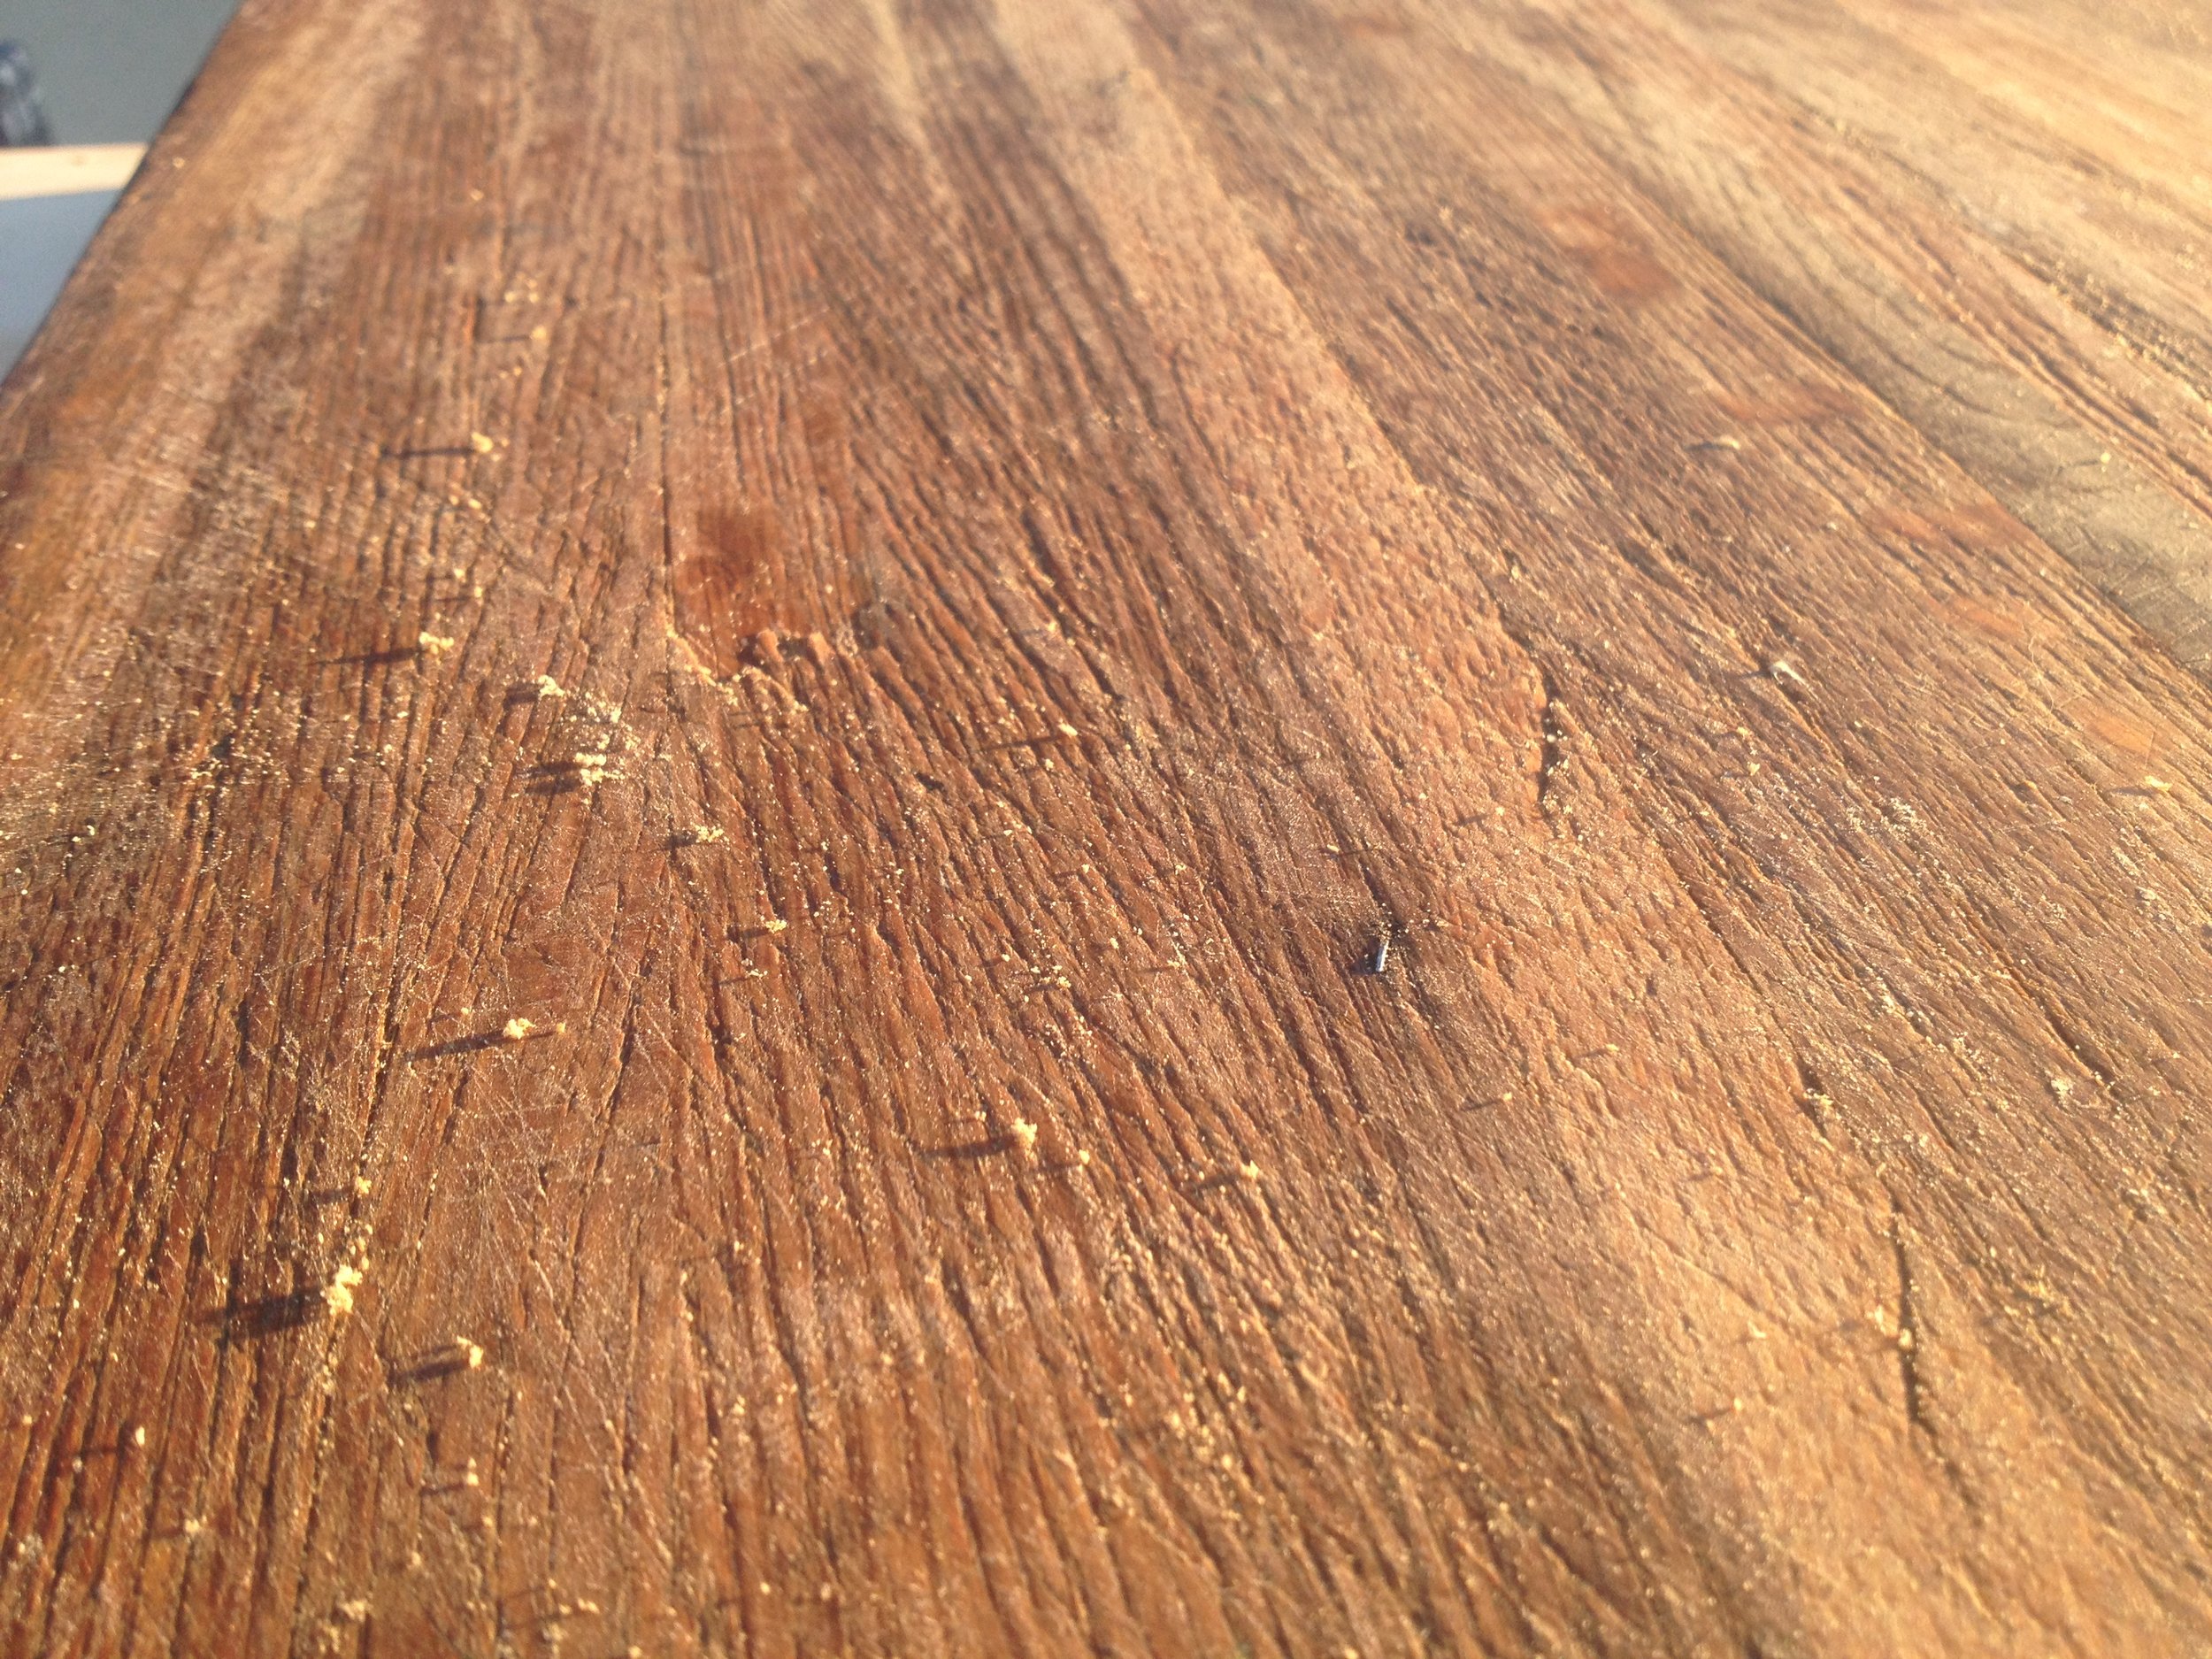
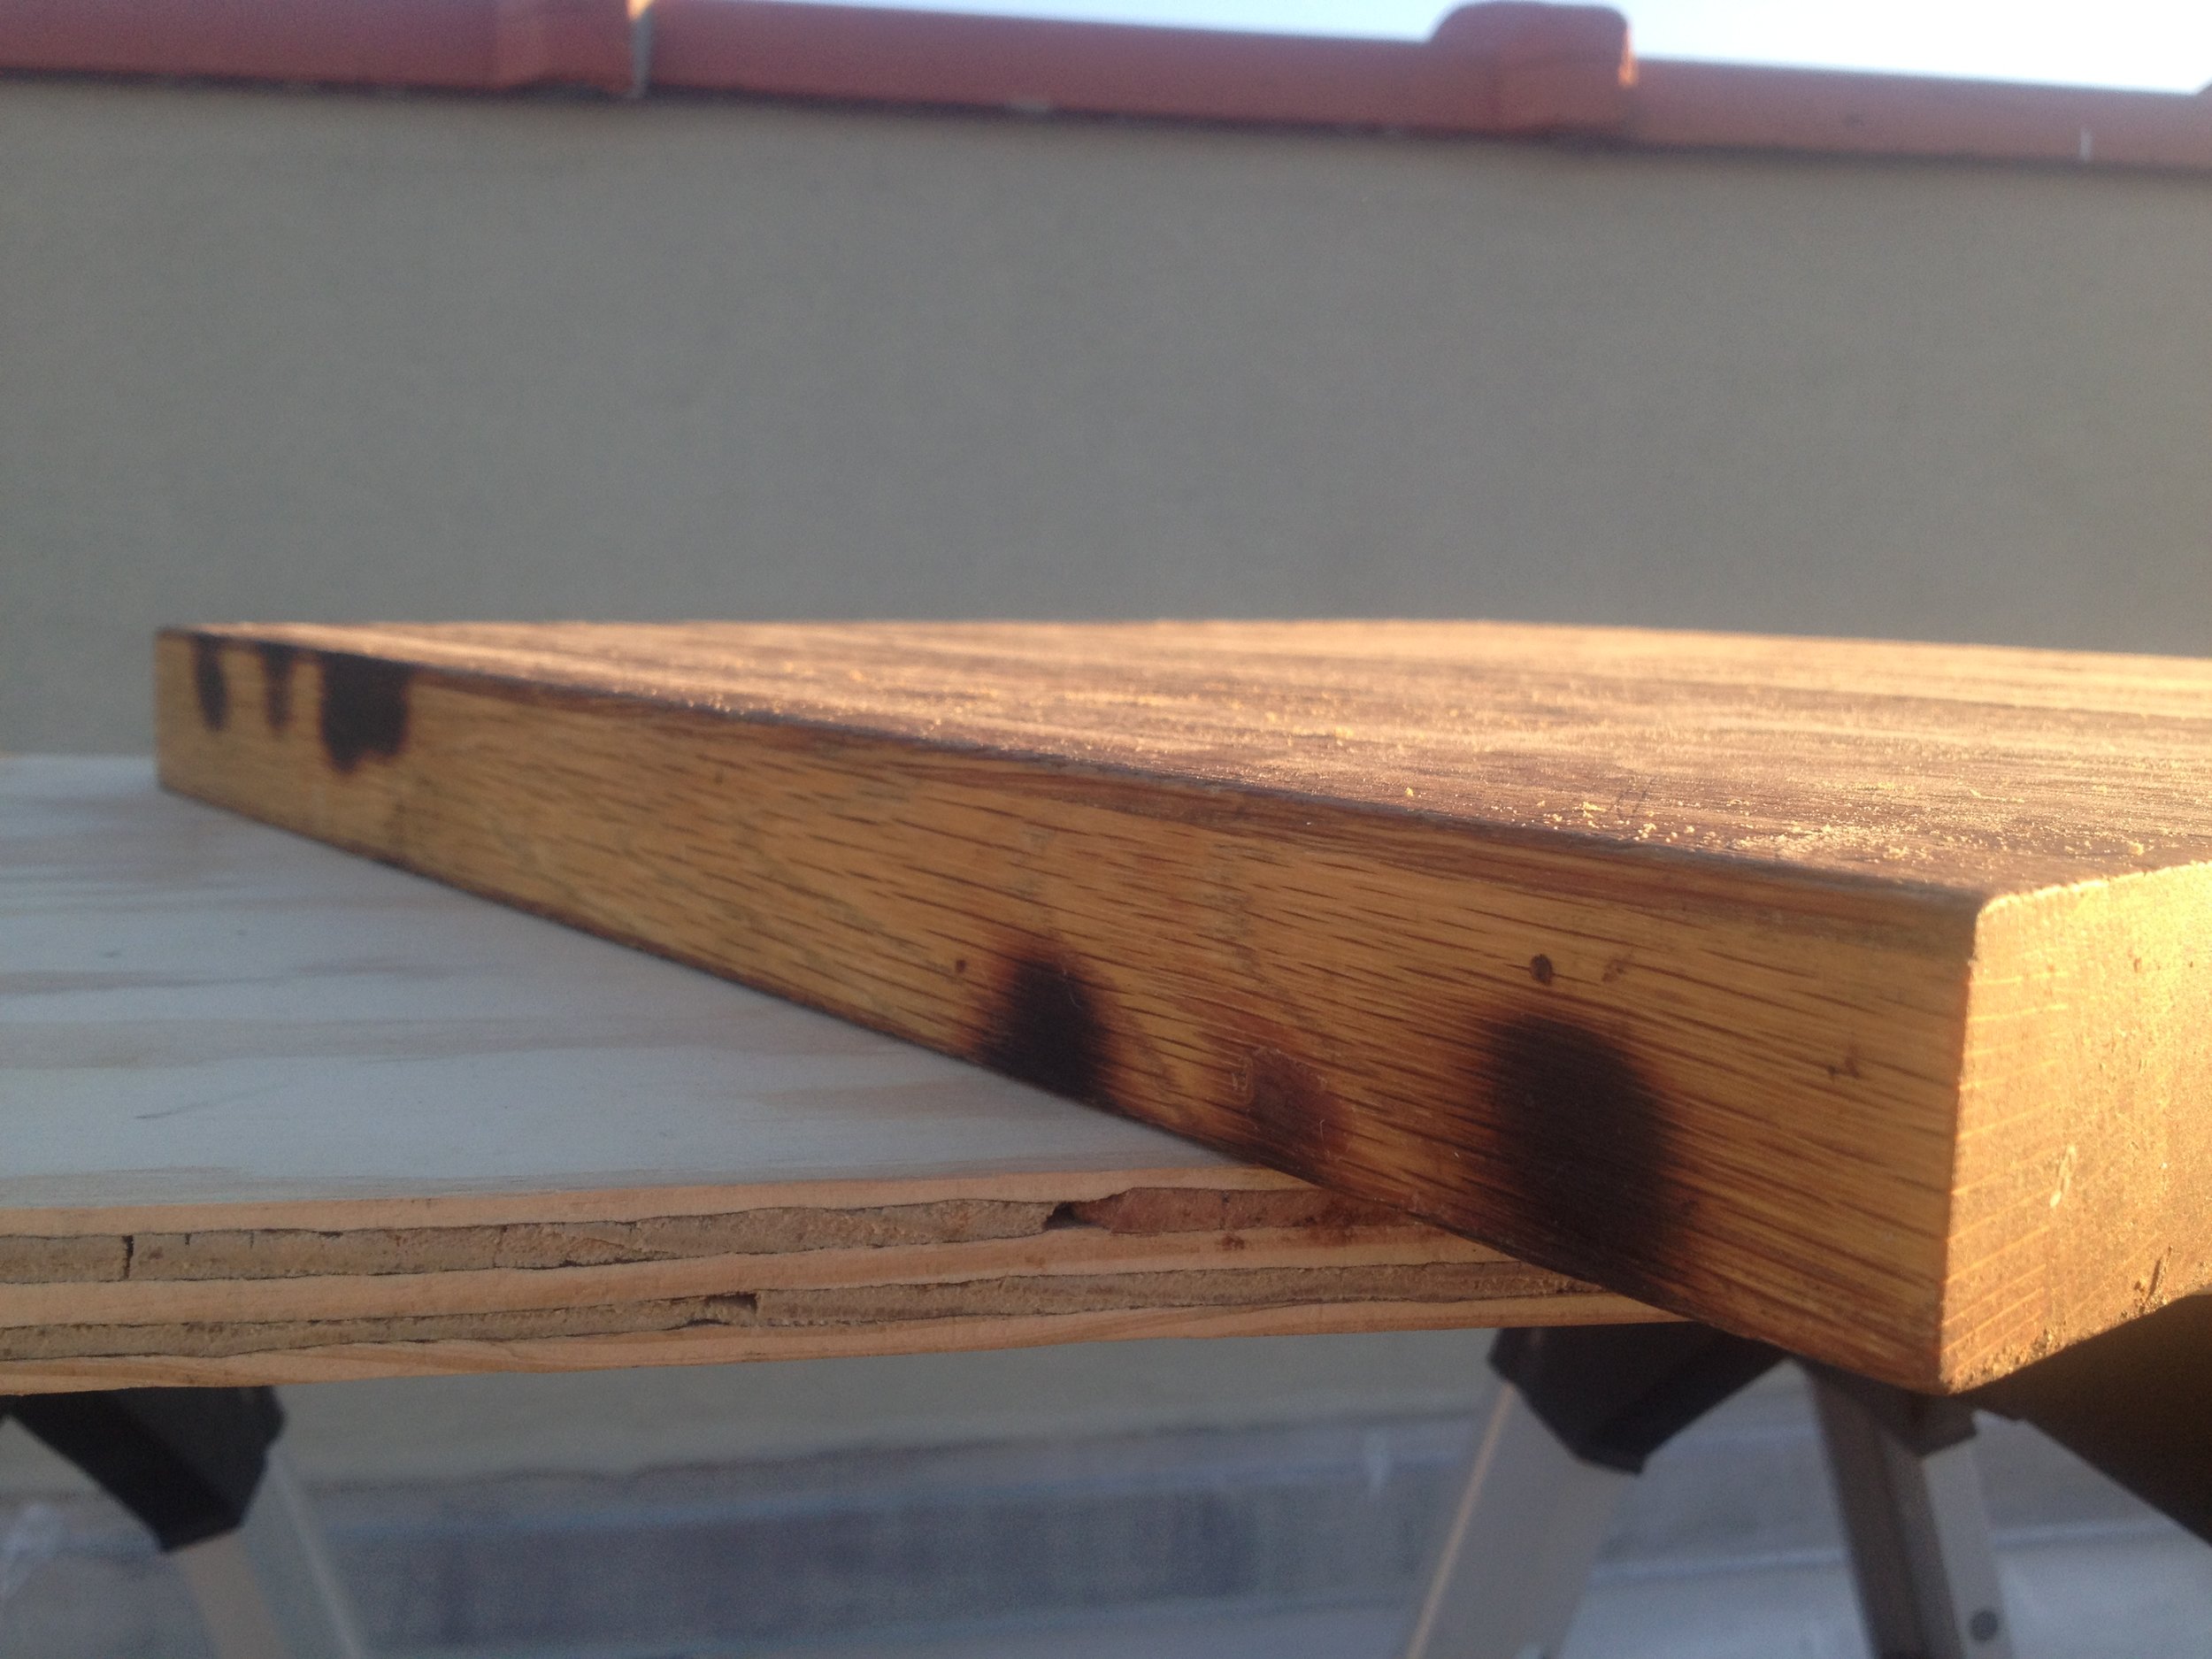
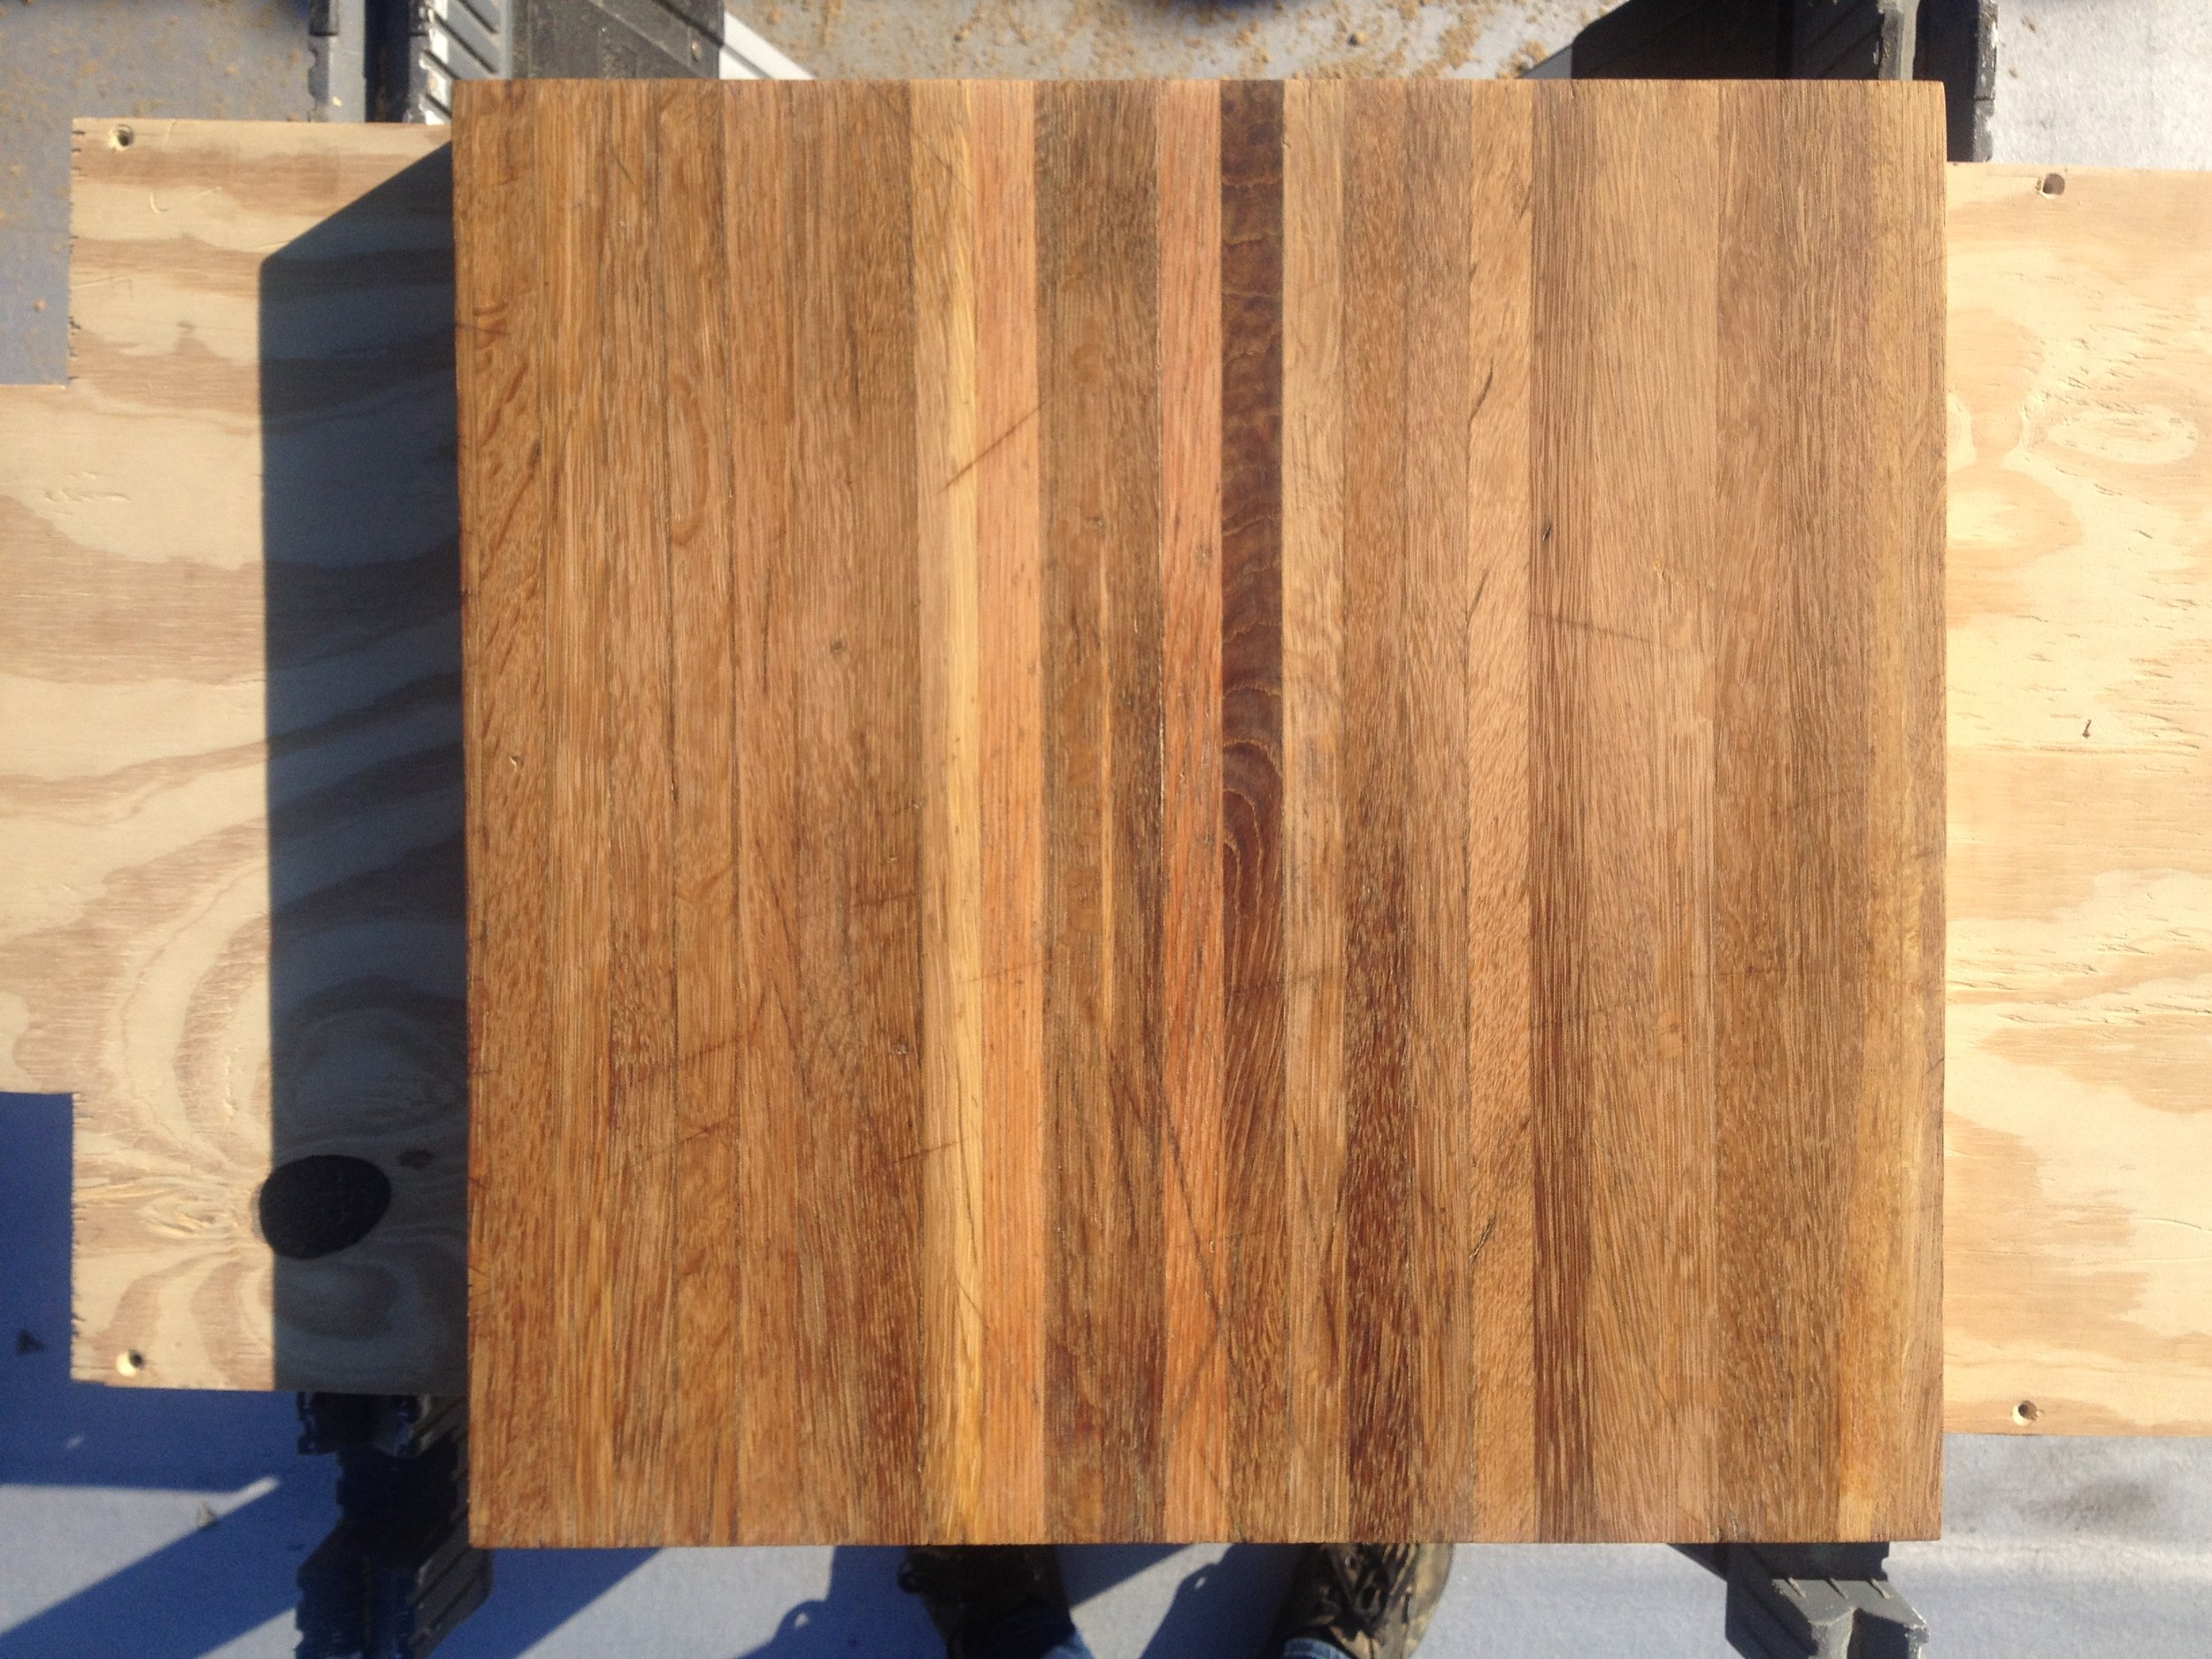
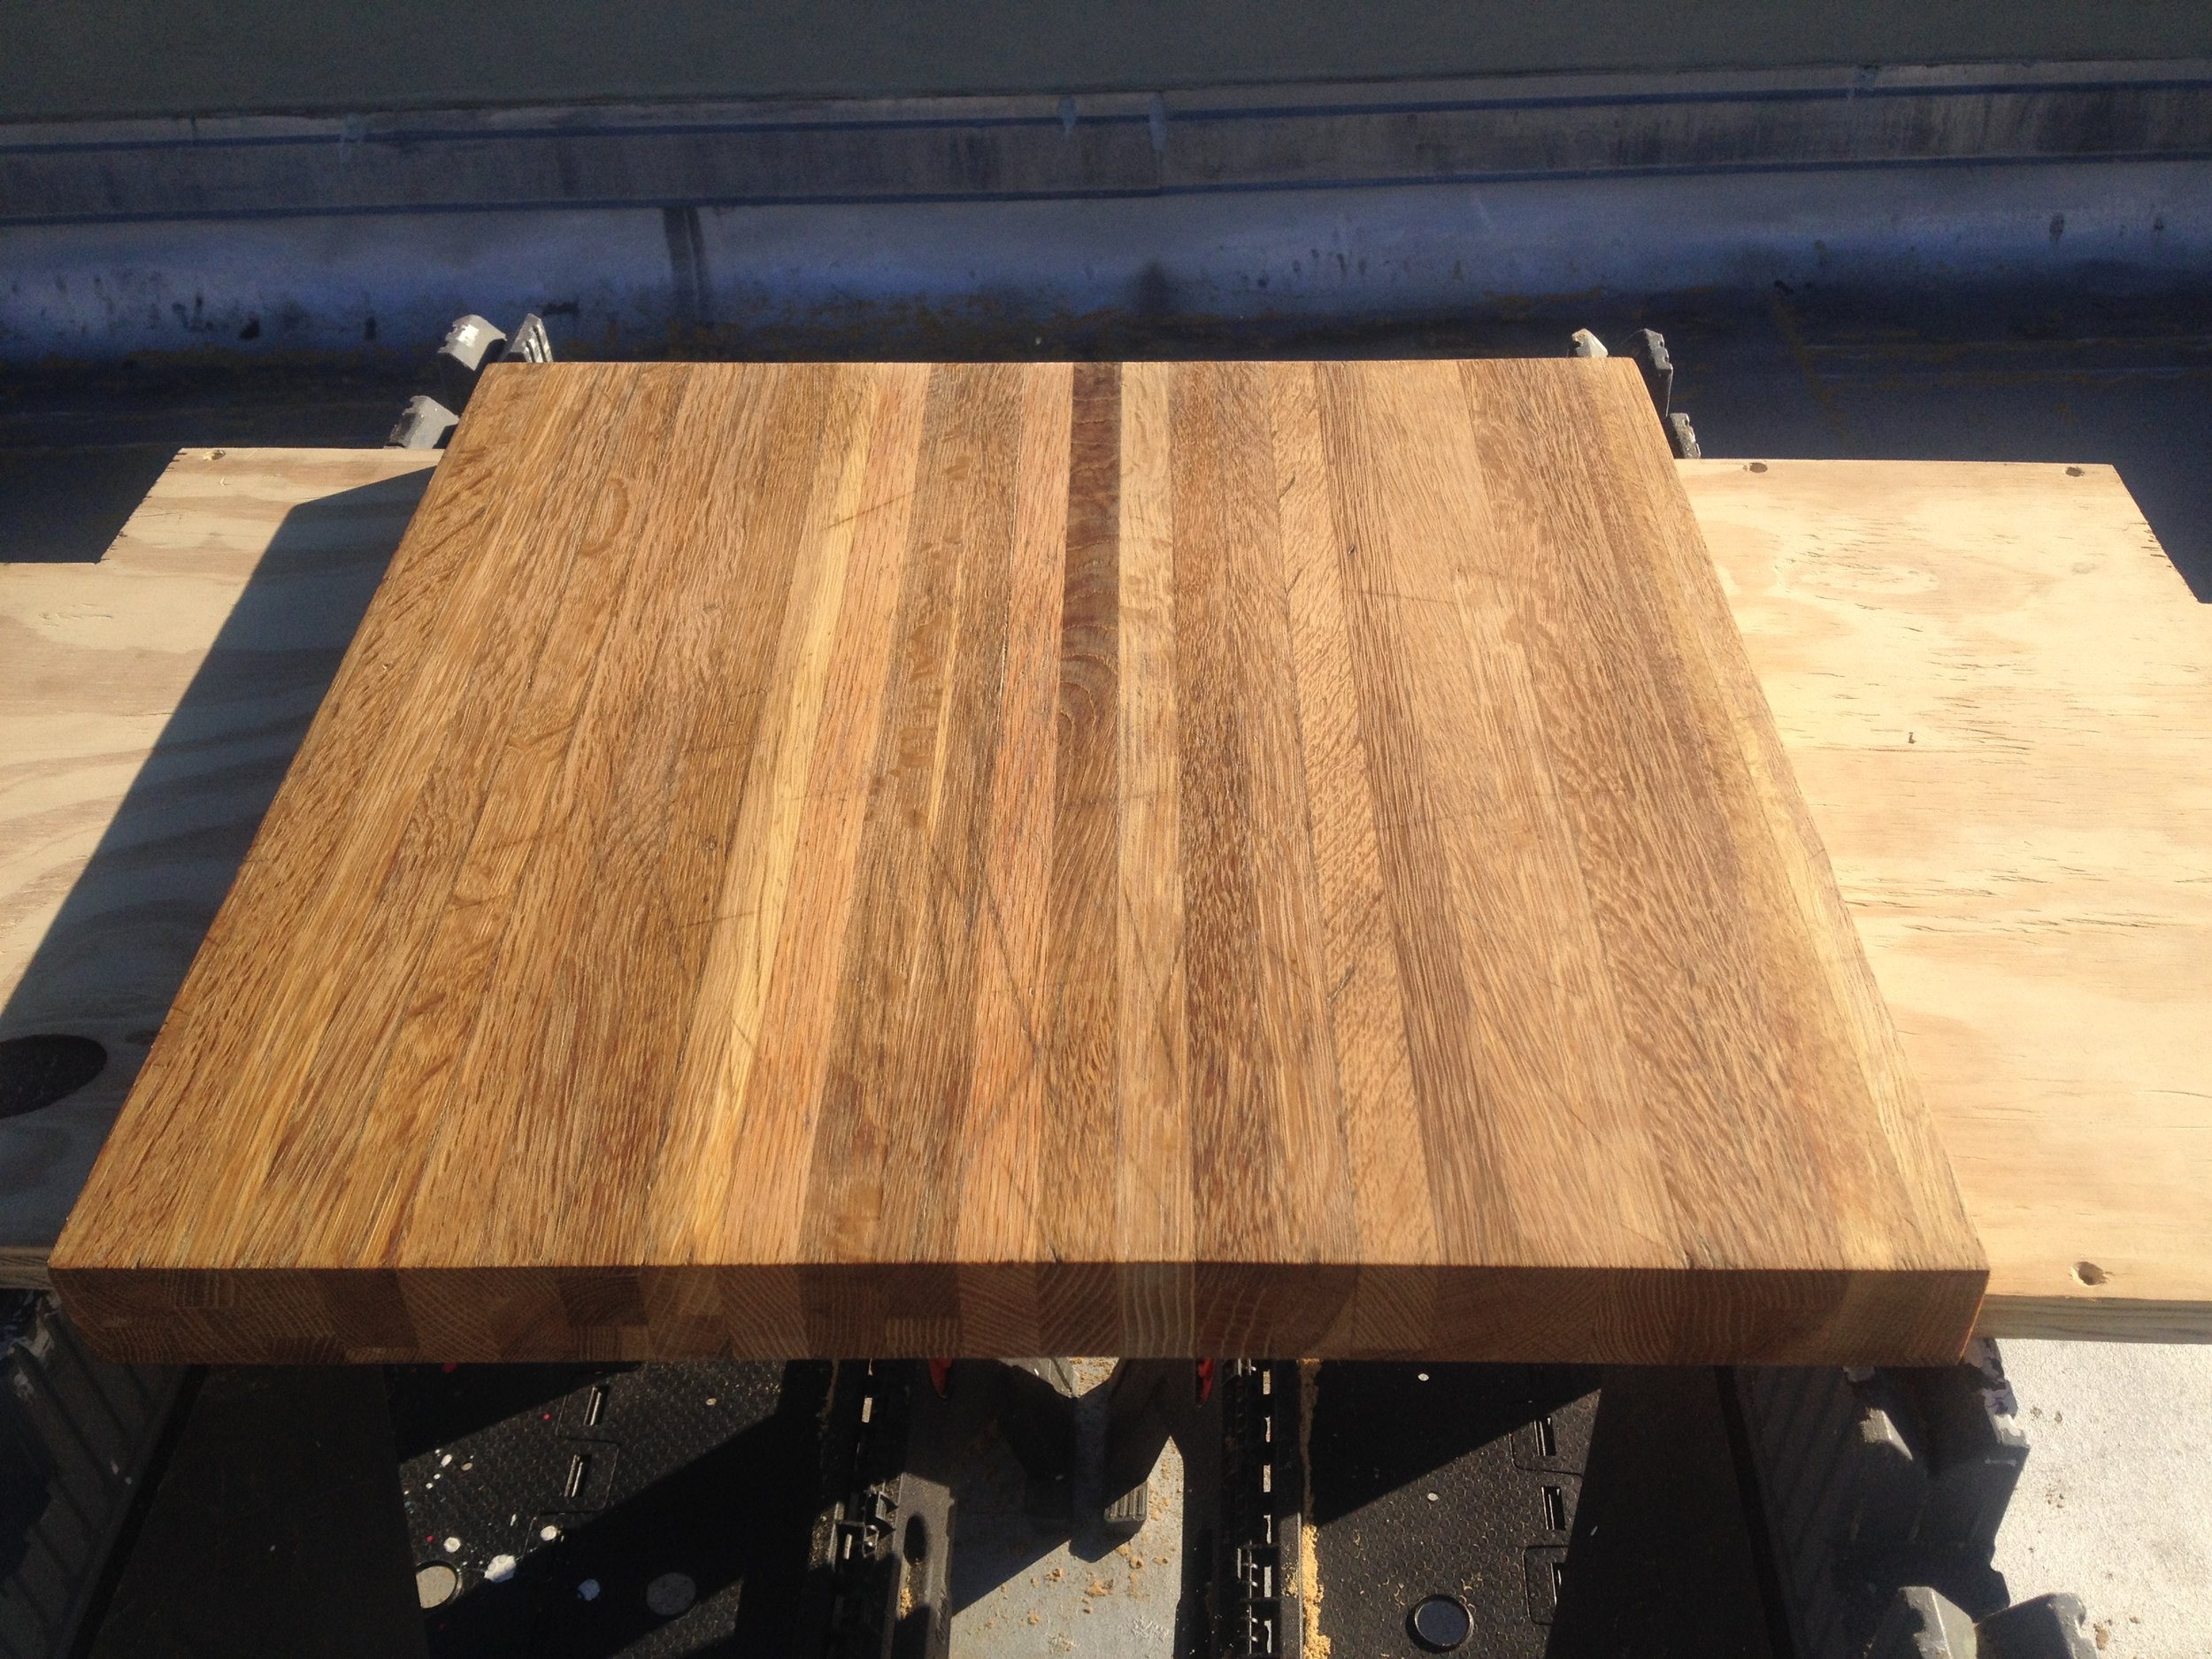
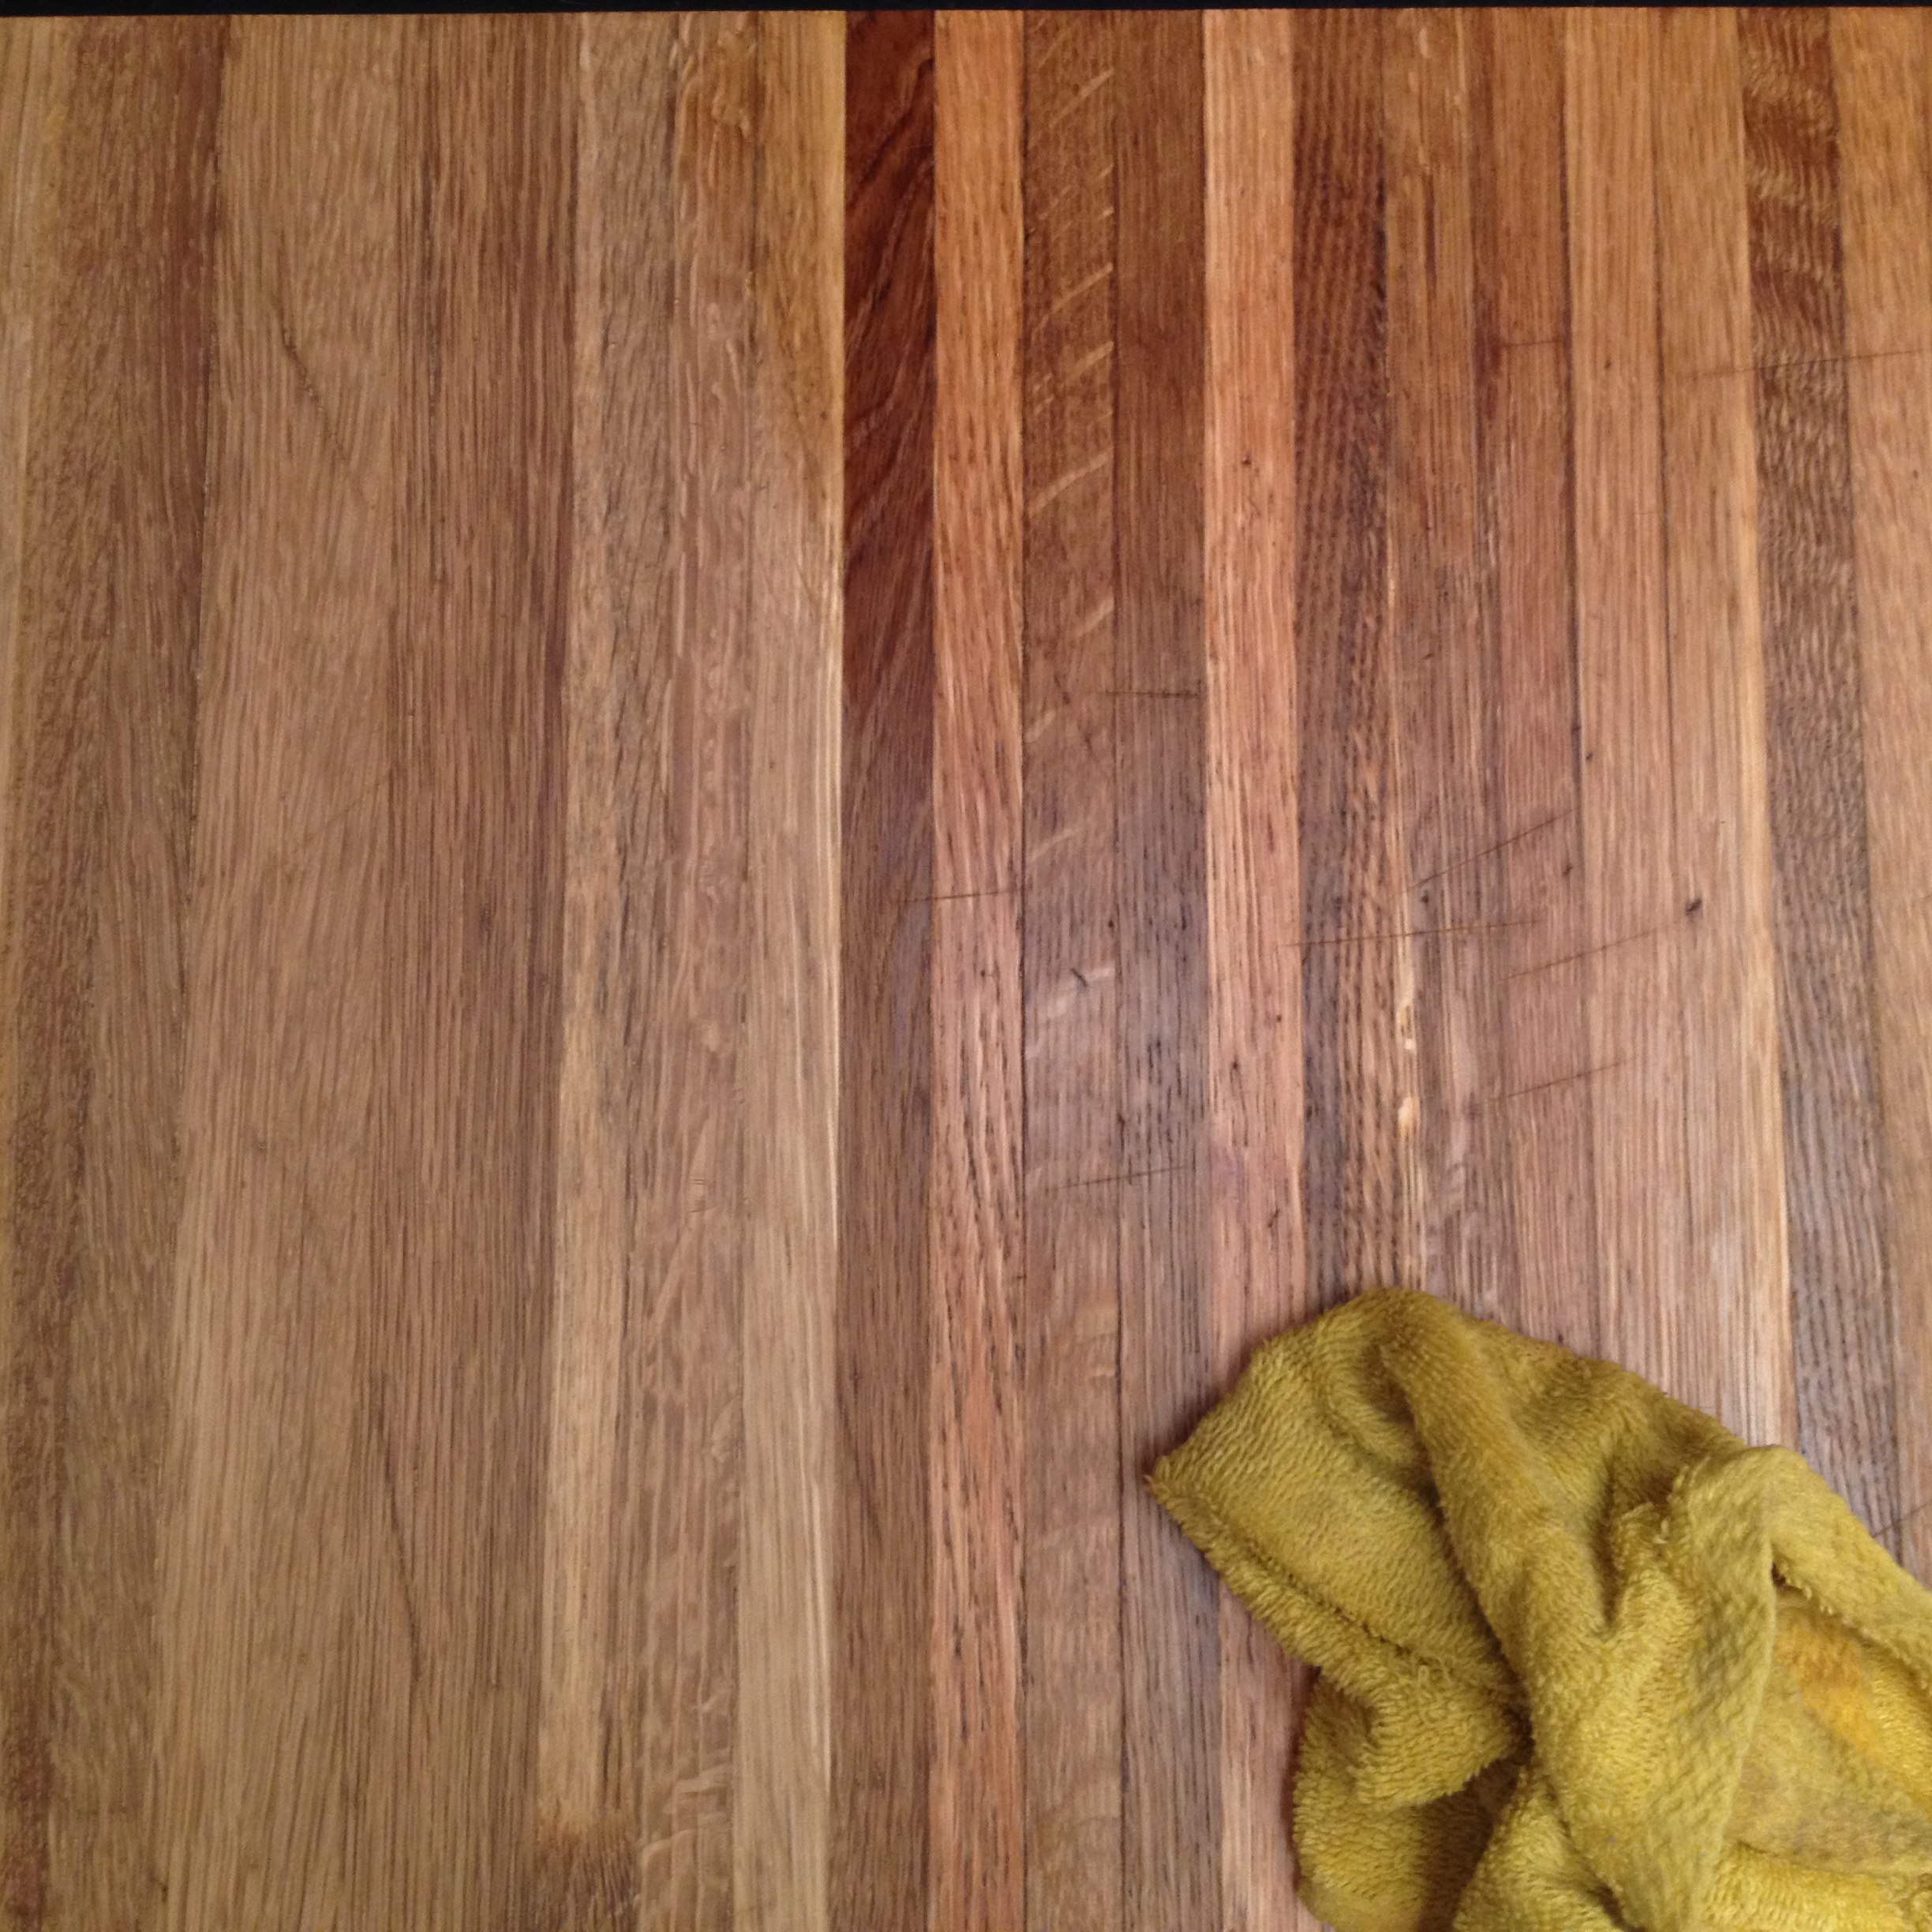
First, we inspect the damage. This board has mostly a dry cracked surface, a few deep gashes, and burn marks on one side. Deep gashes and burns cause deeper damage that won't vanish completely, but afterward there will simply be a couple scars of well used board.

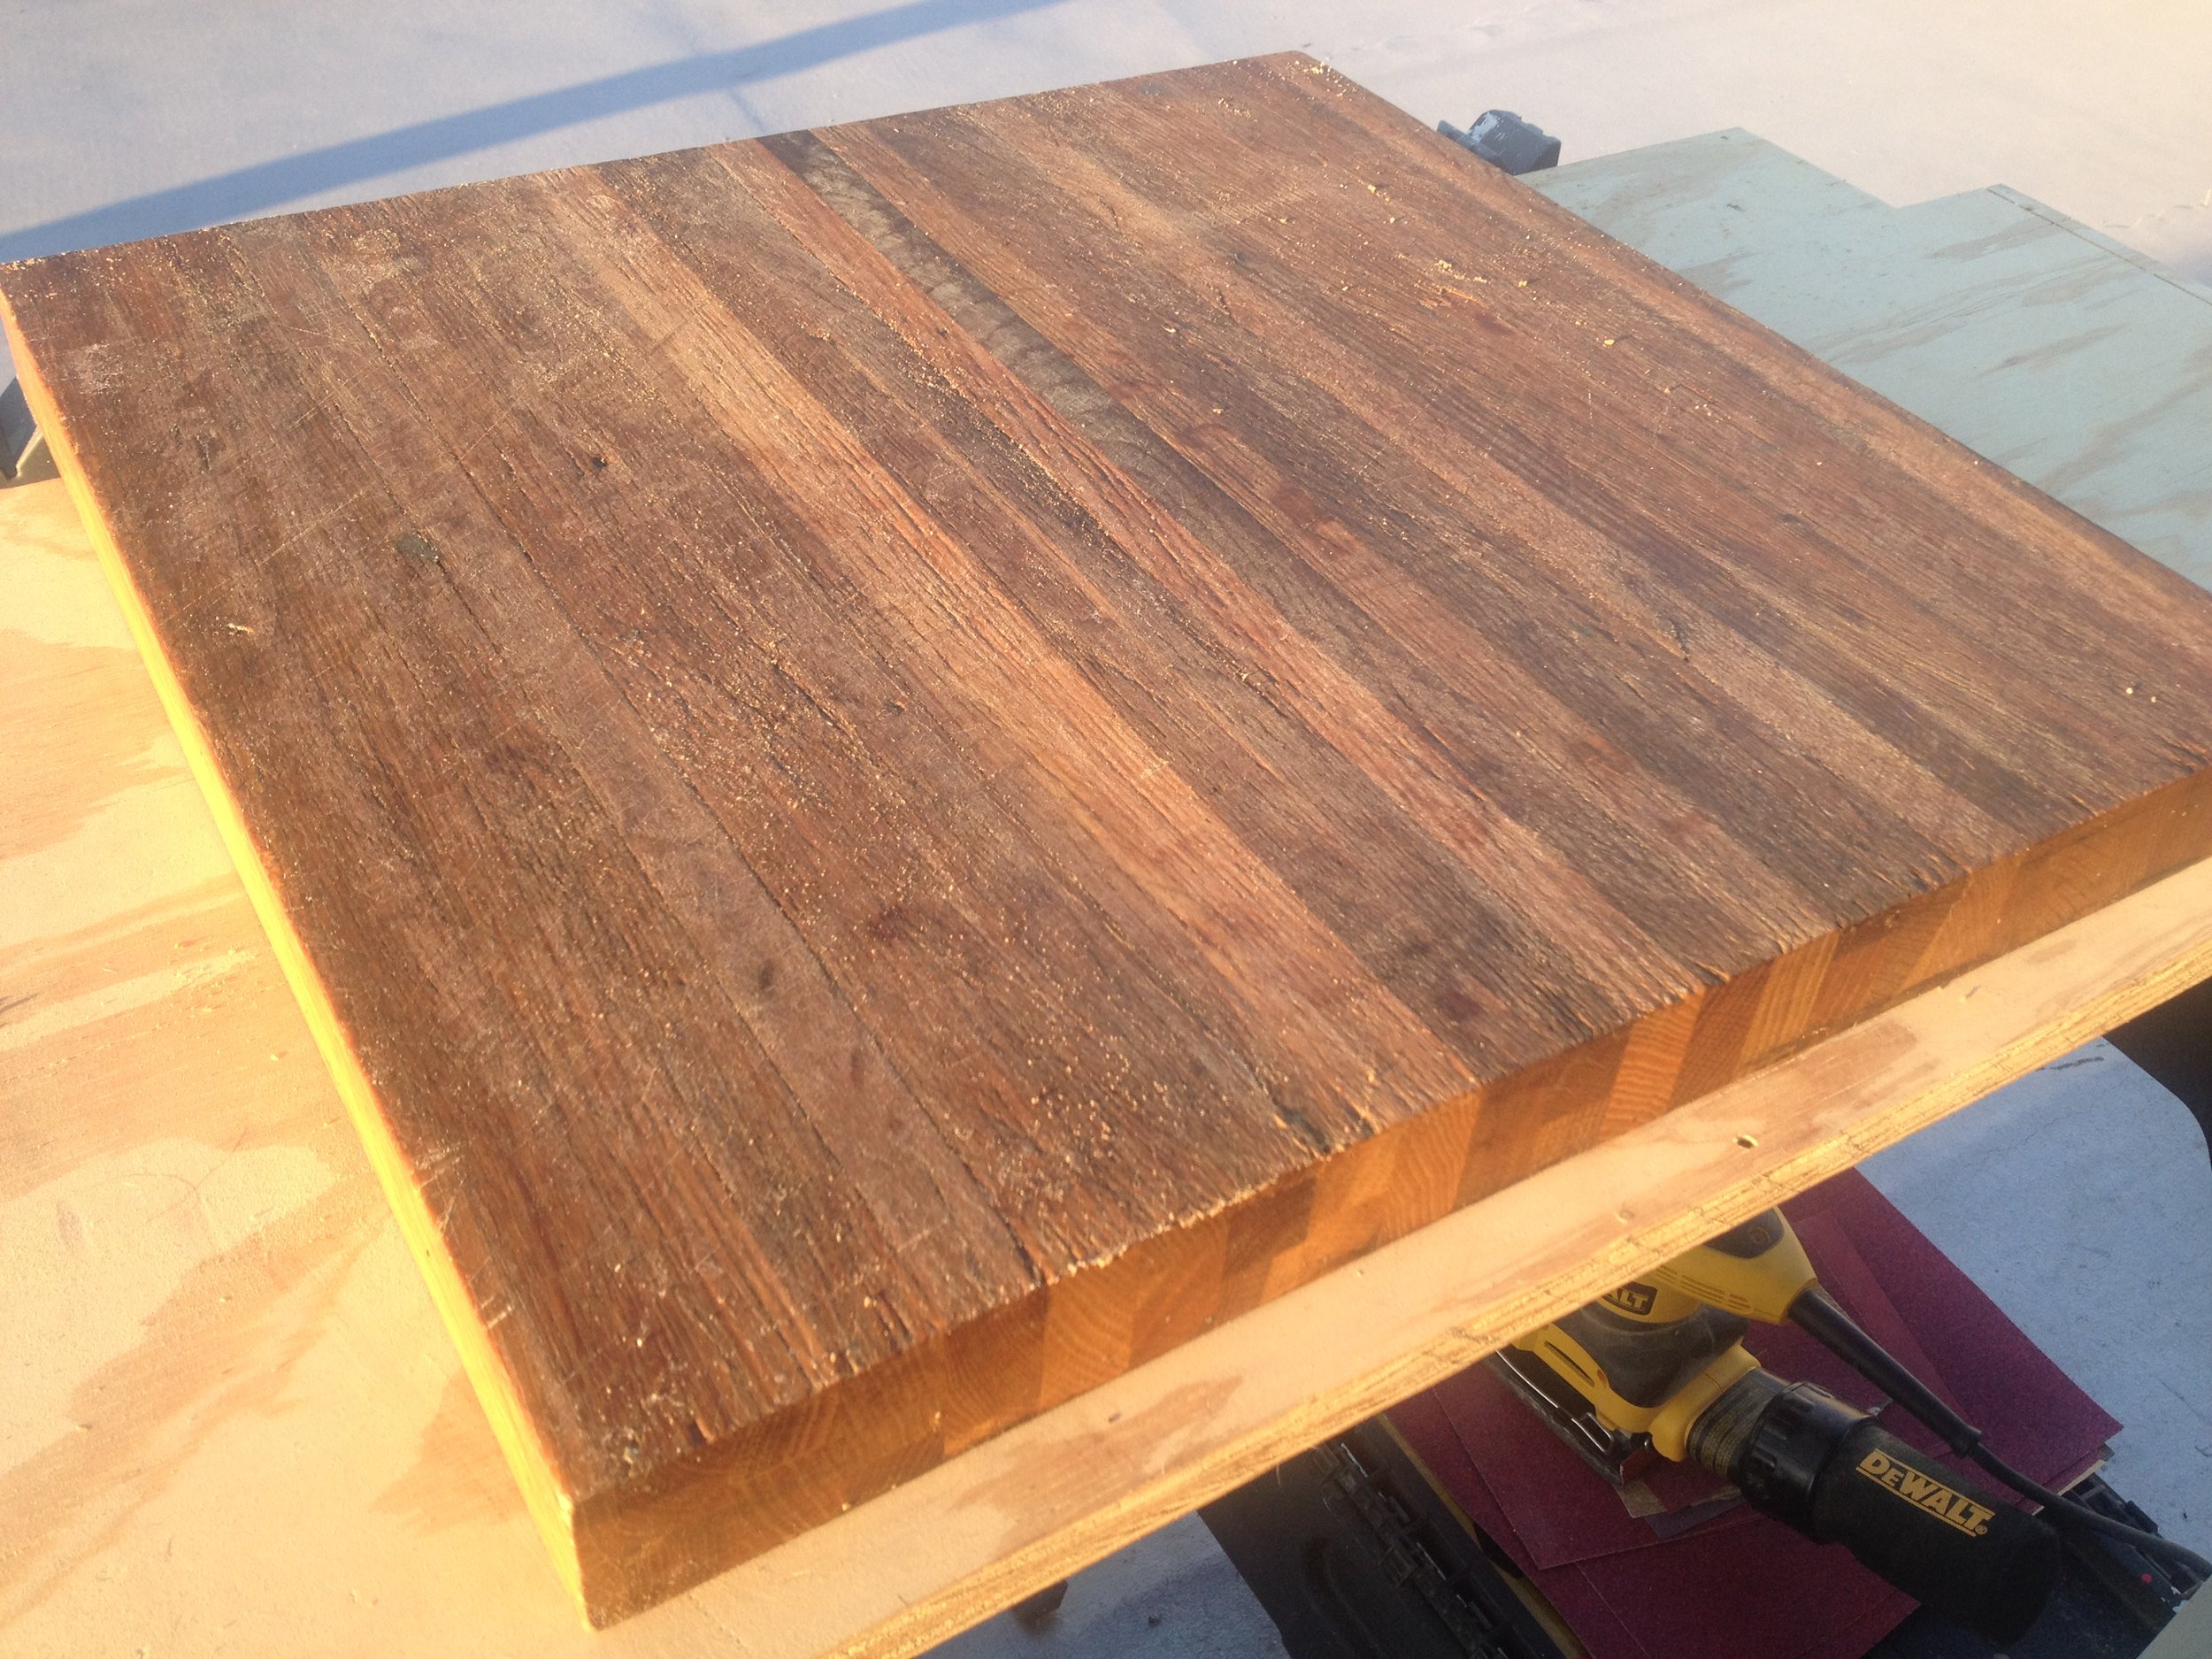
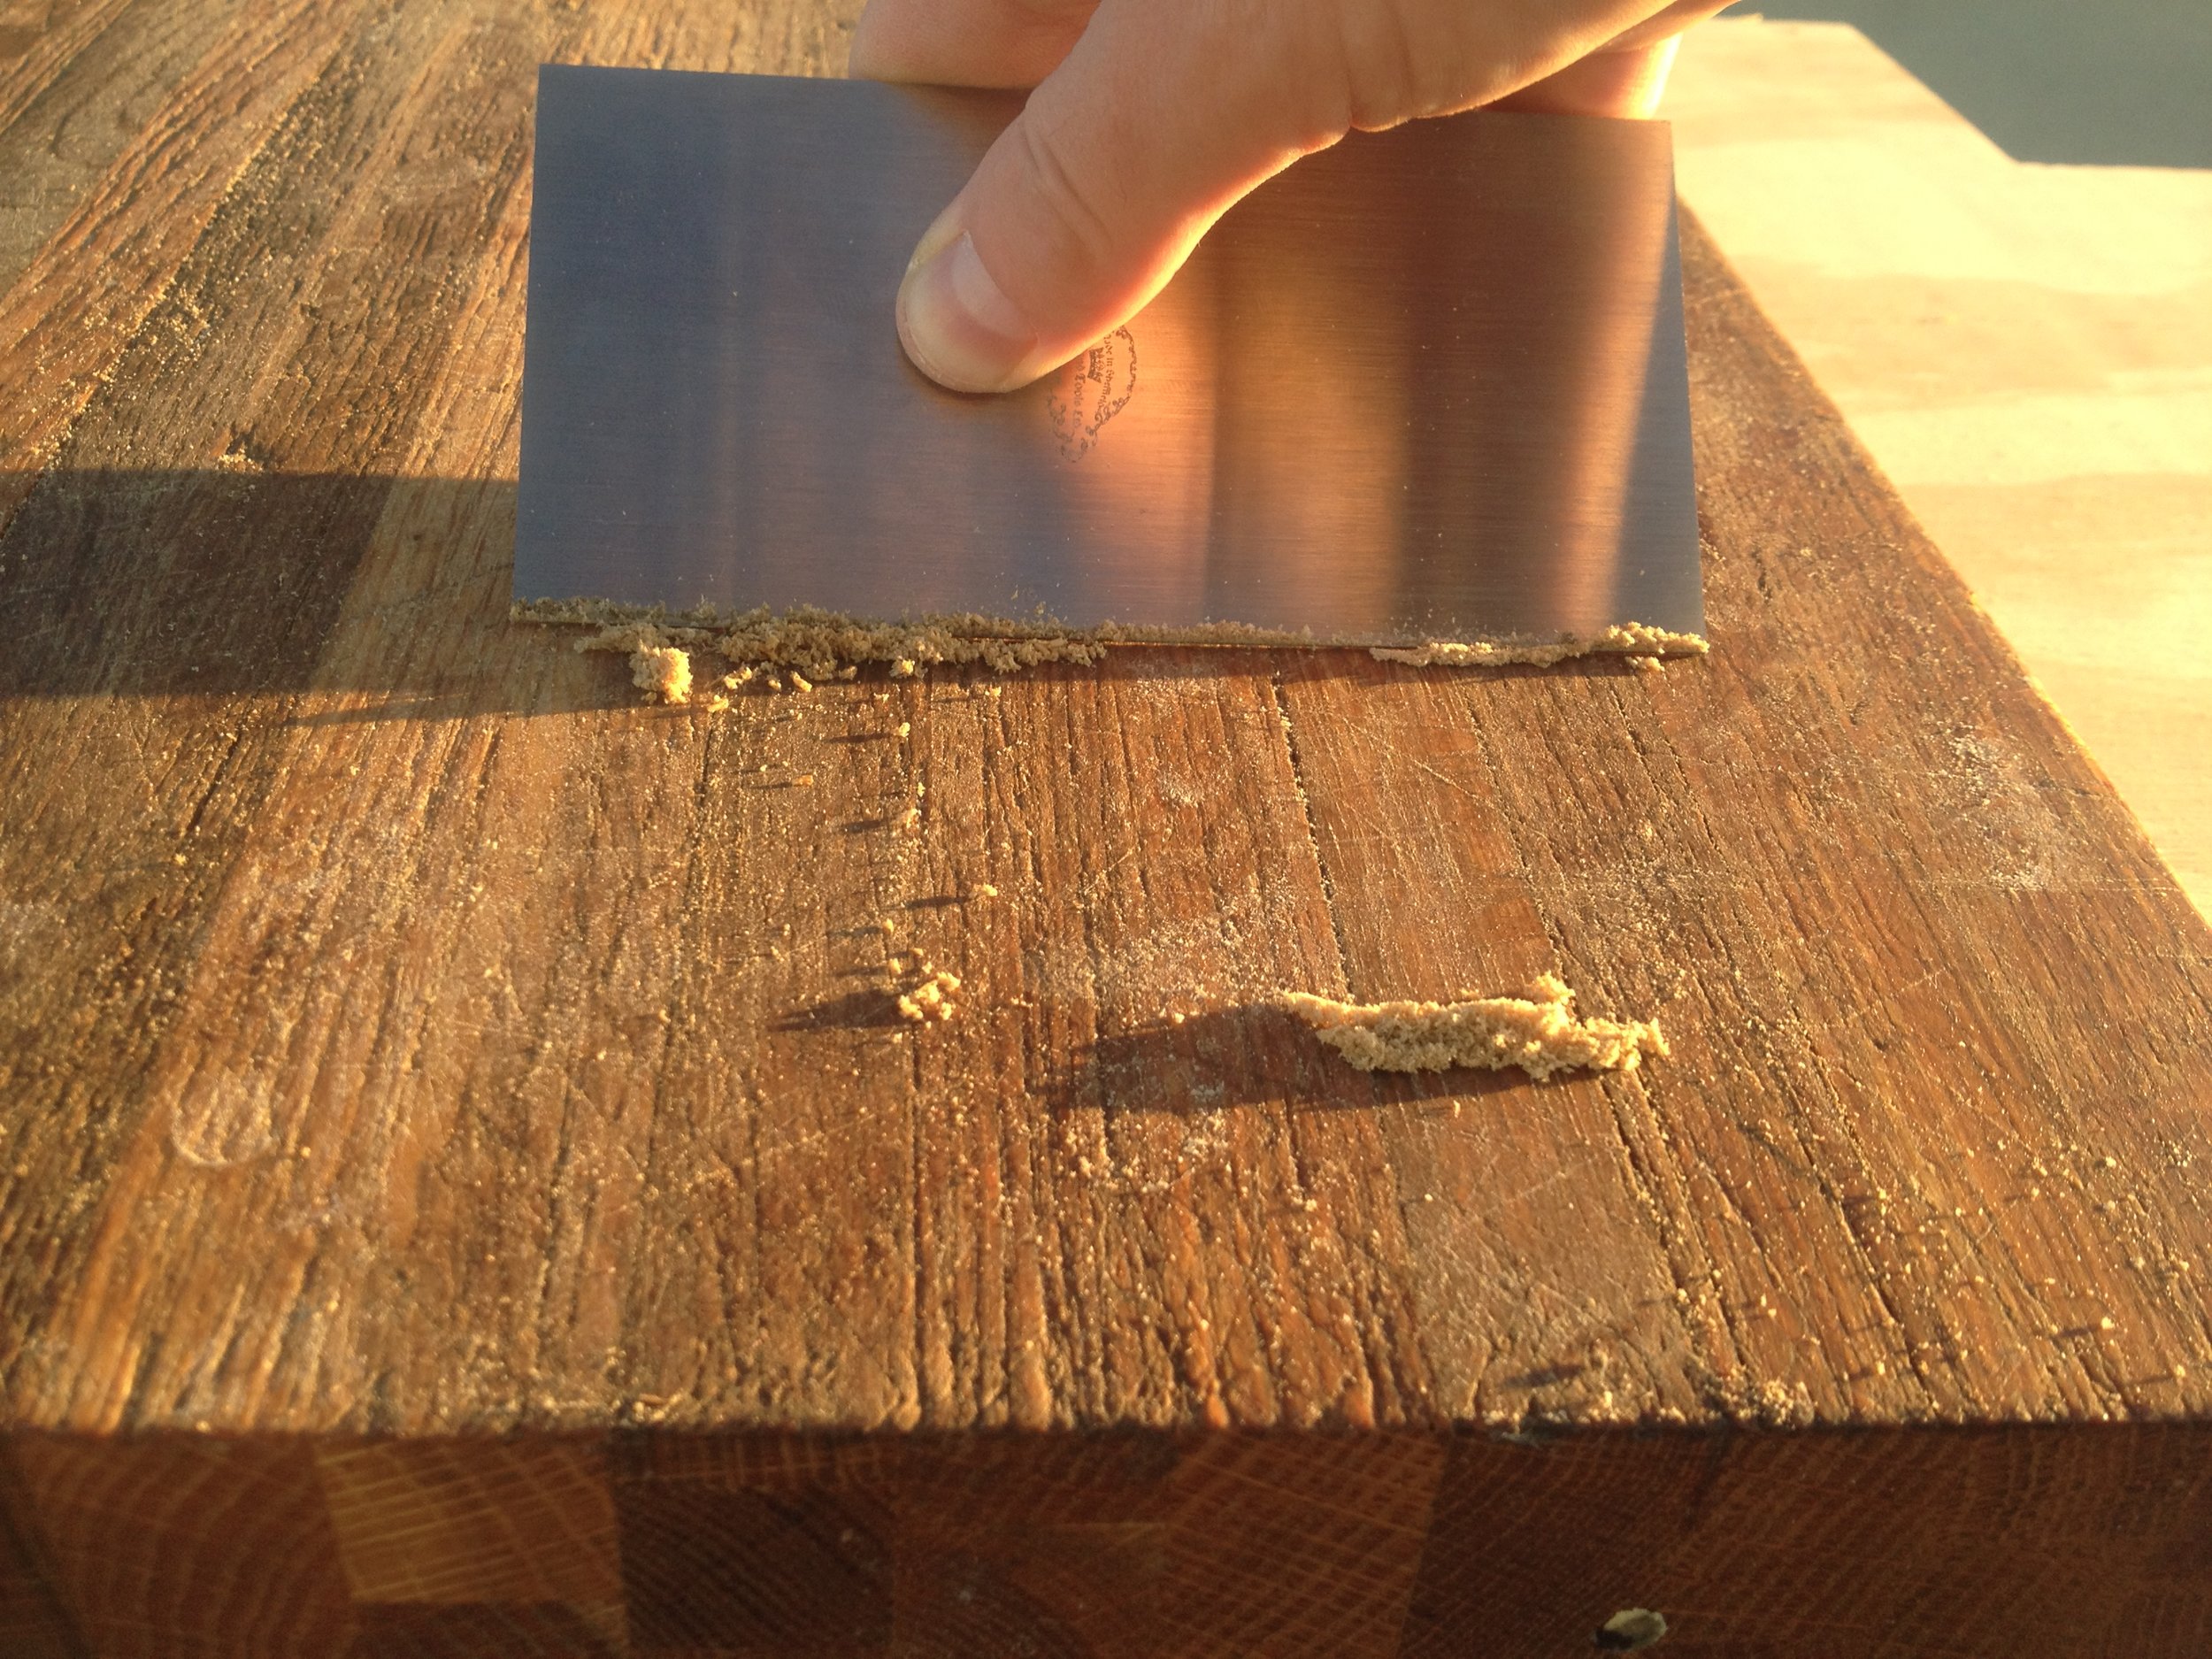
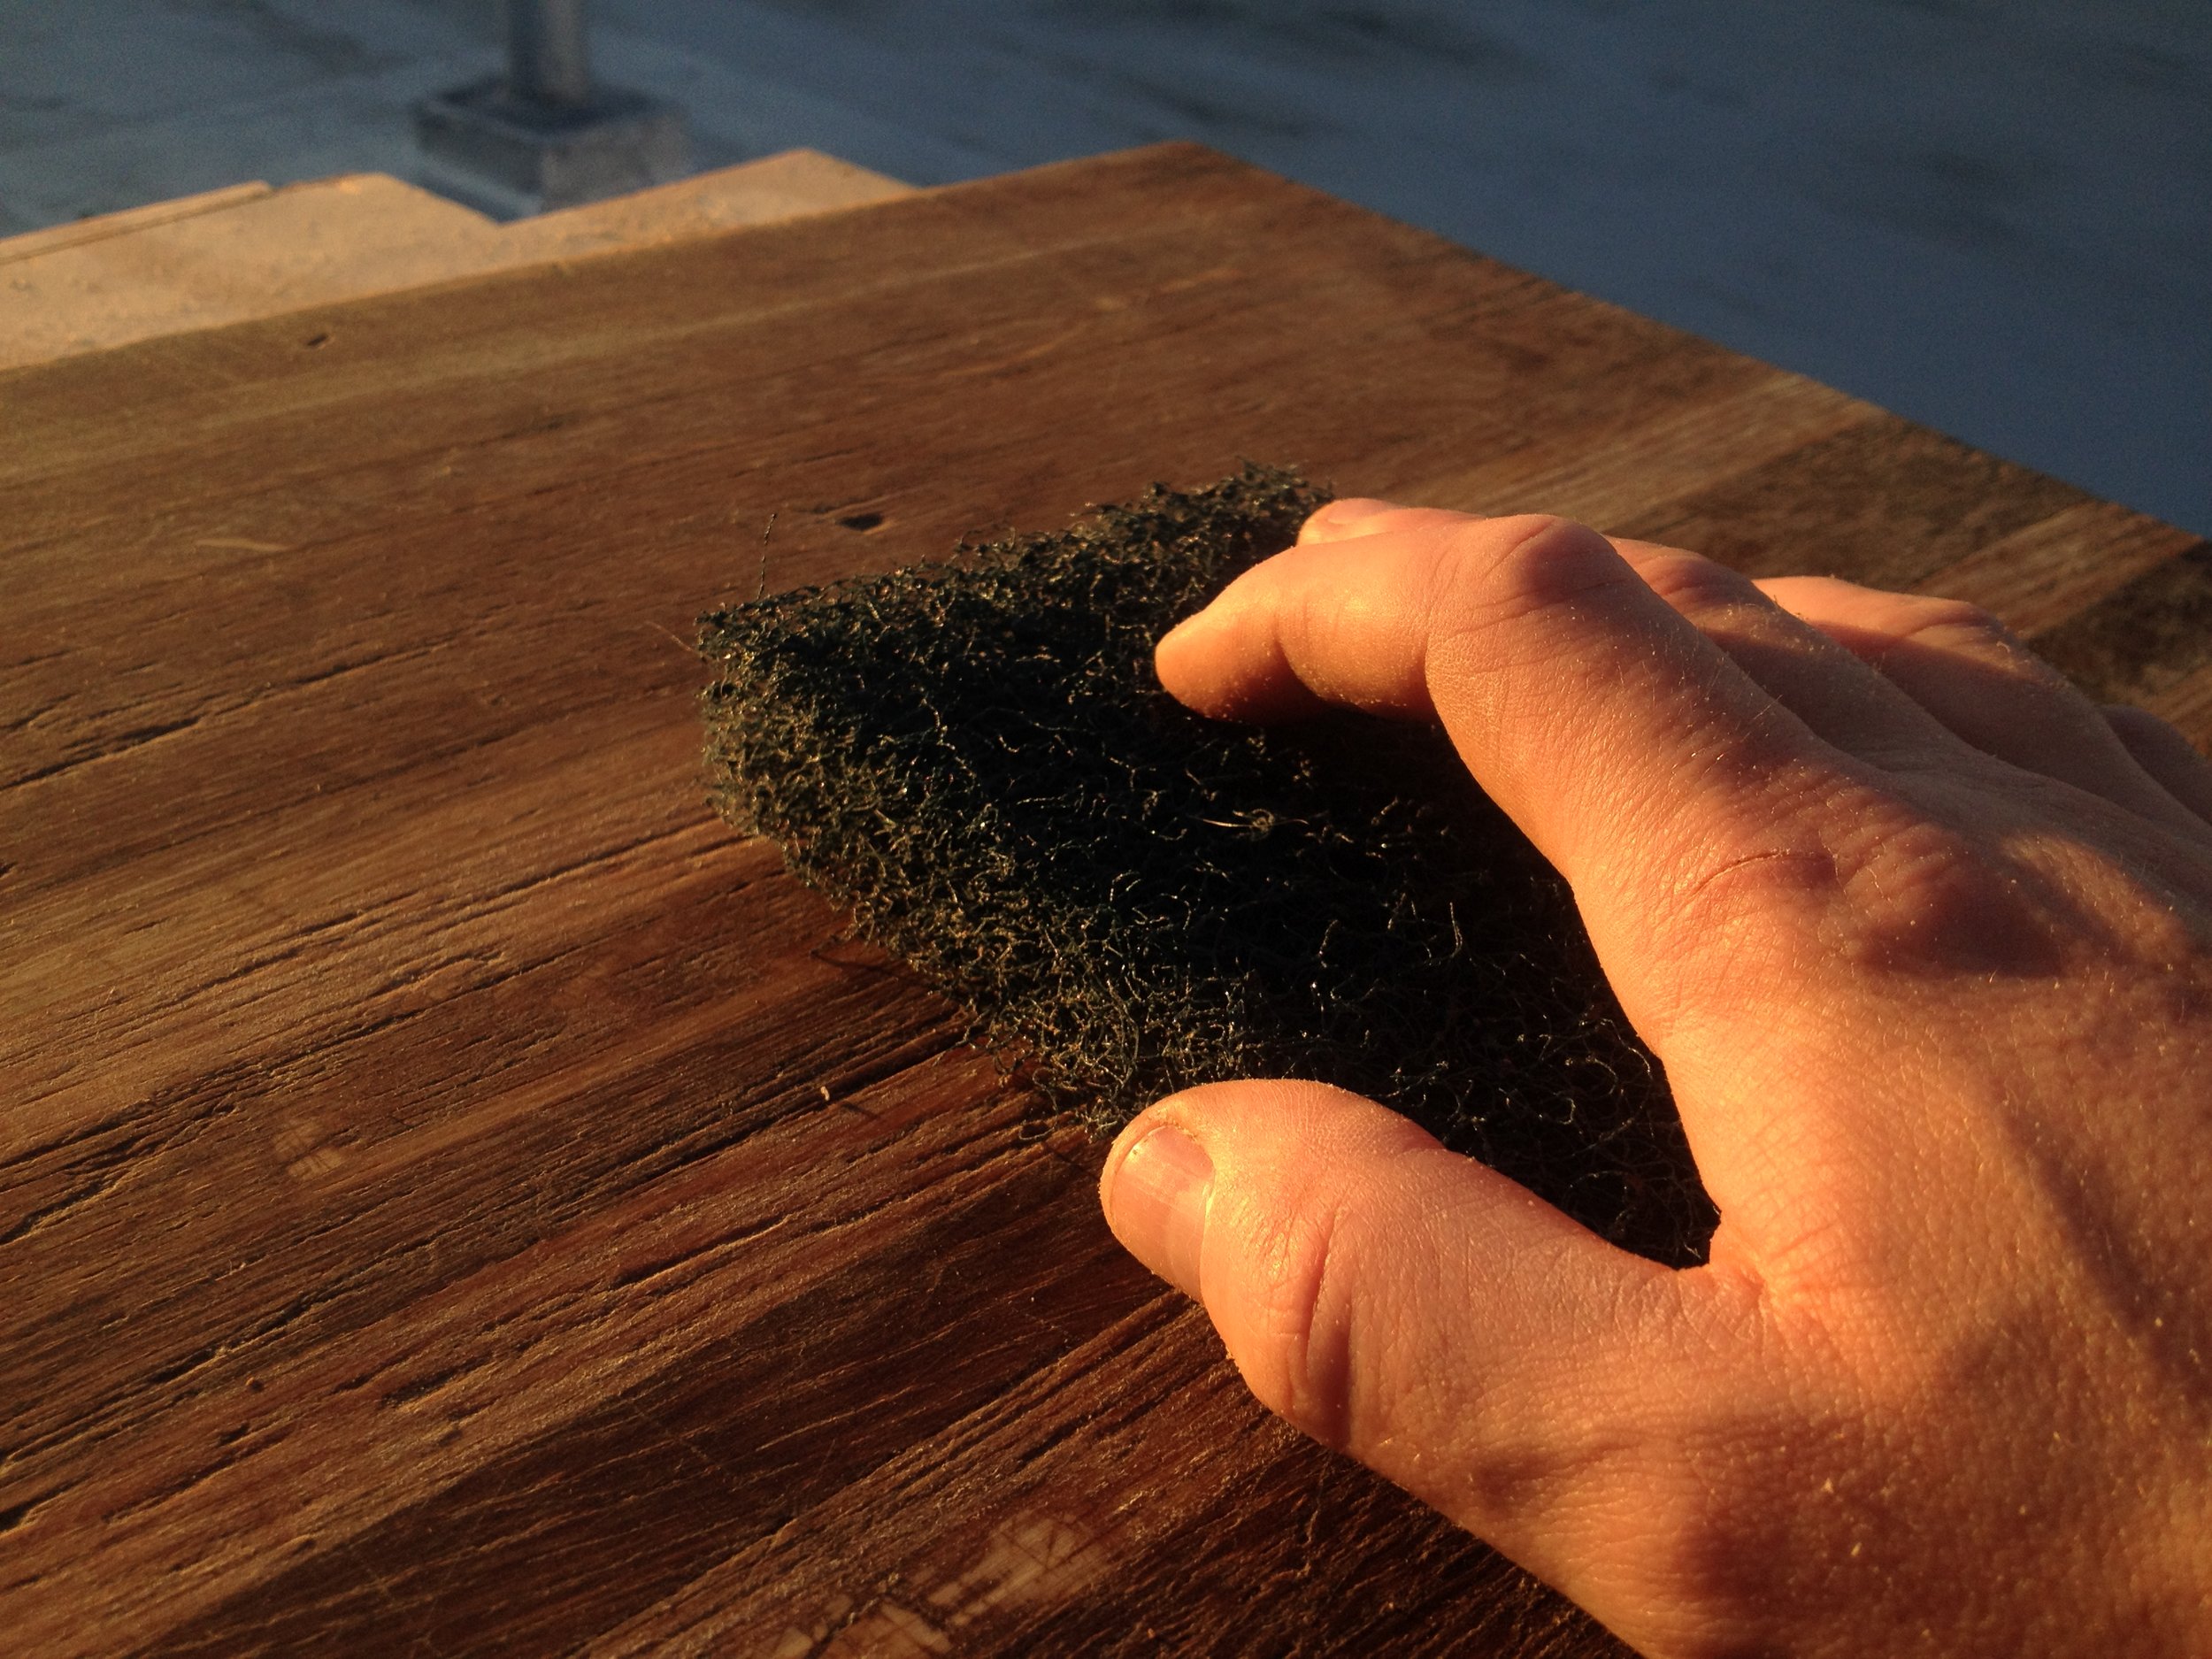
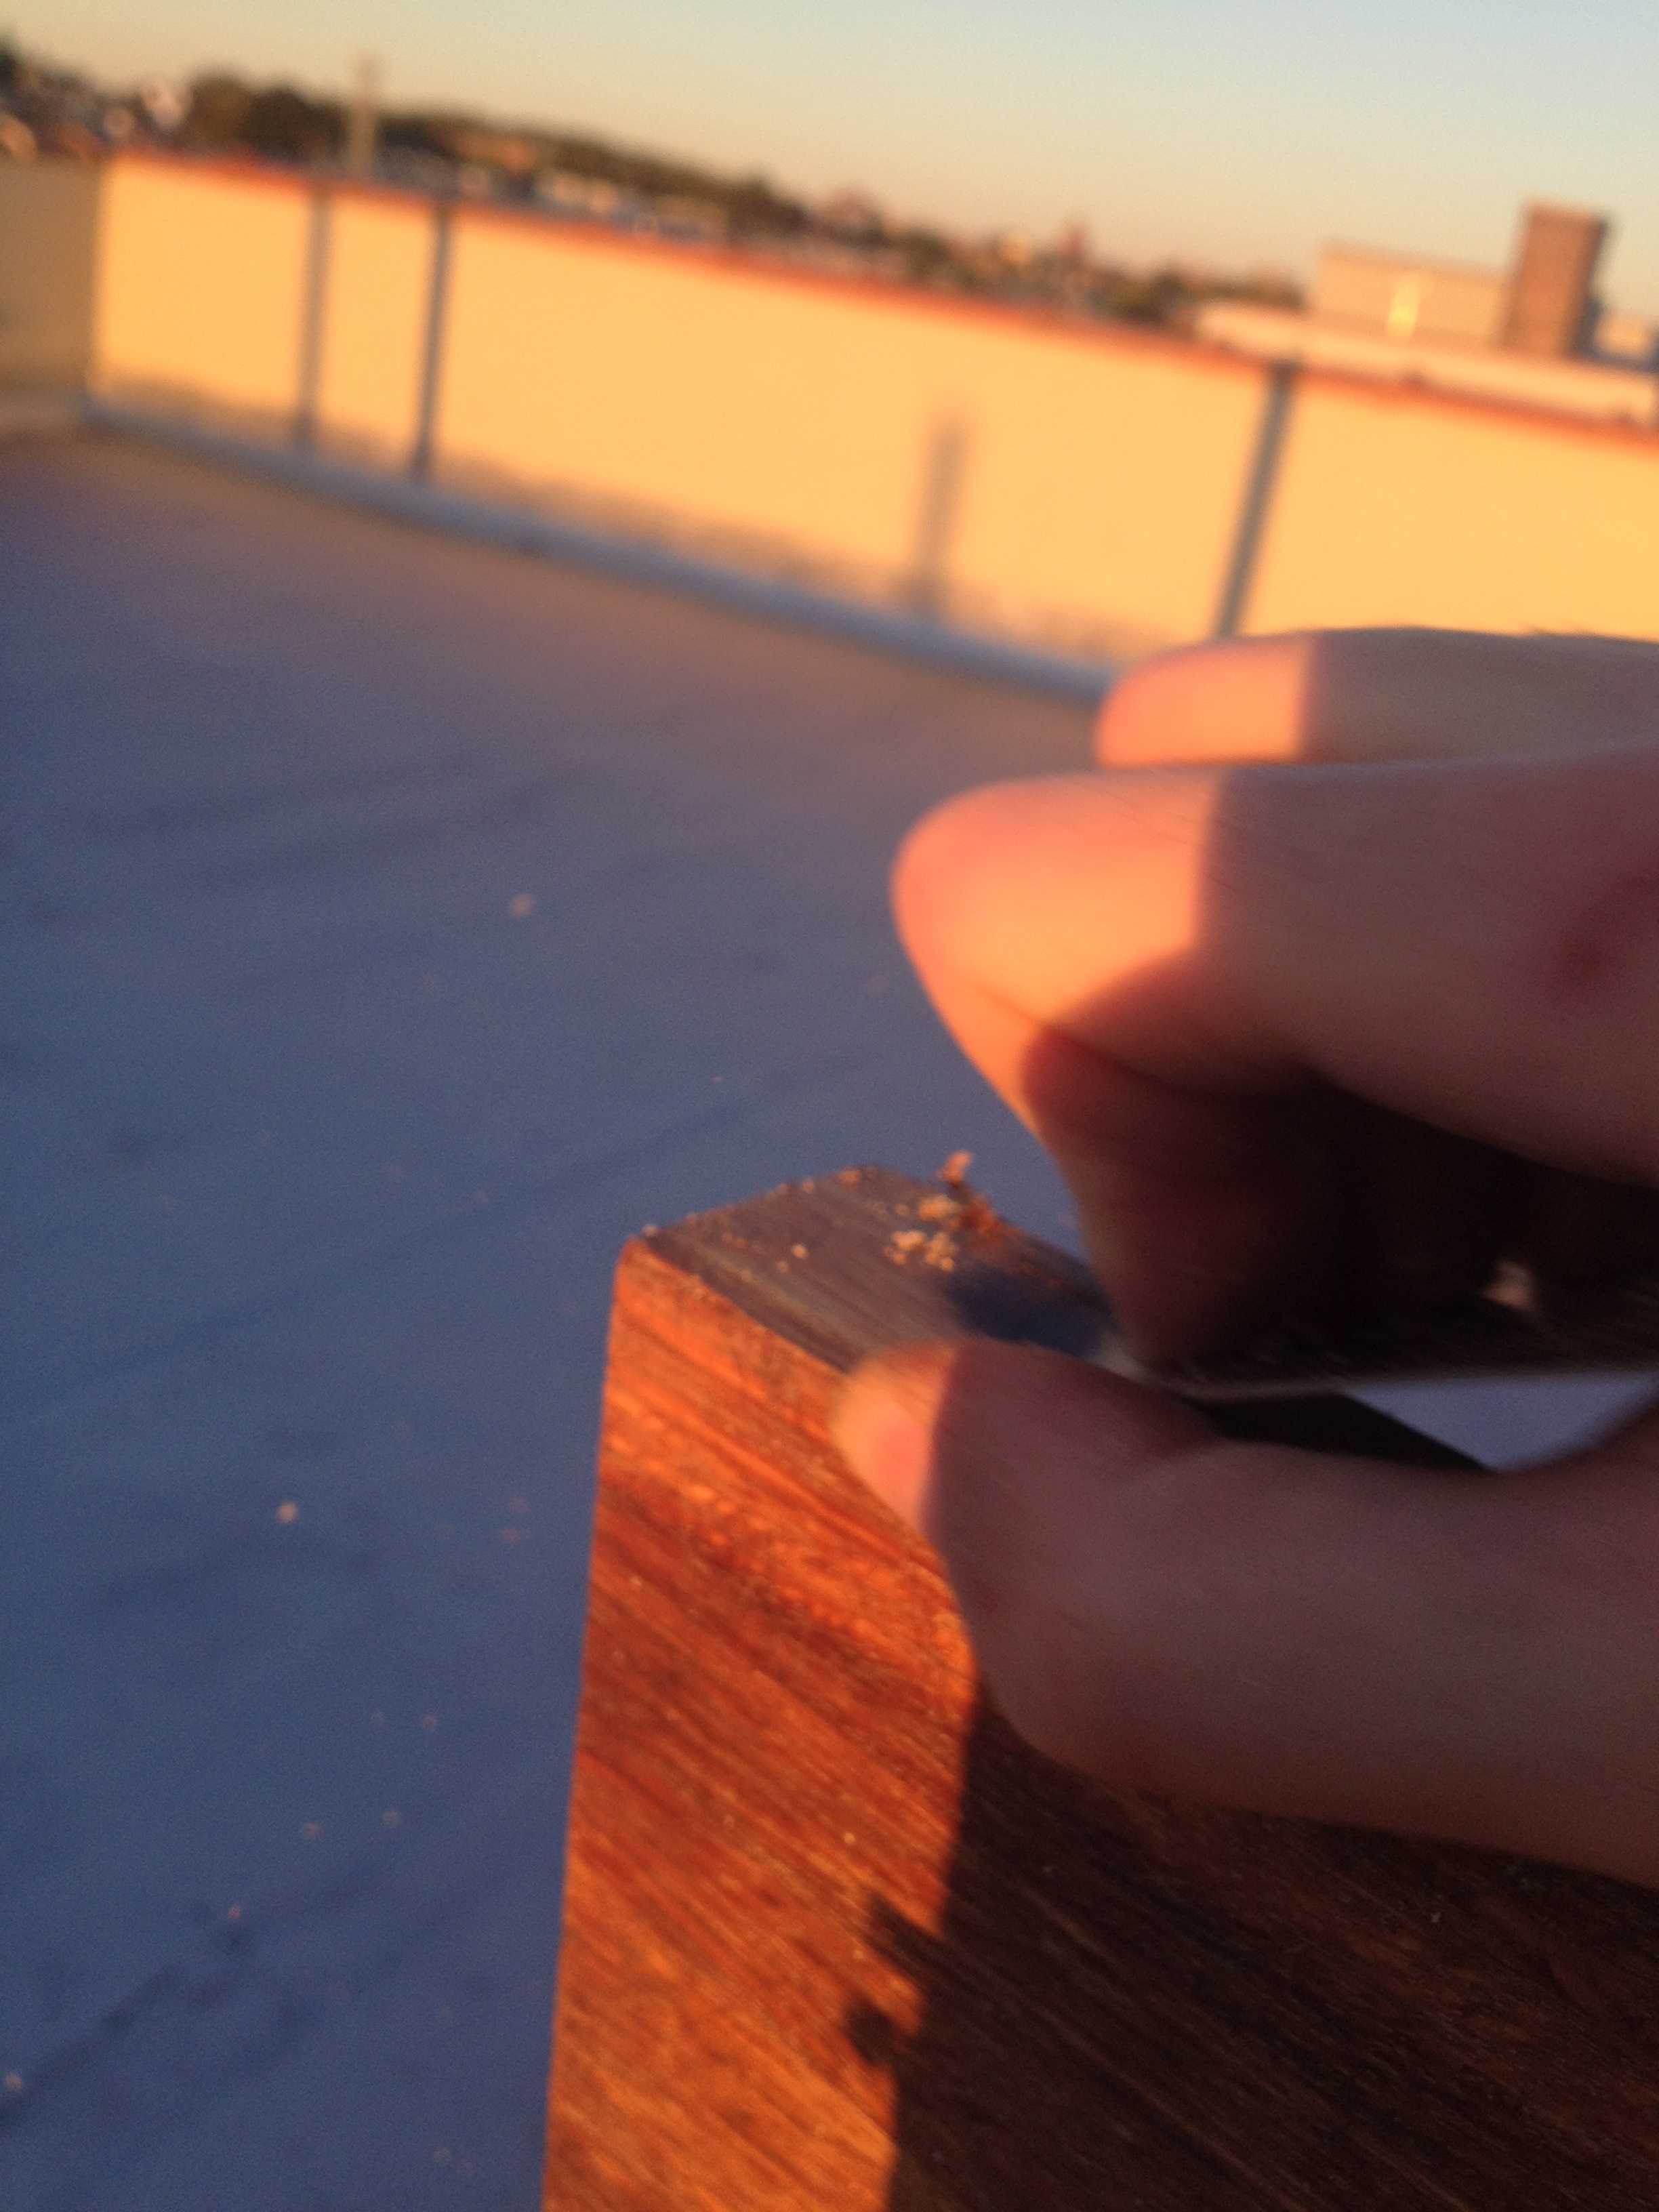
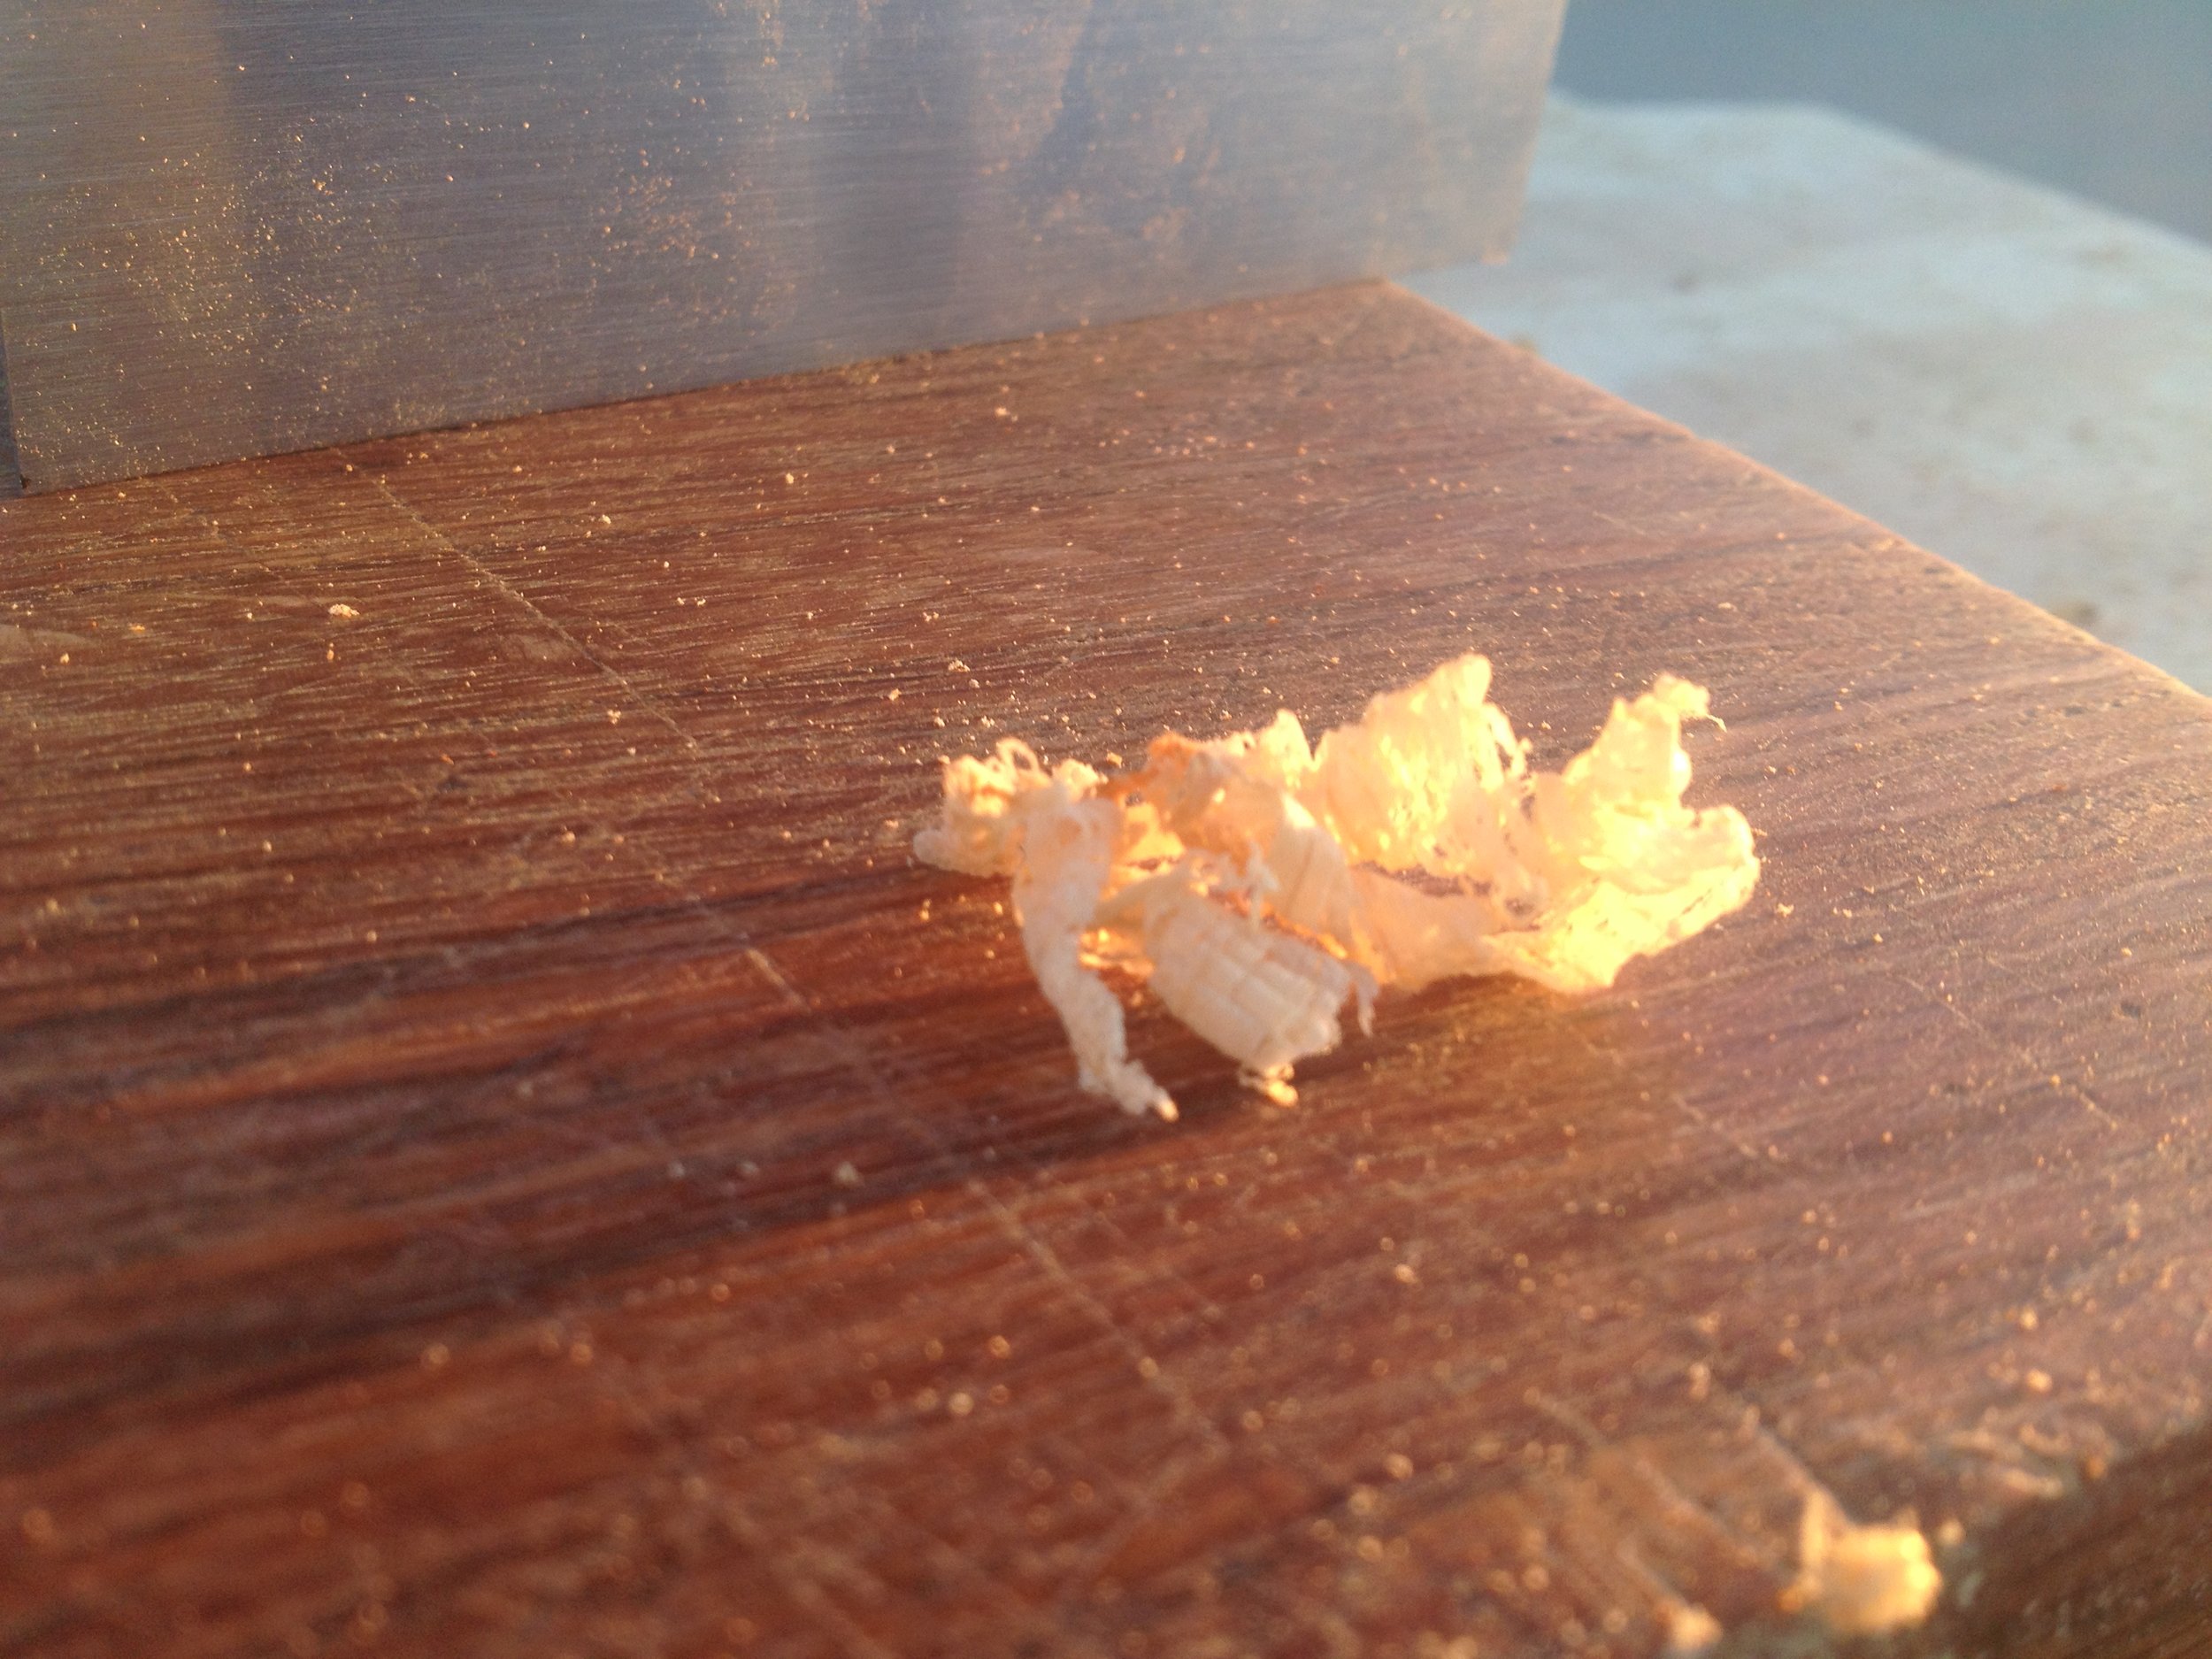
Next, we use a card scraper to being the resurfacing. Scrapers are inexpensive to buy and invaluable to own. Just be sure to keep them sharp! This will be the fastest and cleanest way to remove the surface damage. Otherwise begin sanding with coarse 60 grit sandpaper or a industrial strength scouring pad.
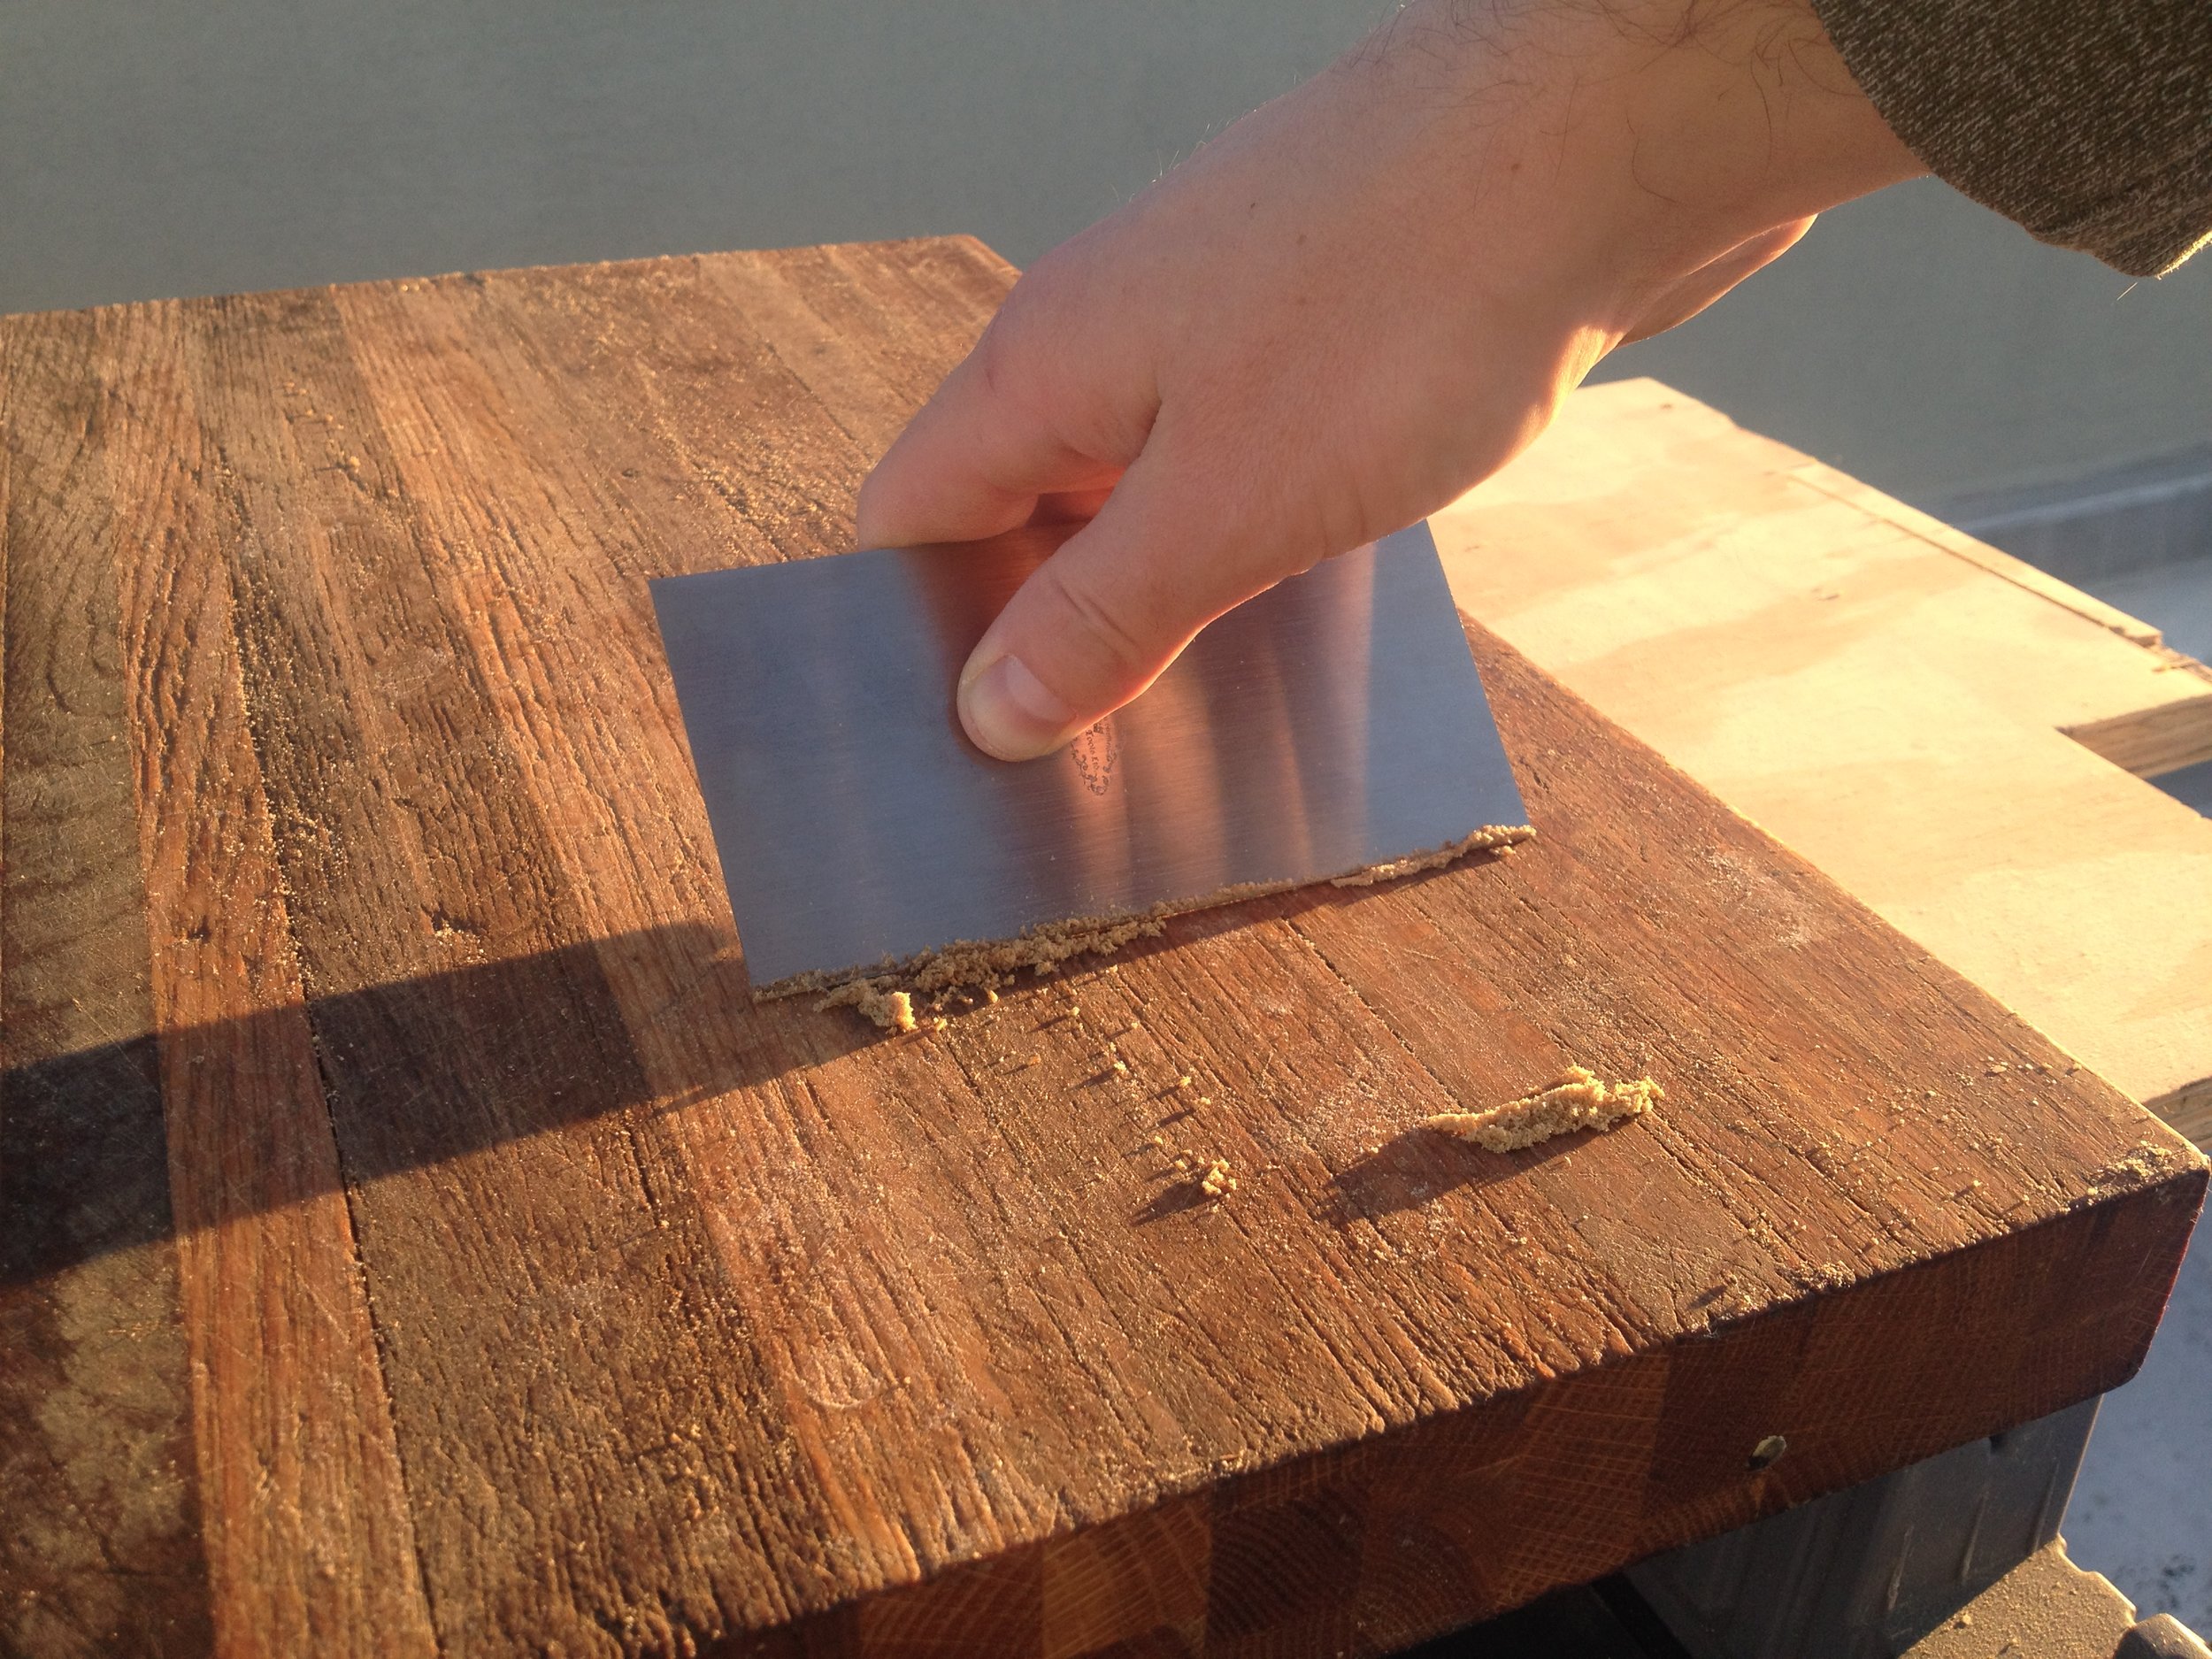
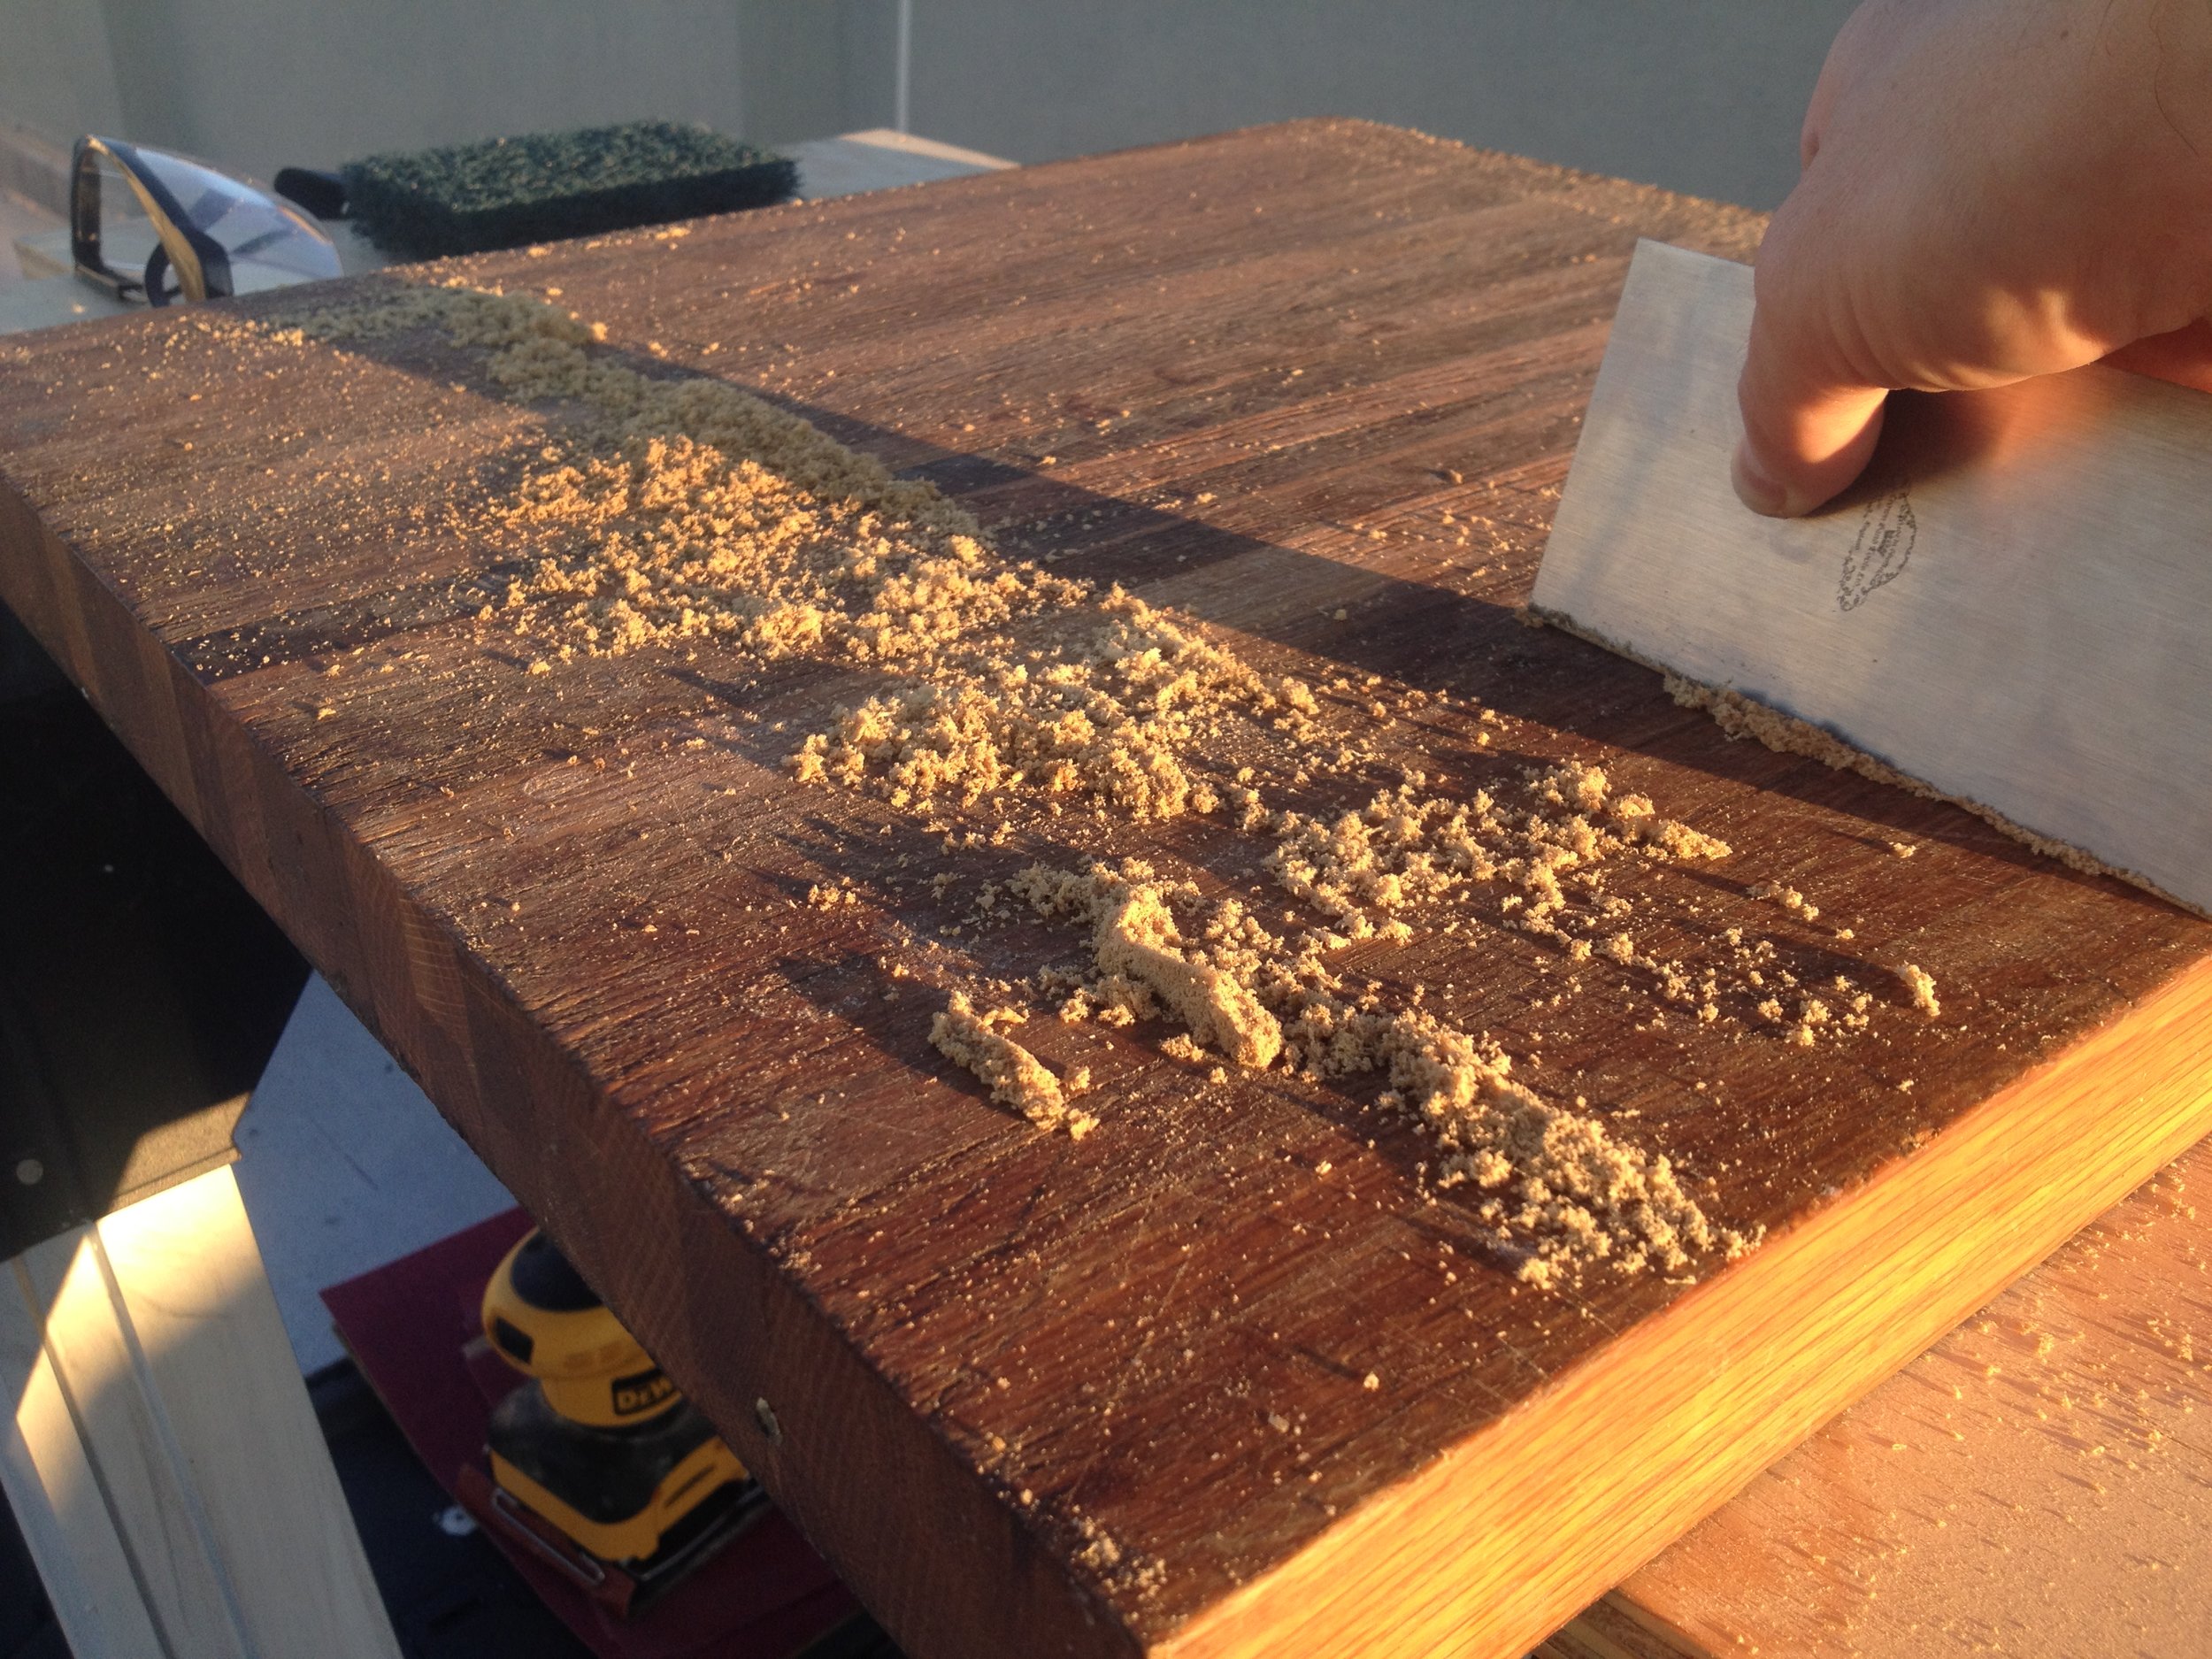
The scraper will get the surface to a very smooth surface, and you may stop resurfacing here if you wish. Otherwise, or if you are working with only sandpaper, move on to 220 grit and continue sanding. Finish with 400 grit for the final pass with your sander.
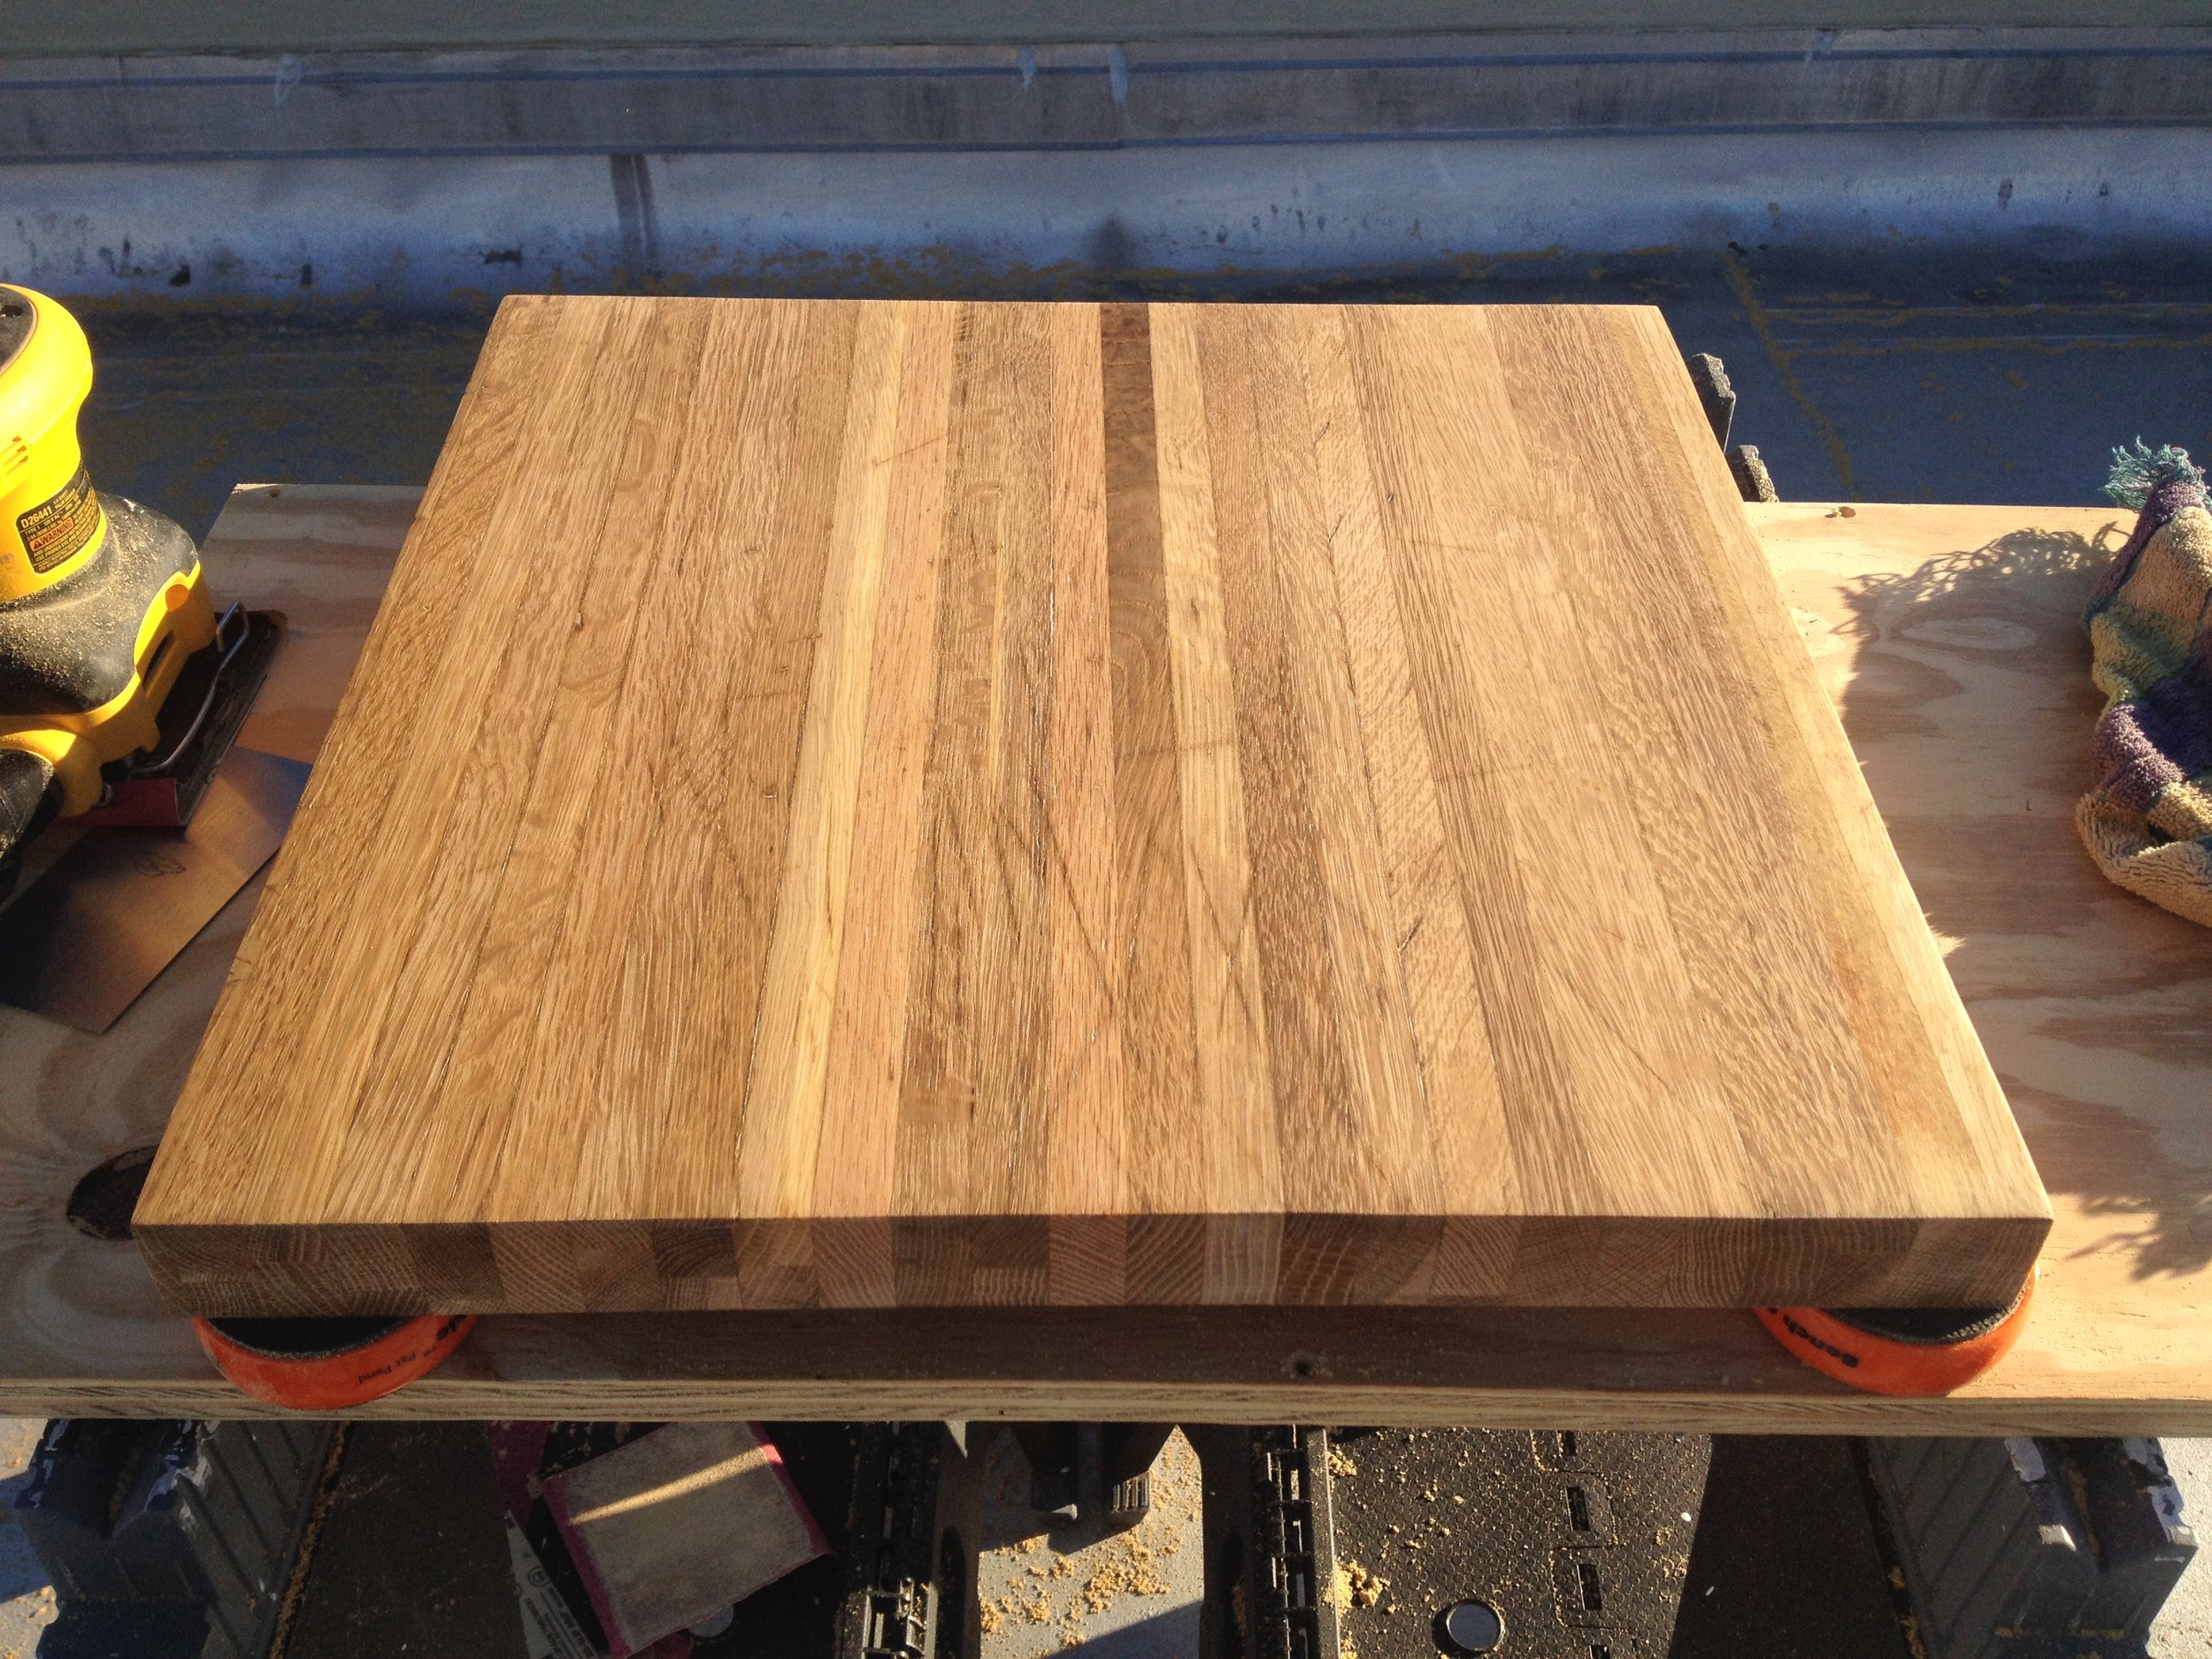
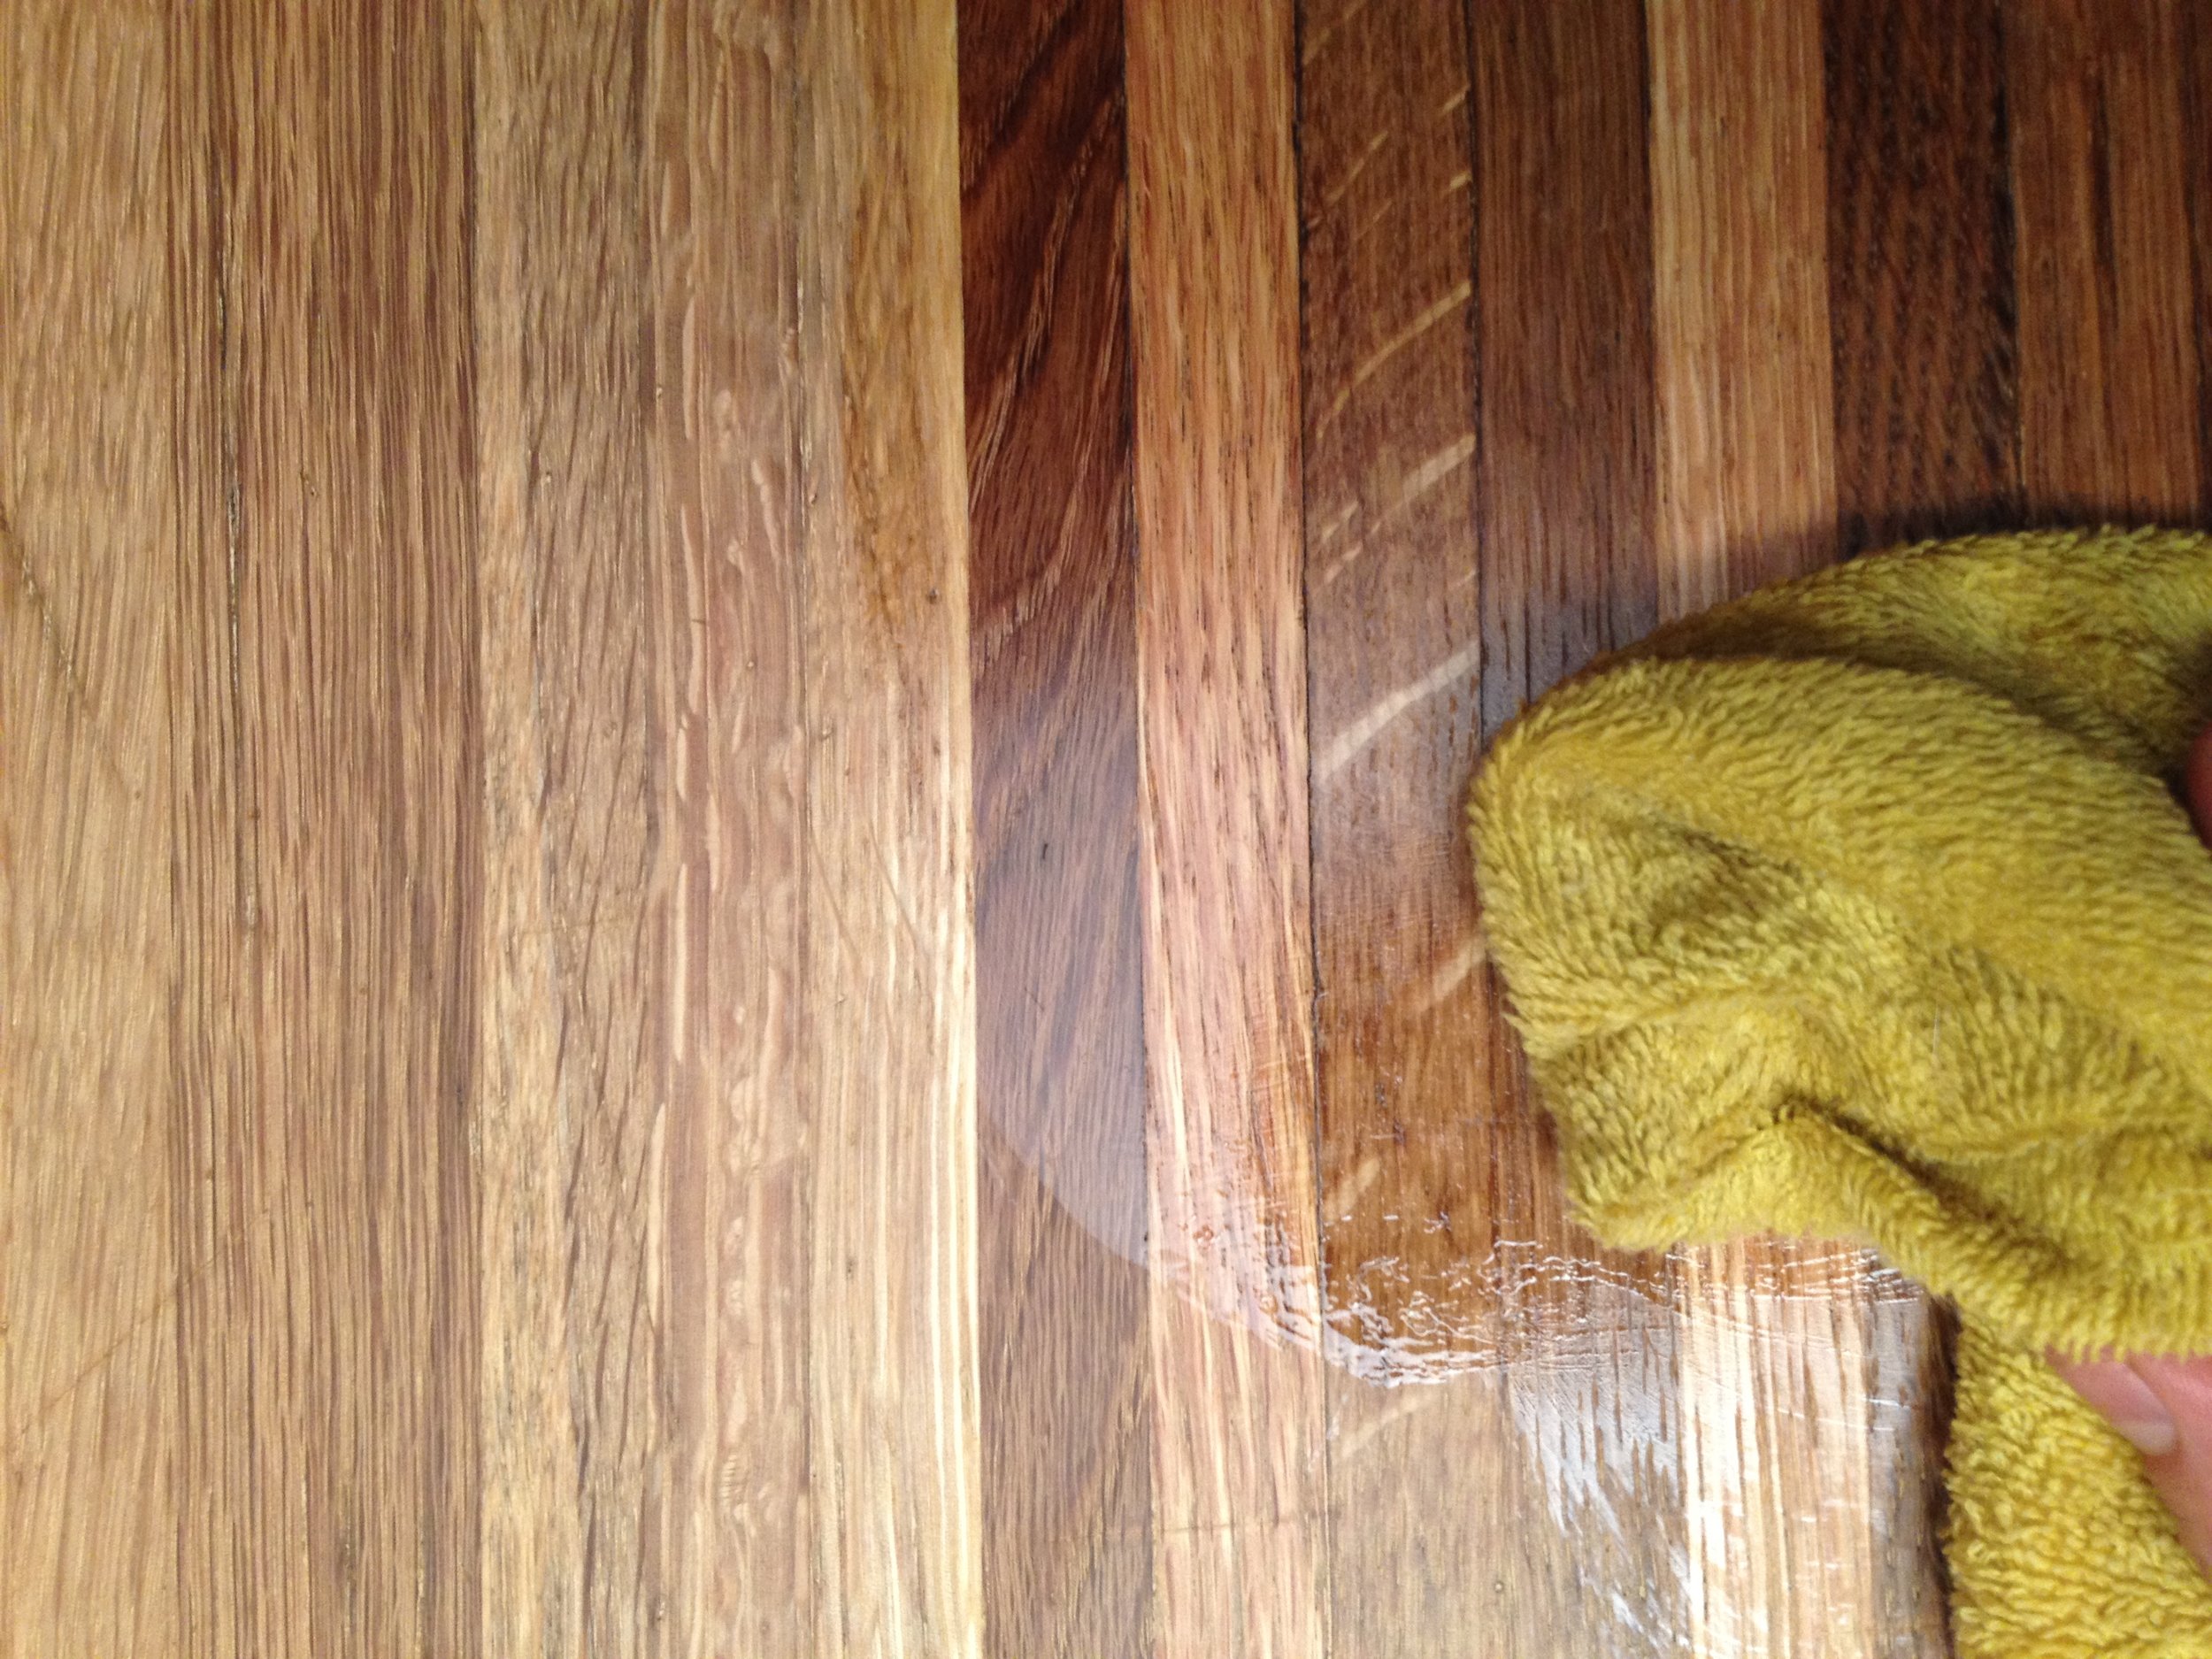
Finally we need to rehydrate and build a layer of protection for the wood from moisture. Bathe the cutting board generously on all side with mineral oil. Let the wood rest between baths for 12-24 hours to fully absorb. 24-hours after the 3rd bath, wax the board. We make our own Organic Beeswax Board Butter, and it's available in our shop. It's important to use organic beeswax for you cookware to ensure there are no pesticide or chemical fertilizers that can leach into your food. Spread a generous amount of board butter across the entire surface of your cutting board. Buff into the grain with a clean, lint-free cloth, and allow to absorb overnight. Remove any excess with a clean cloth in the morning. Repeat as needed.
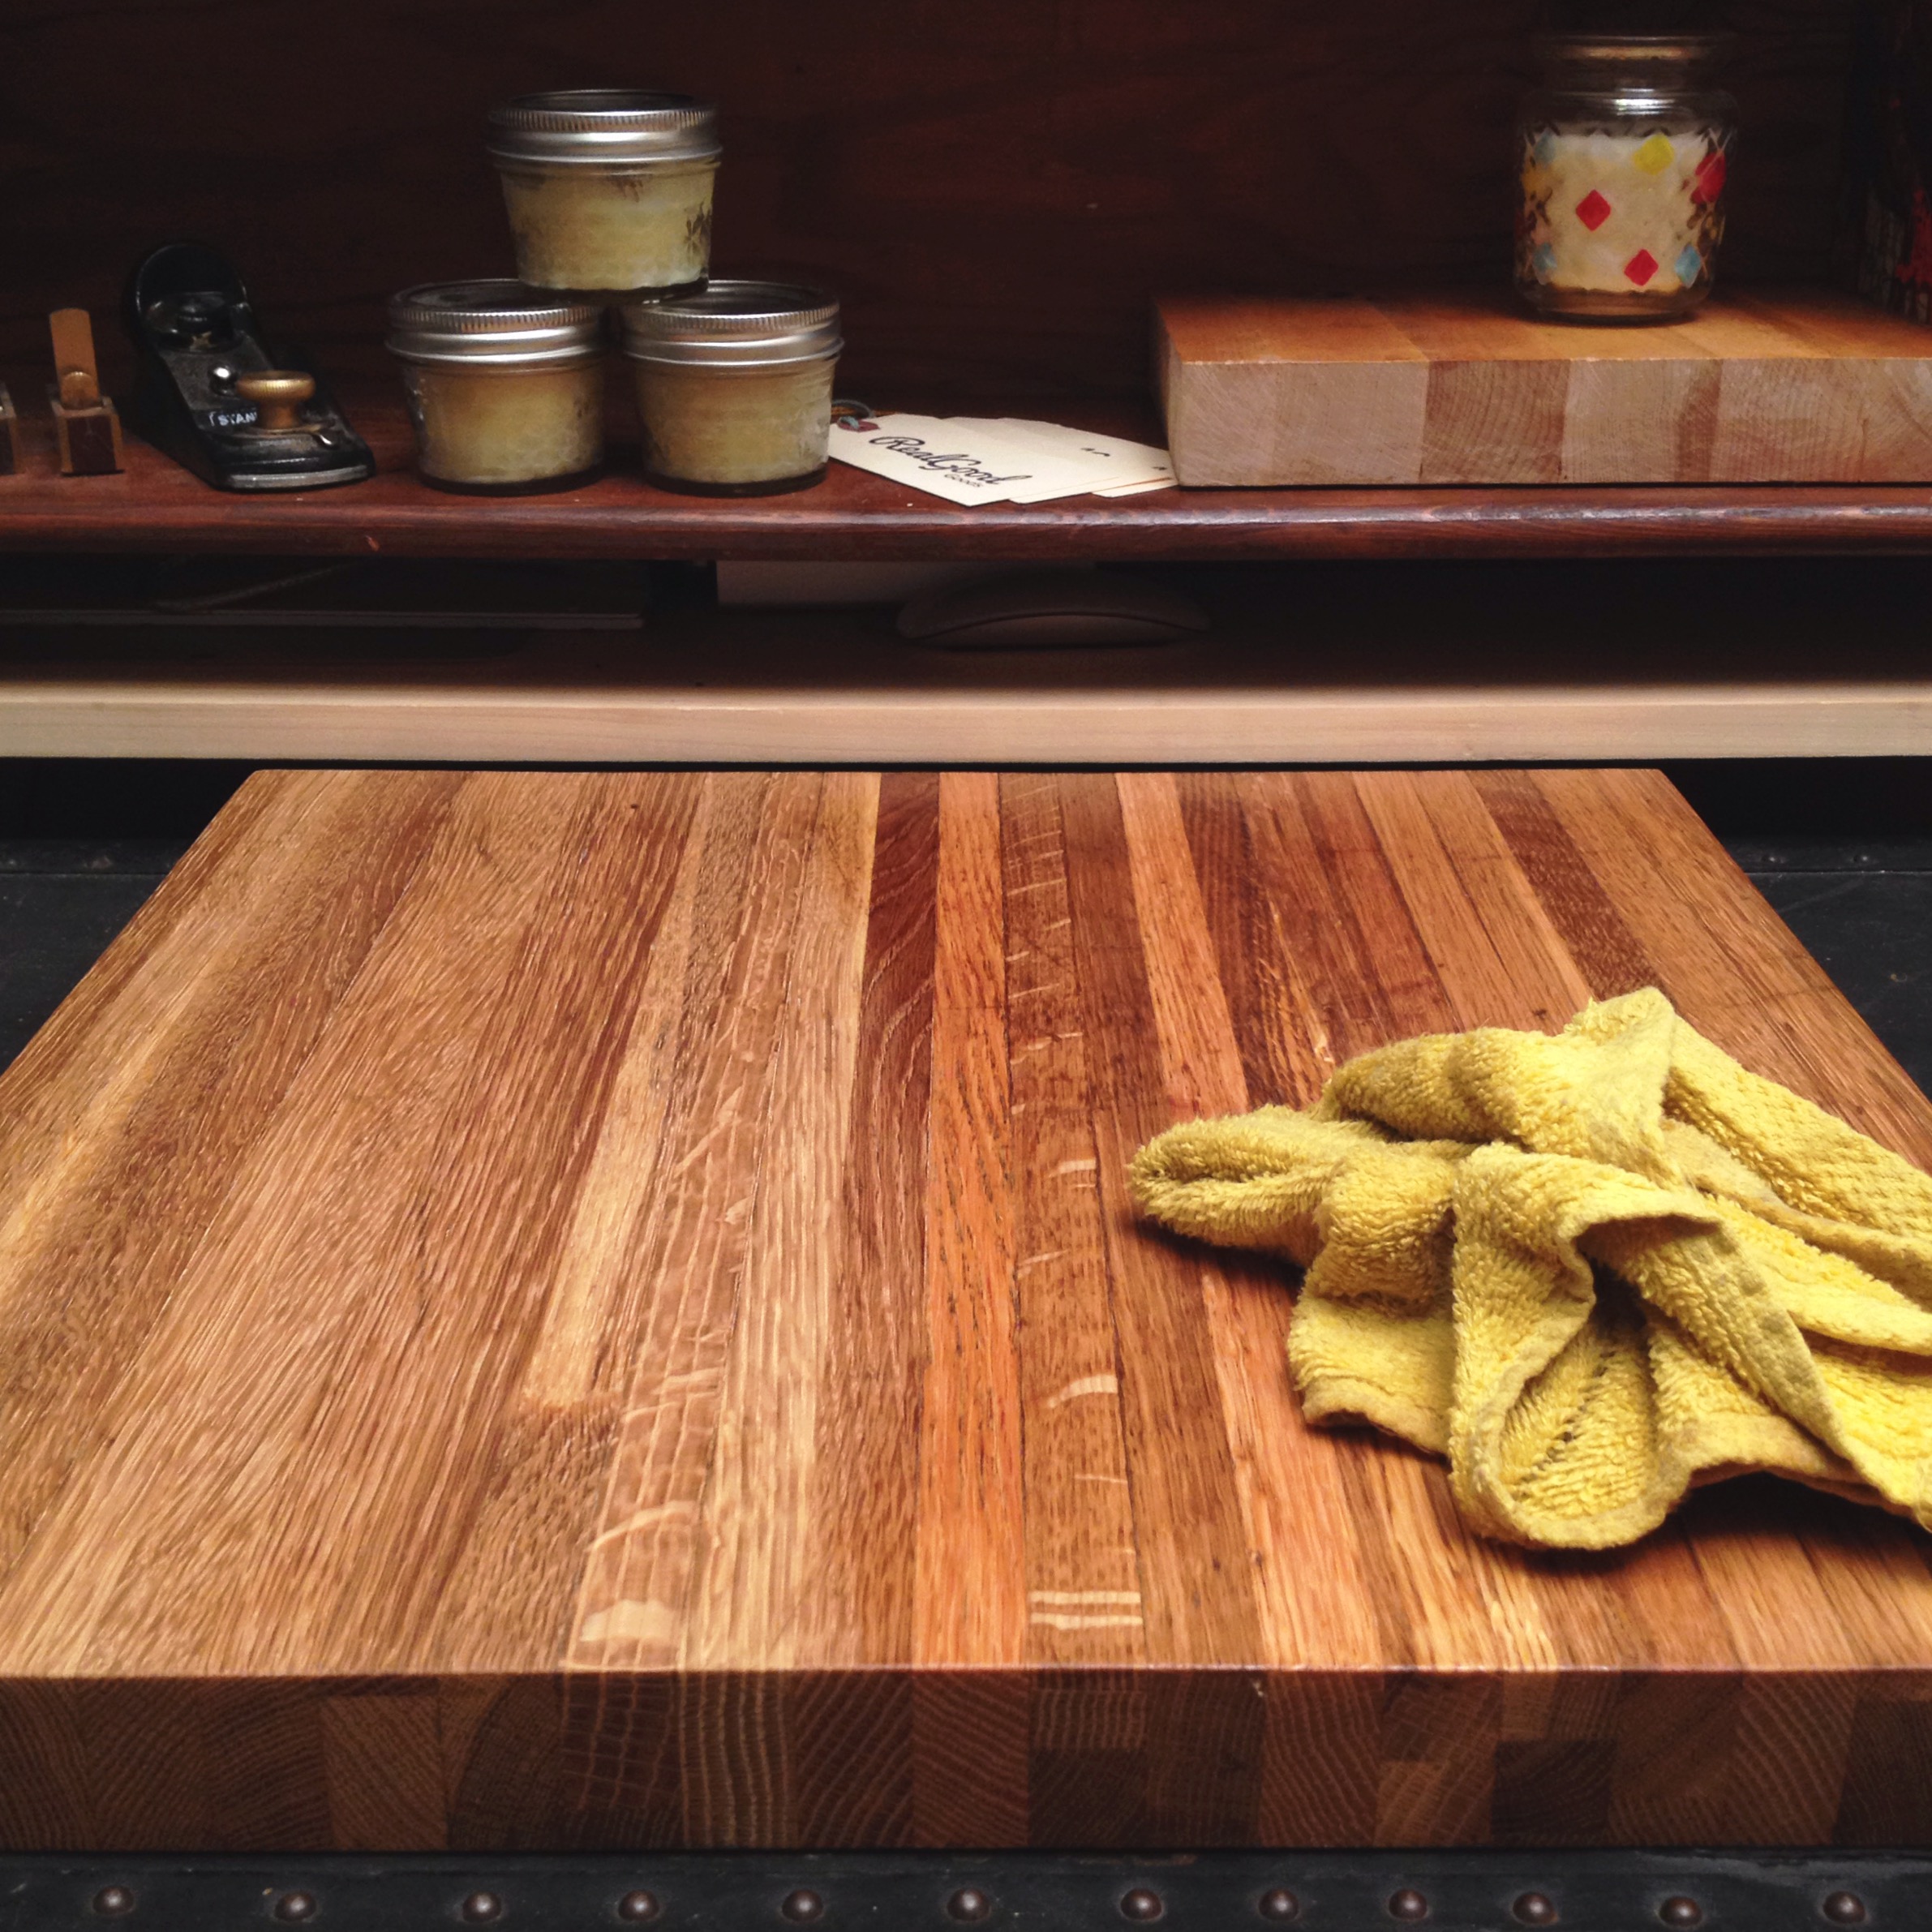
You're ready to get cooking! Wash your board with mild soap and water, after using and allow to dry completely before storing or oiling. Never allow your board to soak in water or moisture to pool on the surface for long periods of time. When the coating wears off, reapply the board butter again on a completely dry board.
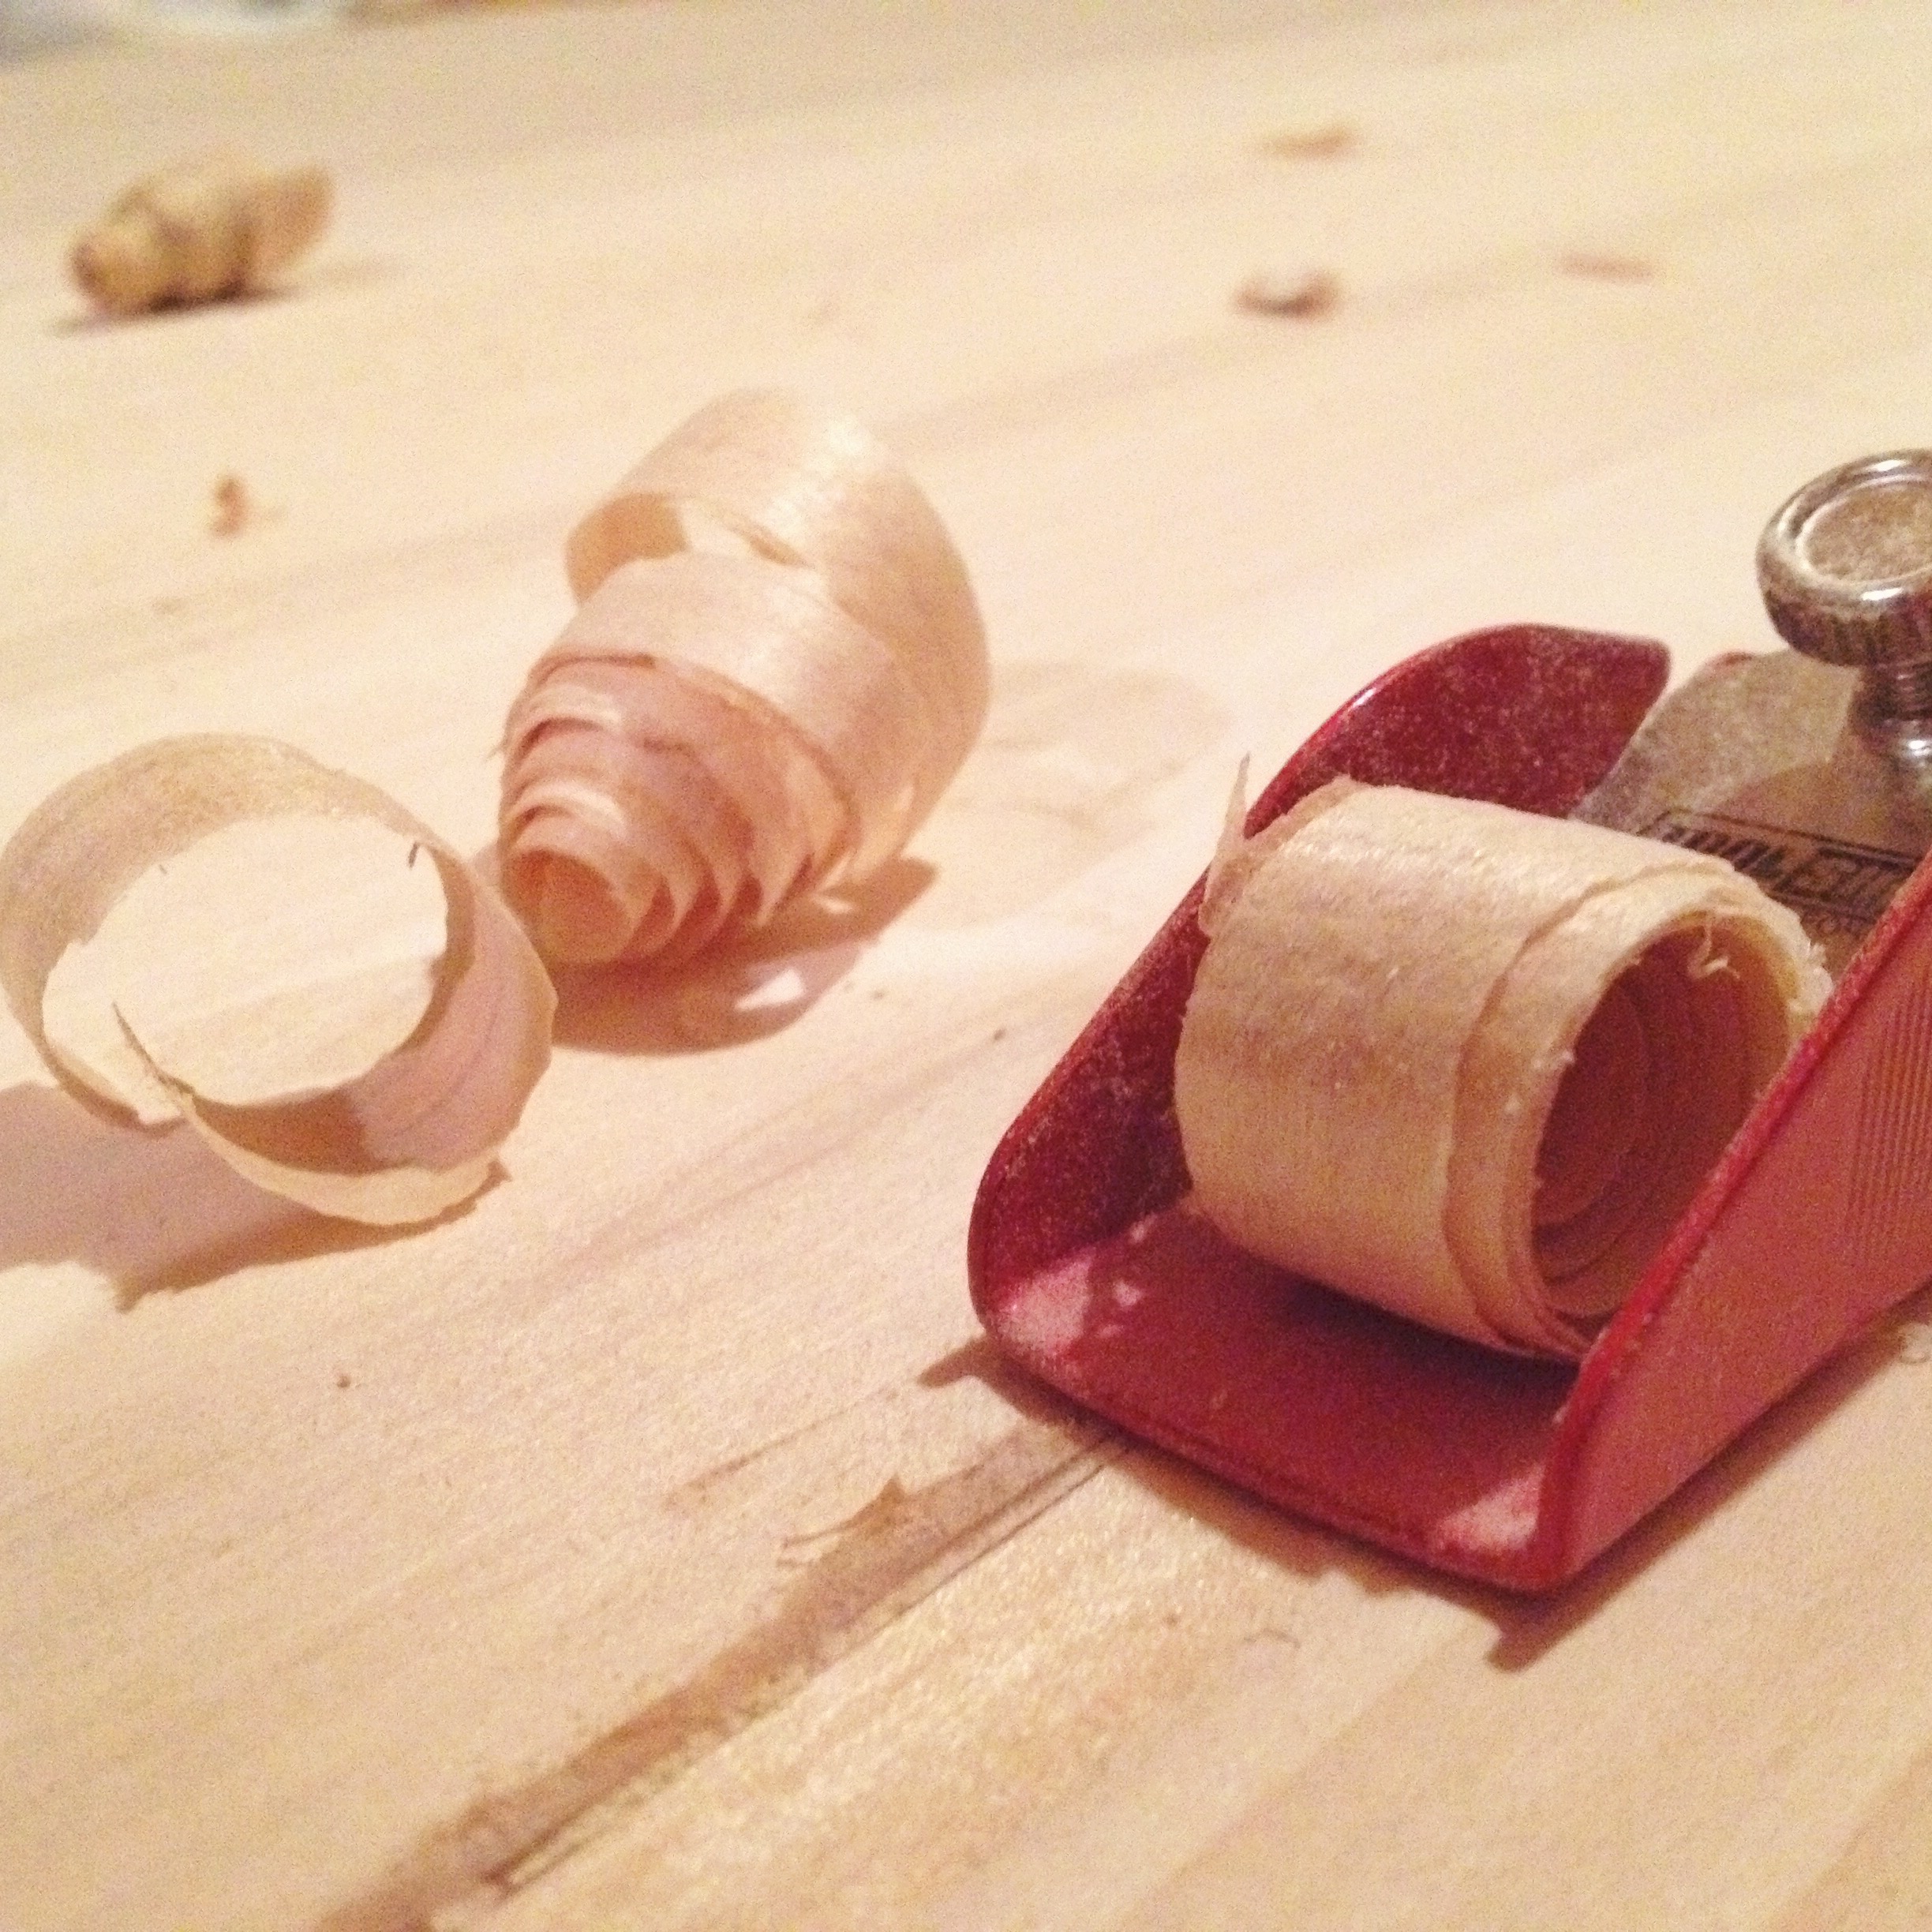
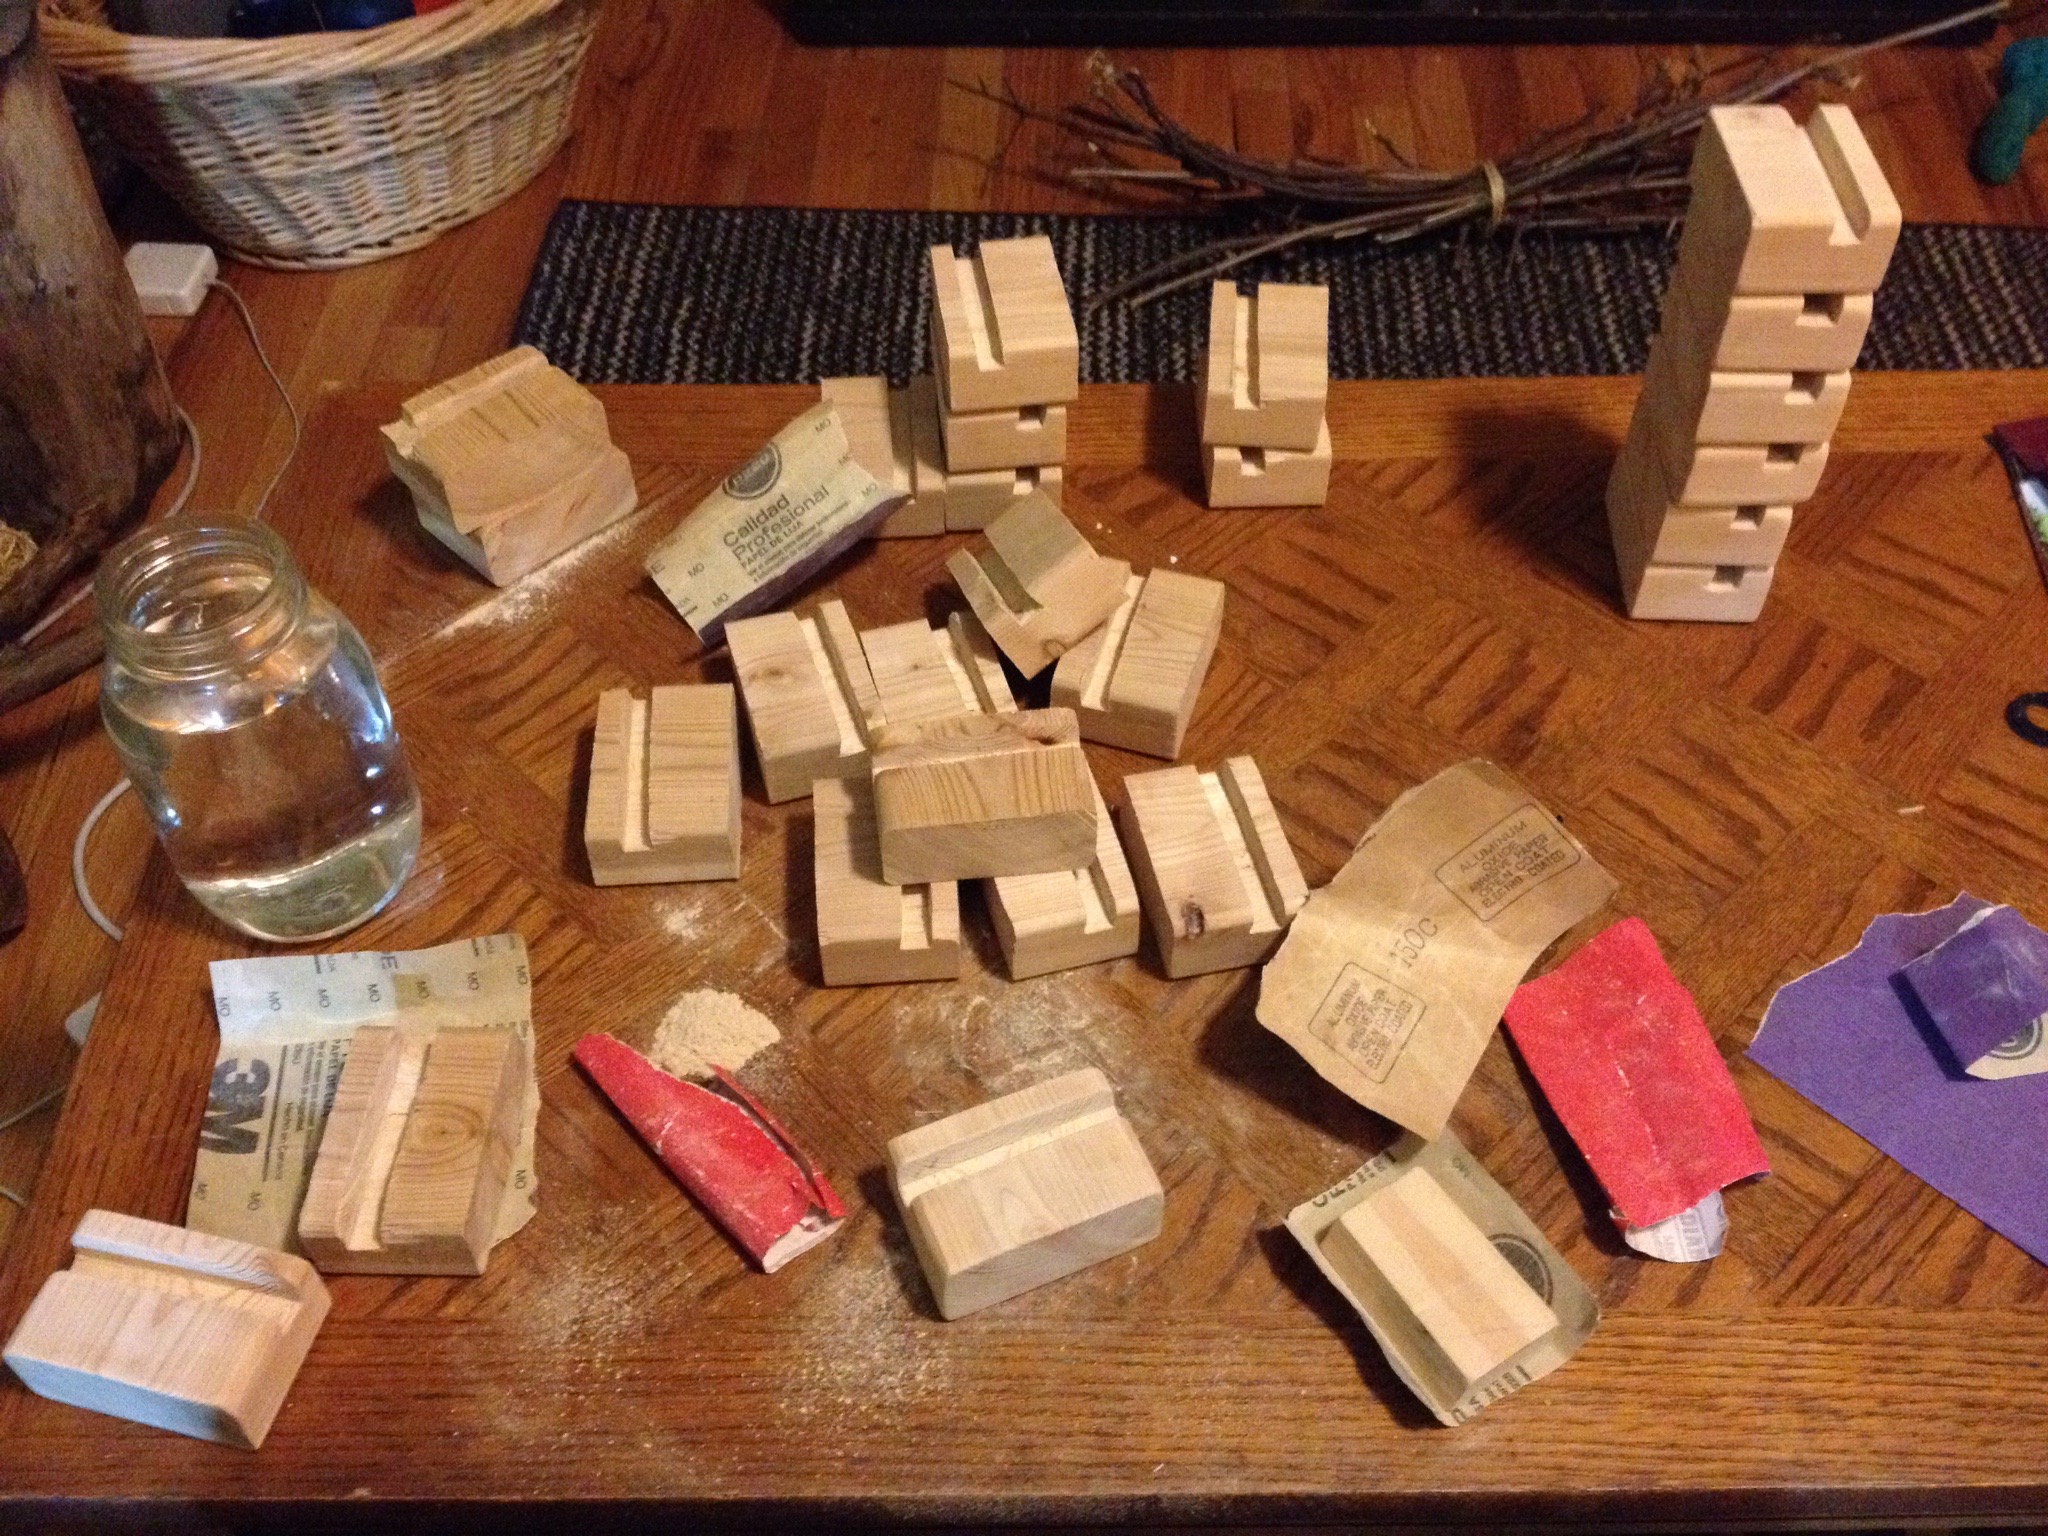
How our device stands are born
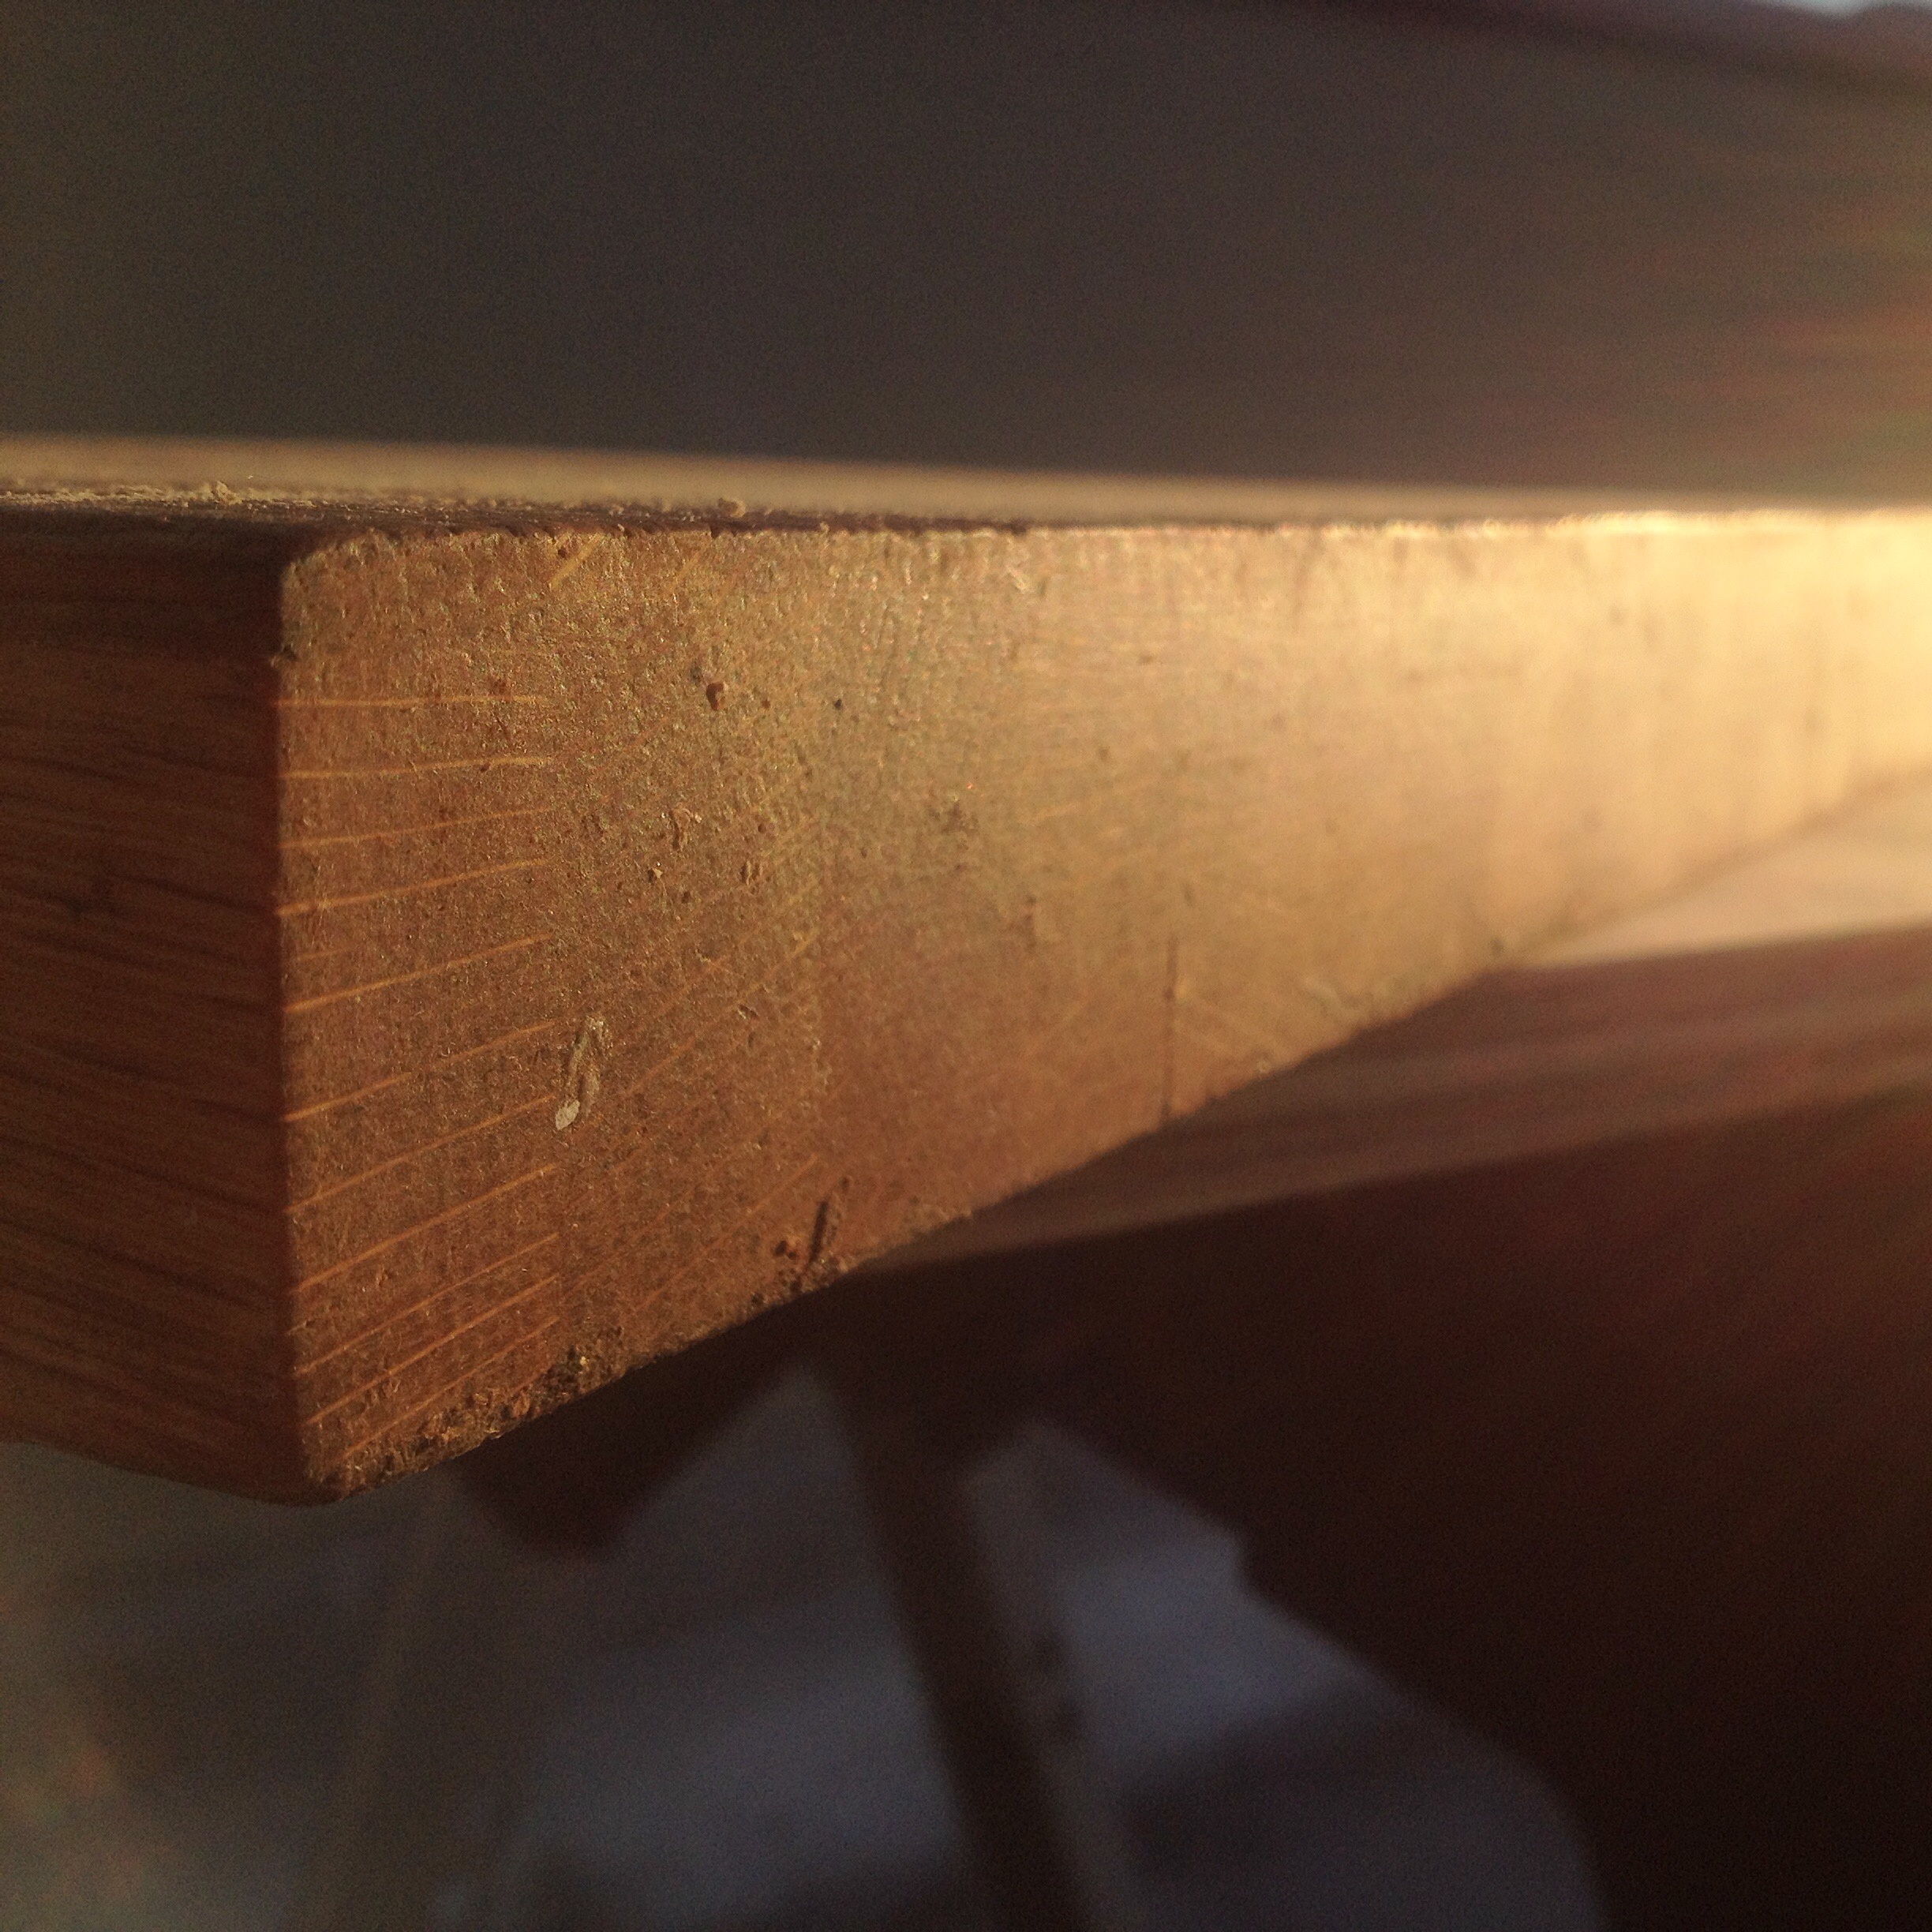
We thought it would be nice to share a look at how we cut the blanks for our device stands.
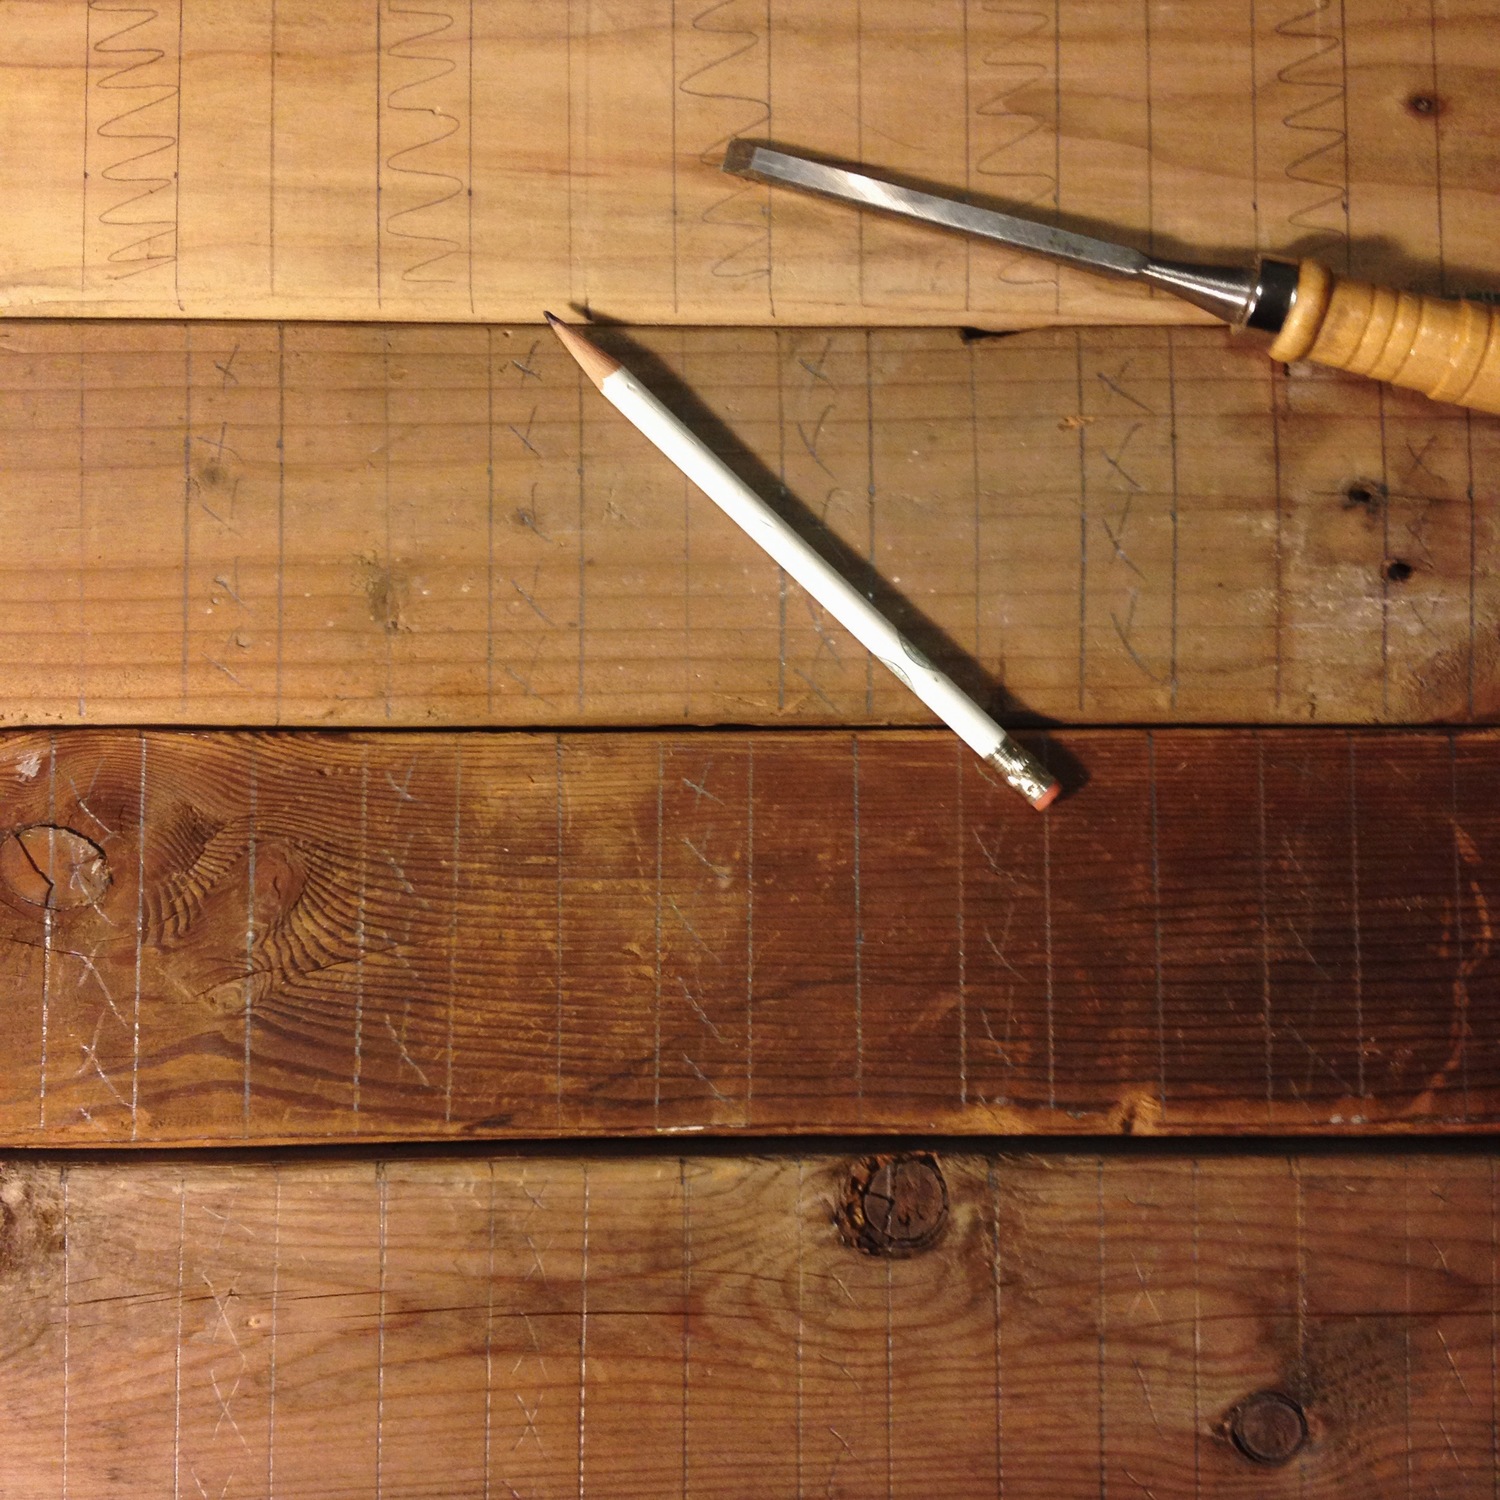
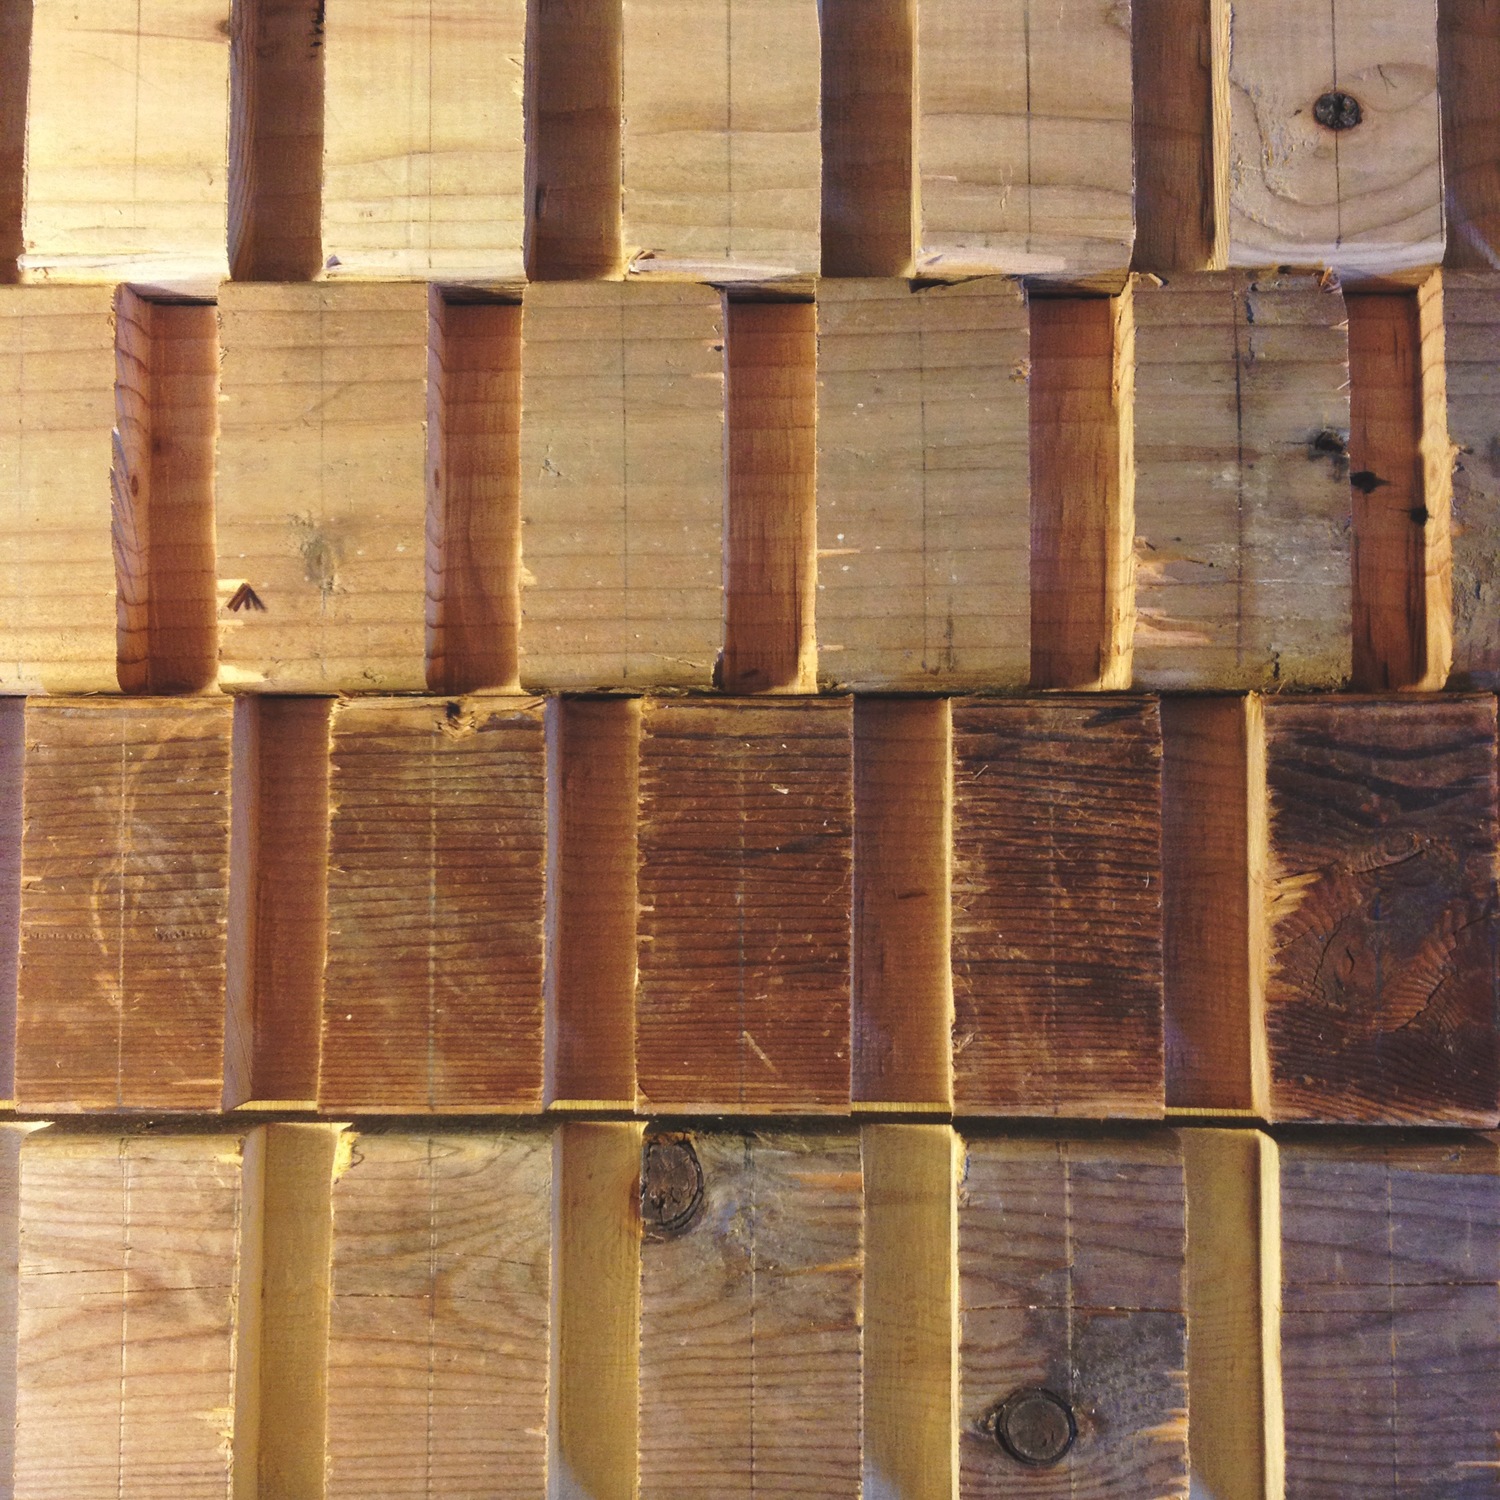
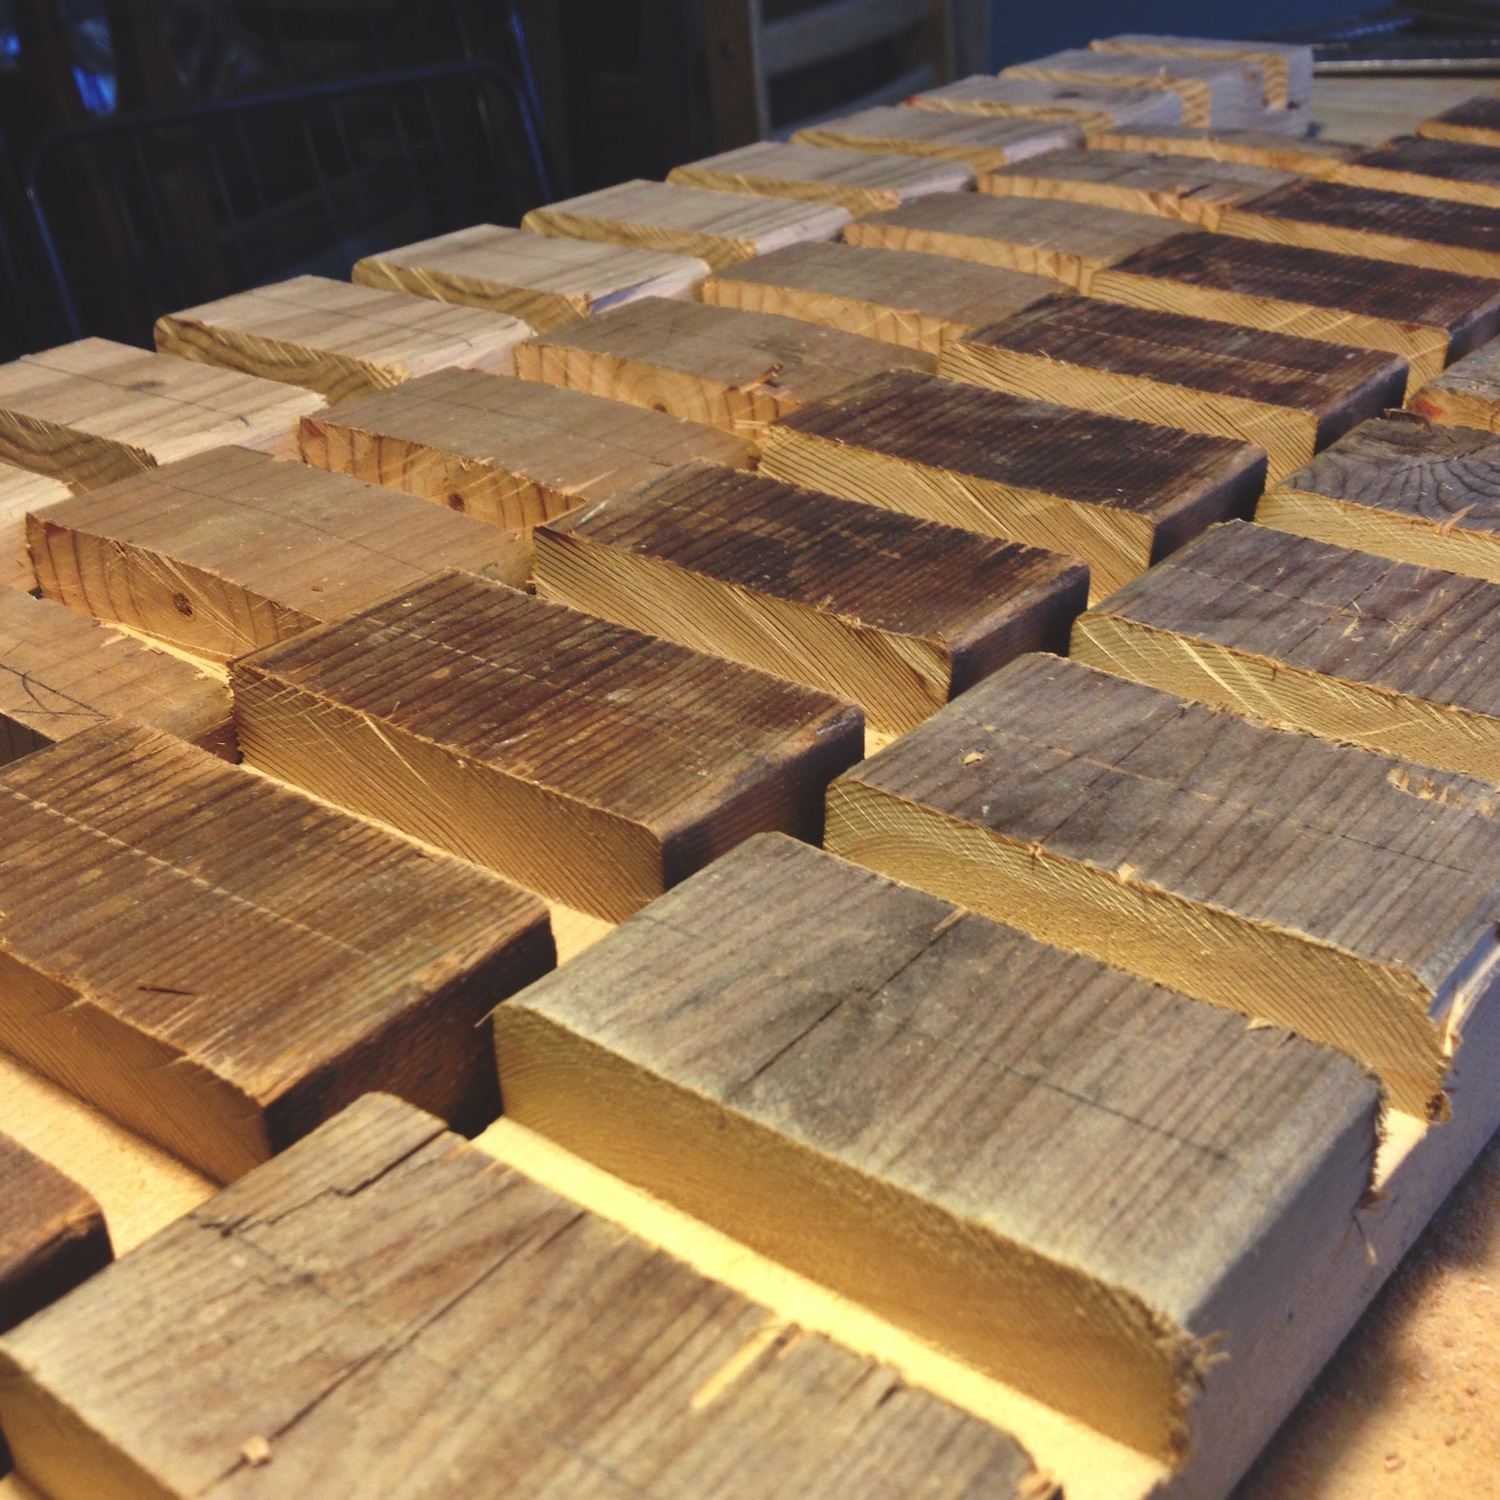
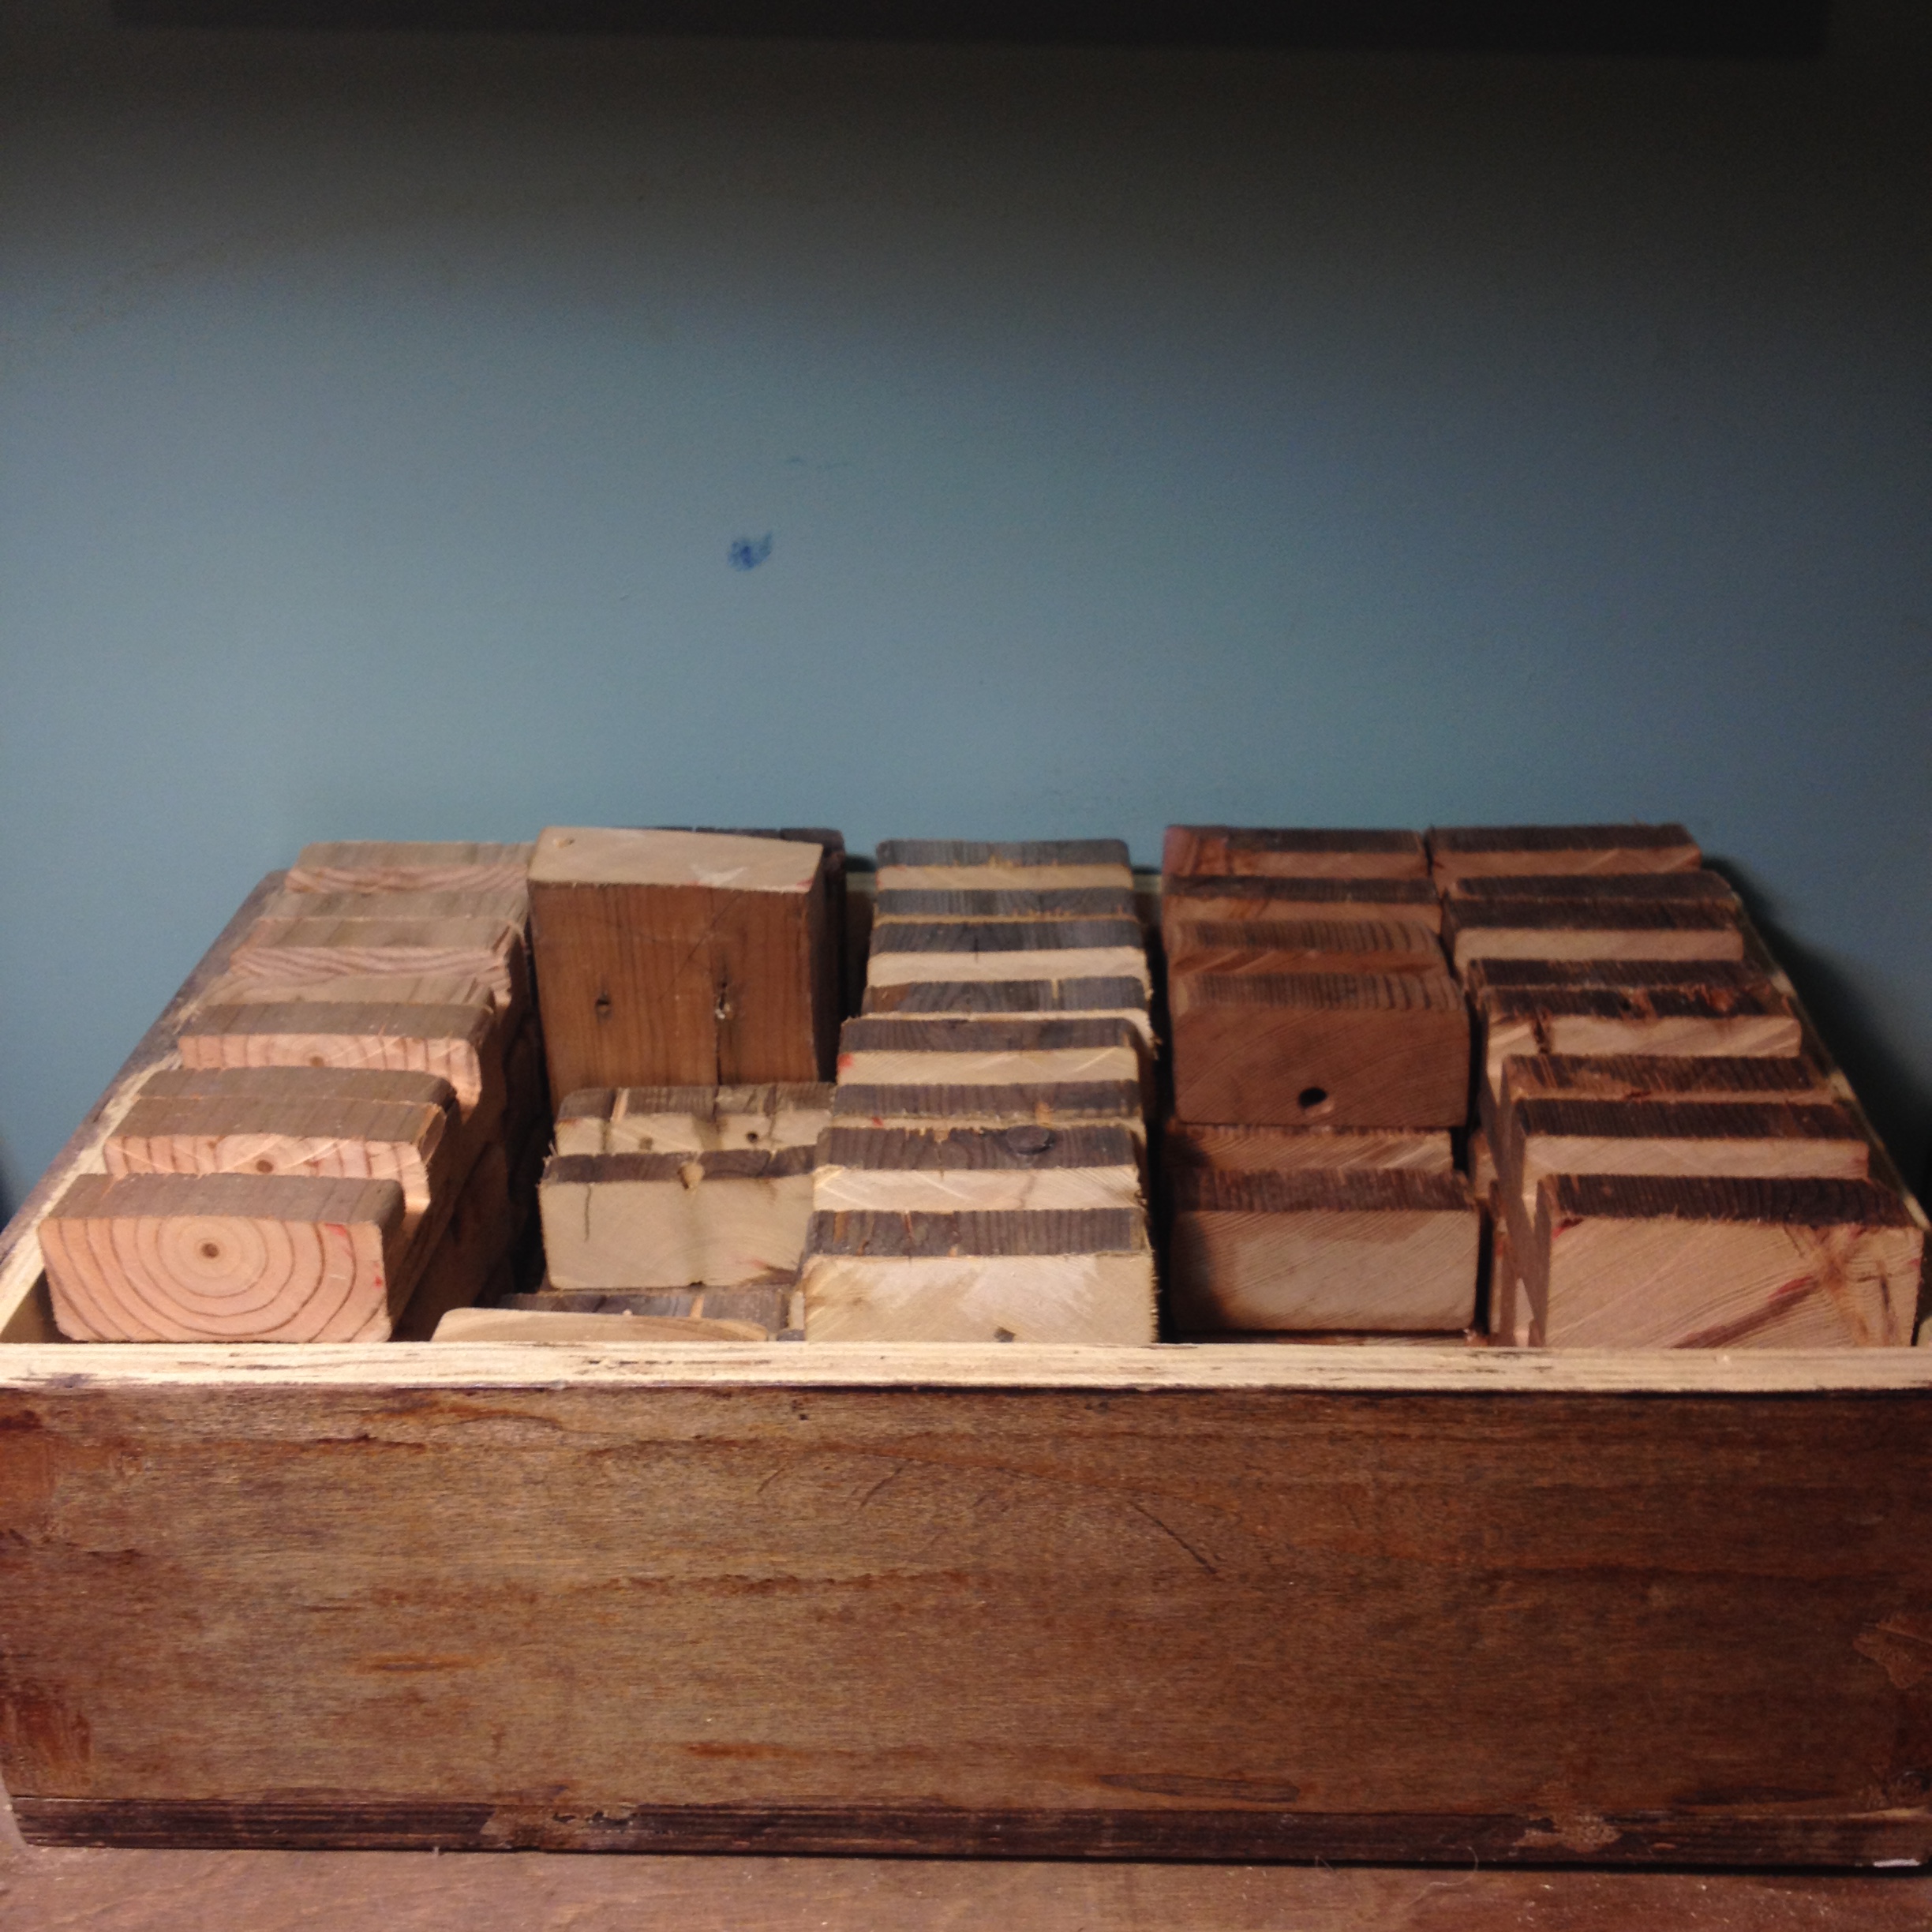
Once the blanks are cut they are ready for the a 2-3 step sanding process to clean up the surface, edges and to soften the existing imperfections from using reclaimed wood — chips, cracks, nail and screw holes, etc. Before the final sanding we drill and carve out the hole for the charger and cable run.
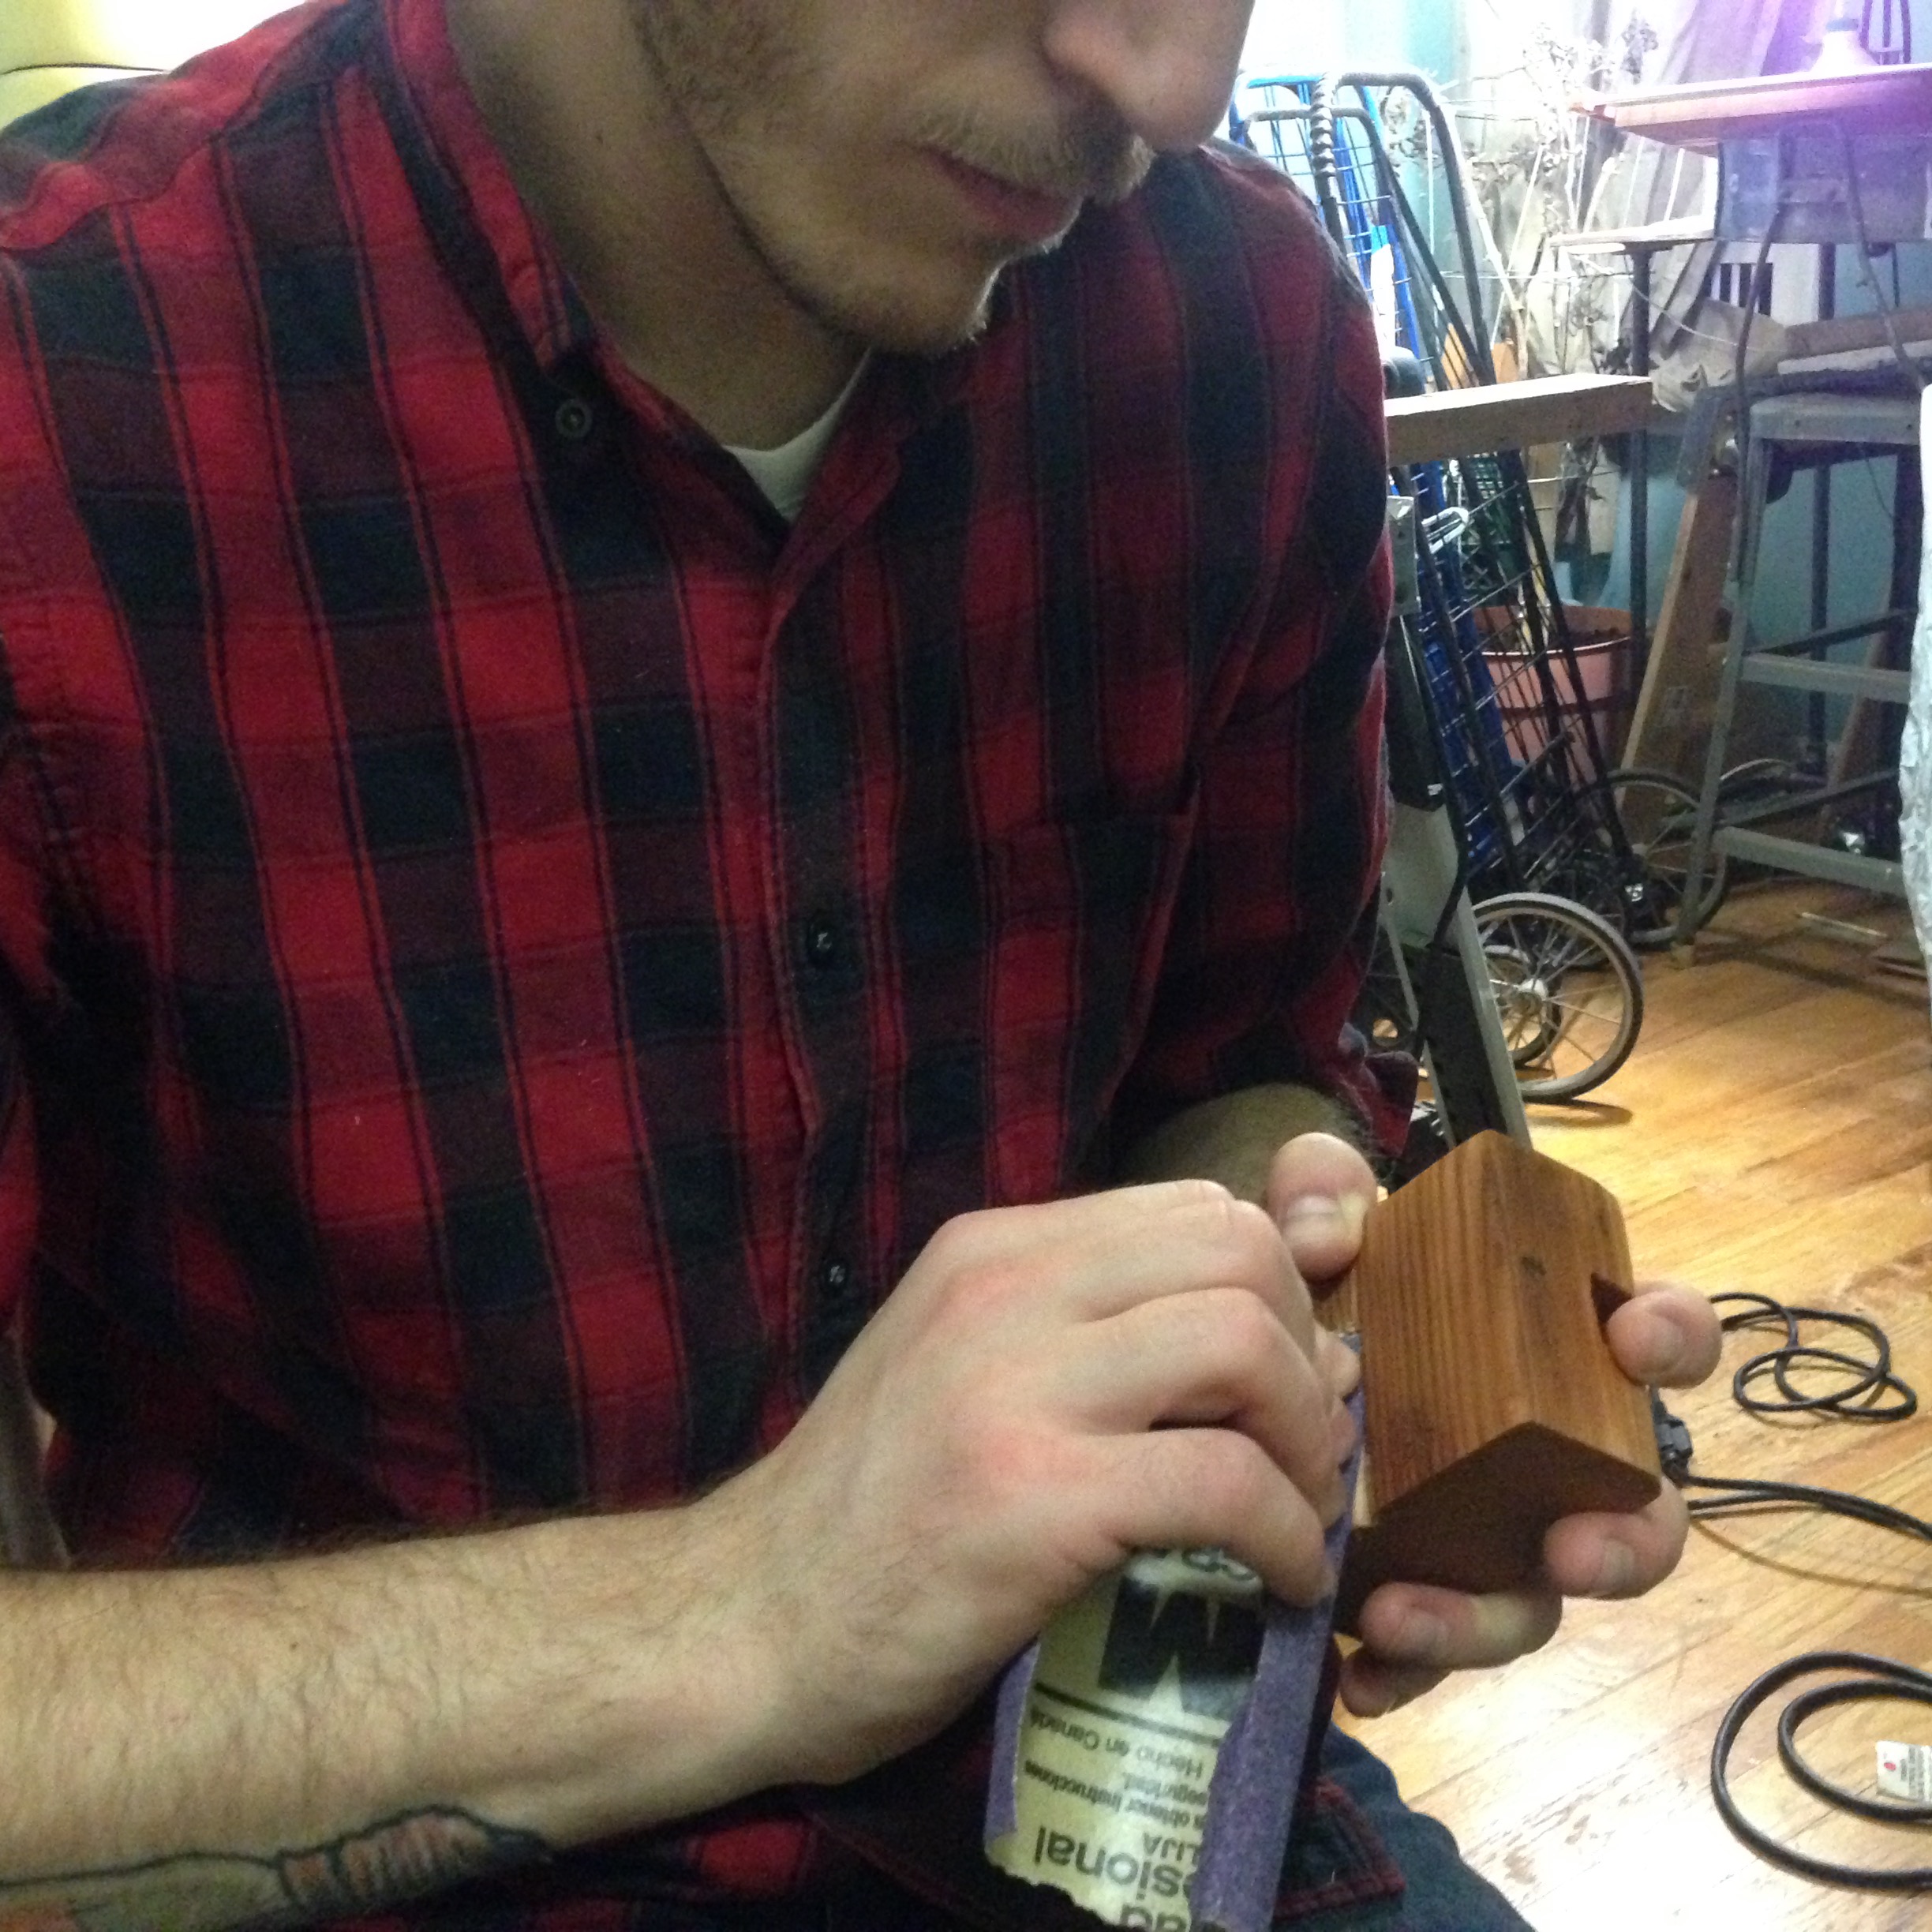
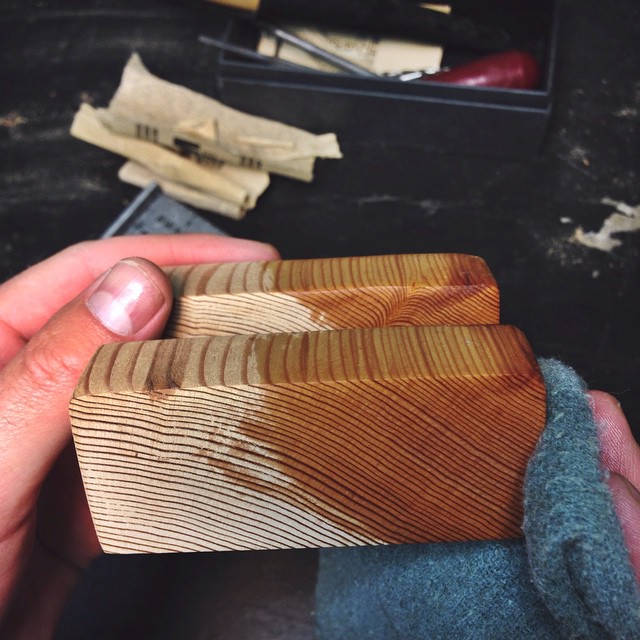
Once all sides are smoothed out, we bathe the wood in mineral oil and let it rest for a day. Then we seal it with our homemade recipe of Organic Beeswax Board Butter.

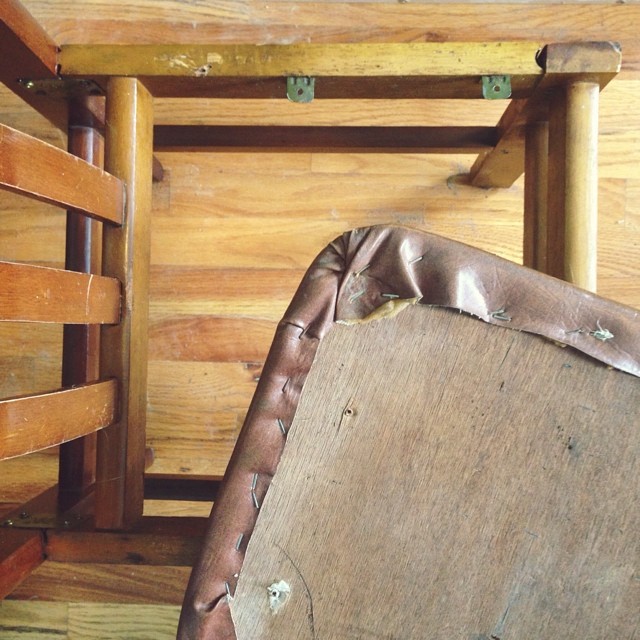
Reupholstery
We've gotten a couple new chairs brought into the shop that require some love. Most of the time this requires the lost art of the ancients -- reupholstery.

The first step will be removing all the screws and assessing the damage. This includes inspecting the surface for scuffs, scratches, and gouges, the screw holes for stripping, and the joints for any wiggle room or instability. Most of the scuffs can be cleaned up with some wood soap. In this chair we'll need to reseat the leg joints with wood glue, clamp it down, and let it set for at least 8 hours. Overnight is probably best.
In the meantime, we'll start removing the staples from the bottom of the cushion. The foam is still good, so we'll just need some new fabric. Make some clean folds, and pop in some new staples.
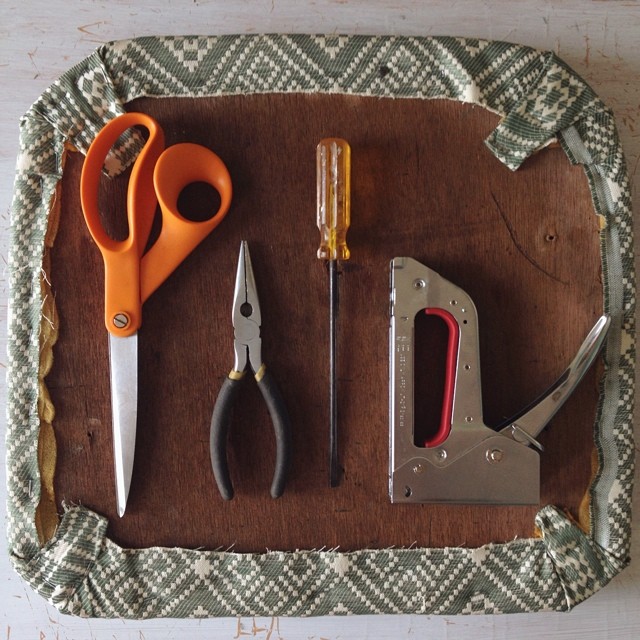
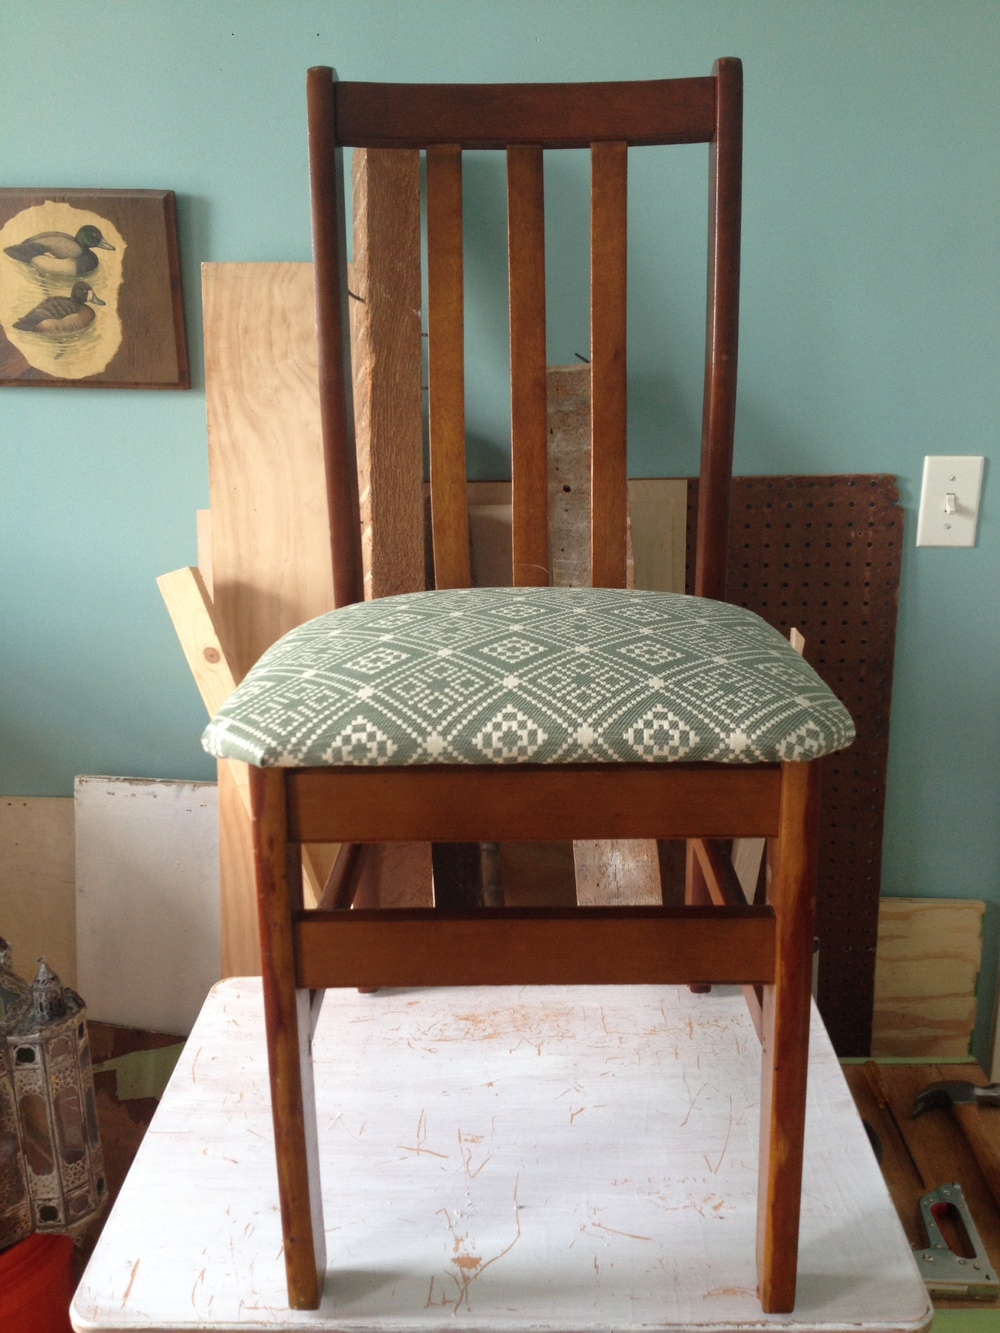
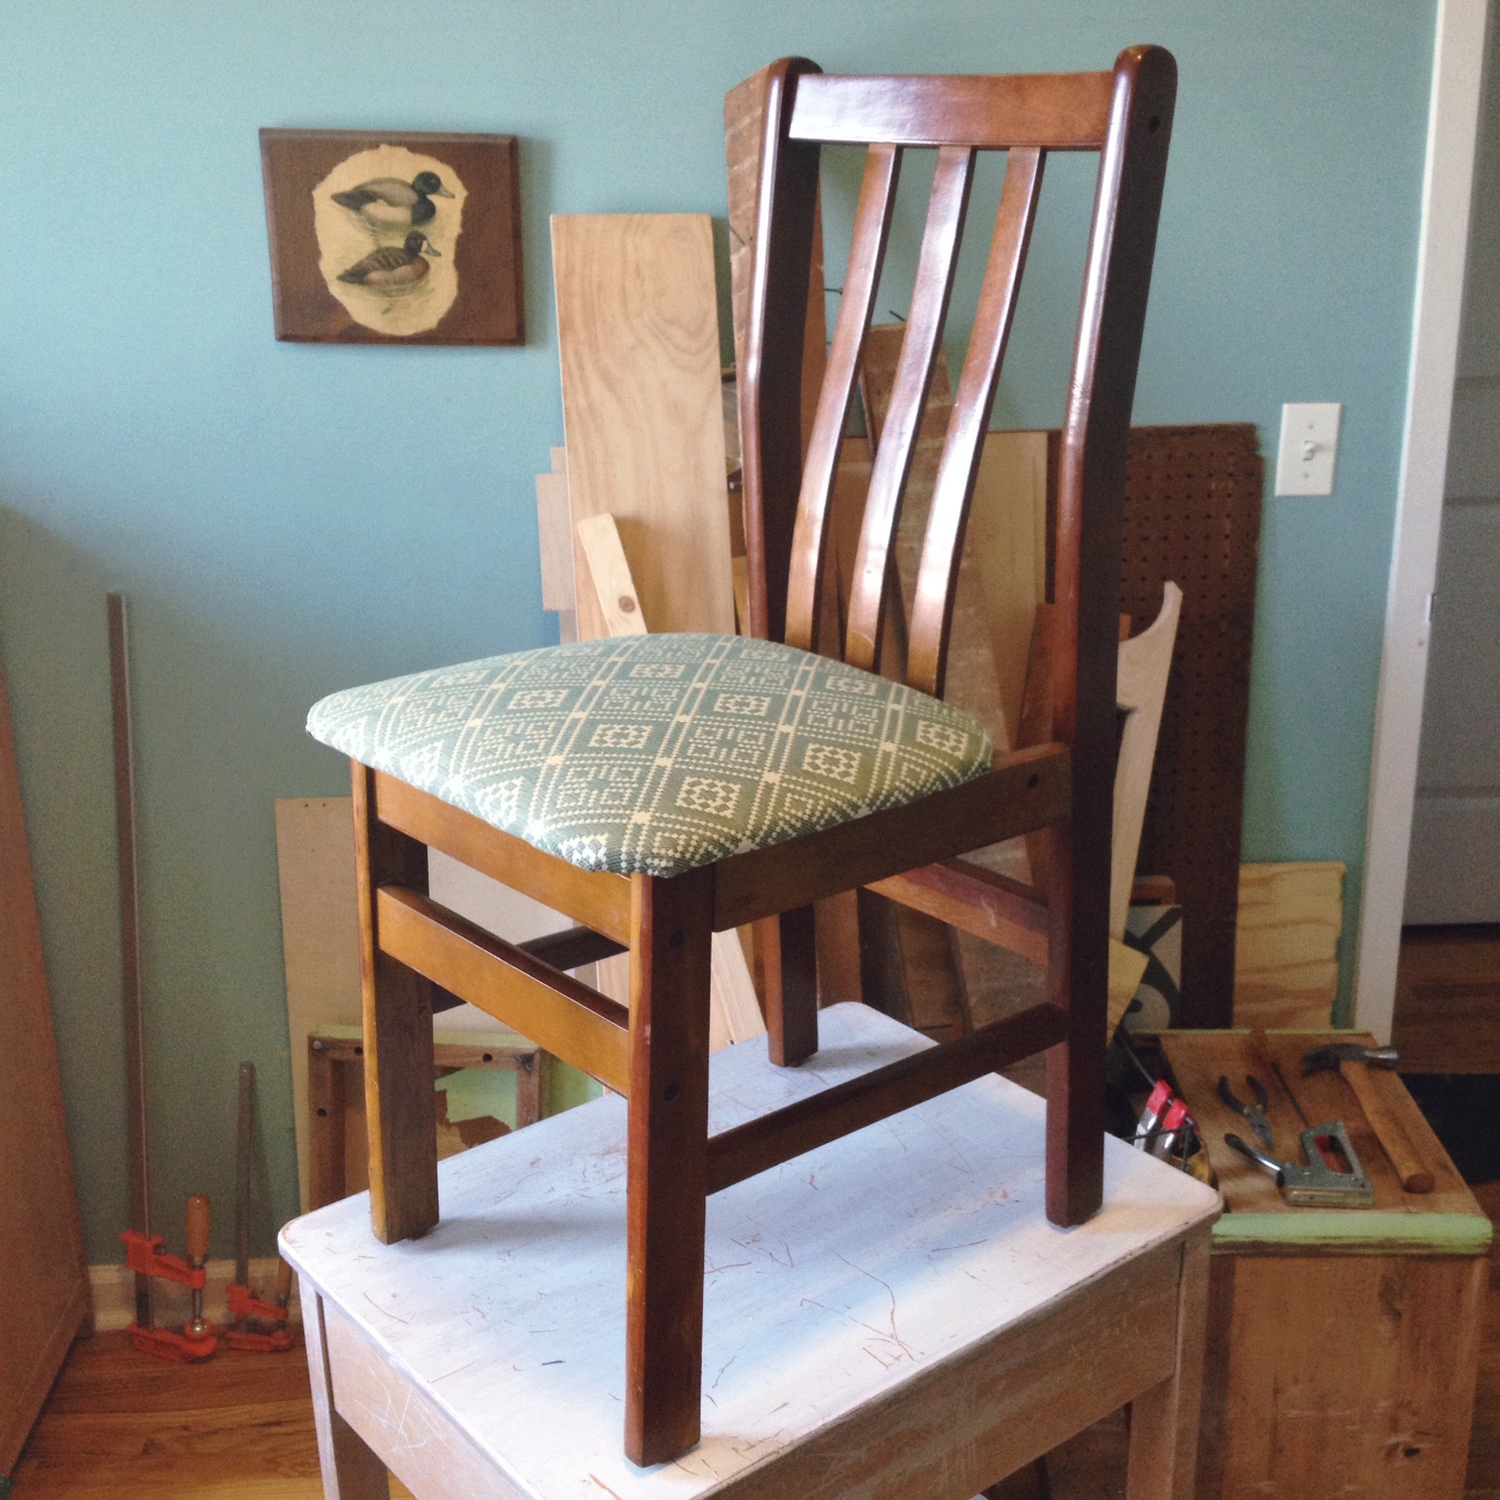
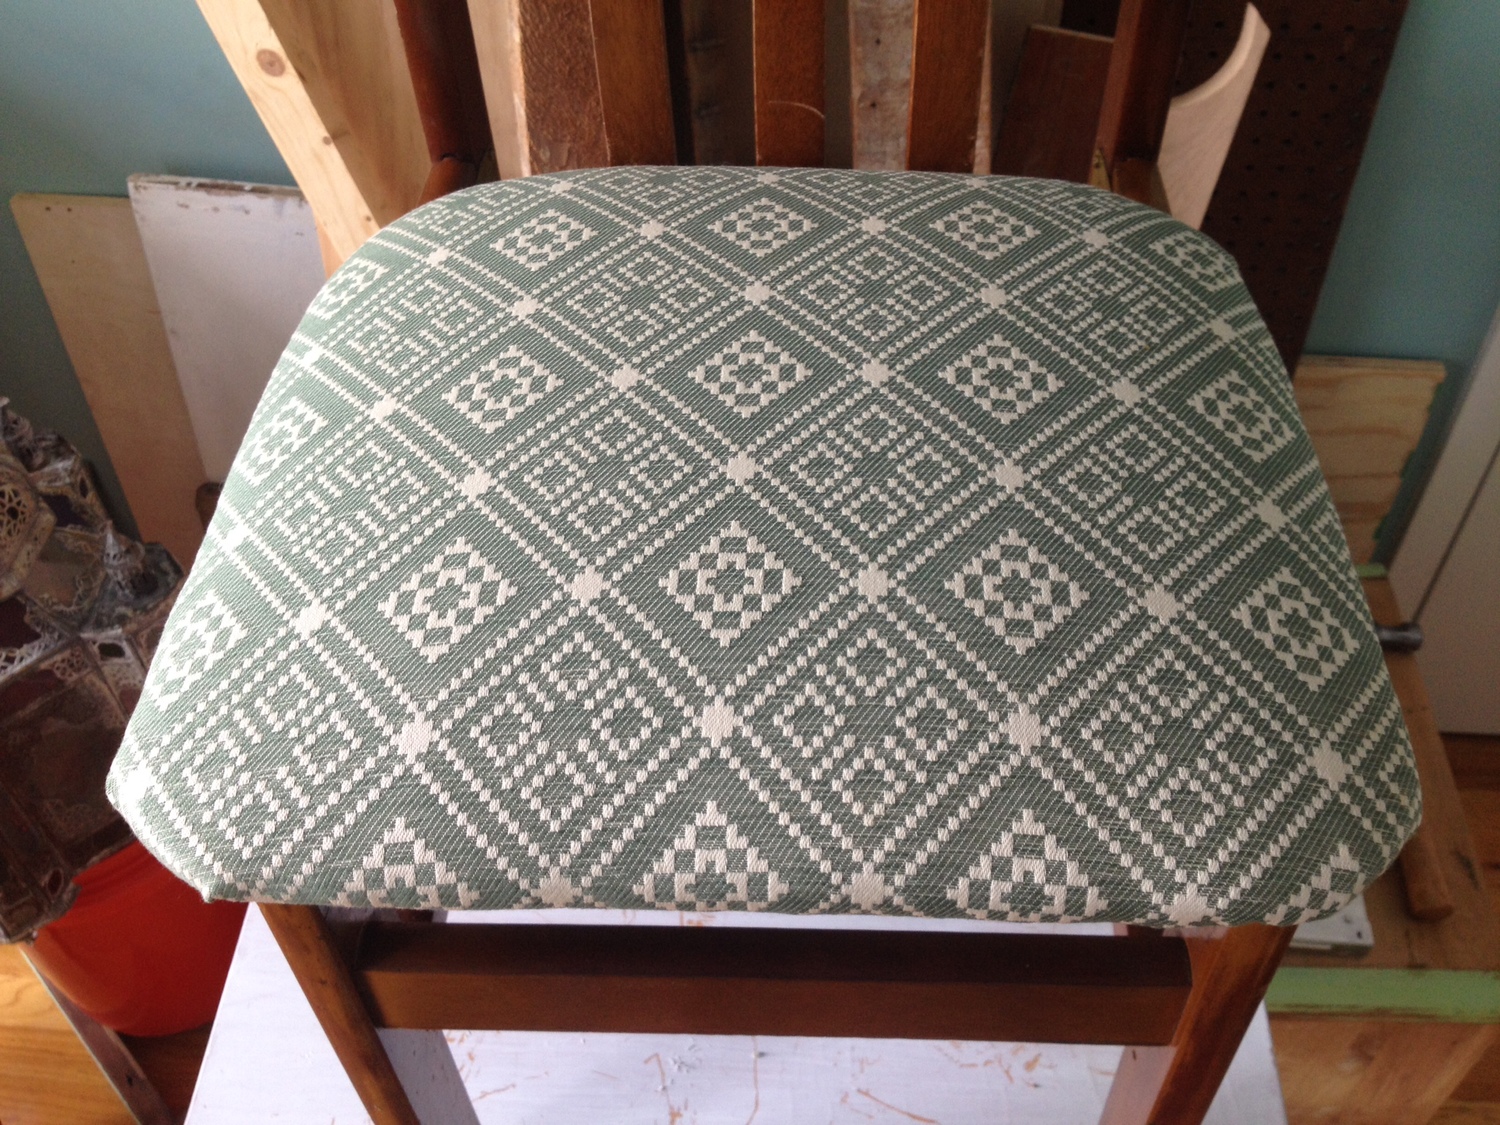
Voila, we have a brand new chair!