


We built a table!
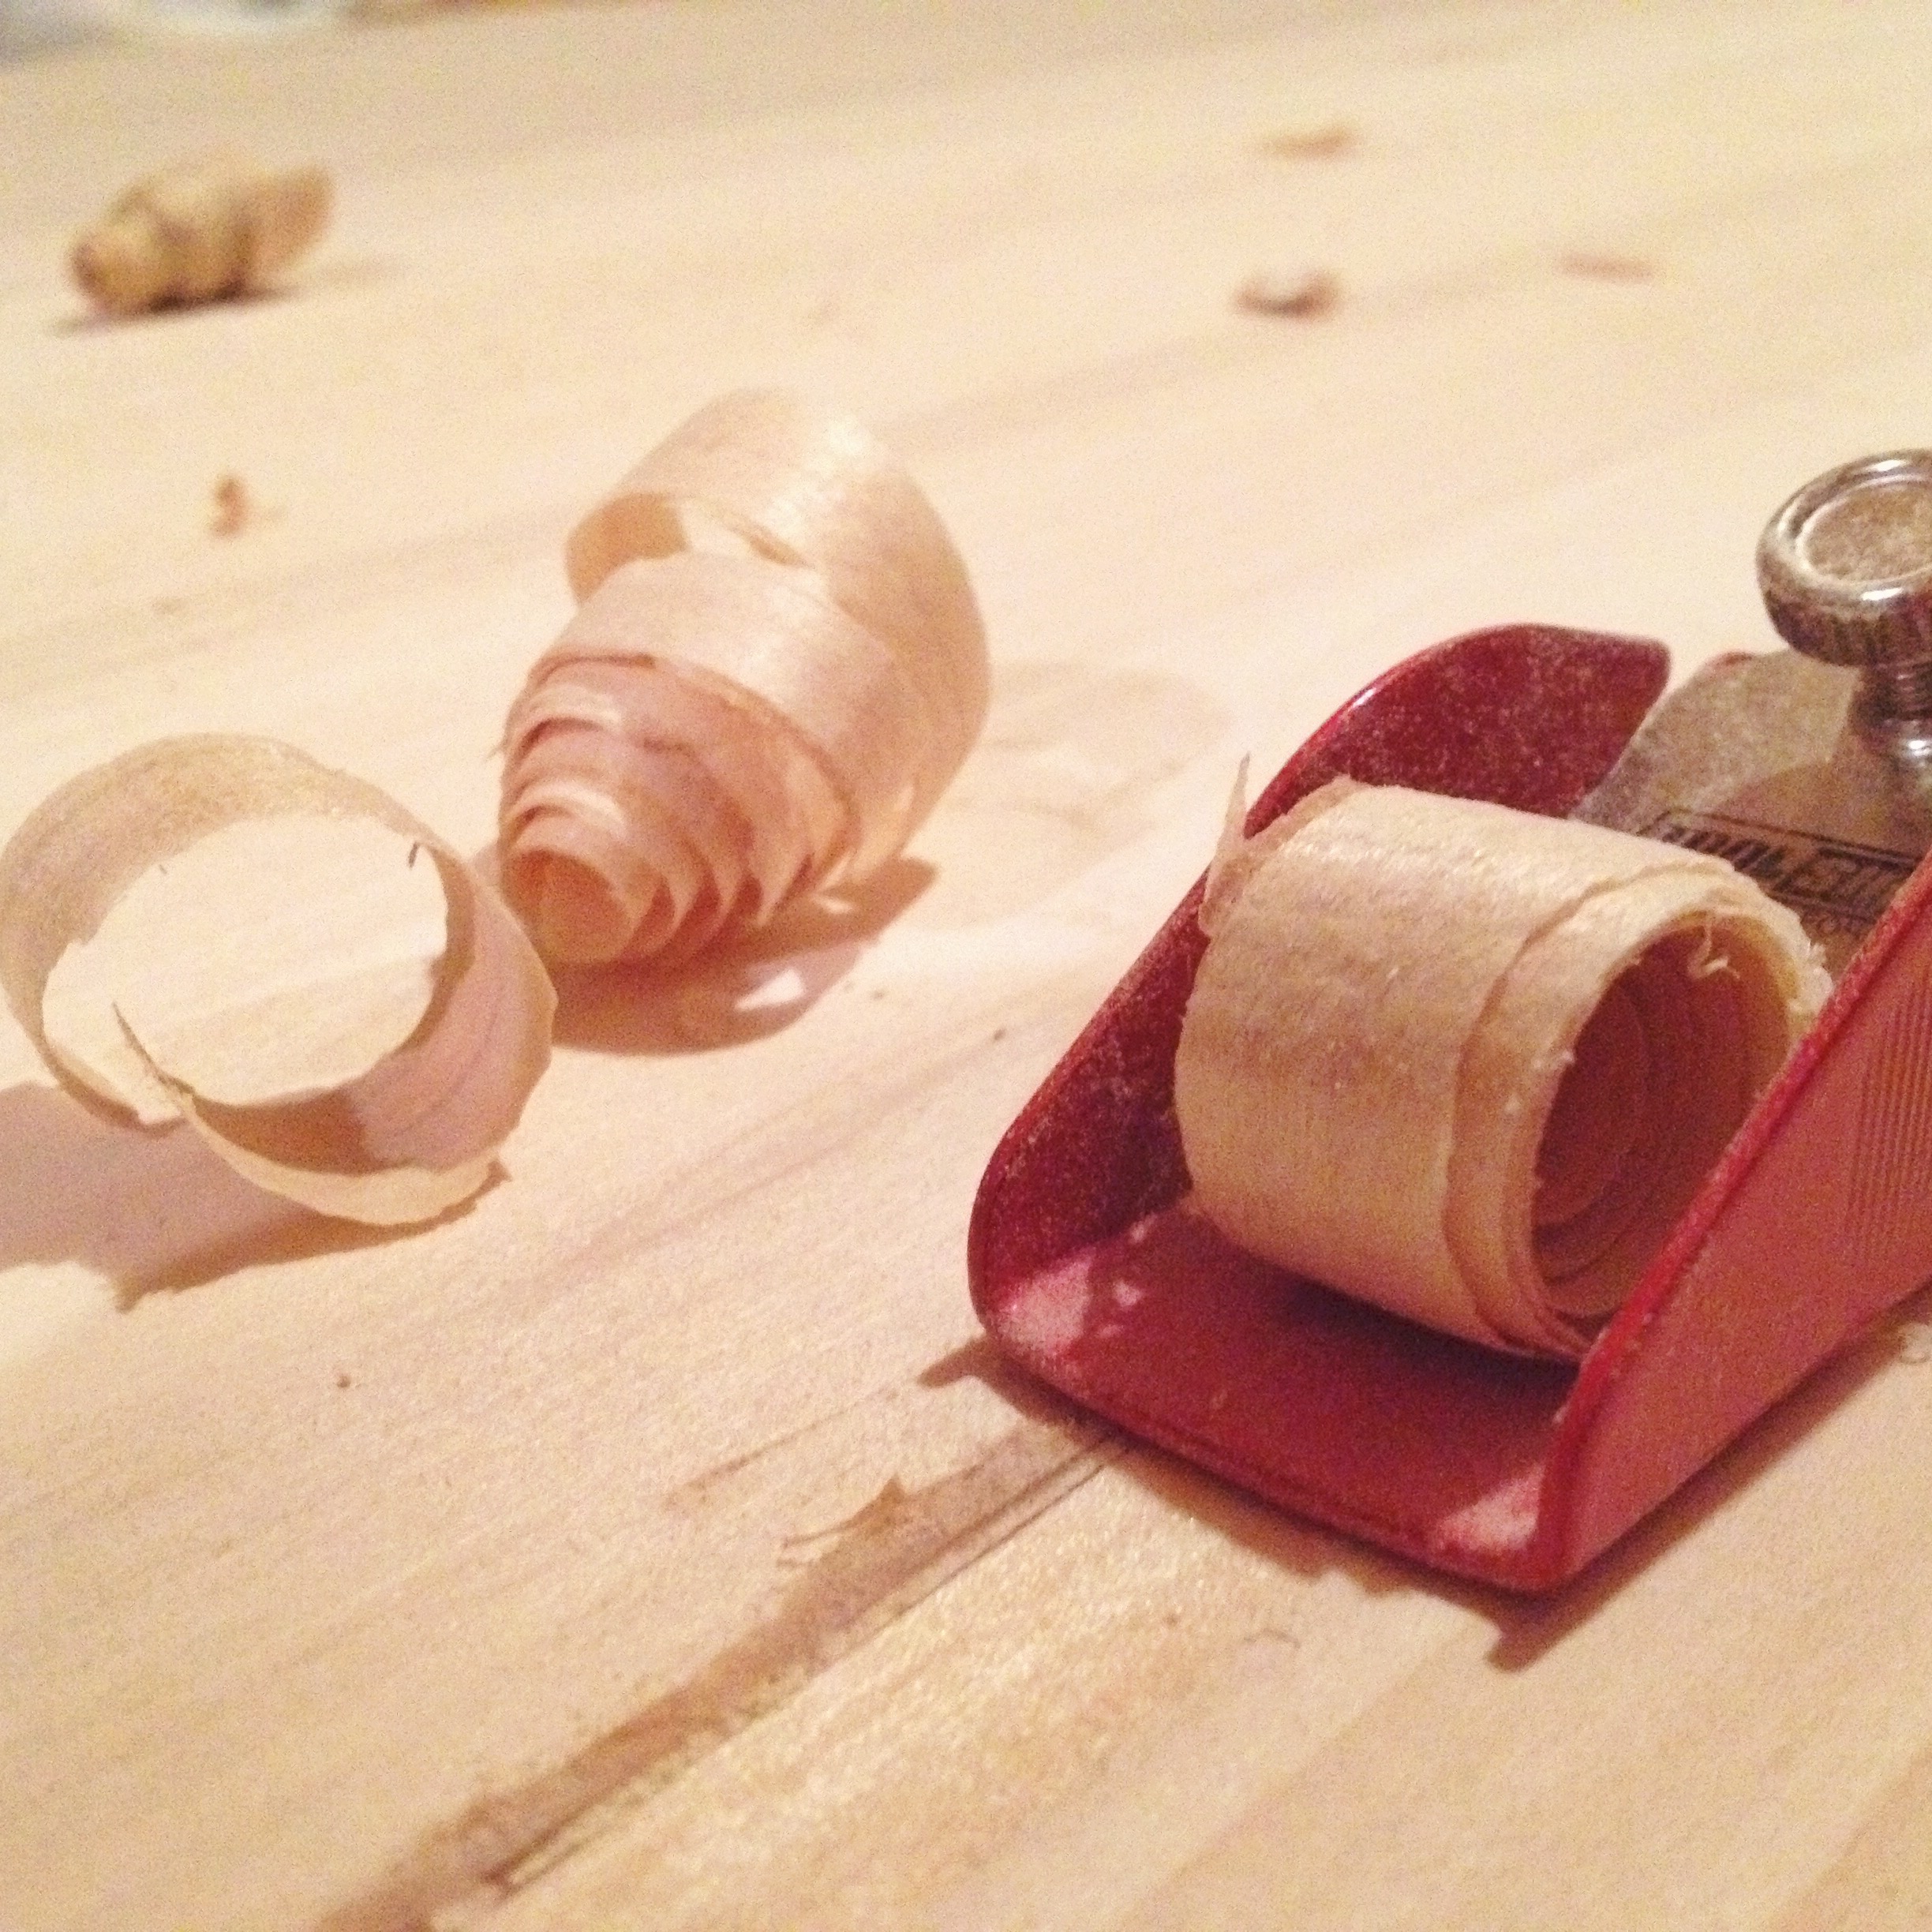
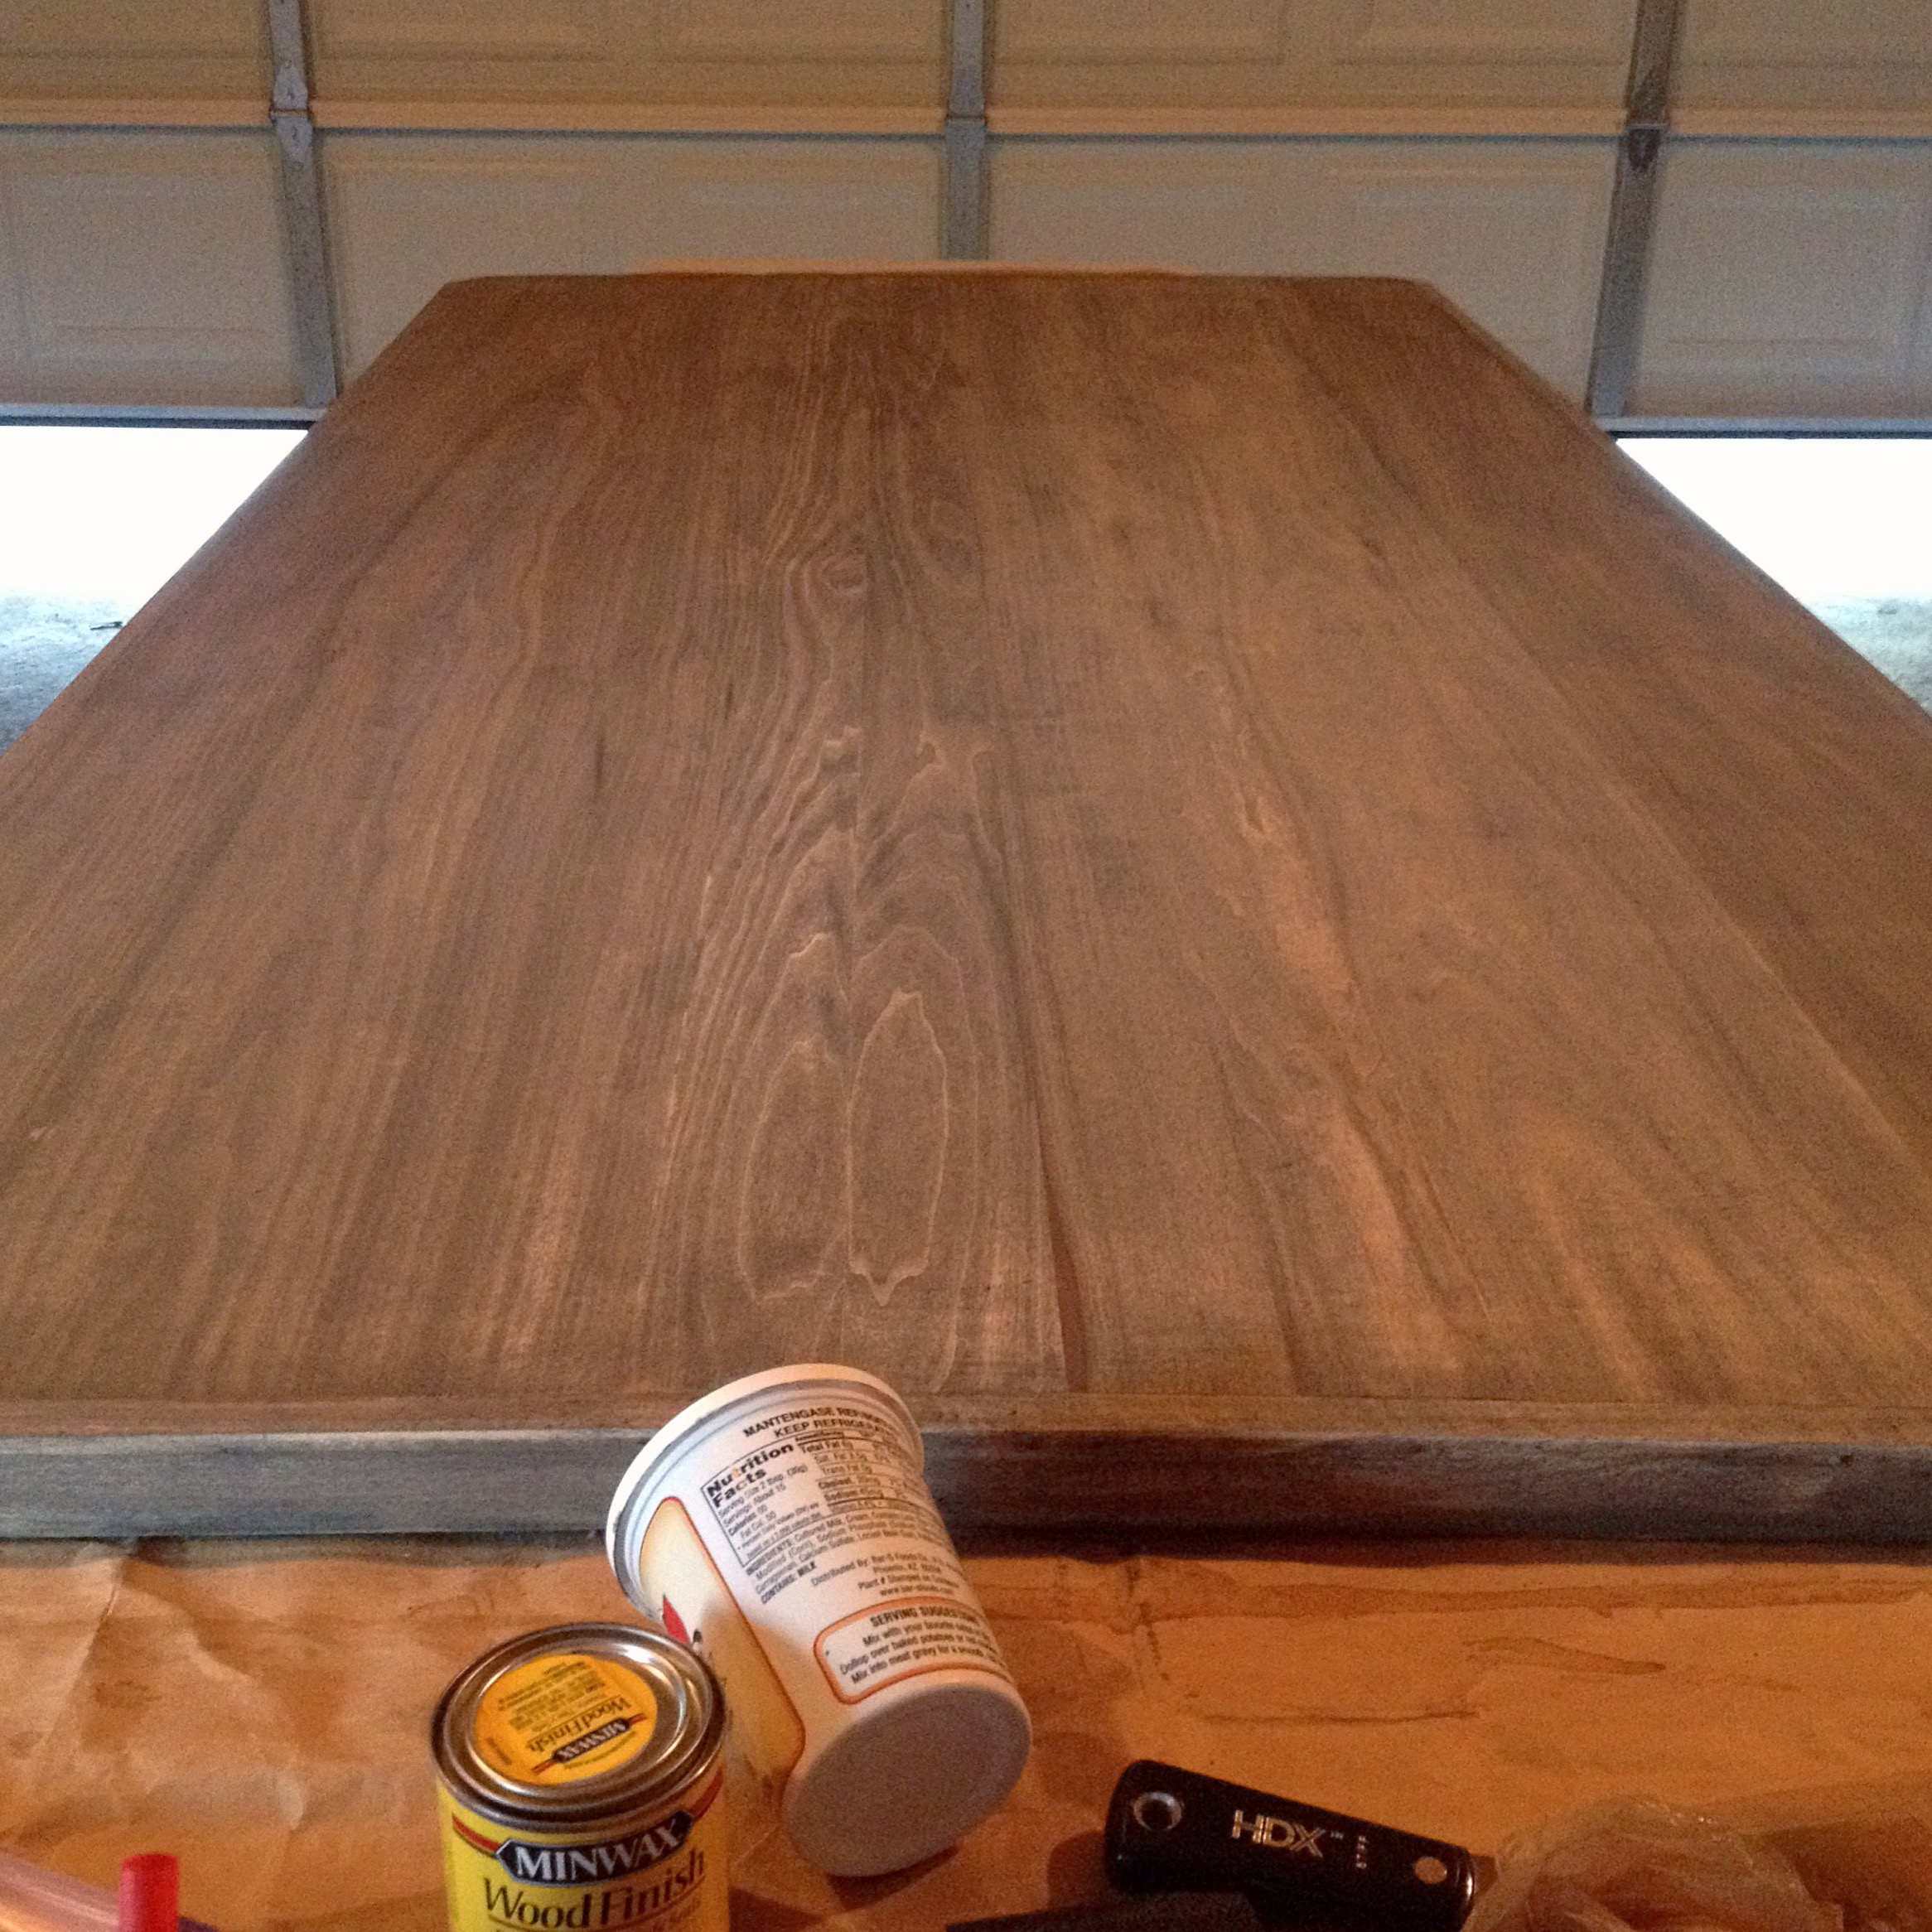
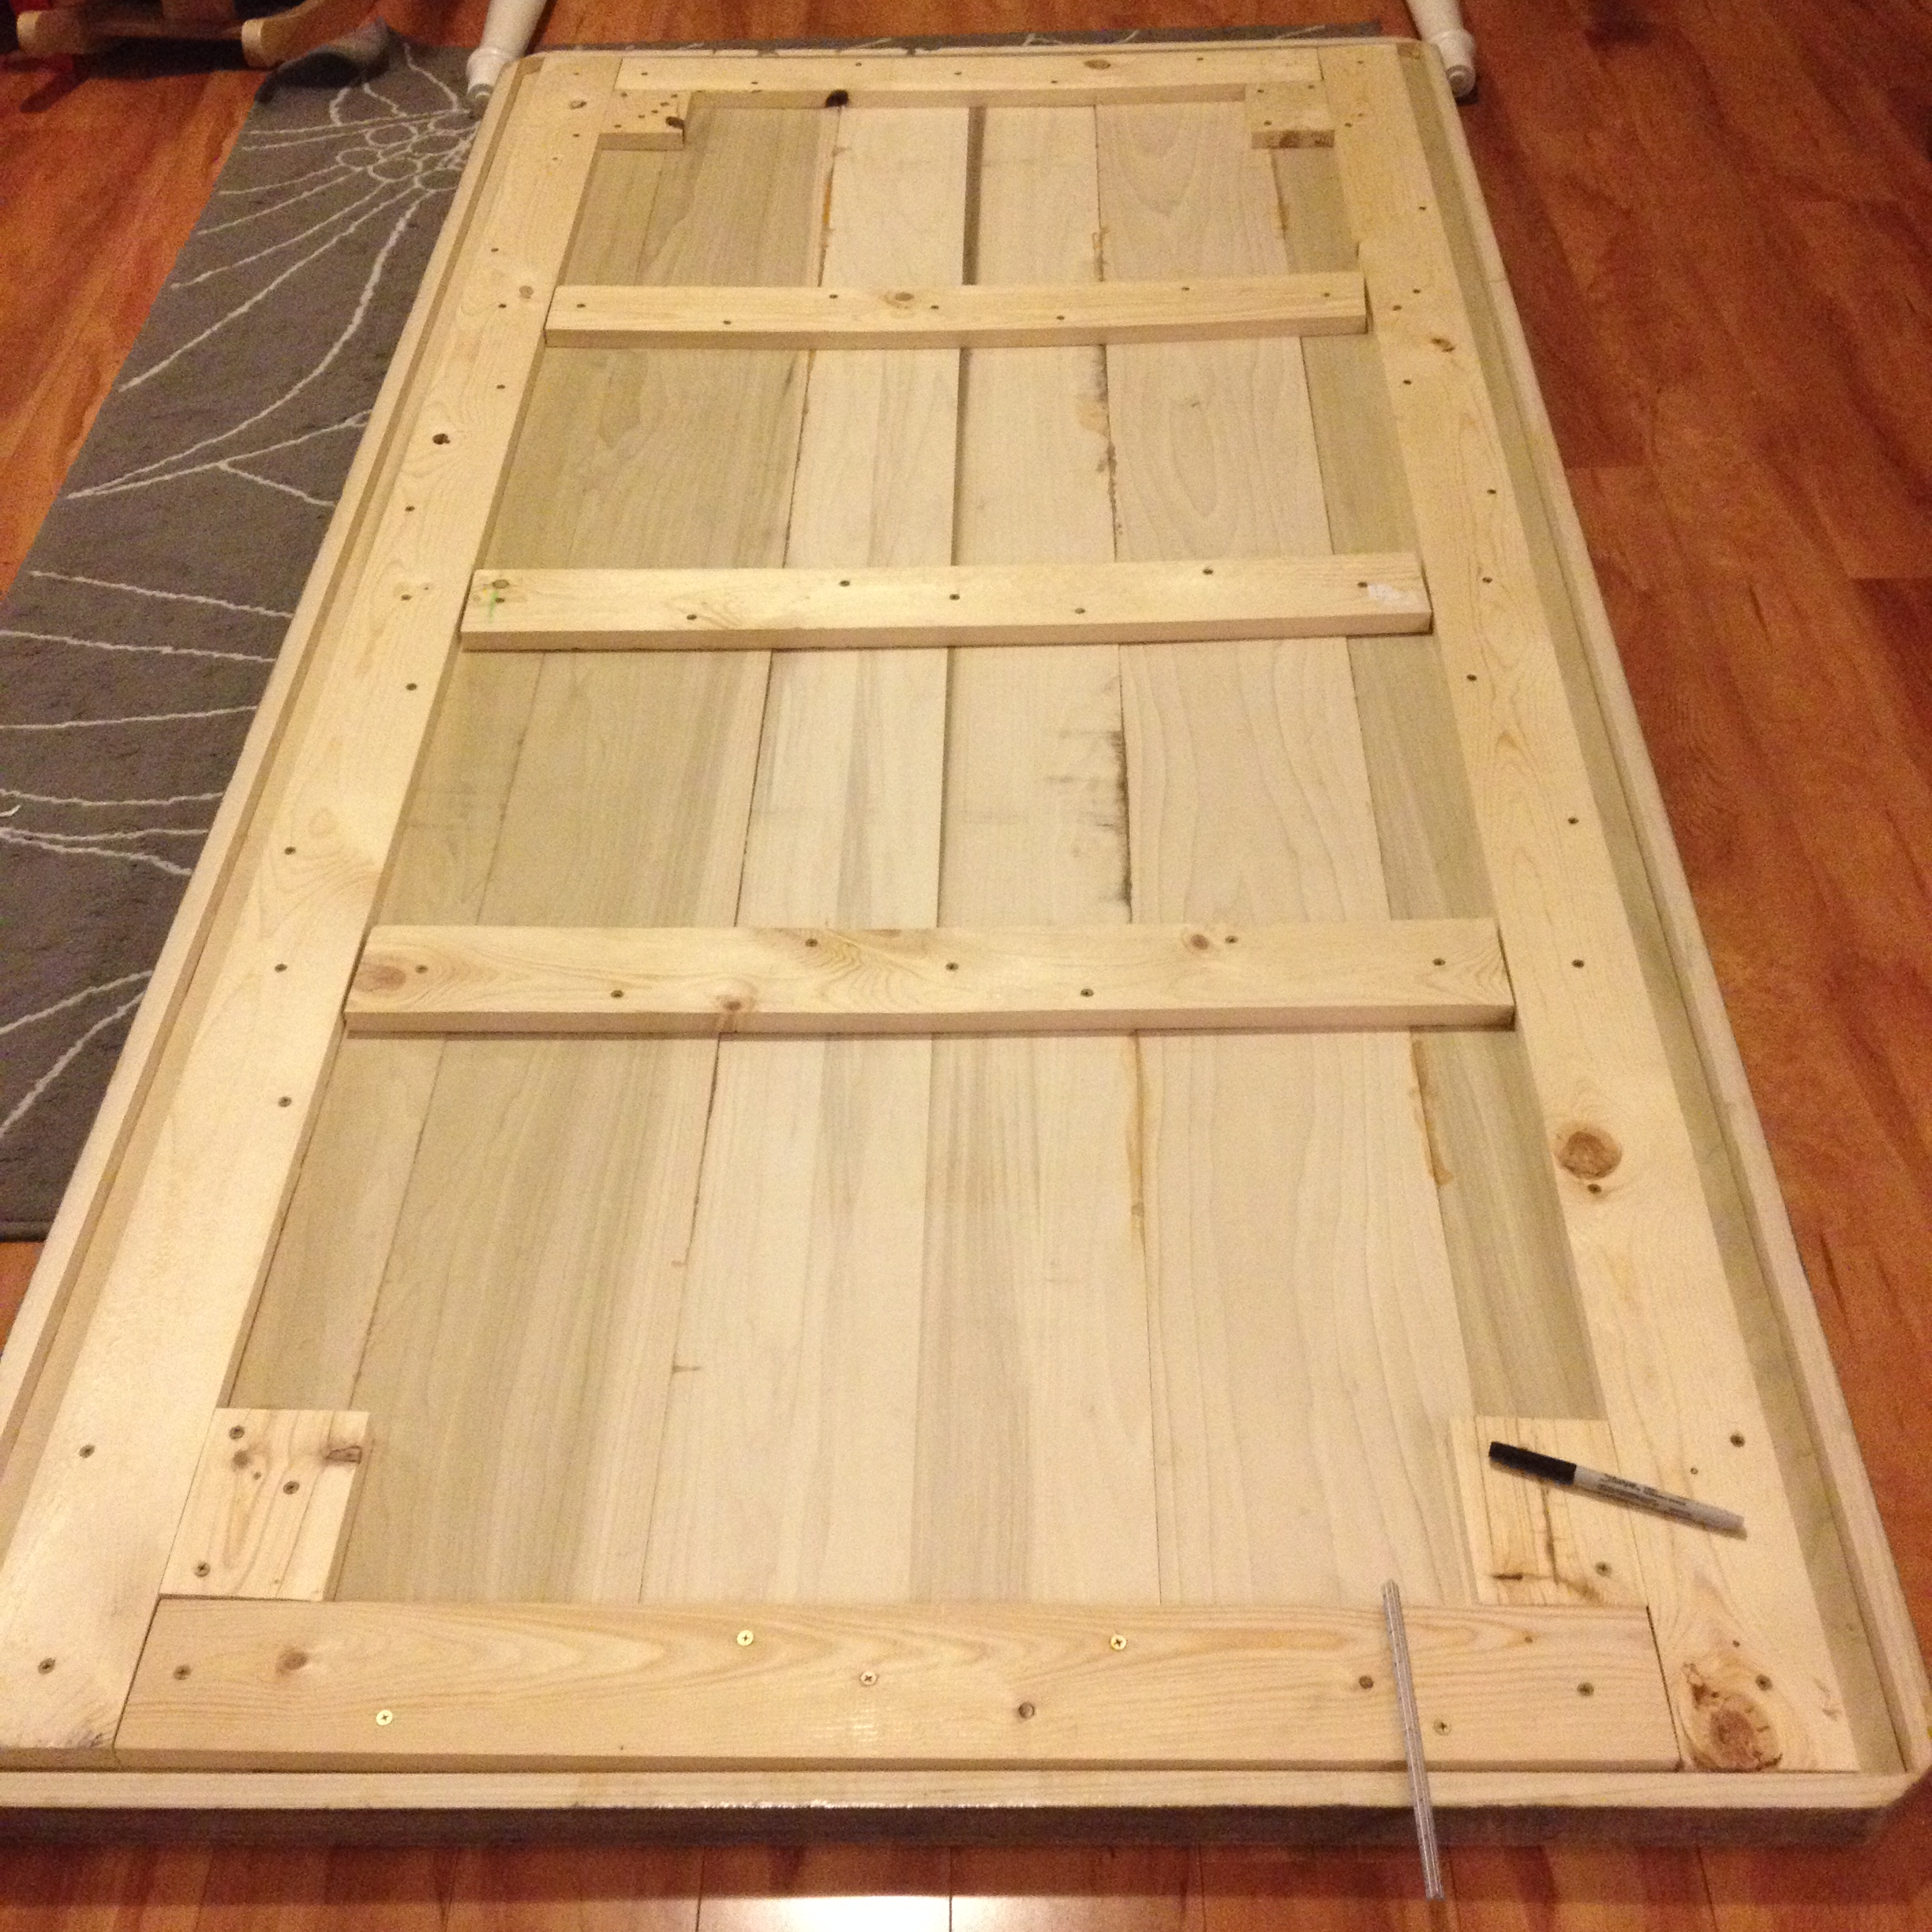
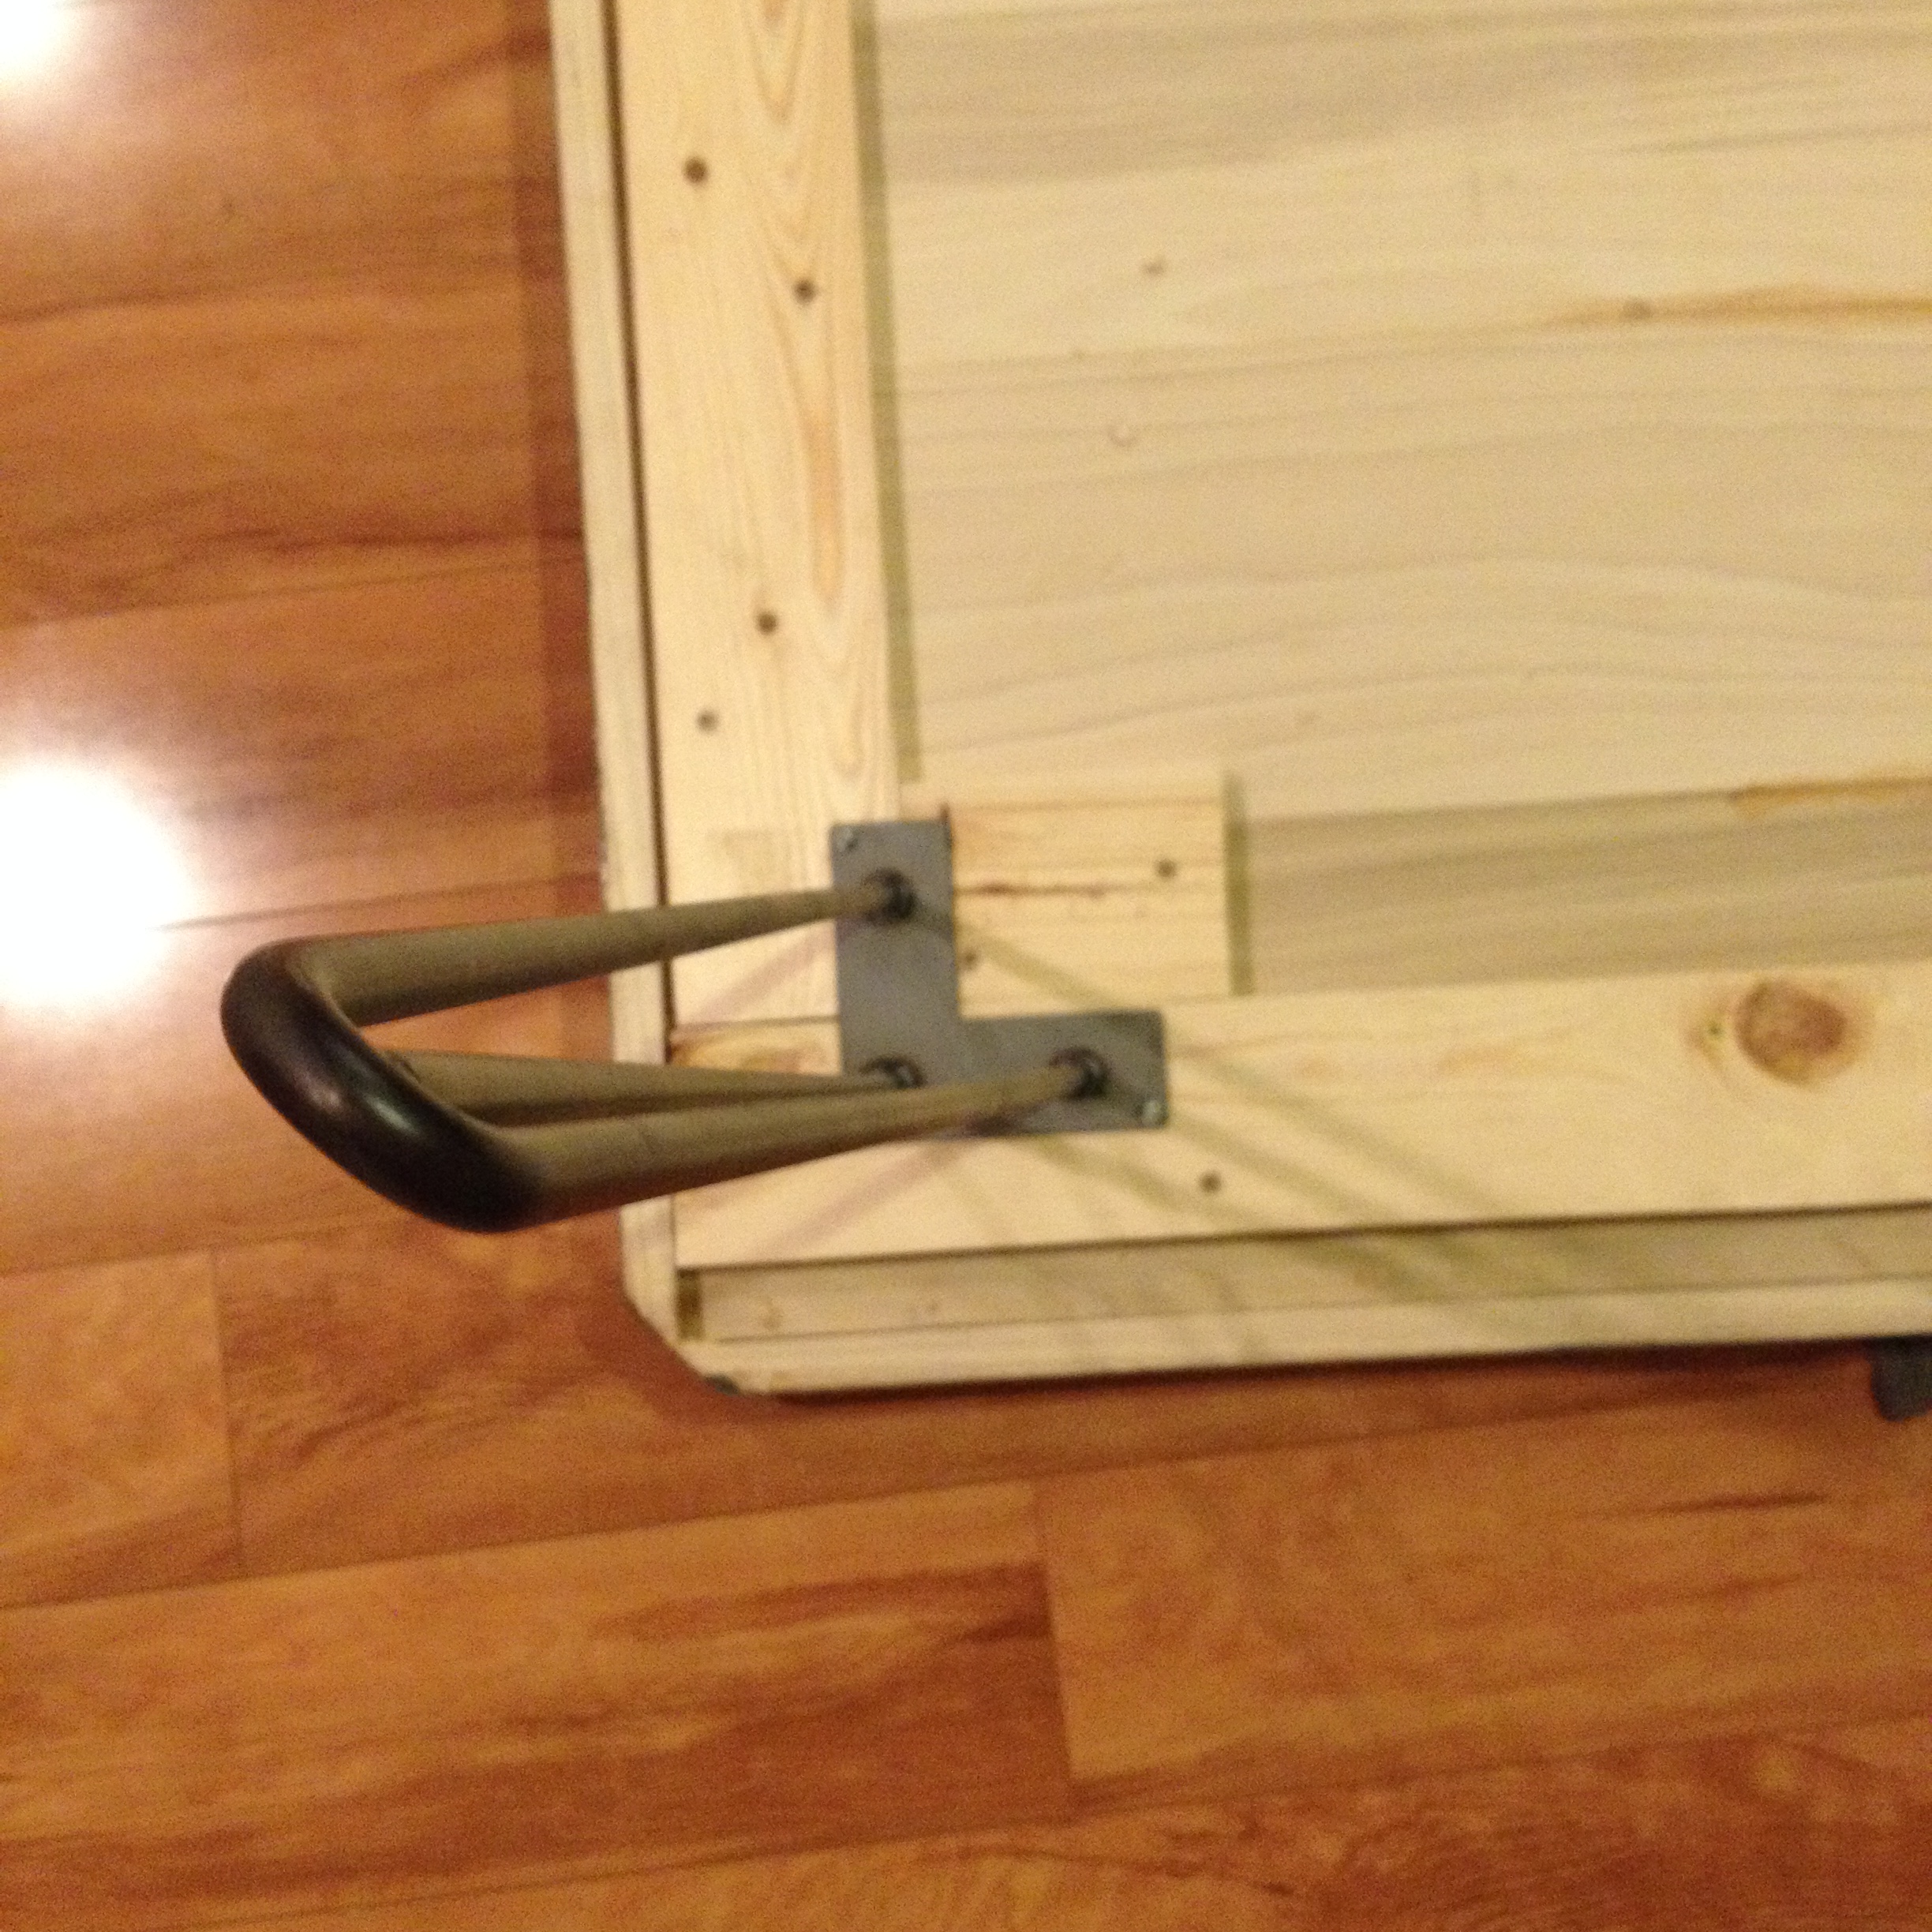
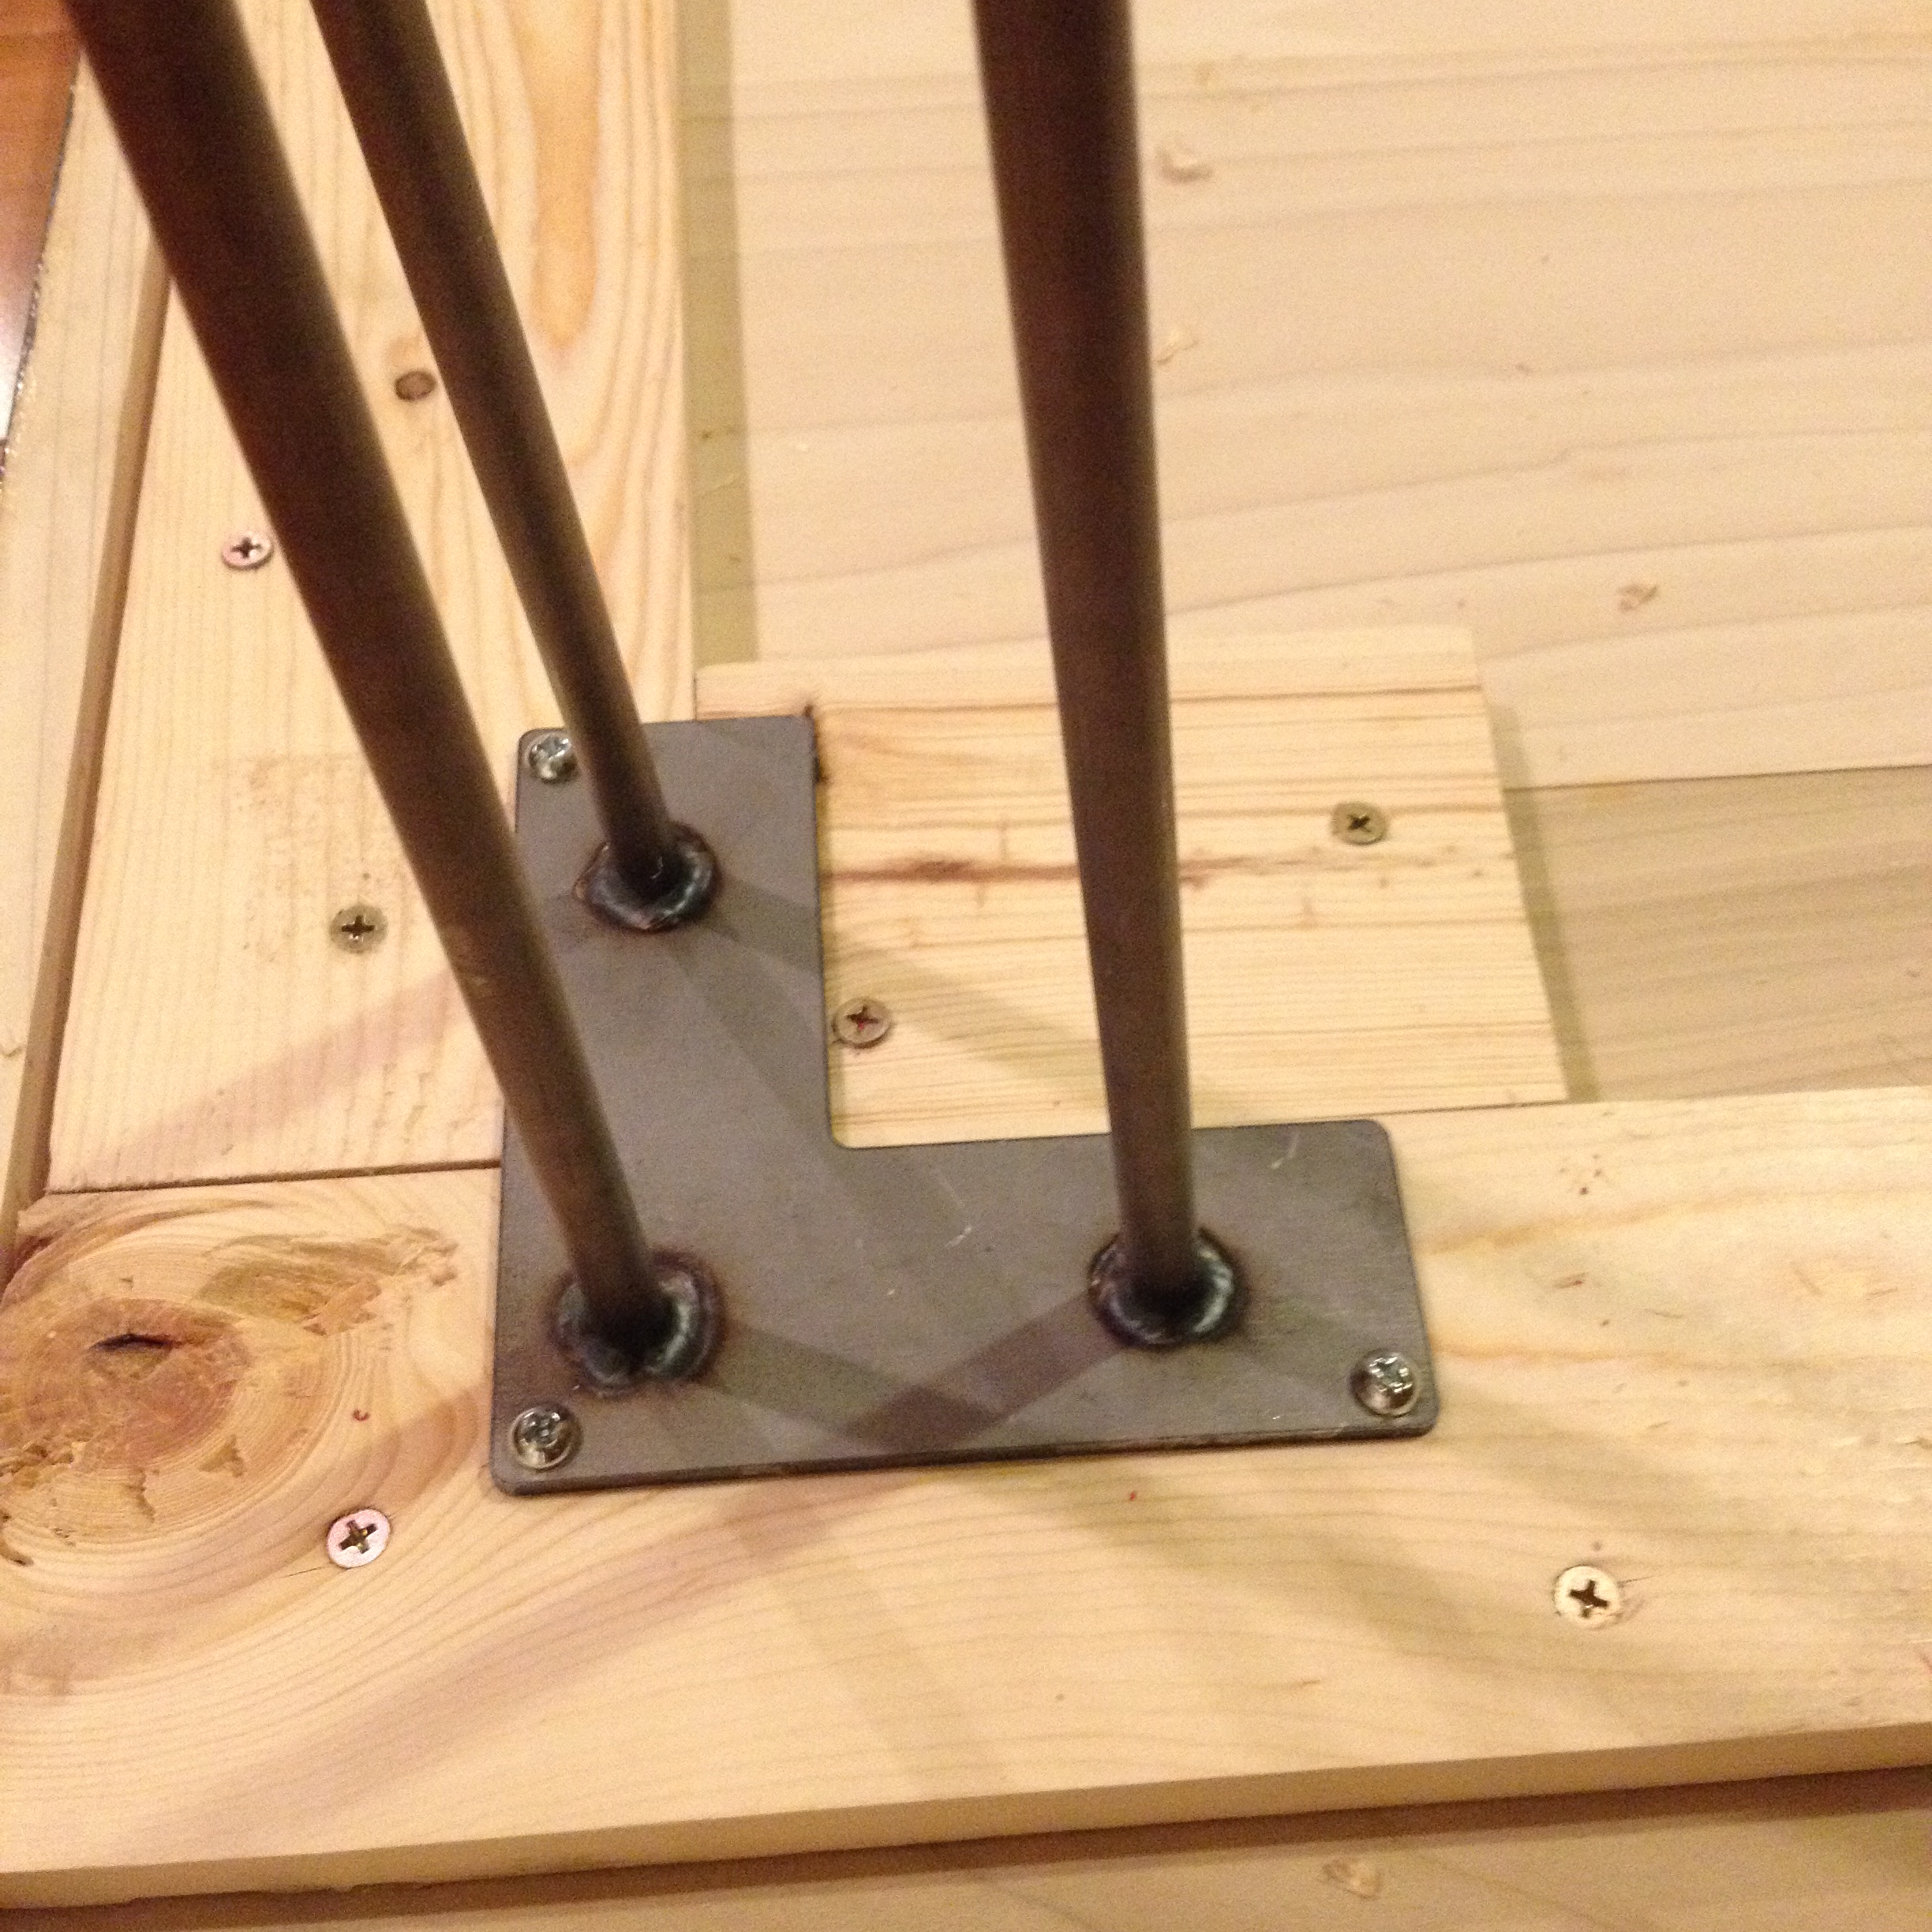
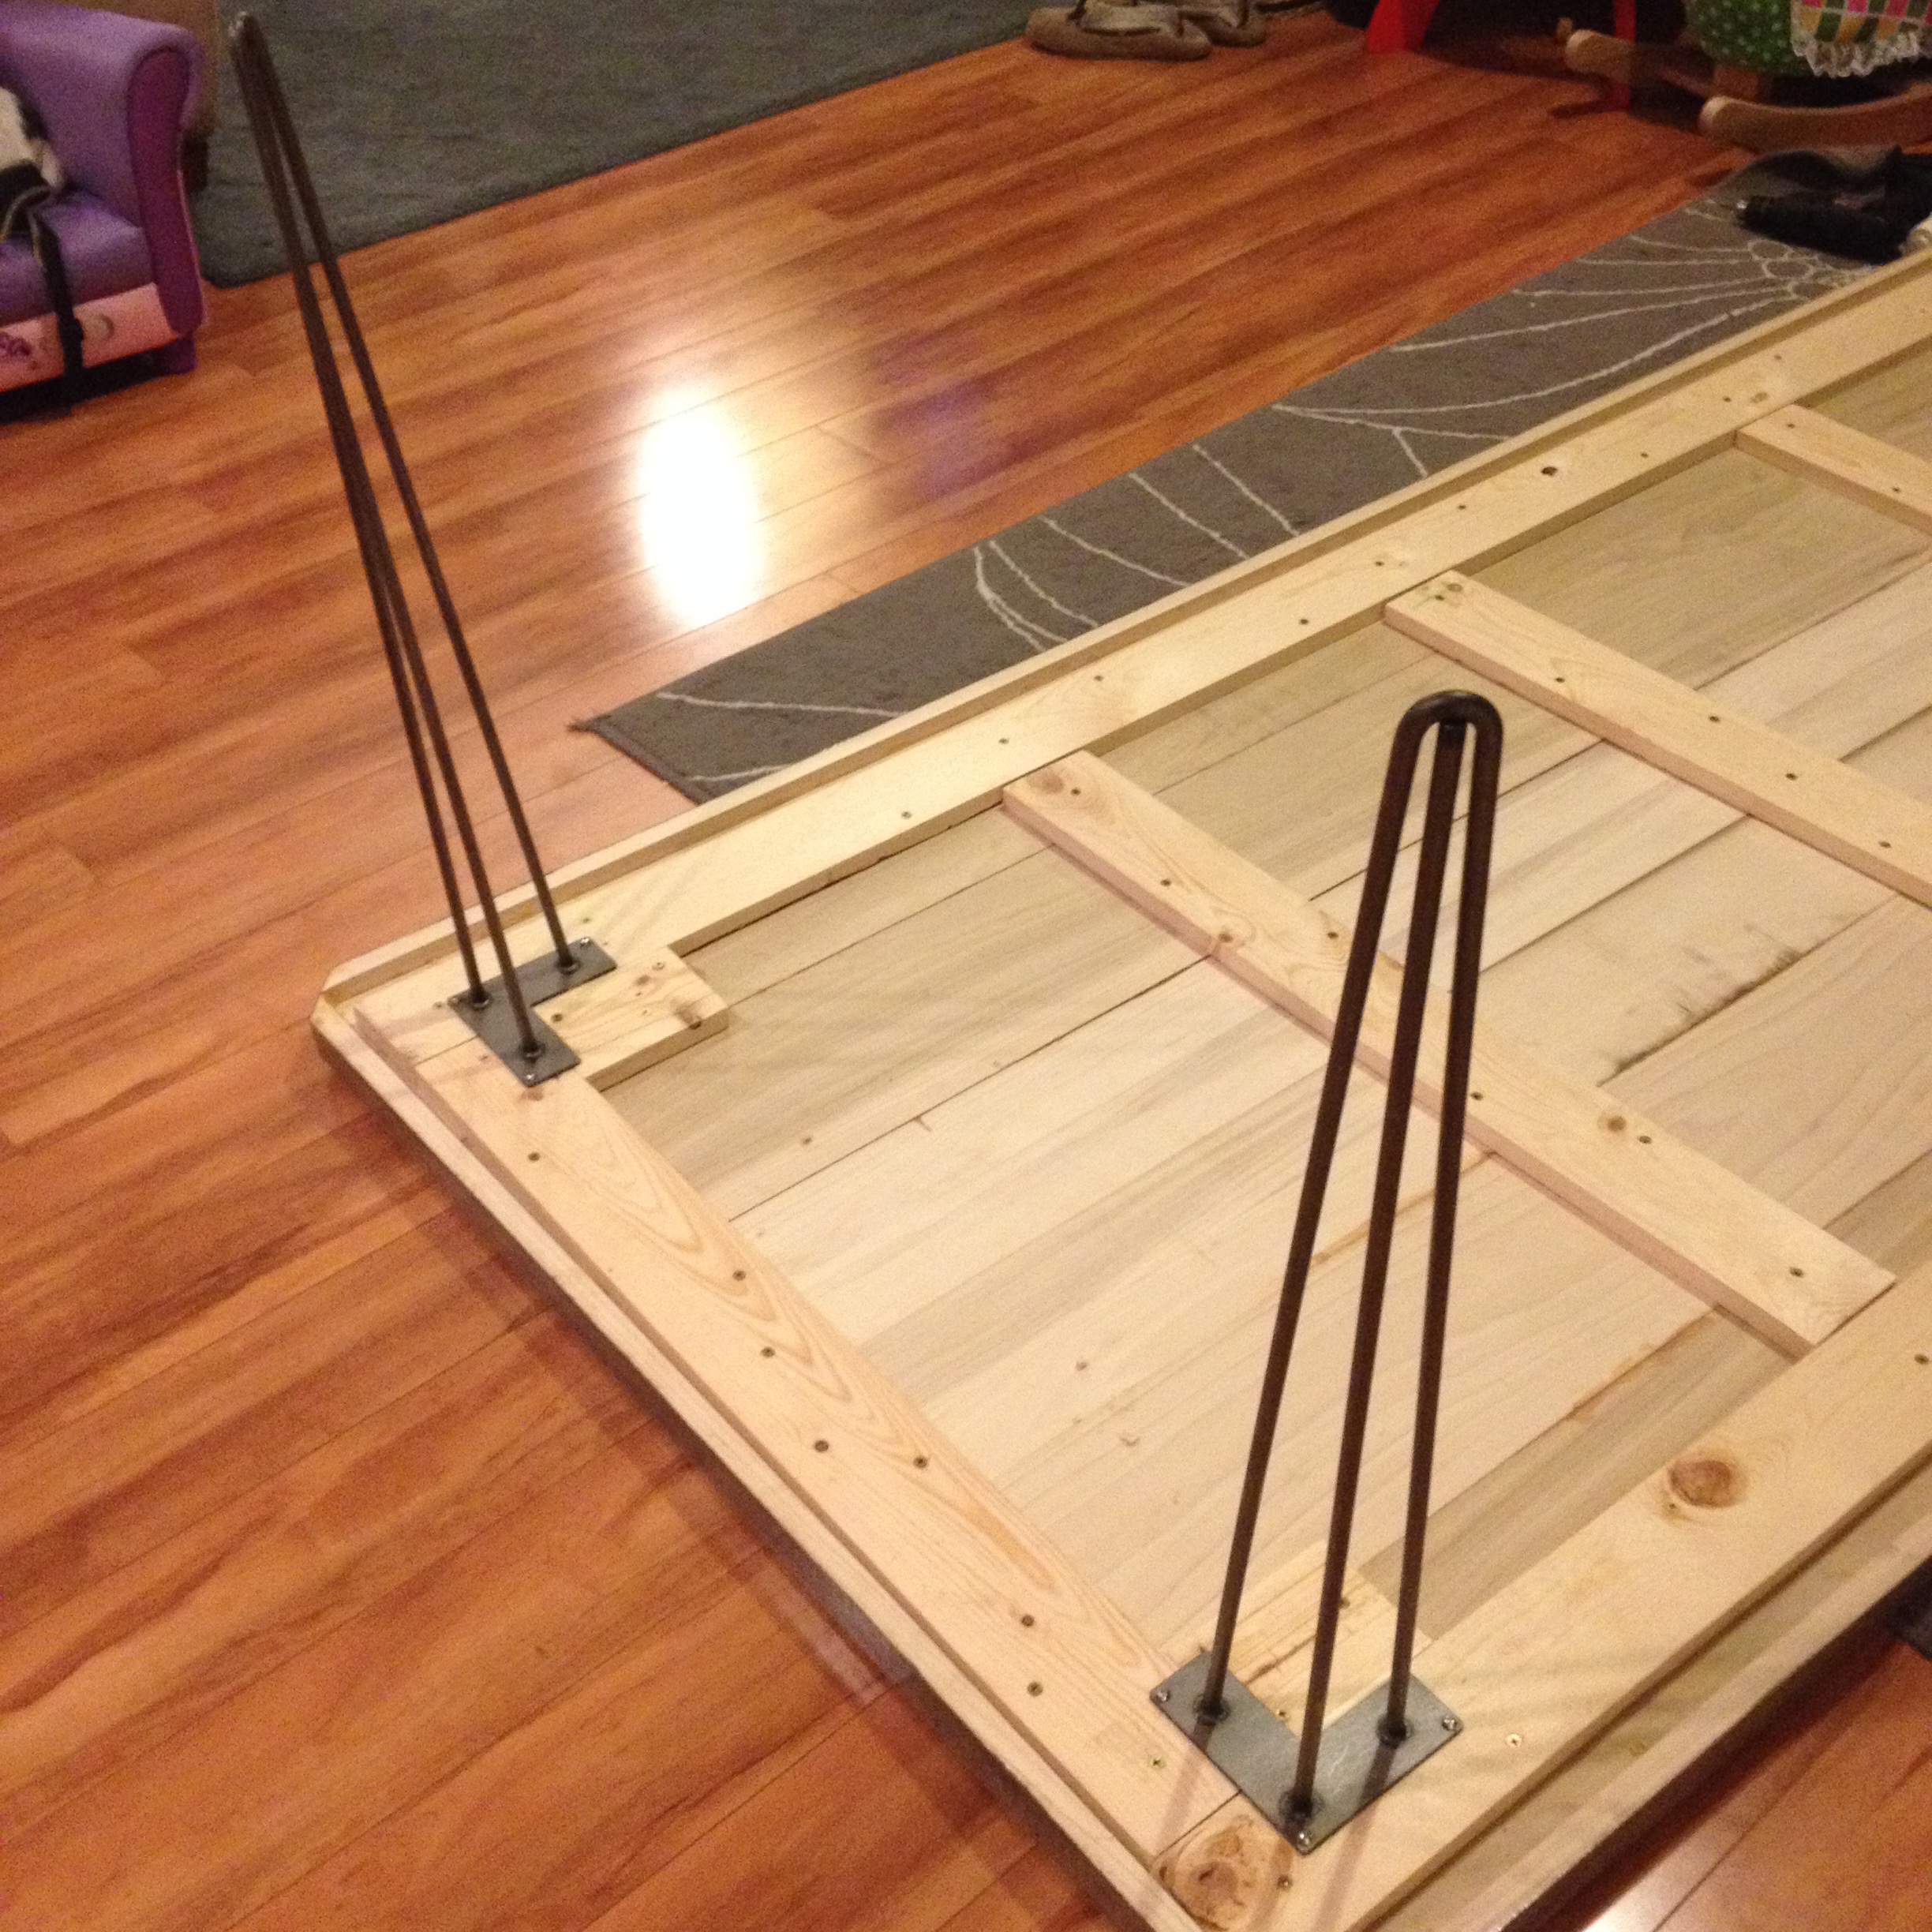
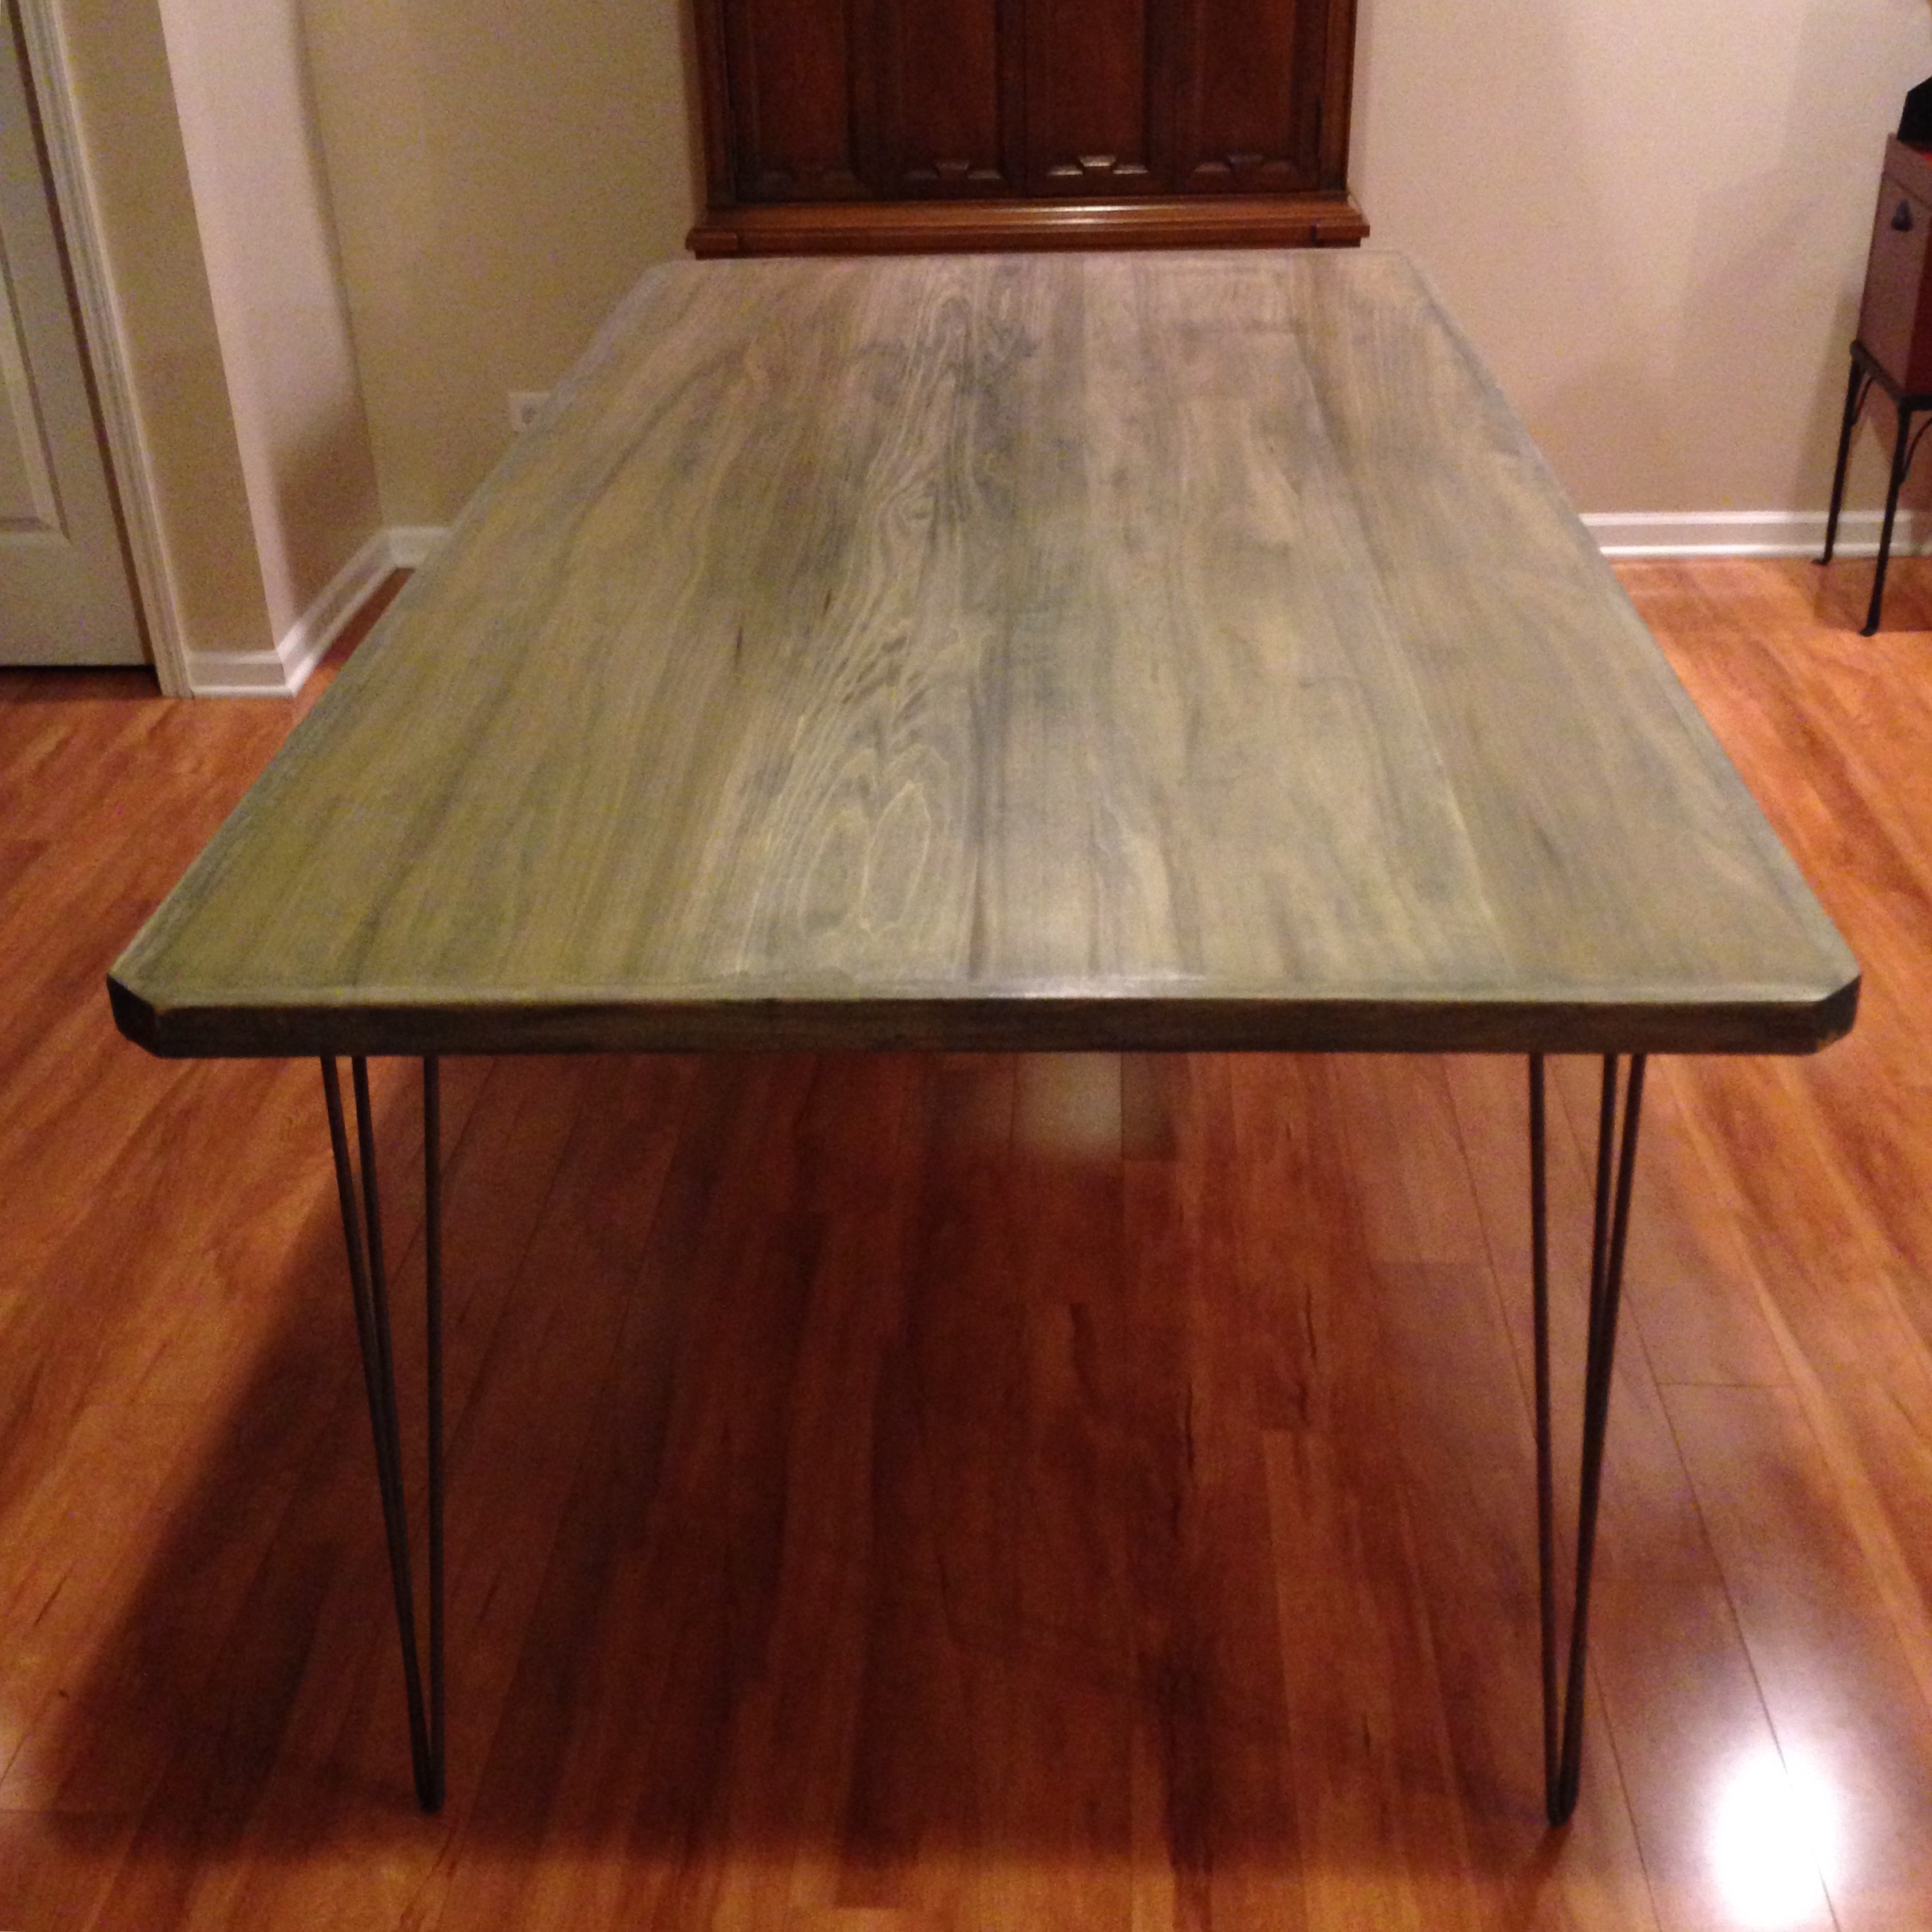
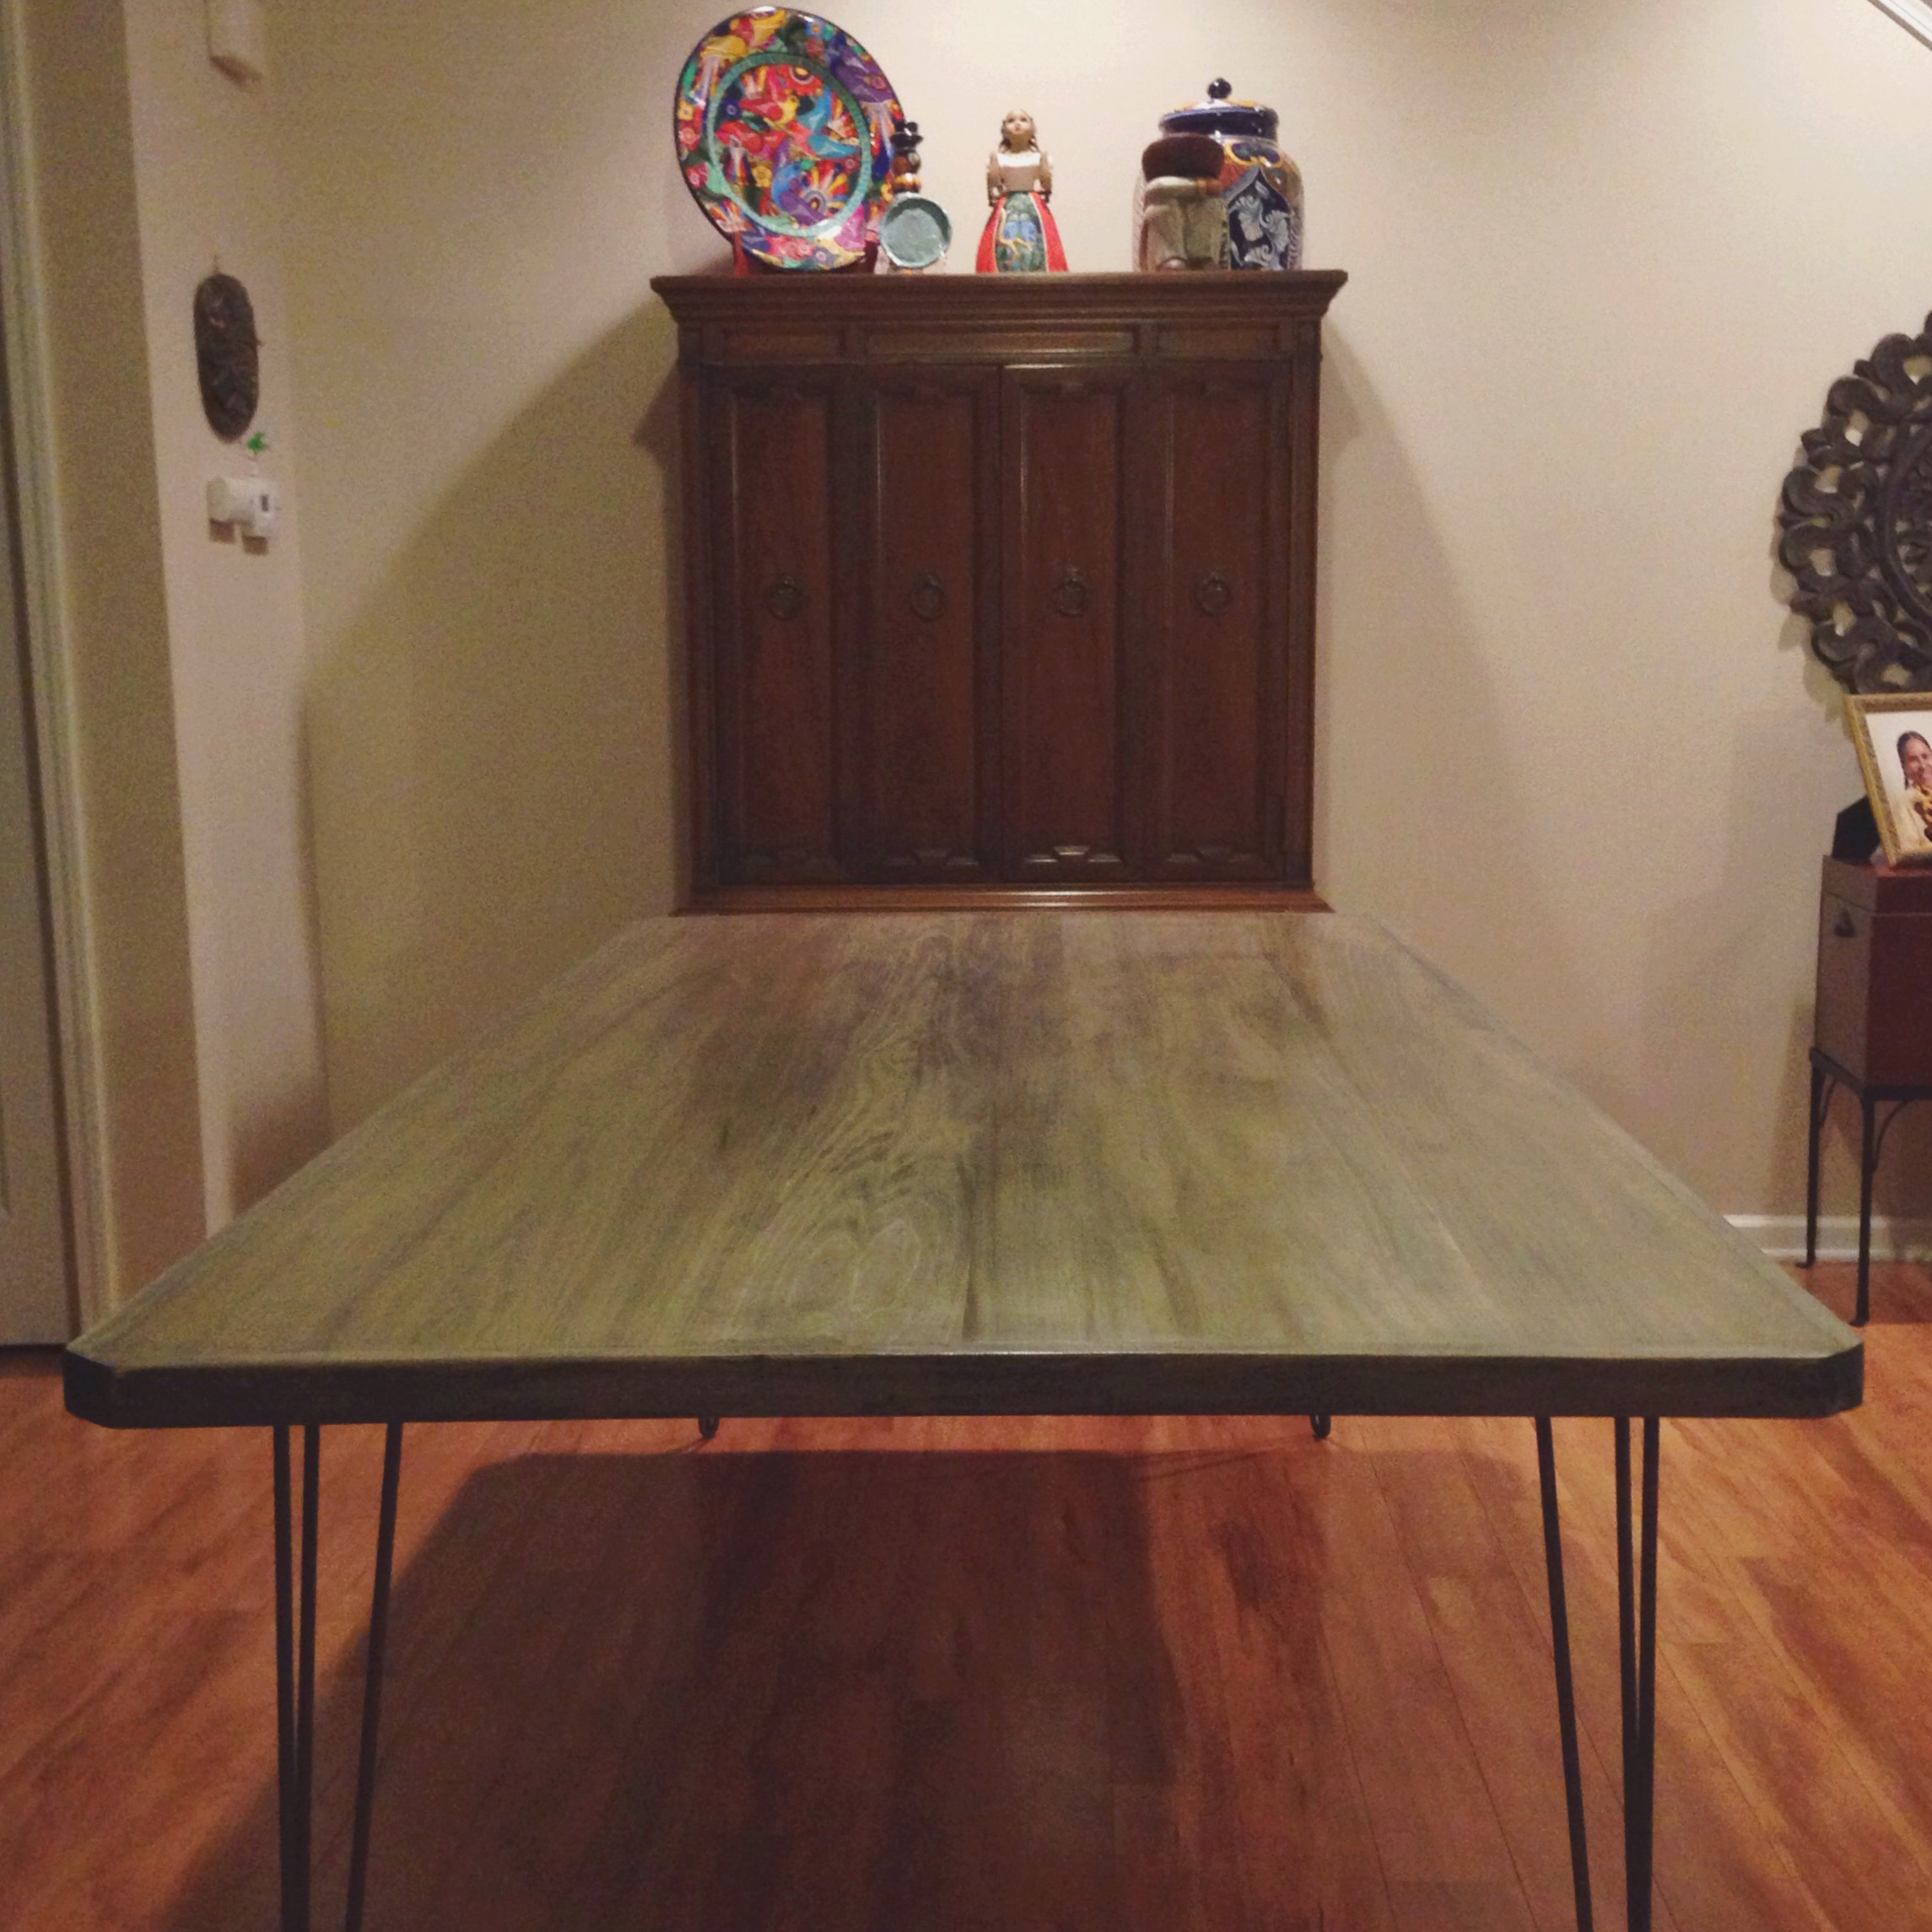
This was a family project that we wanted to share. We proud of the final product, but we give just a brief overview of the steps. Using poplar boards, we glued the sides overnight and built a pine frame to brace from underneath. To level the board edges we planed by hand, and sanded the full surface even. The surface was then sealed with 3 coats of shellac, wet-sanding between coats. Shellac is non-toxic and food safe once it cures. The last step was attaching the hairpin legs and sharing a delicious meal!
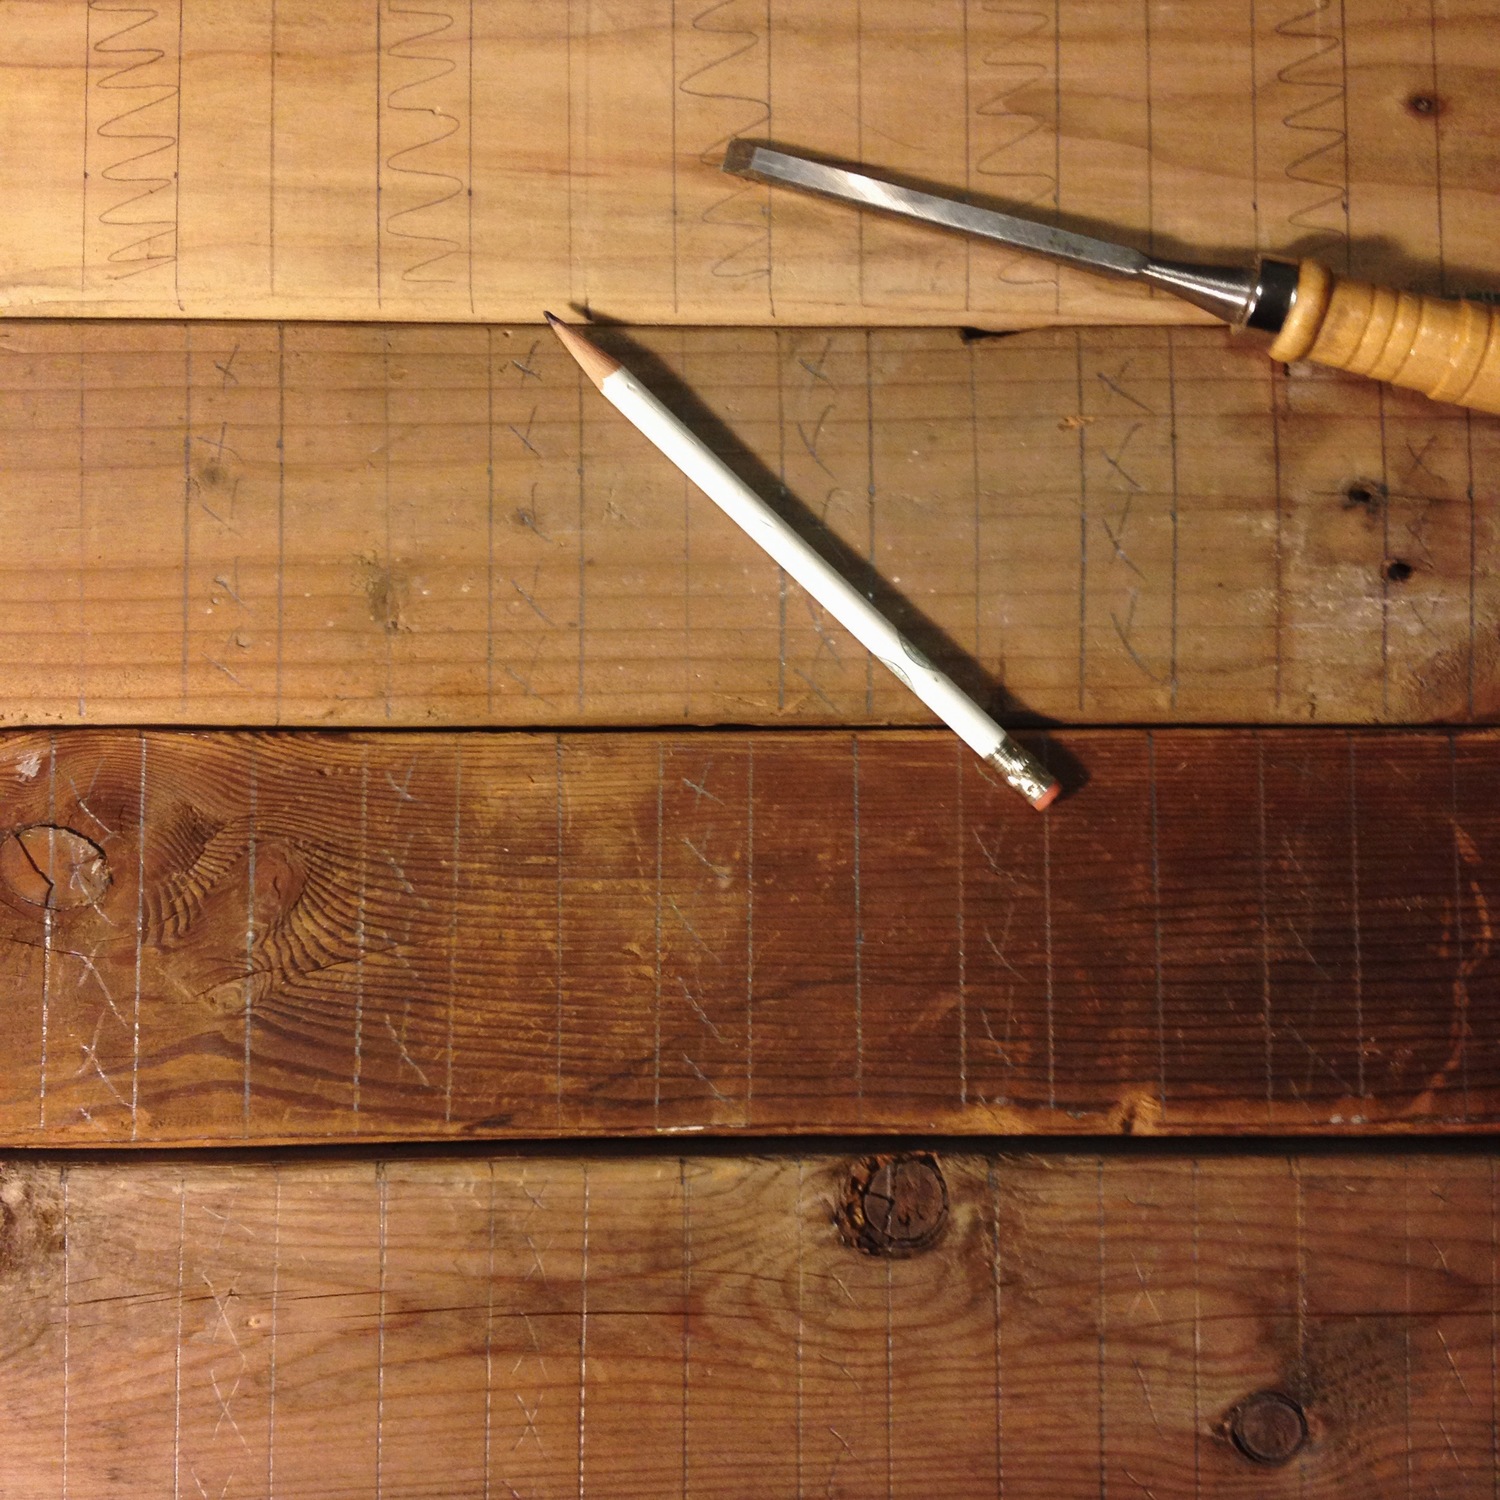
How our device stands are born
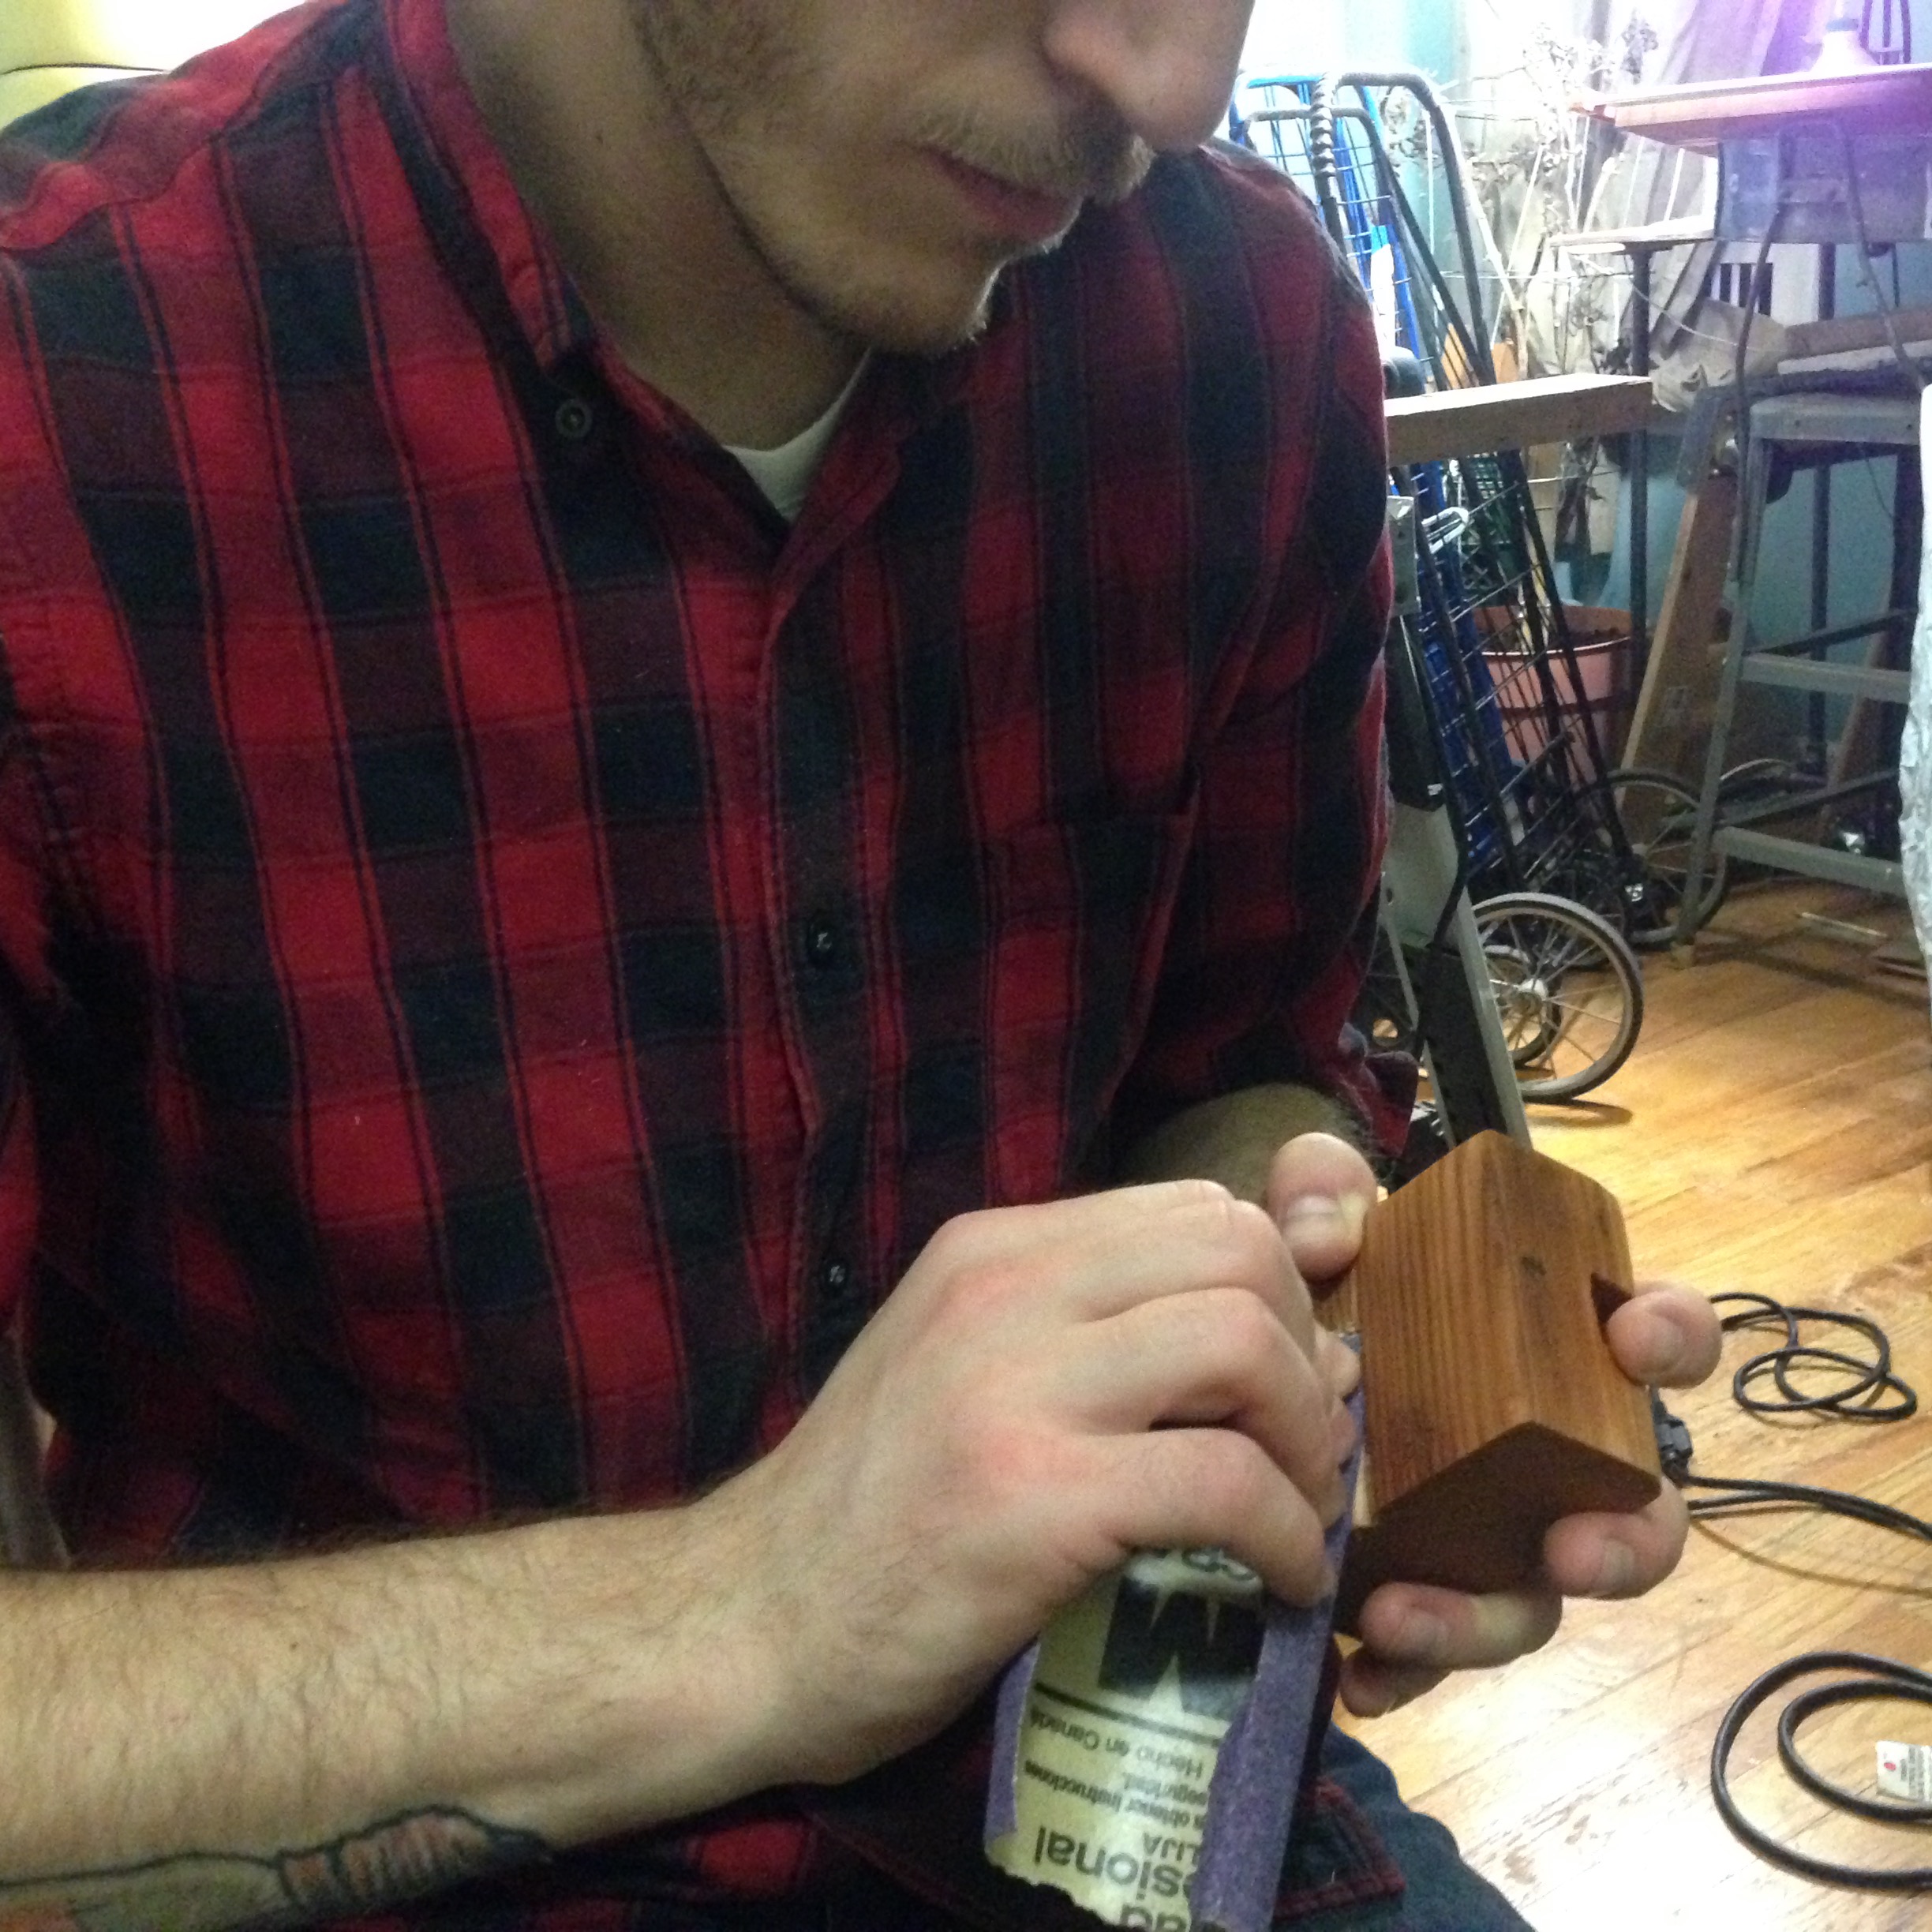
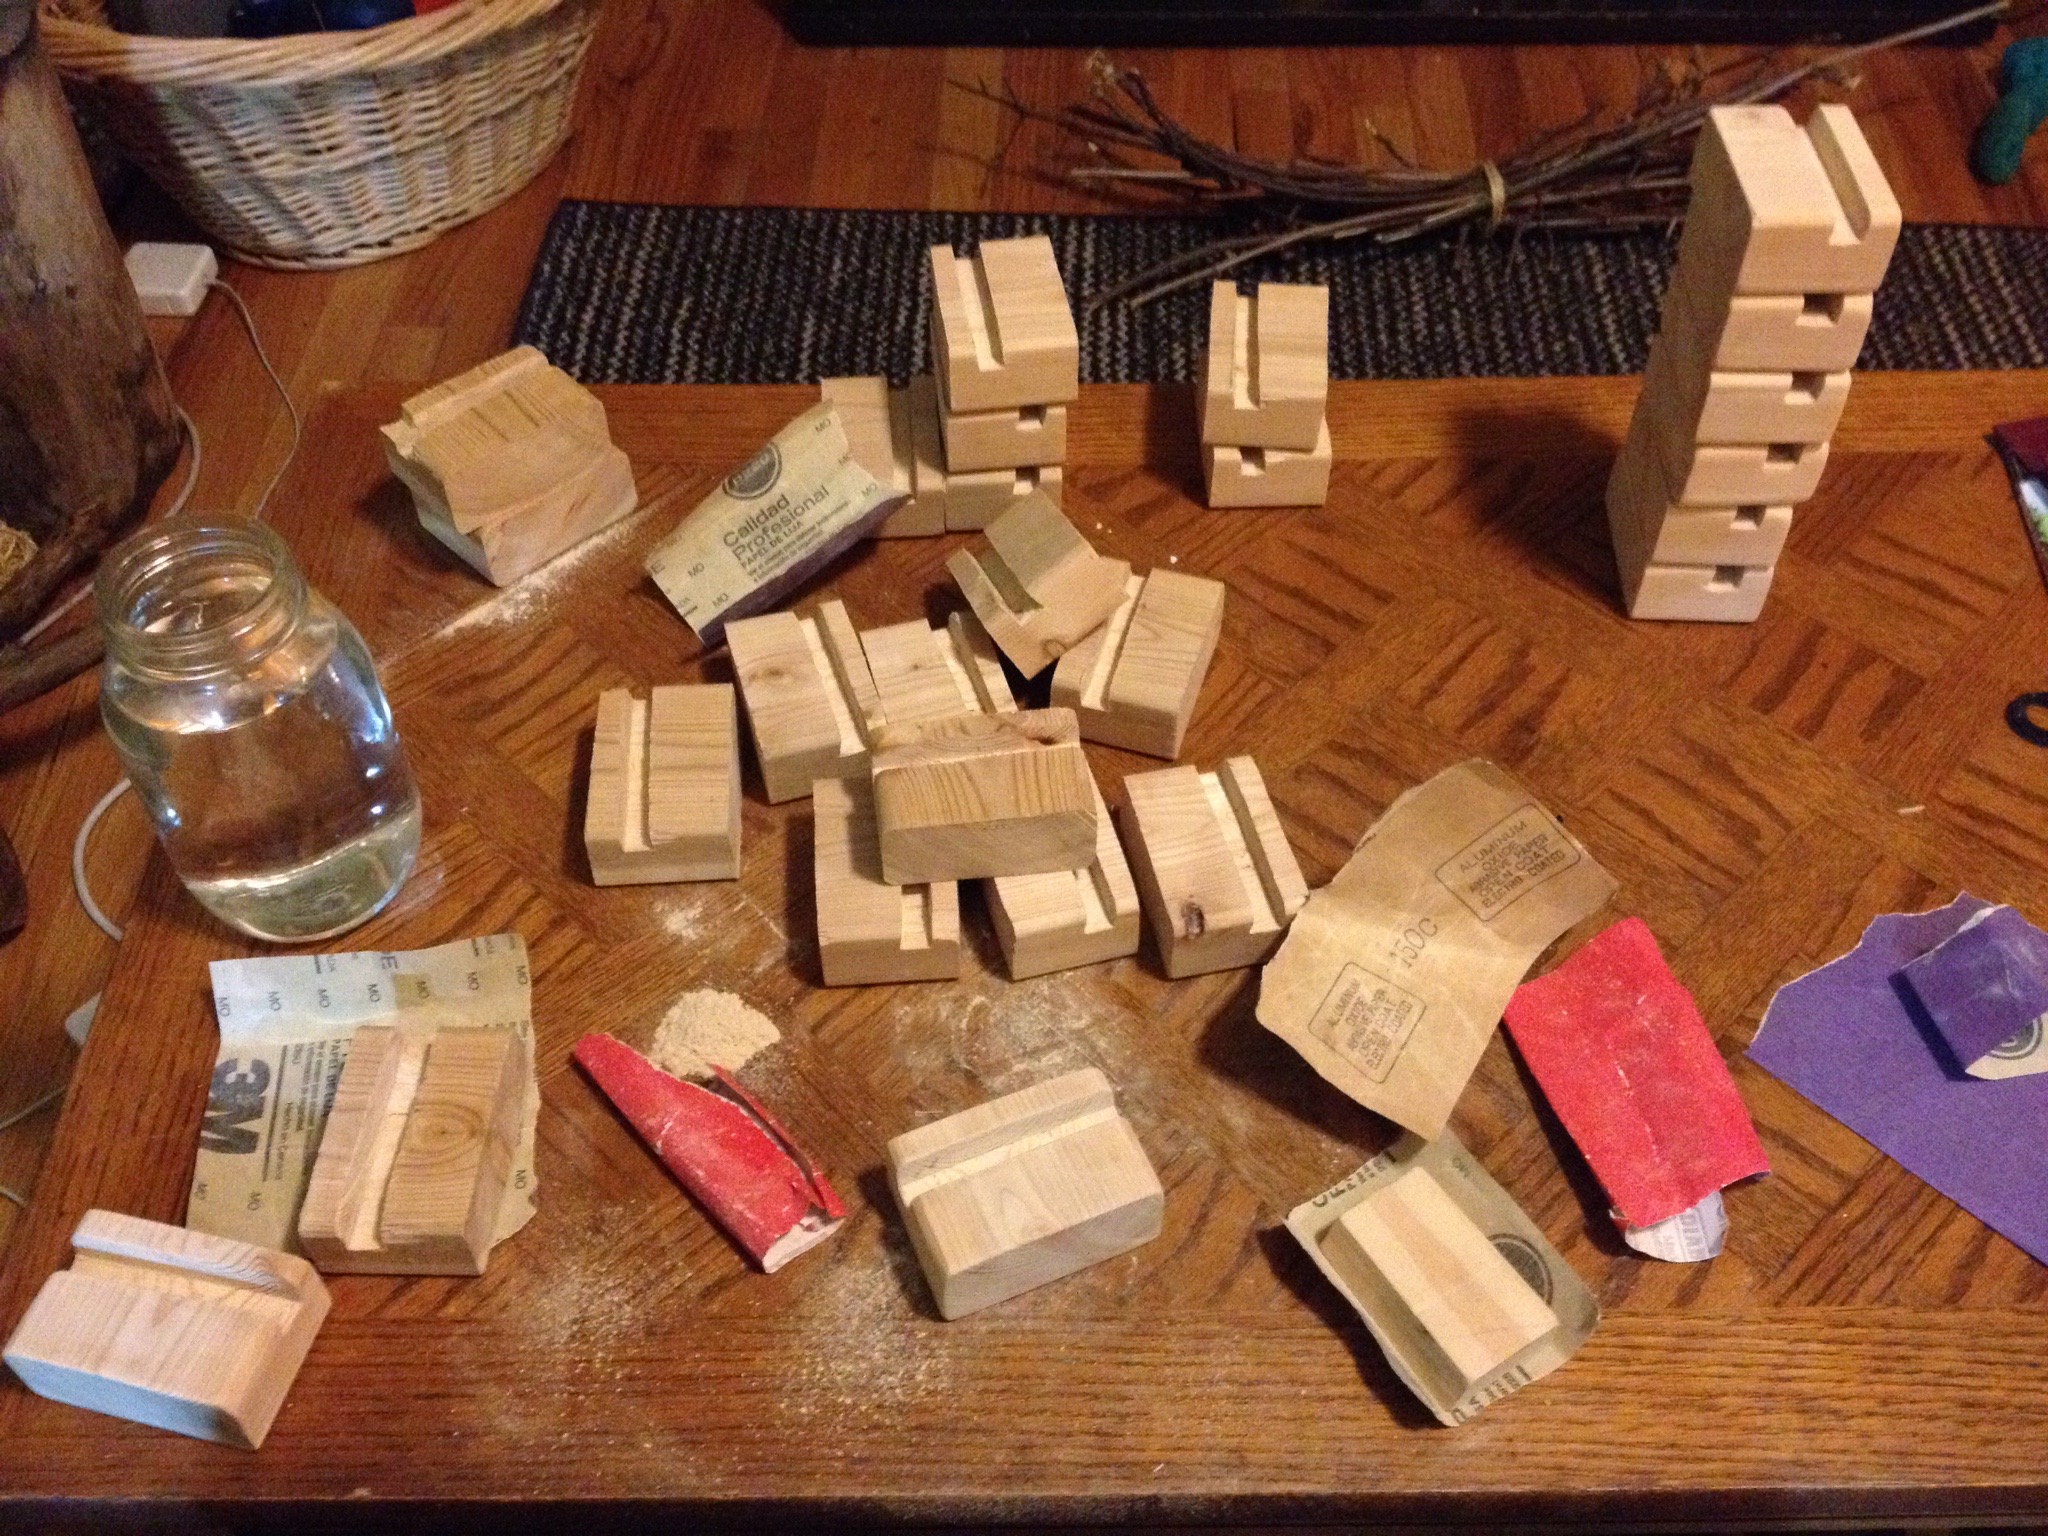
We thought it would be nice to share a look at how we cut the blanks for our device stands.
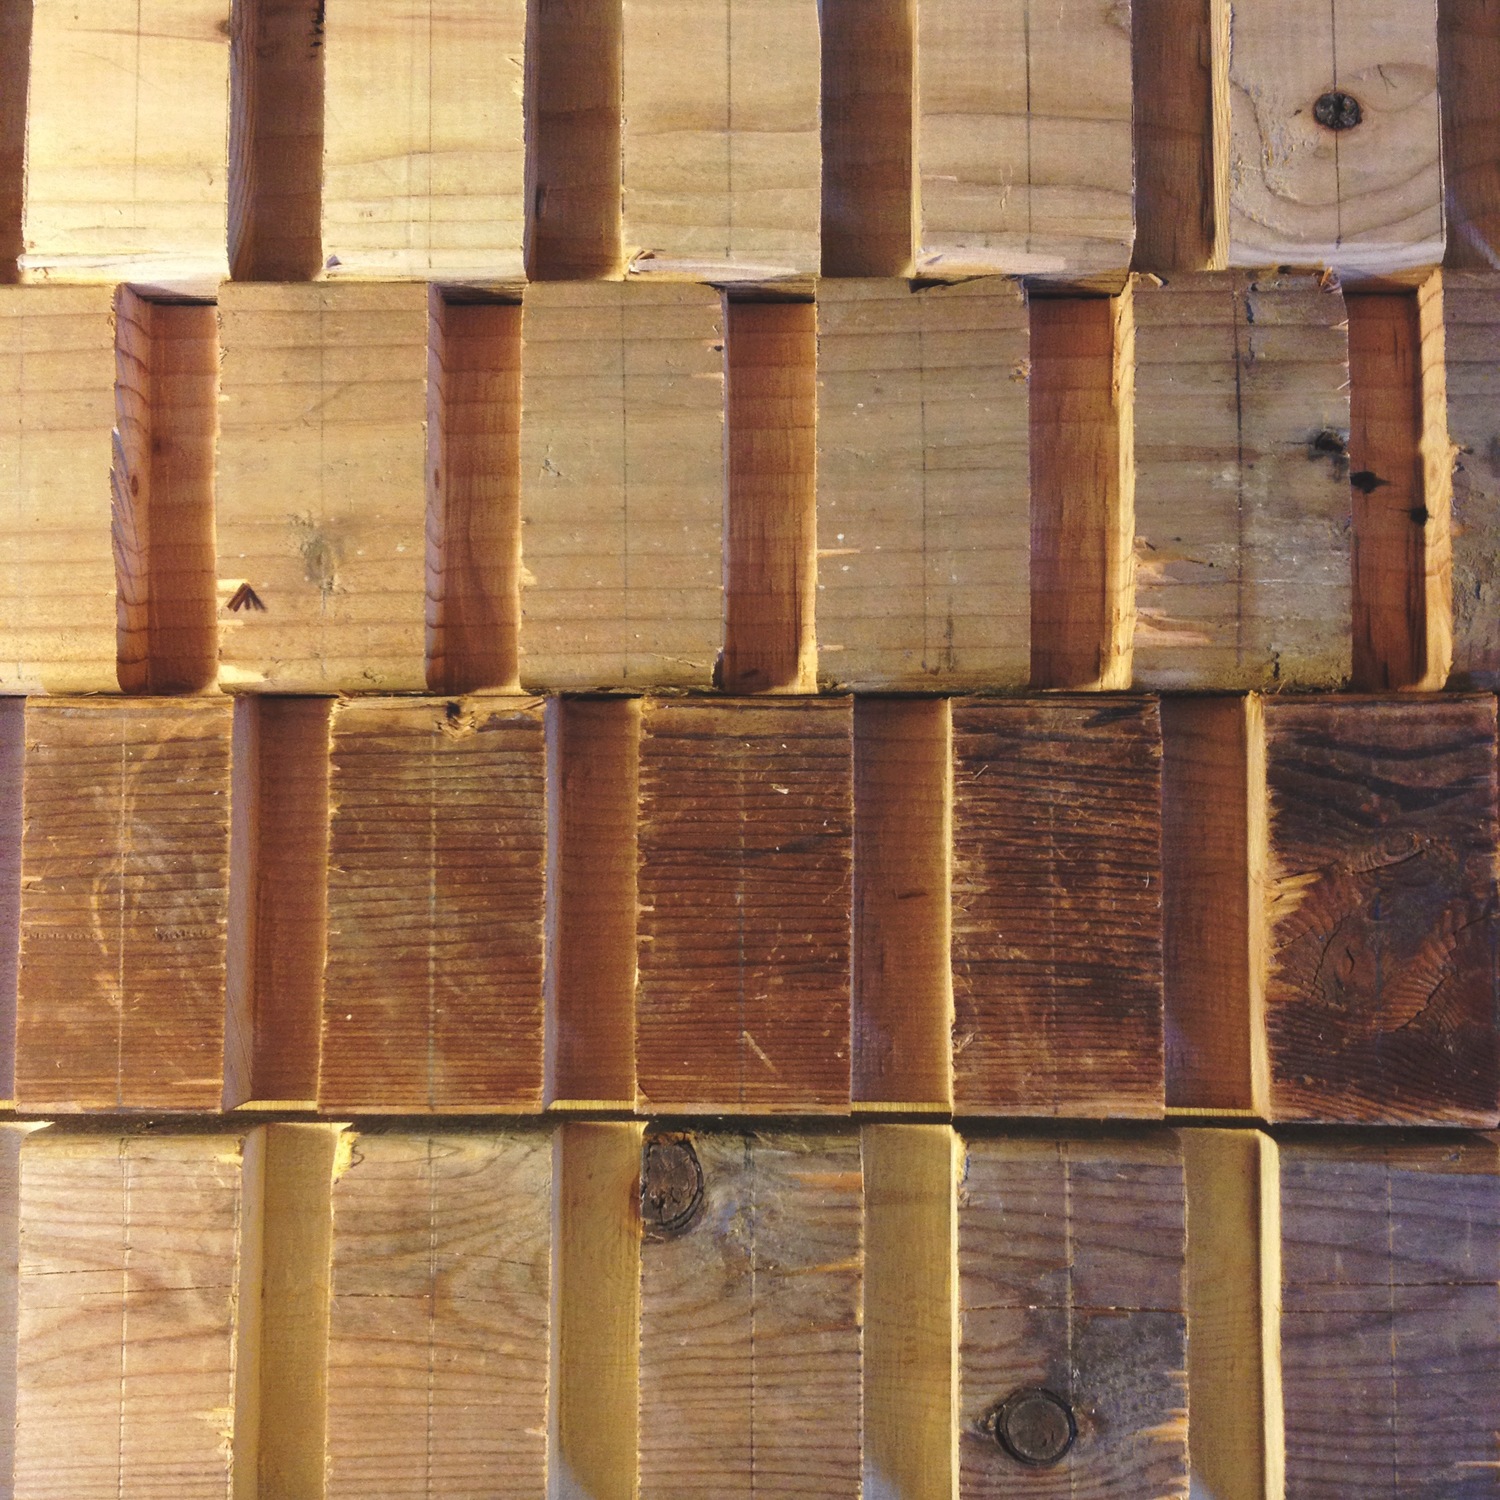
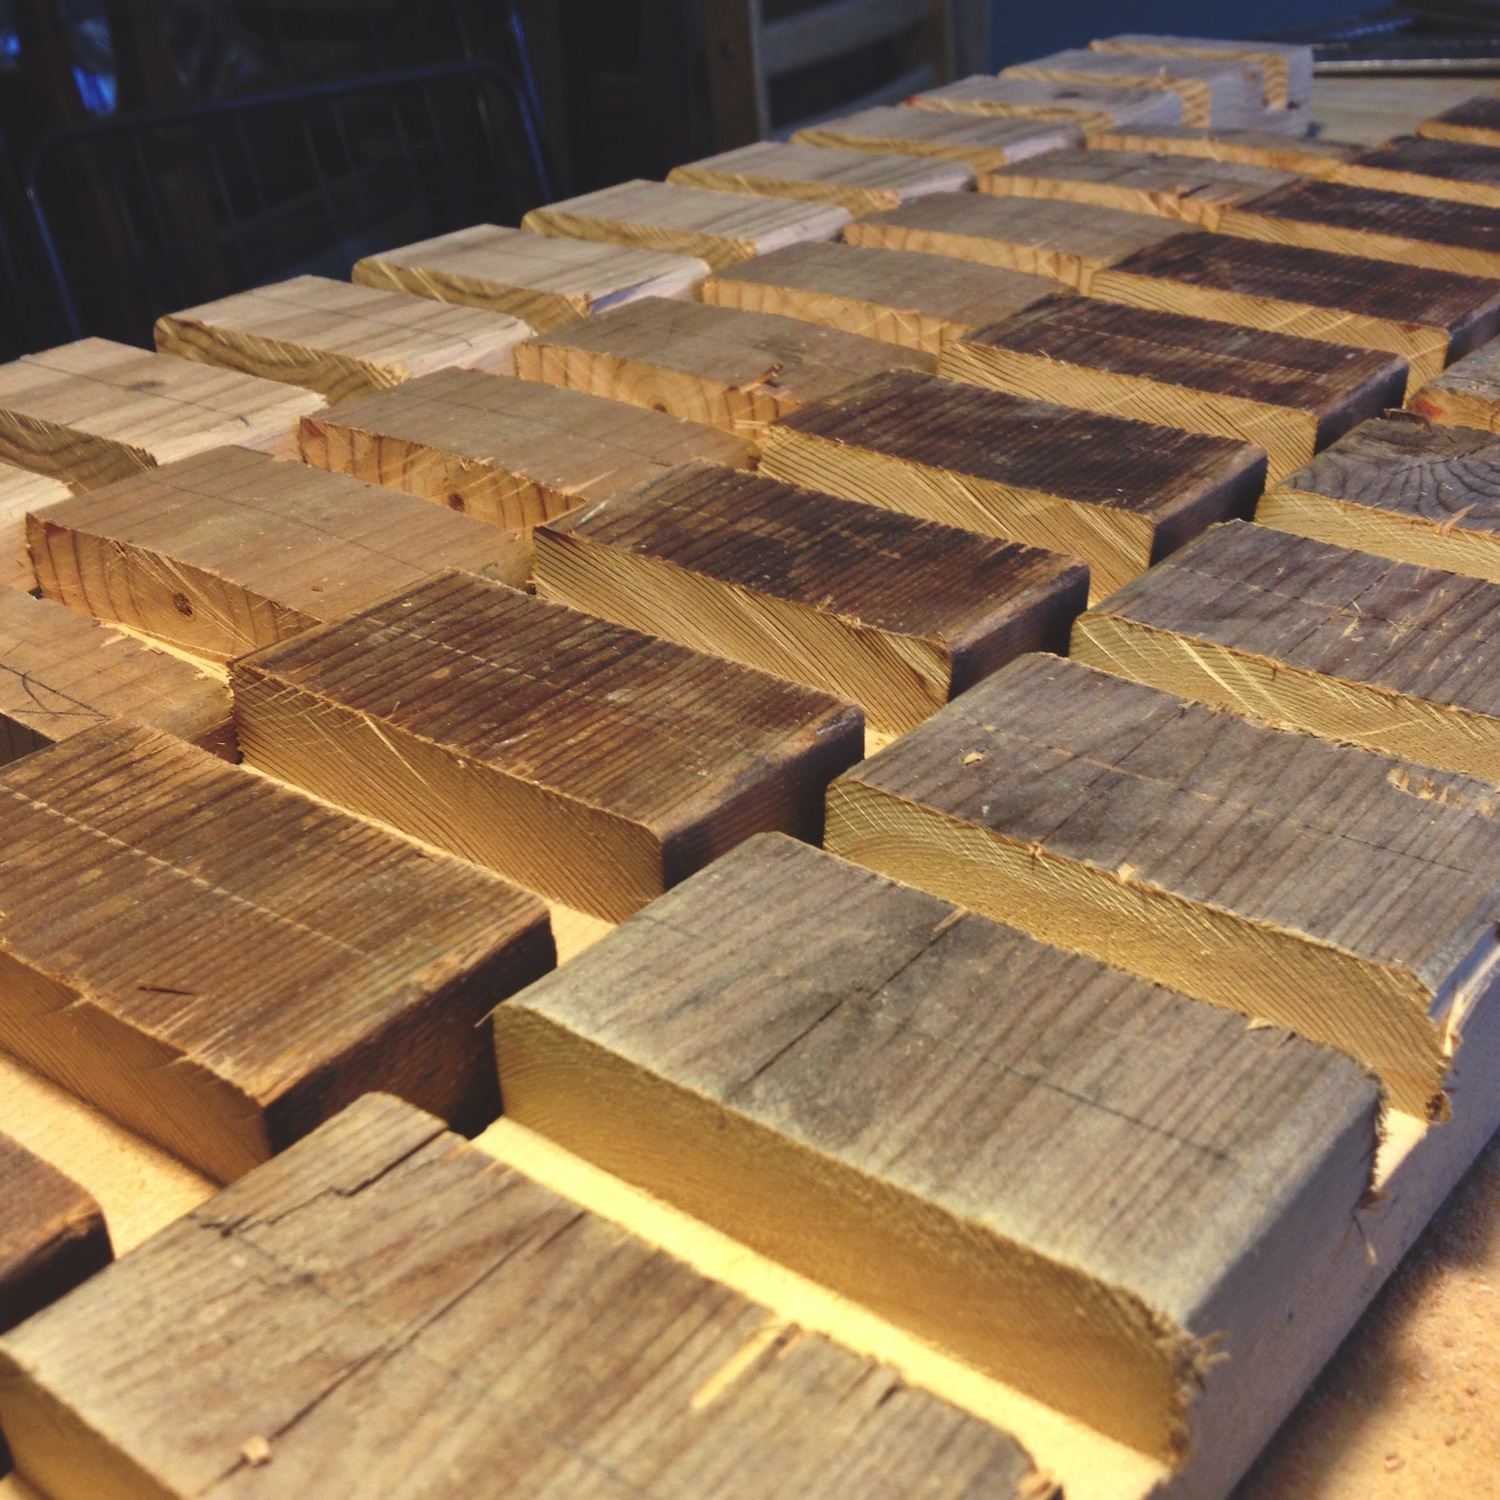
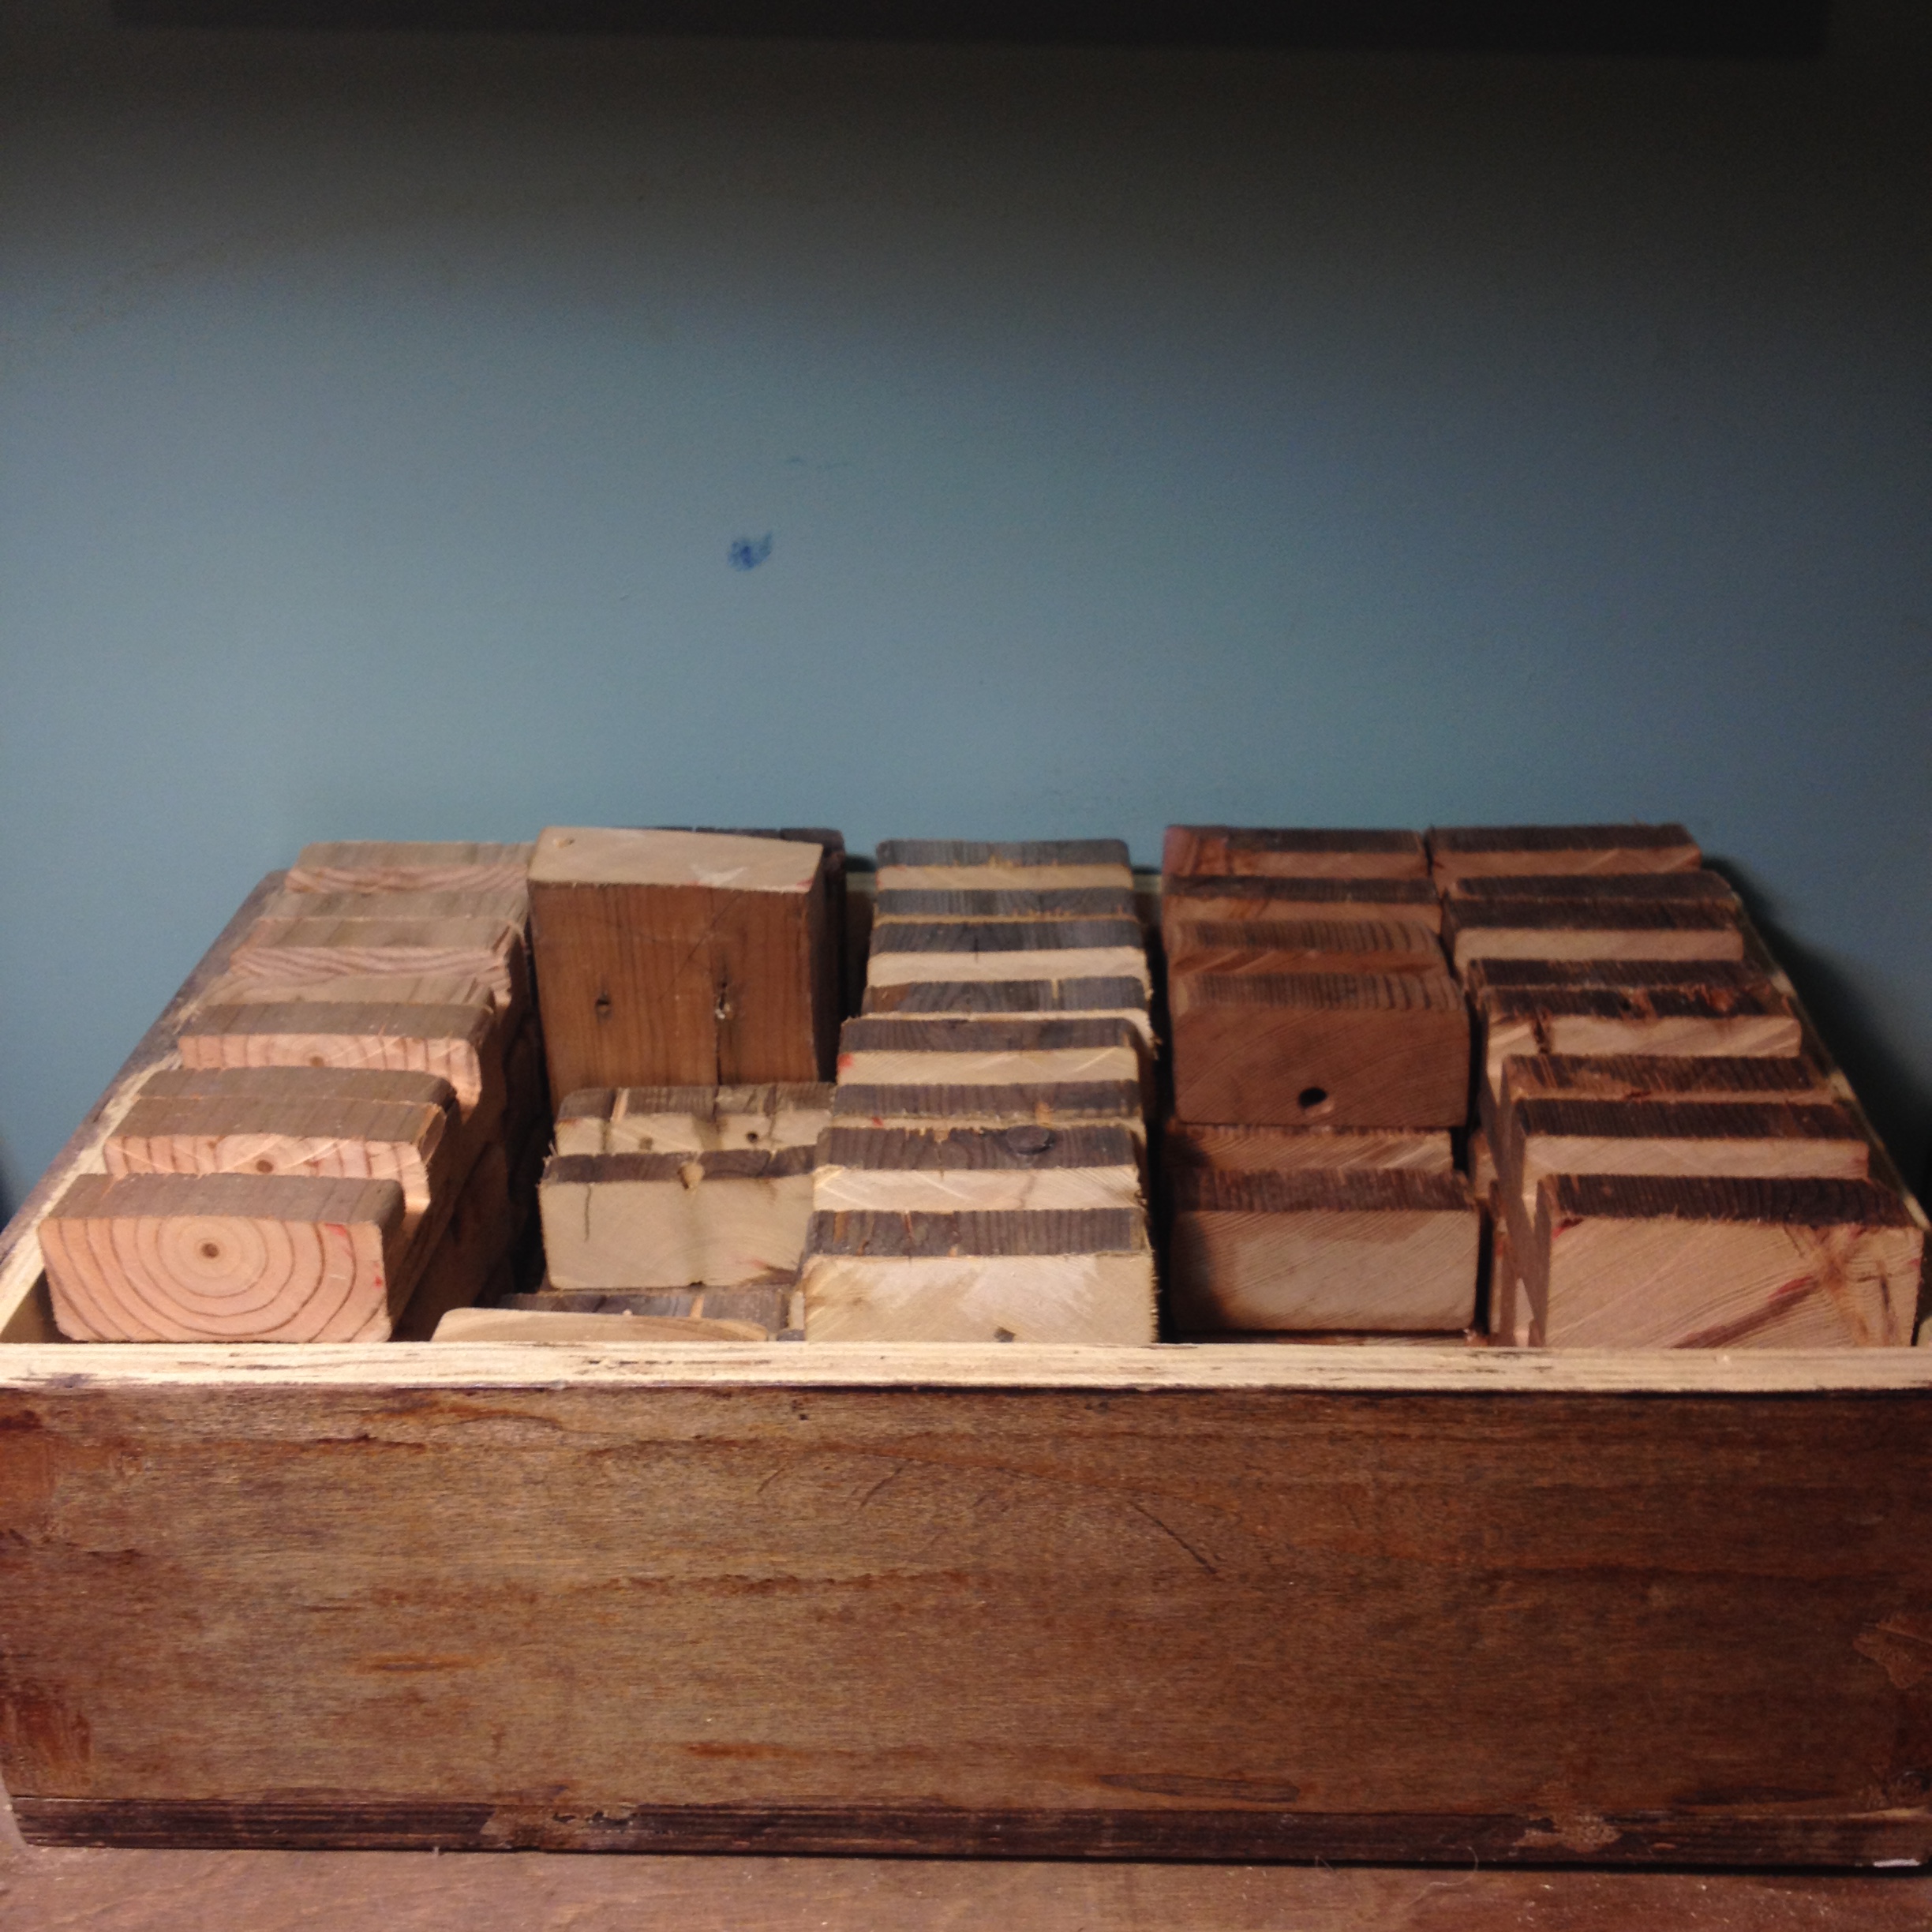
Once the blanks are cut they are ready for the a 2-3 step sanding process to clean up the surface, edges and to soften the existing imperfections from using reclaimed wood — chips, cracks, nail and screw holes, etc. Before the final sanding we drill and carve out the hole for the charger and cable run.
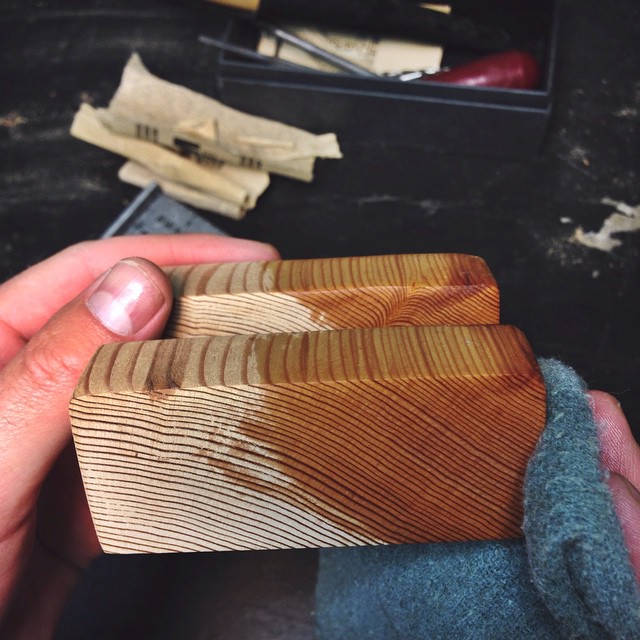
Once all sides are smoothed out, we bathe the wood in mineral oil and let it rest for a day. Then we seal it with our homemade recipe of Organic Beeswax Board Butter.
