There’s nothing like preparing the first meal on your brand new cutting board. The first cut is a bit of exhilaration and hesitation as you draw your knife and potentially mar the beautifully smooth surface of your board. However, each knife strokes sliced across the grain probably equals a future fond memory of creating a delicious meal. At Real Good Goods, we love seeing well-used and well-loved butcher blocks, cheese boards, cutting boards, and the many other names given to the wooden unsung heroes of our kitchens, and we want to help ensure they get the very best care we feel they deserve.
While cooking and eating
While cooking you may not have a chance to wash all of your dishes before serving your meal. Before you sit down to eat, be sure you haven’t left liquid sitting on your cutting board, especially if you just sliced something juicy like tomatoes. Just give it a quick tilt in your sink and slide your knife at a 30-degree angle to swipe any liquid off the surface. Return it to the counter — never put your cutting board in the sink or in standing water. Now go enjoy your meal!
Washing your cutting board
Wash your board with mild soap and water, and stand upright on a rack or dry towel. Allow it to dry completely, probably overnight, before storing or oiling.
Again, never allow your board to soak in water. Pigment from fruit and vegetable may stain the surface. Sometimes this is temporary and it will disappear after a few washing. Soaking the board will not help, and will cause the wood to swell and deteriorate. Minor restoration may be necessary to remove stubborn stains.
Waxing your cutting board
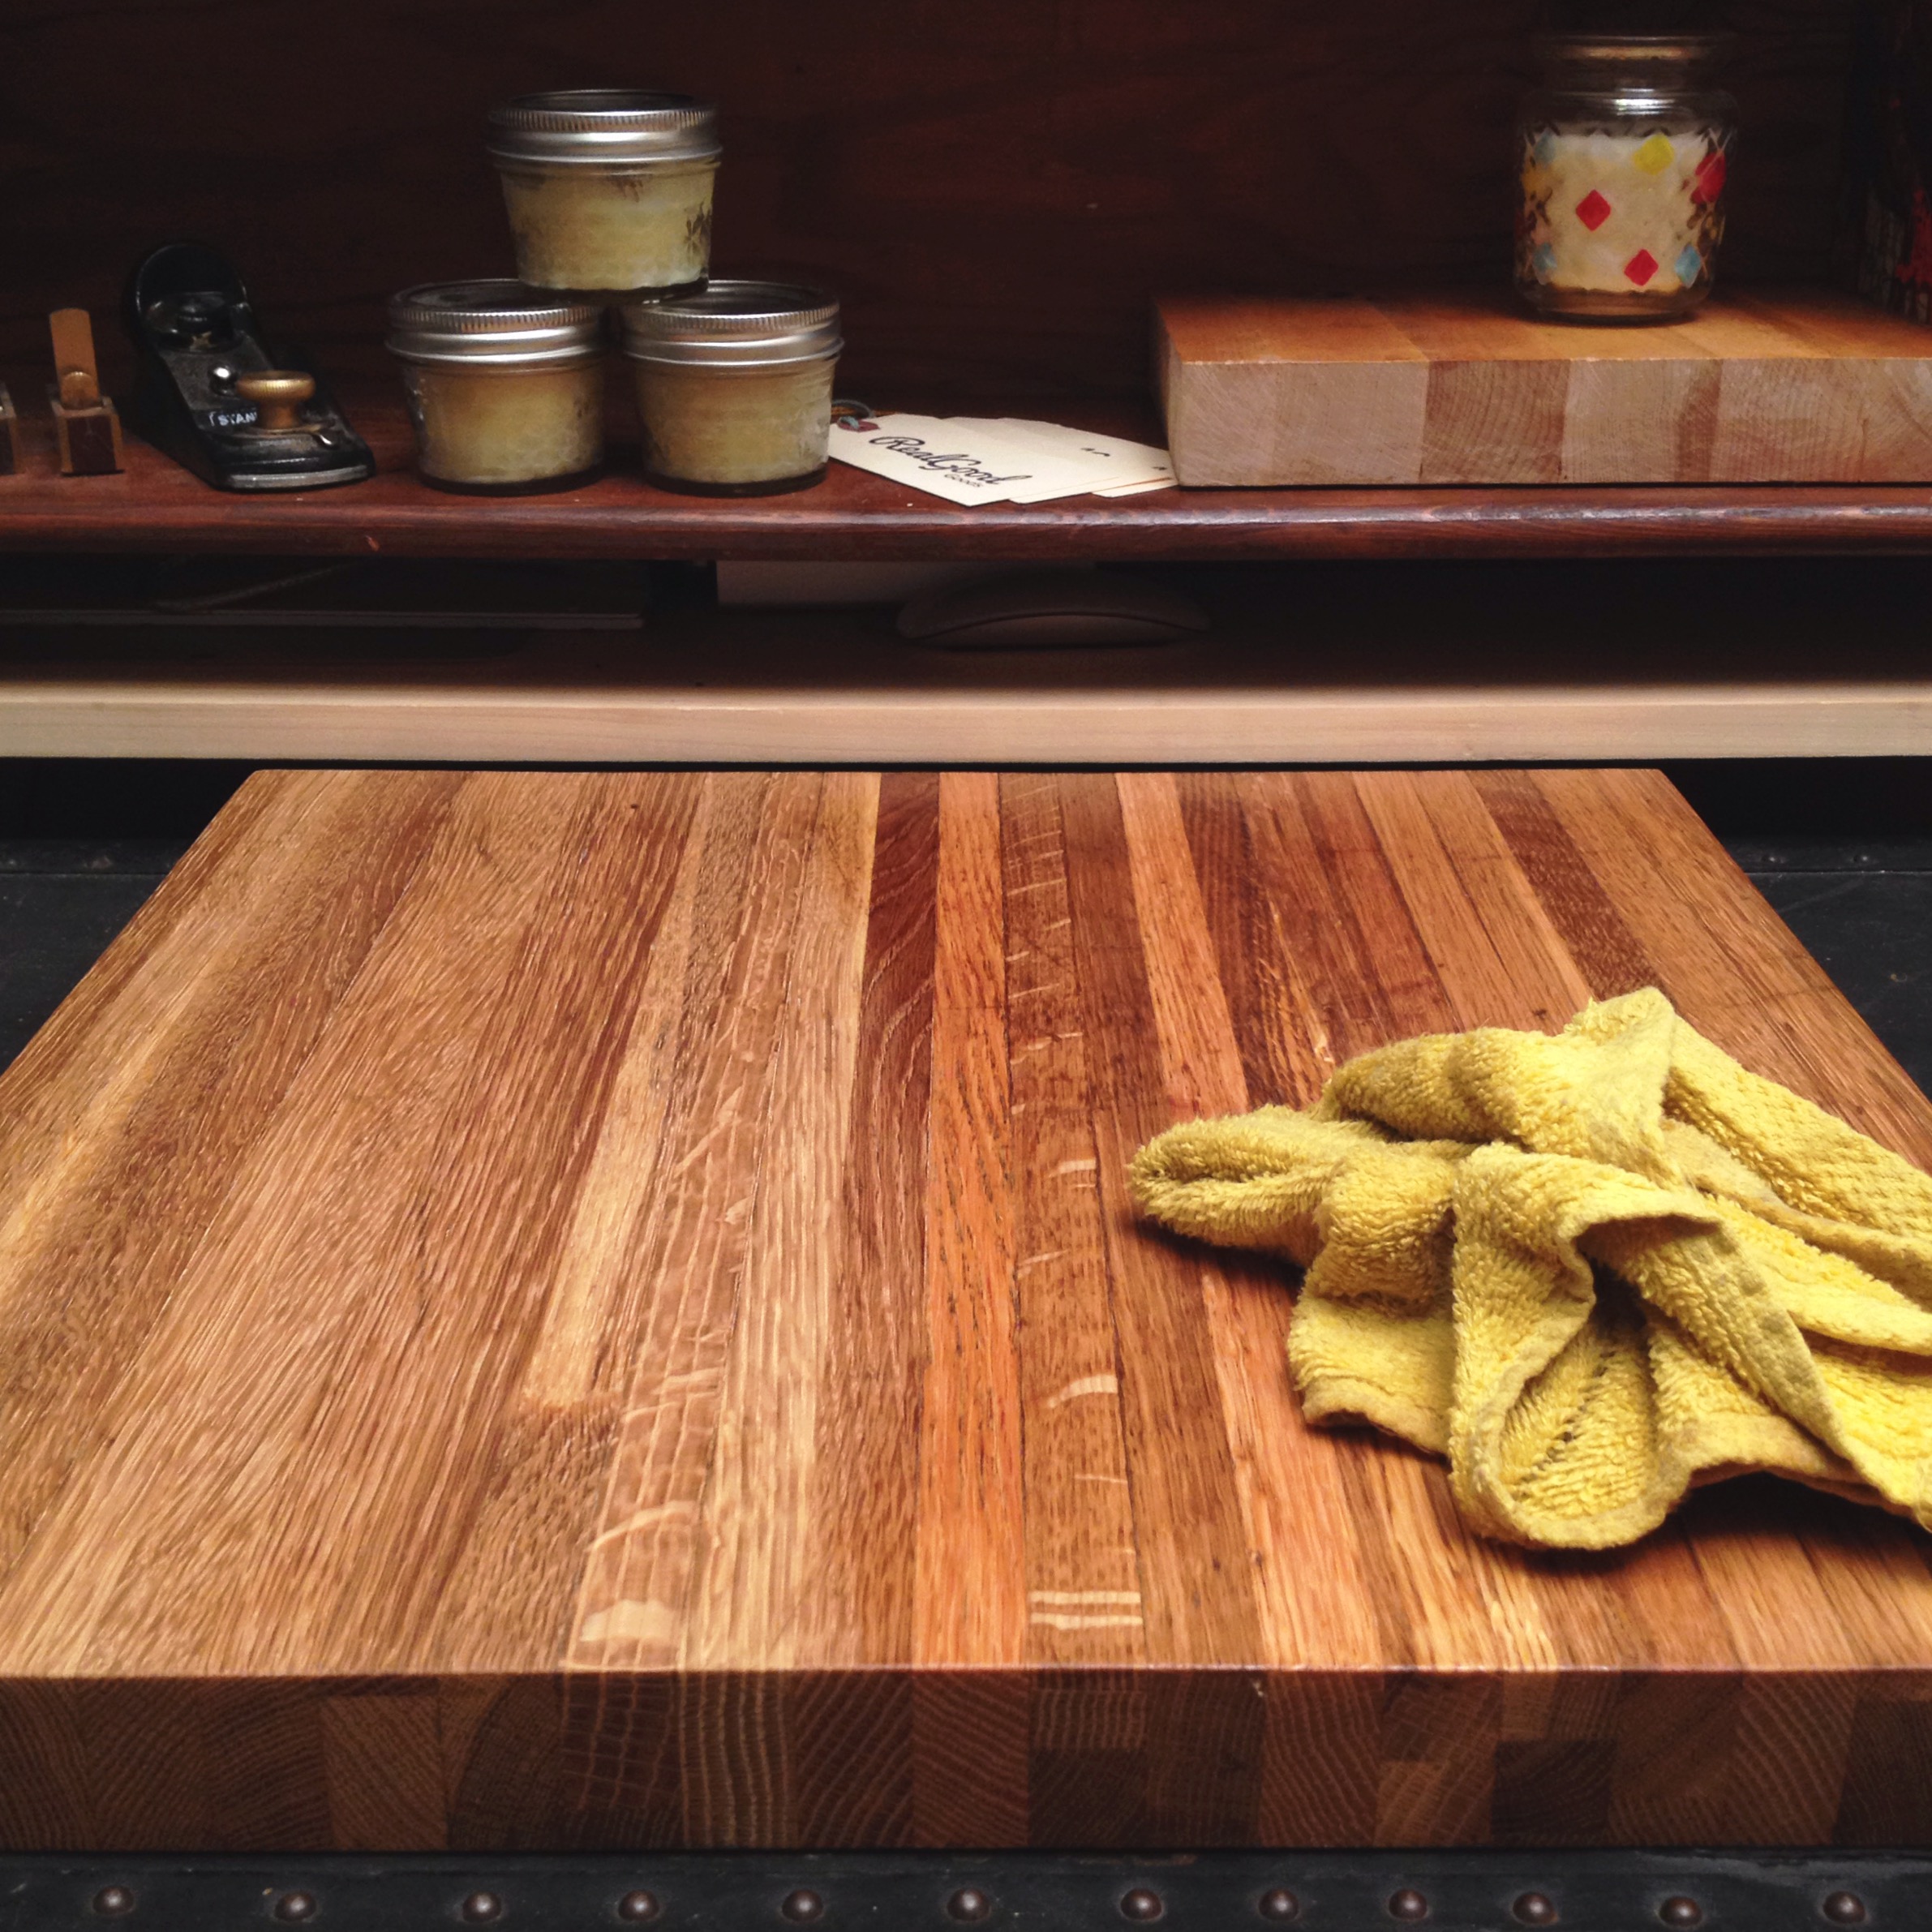
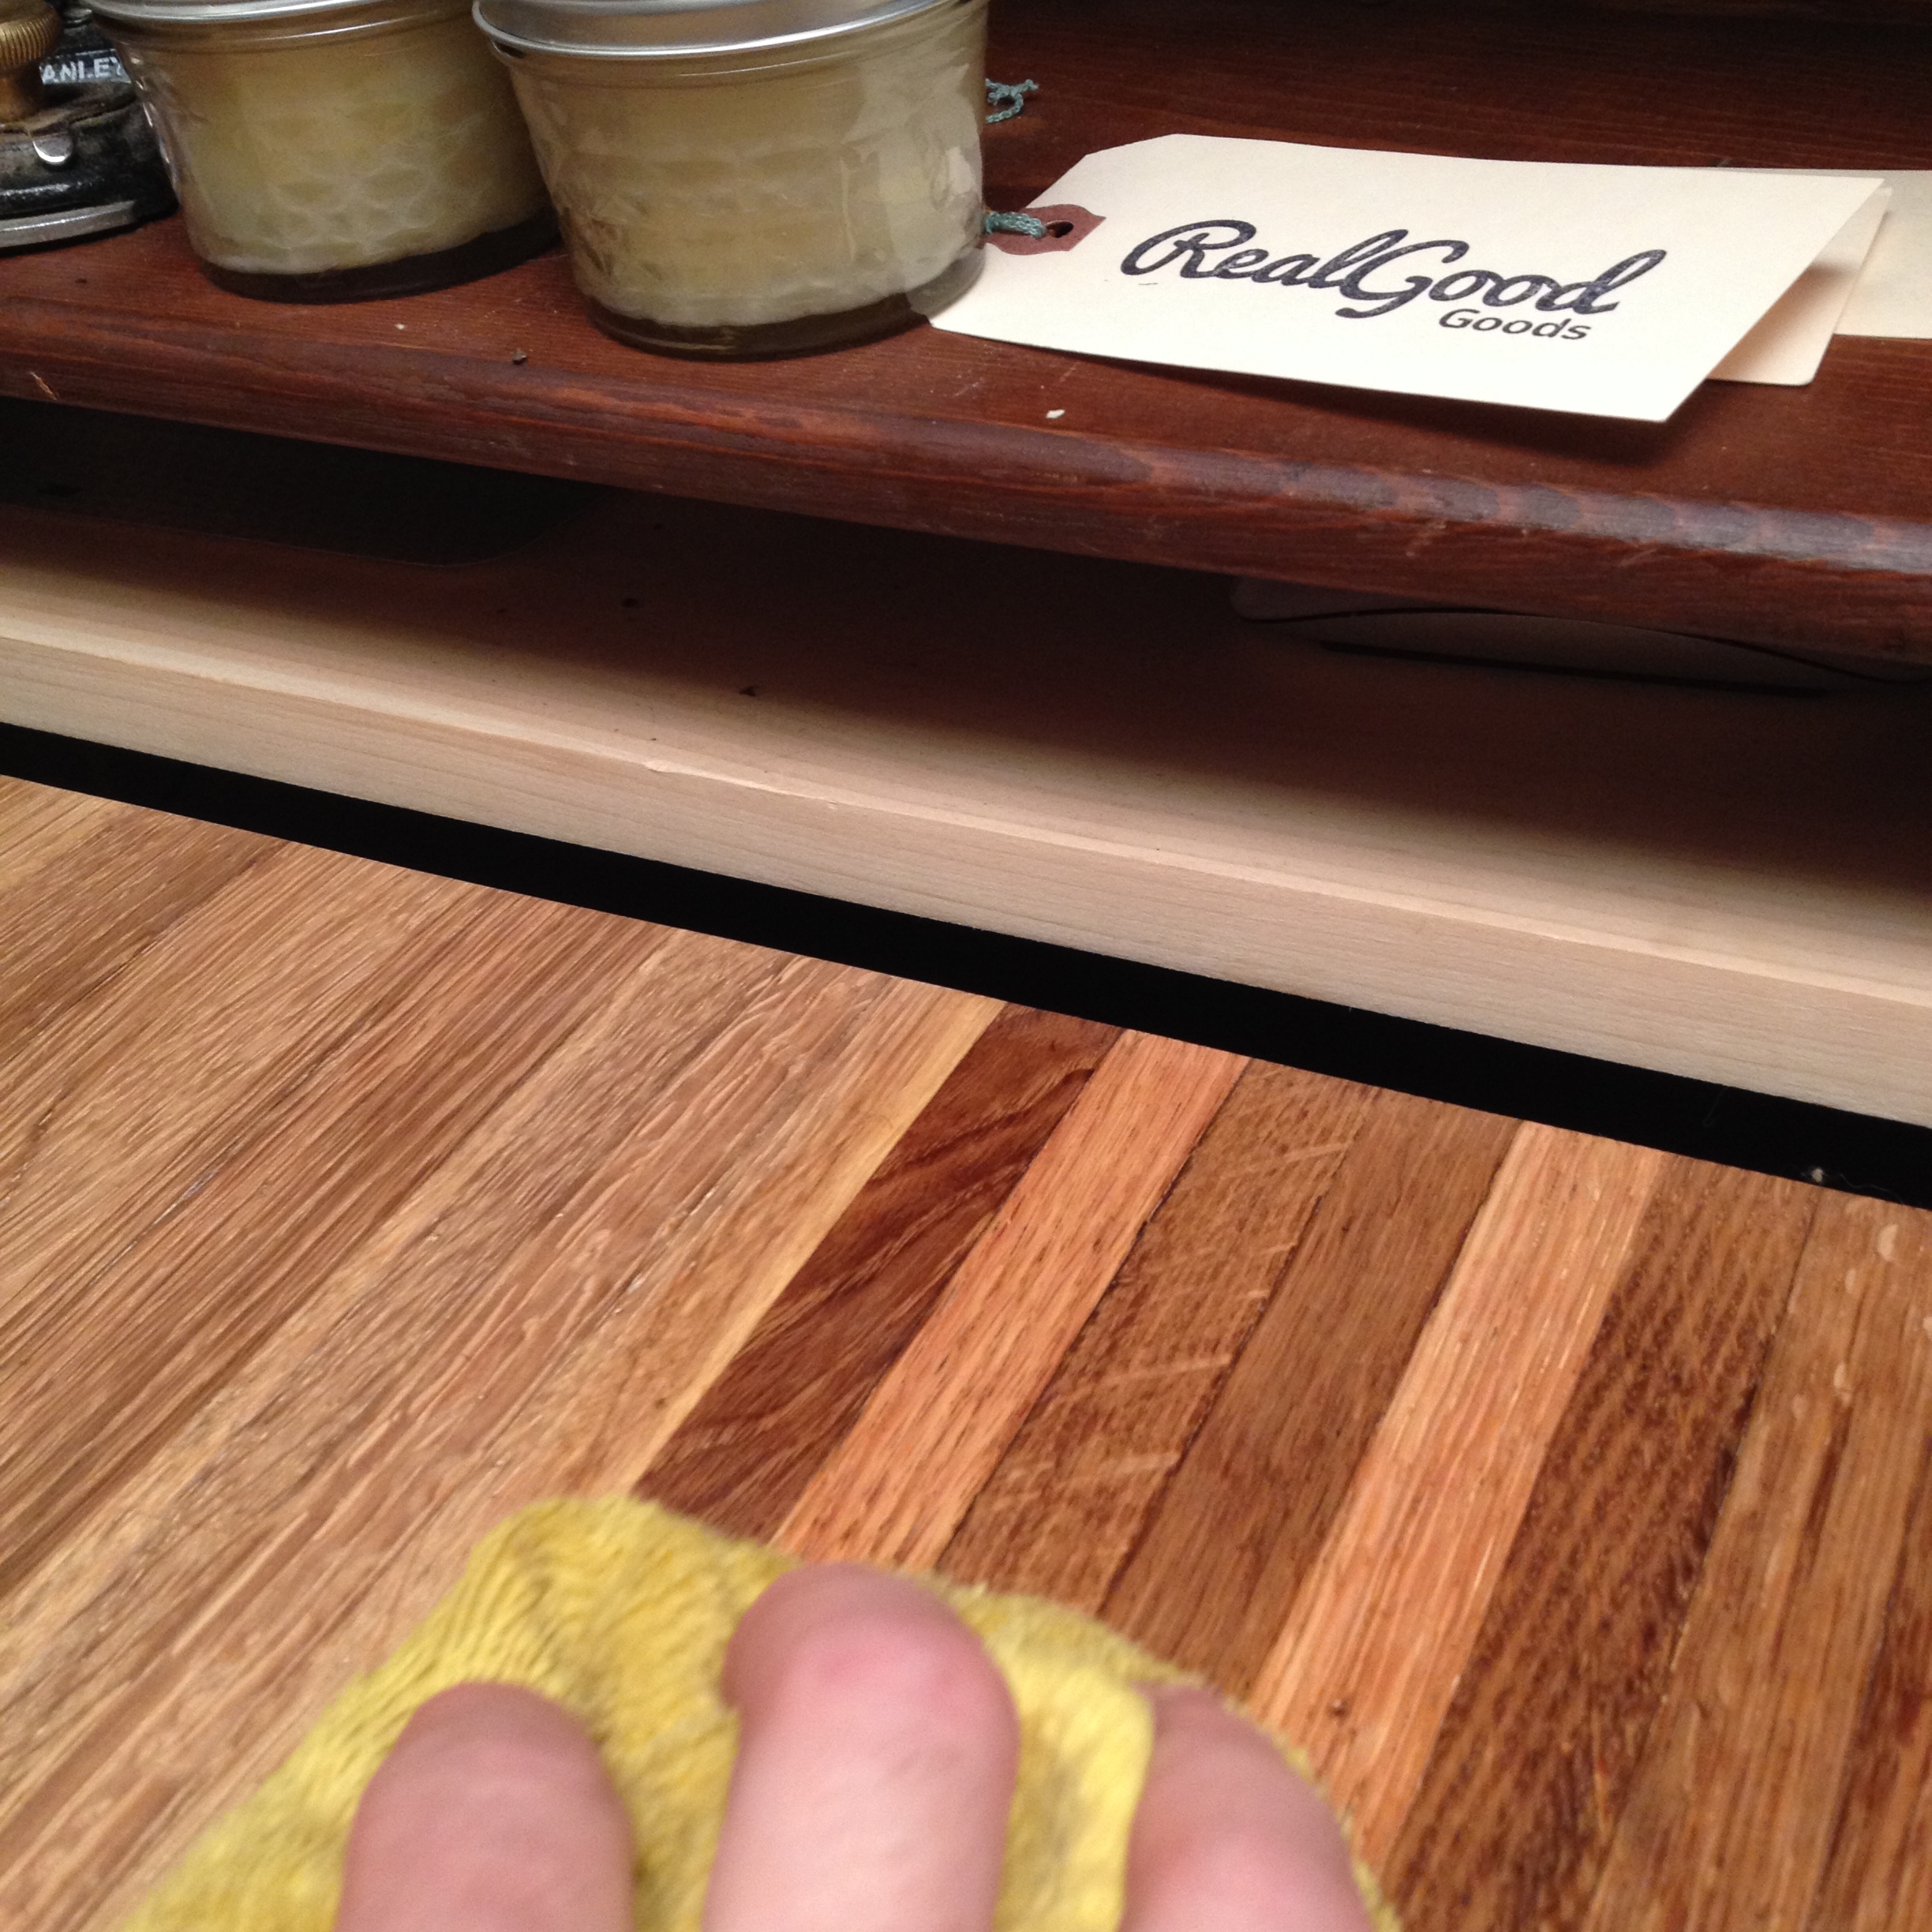
To maintain its beauty and durability we recommend using our Organic Beeswax Board Butter to condition your cutting board. It’s also great for any wooden utensils, spoon rests, cookware, and wooden-handled knives. If you cook regularly, waxing at least once a month is best and only takes a few minutes.
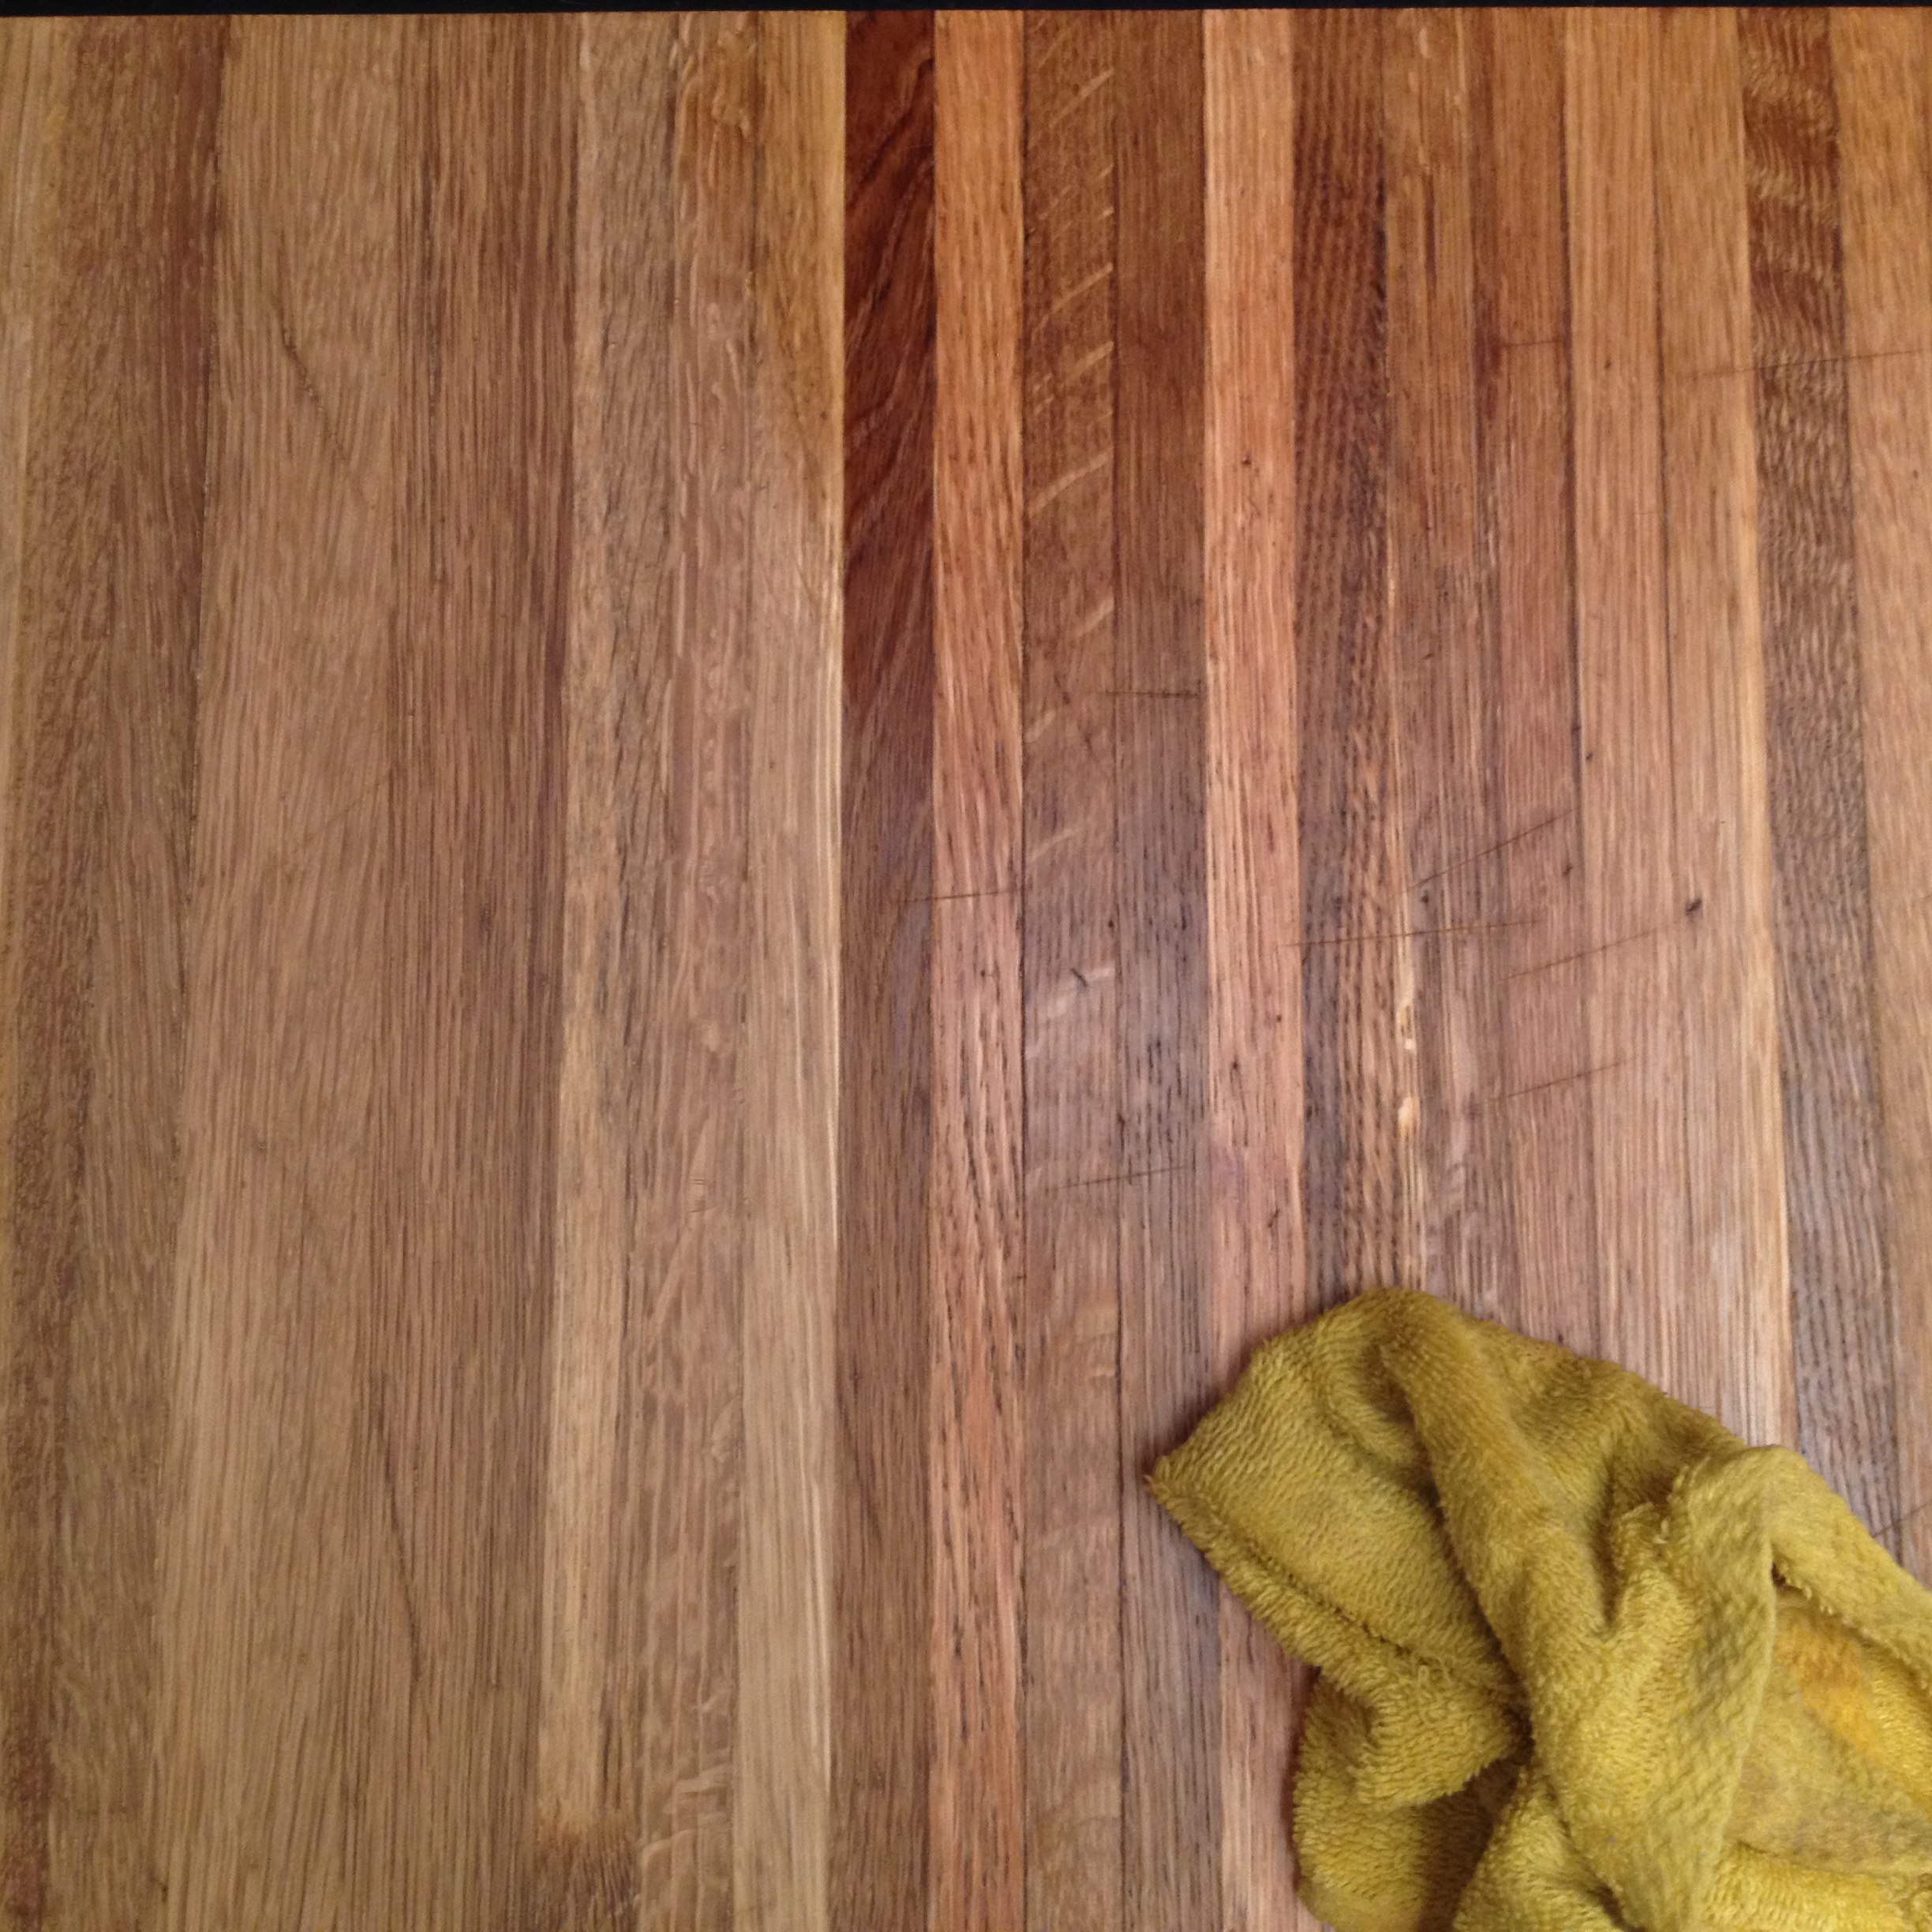
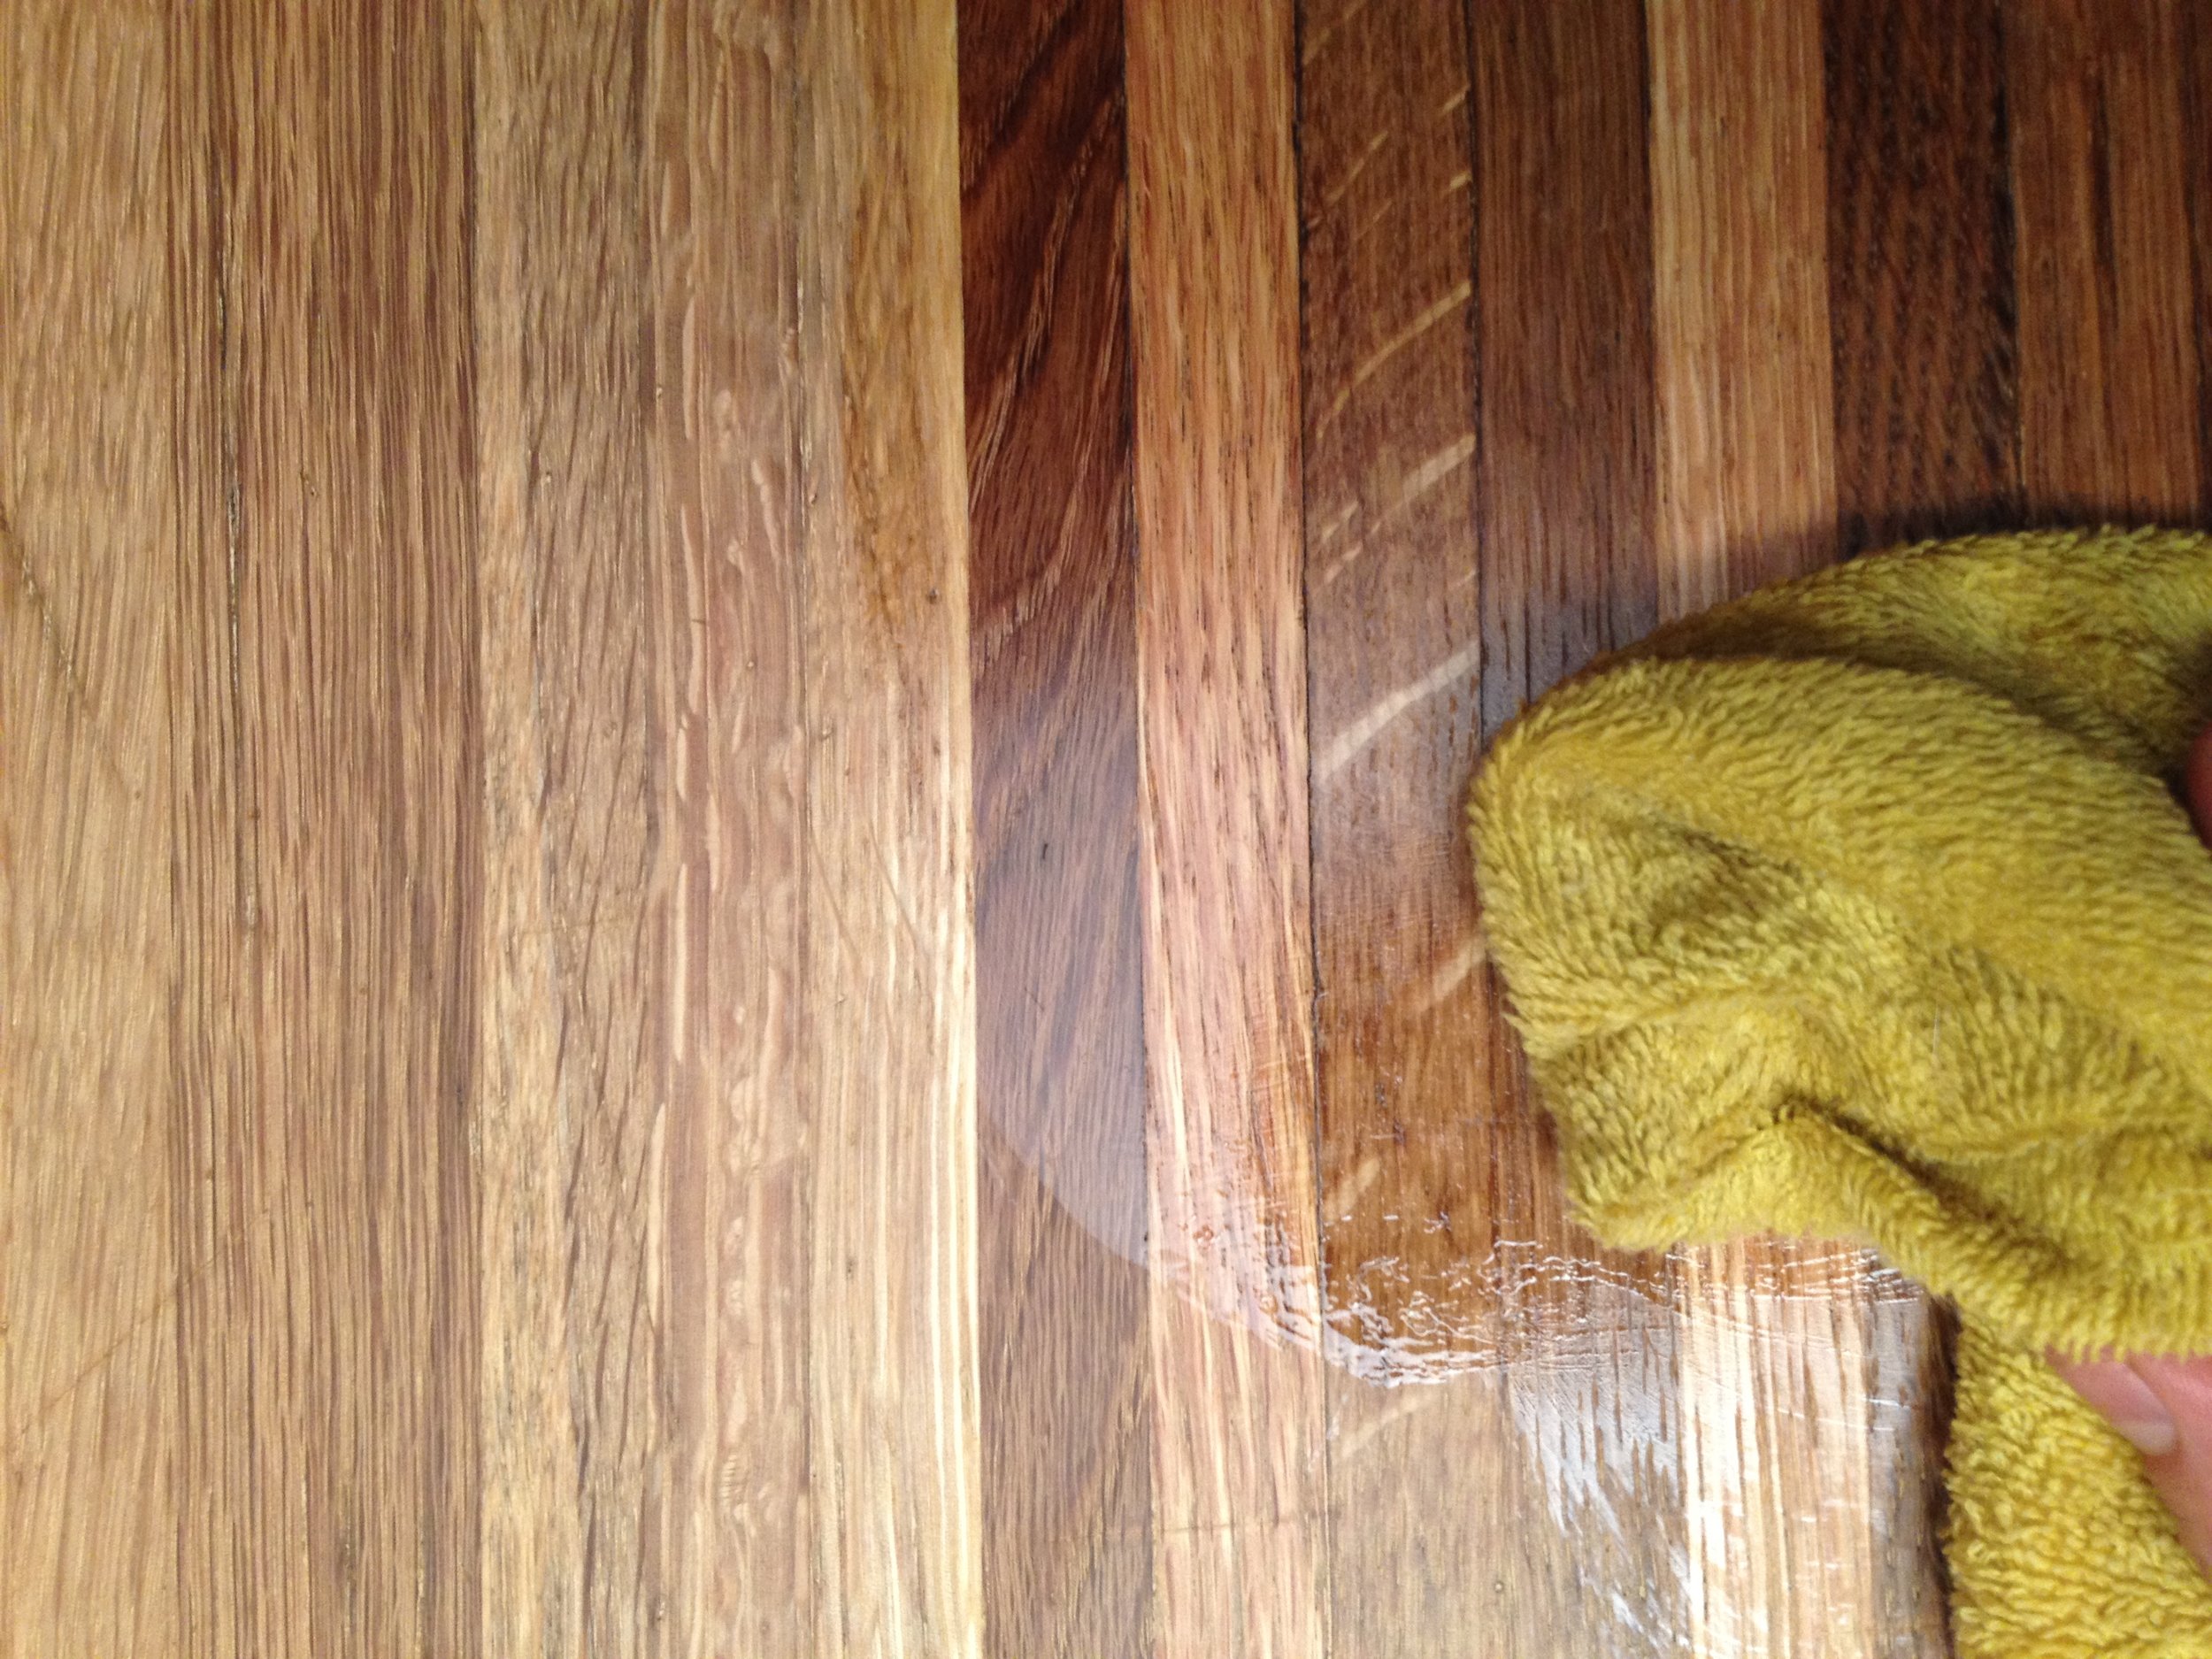
Place a generous amount of board butter on your board. Spread into a thin layer across the entire surface, including the edges. Buff into the grain with a clean, lint-free cloth, and allow it to absorb overnight. Remove any excess with a clean cloth in the morning. If your board hasn’t been conditioned in a while, it may be very thirsty. Give it another coat if the surface still feels dry.
Our Organic Beeswax Board Butter is food-safe, non-toxic, and contains no solvents. Cloths used for waxing may be used multiple times if stored in a clean area, and can be safely disposed of as household waste later on.
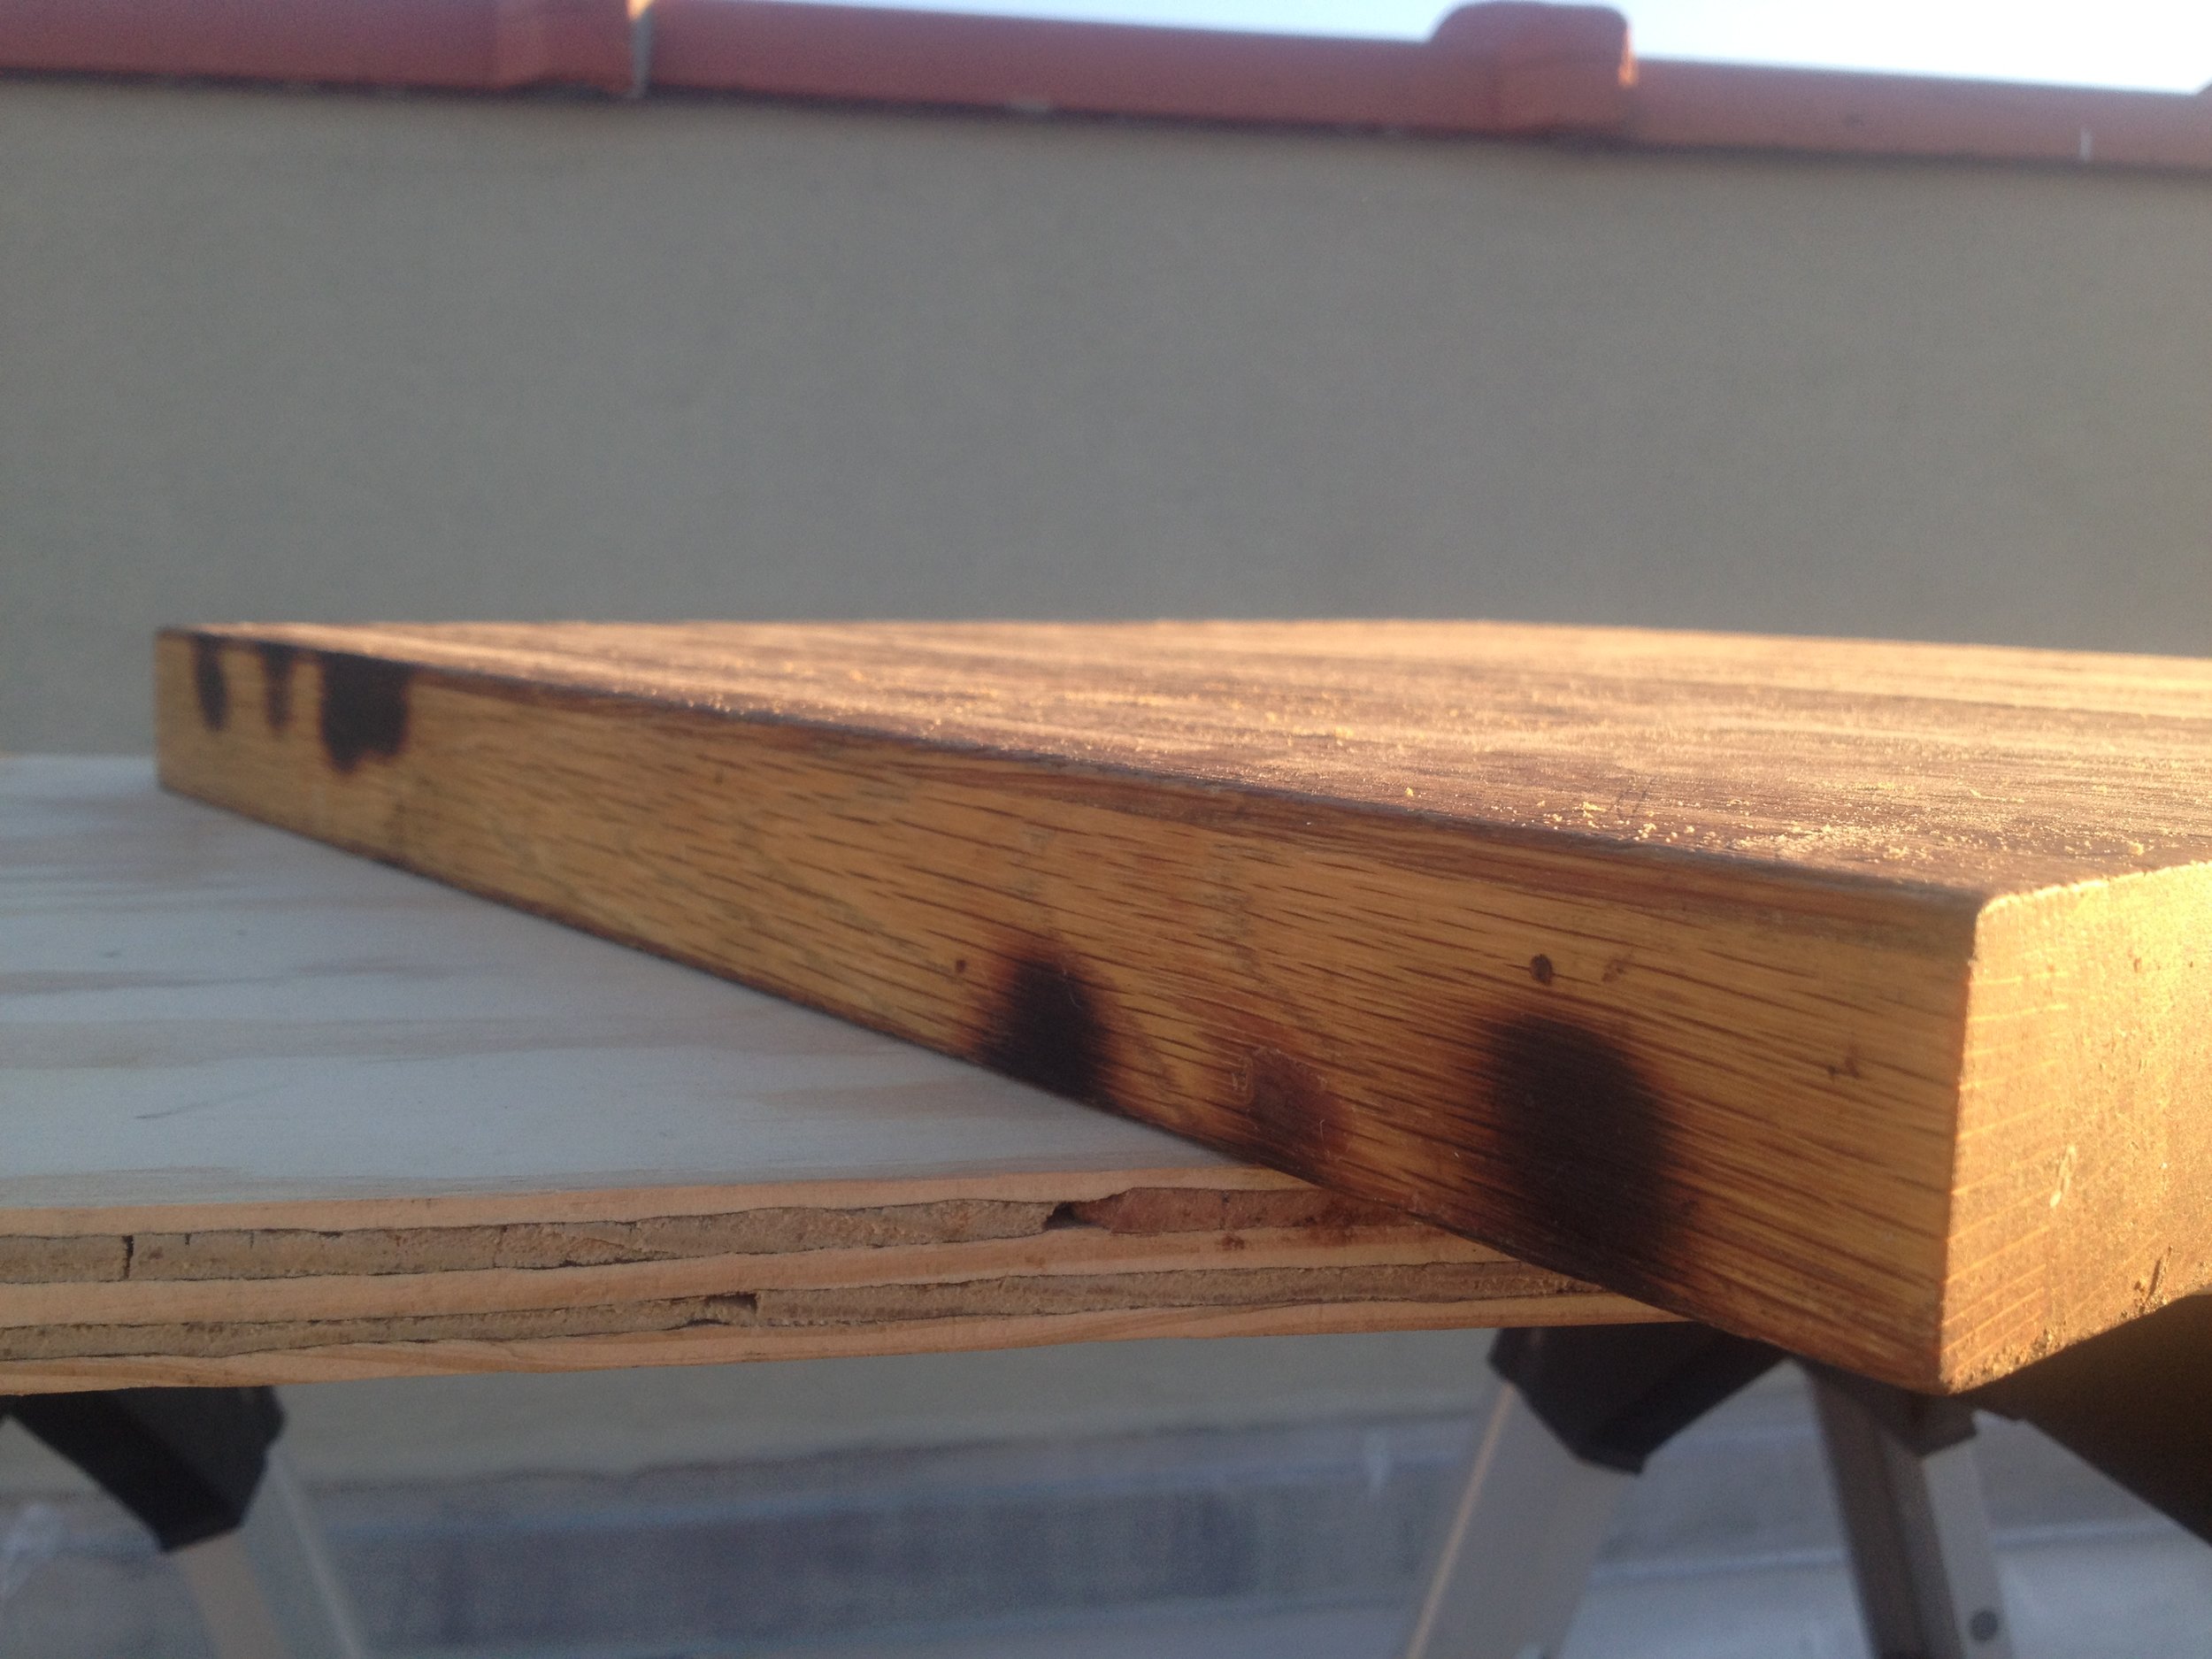
Restorations
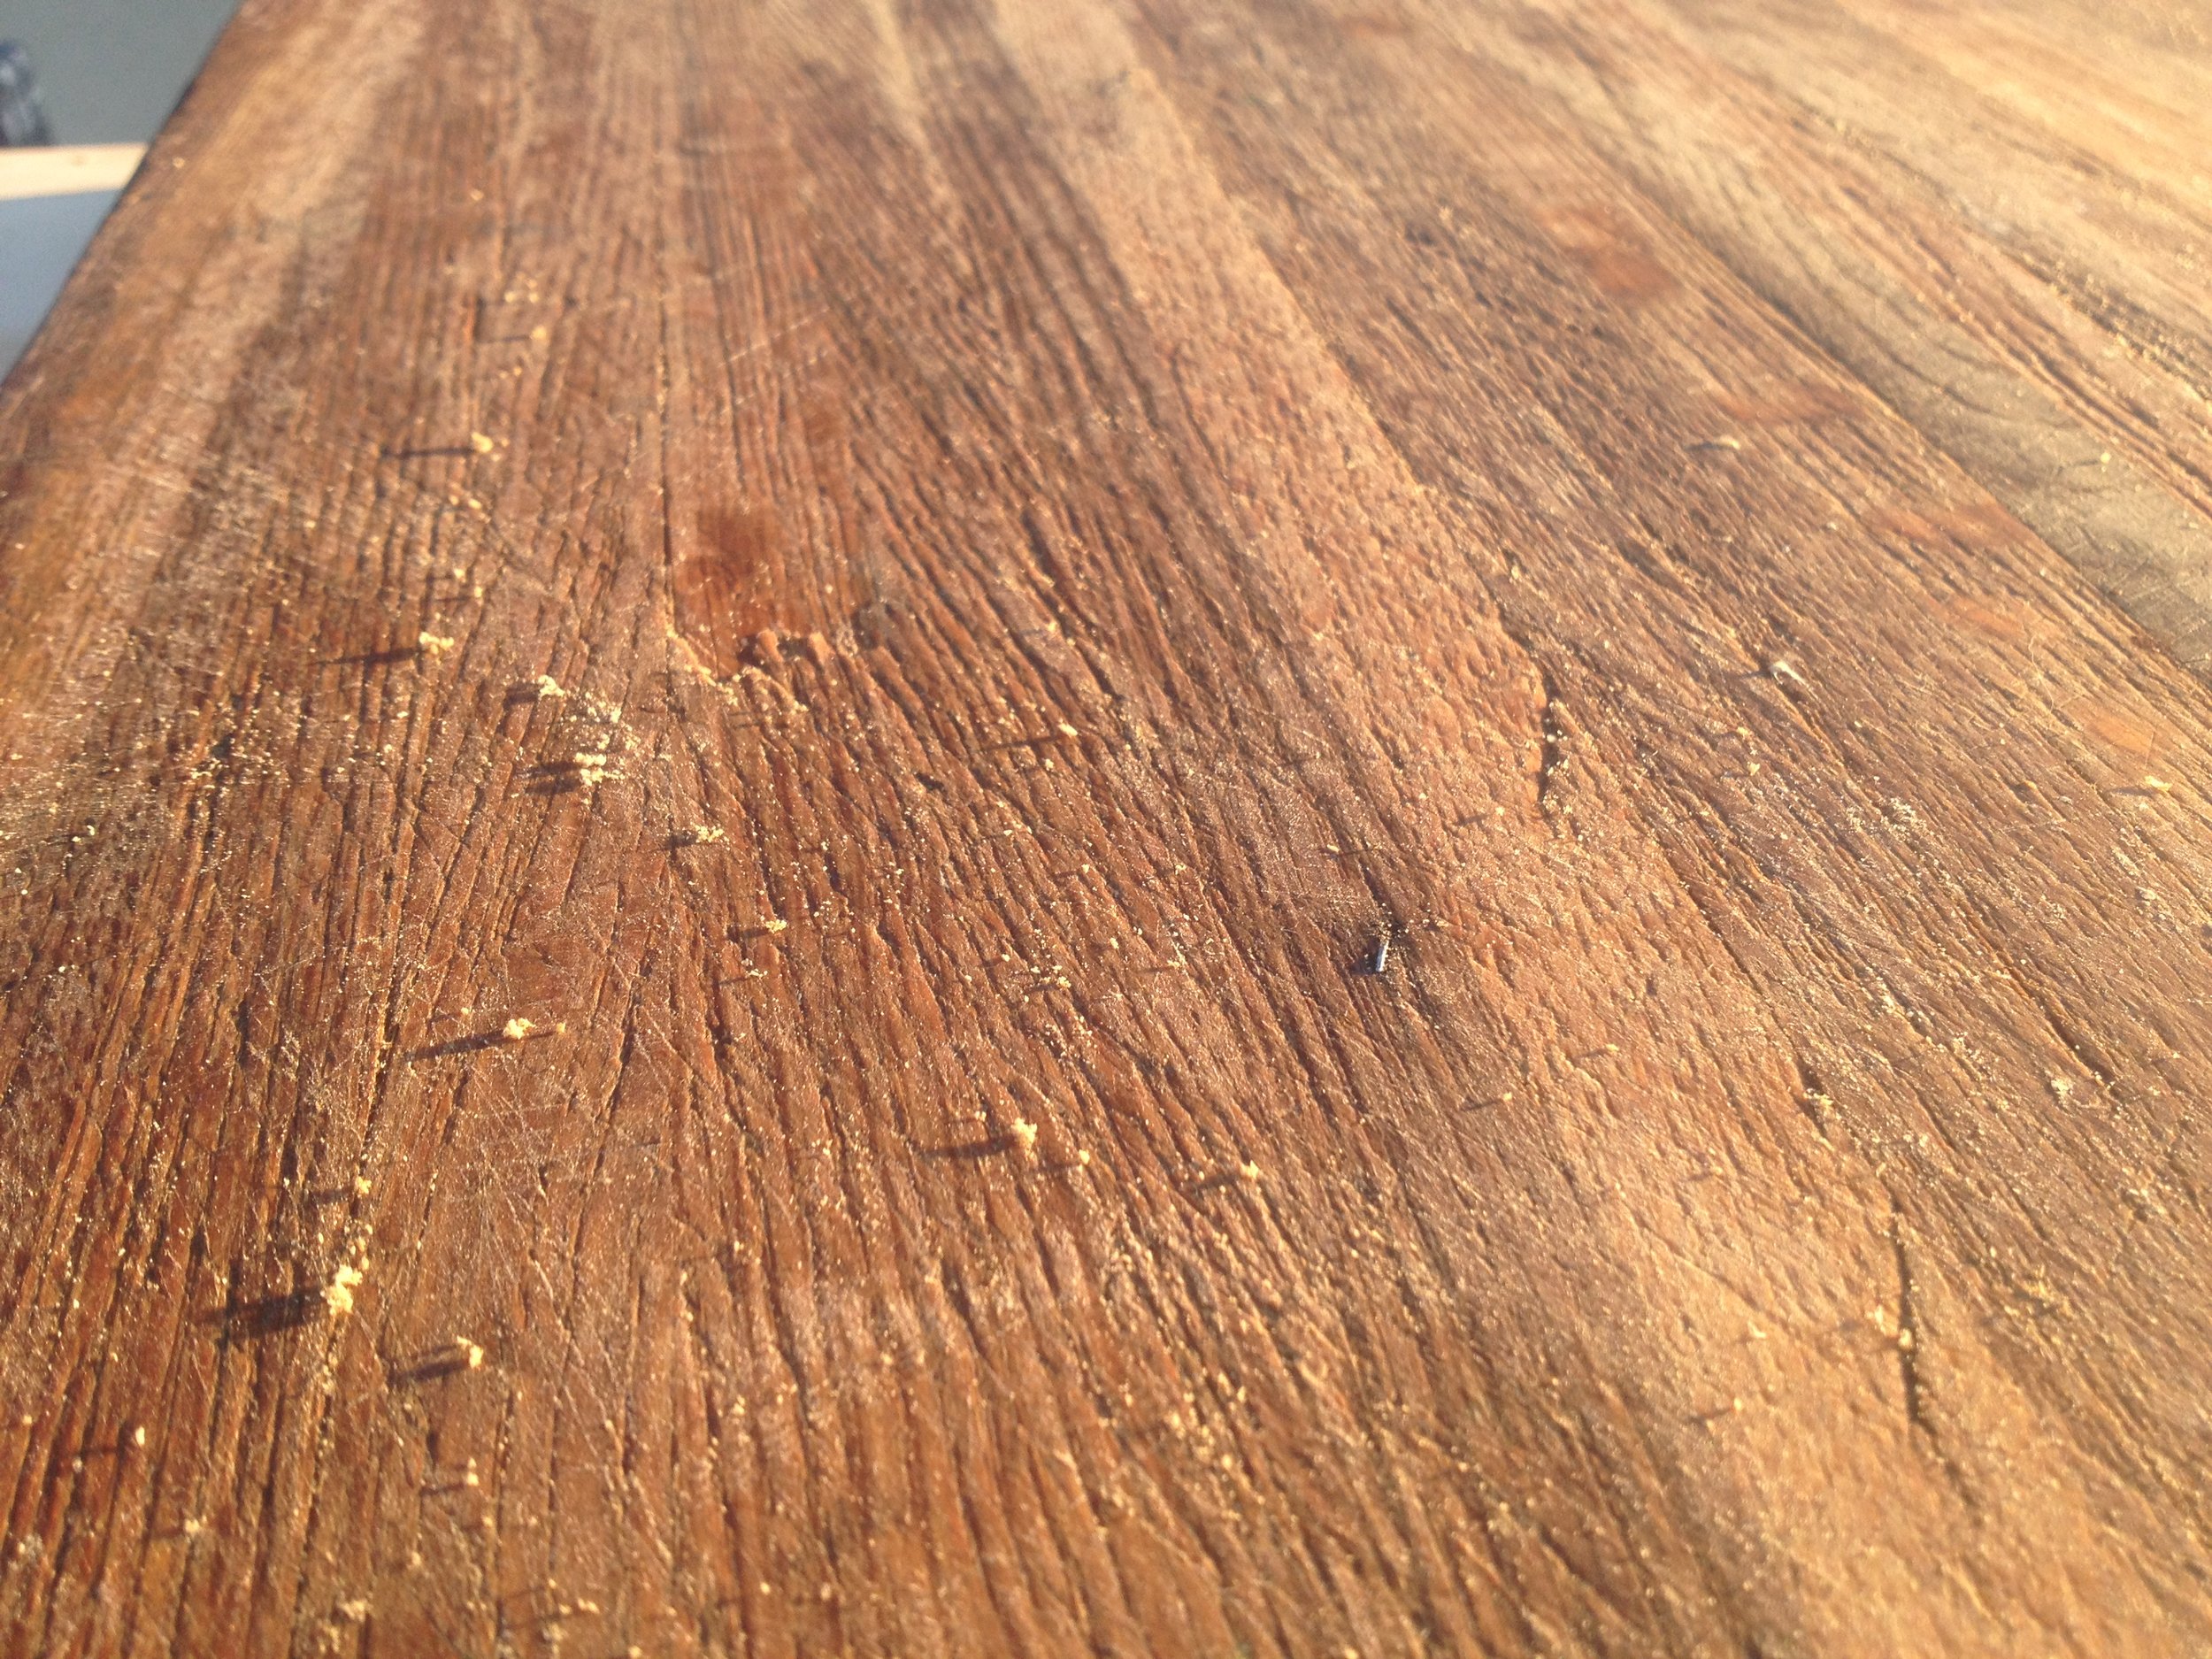
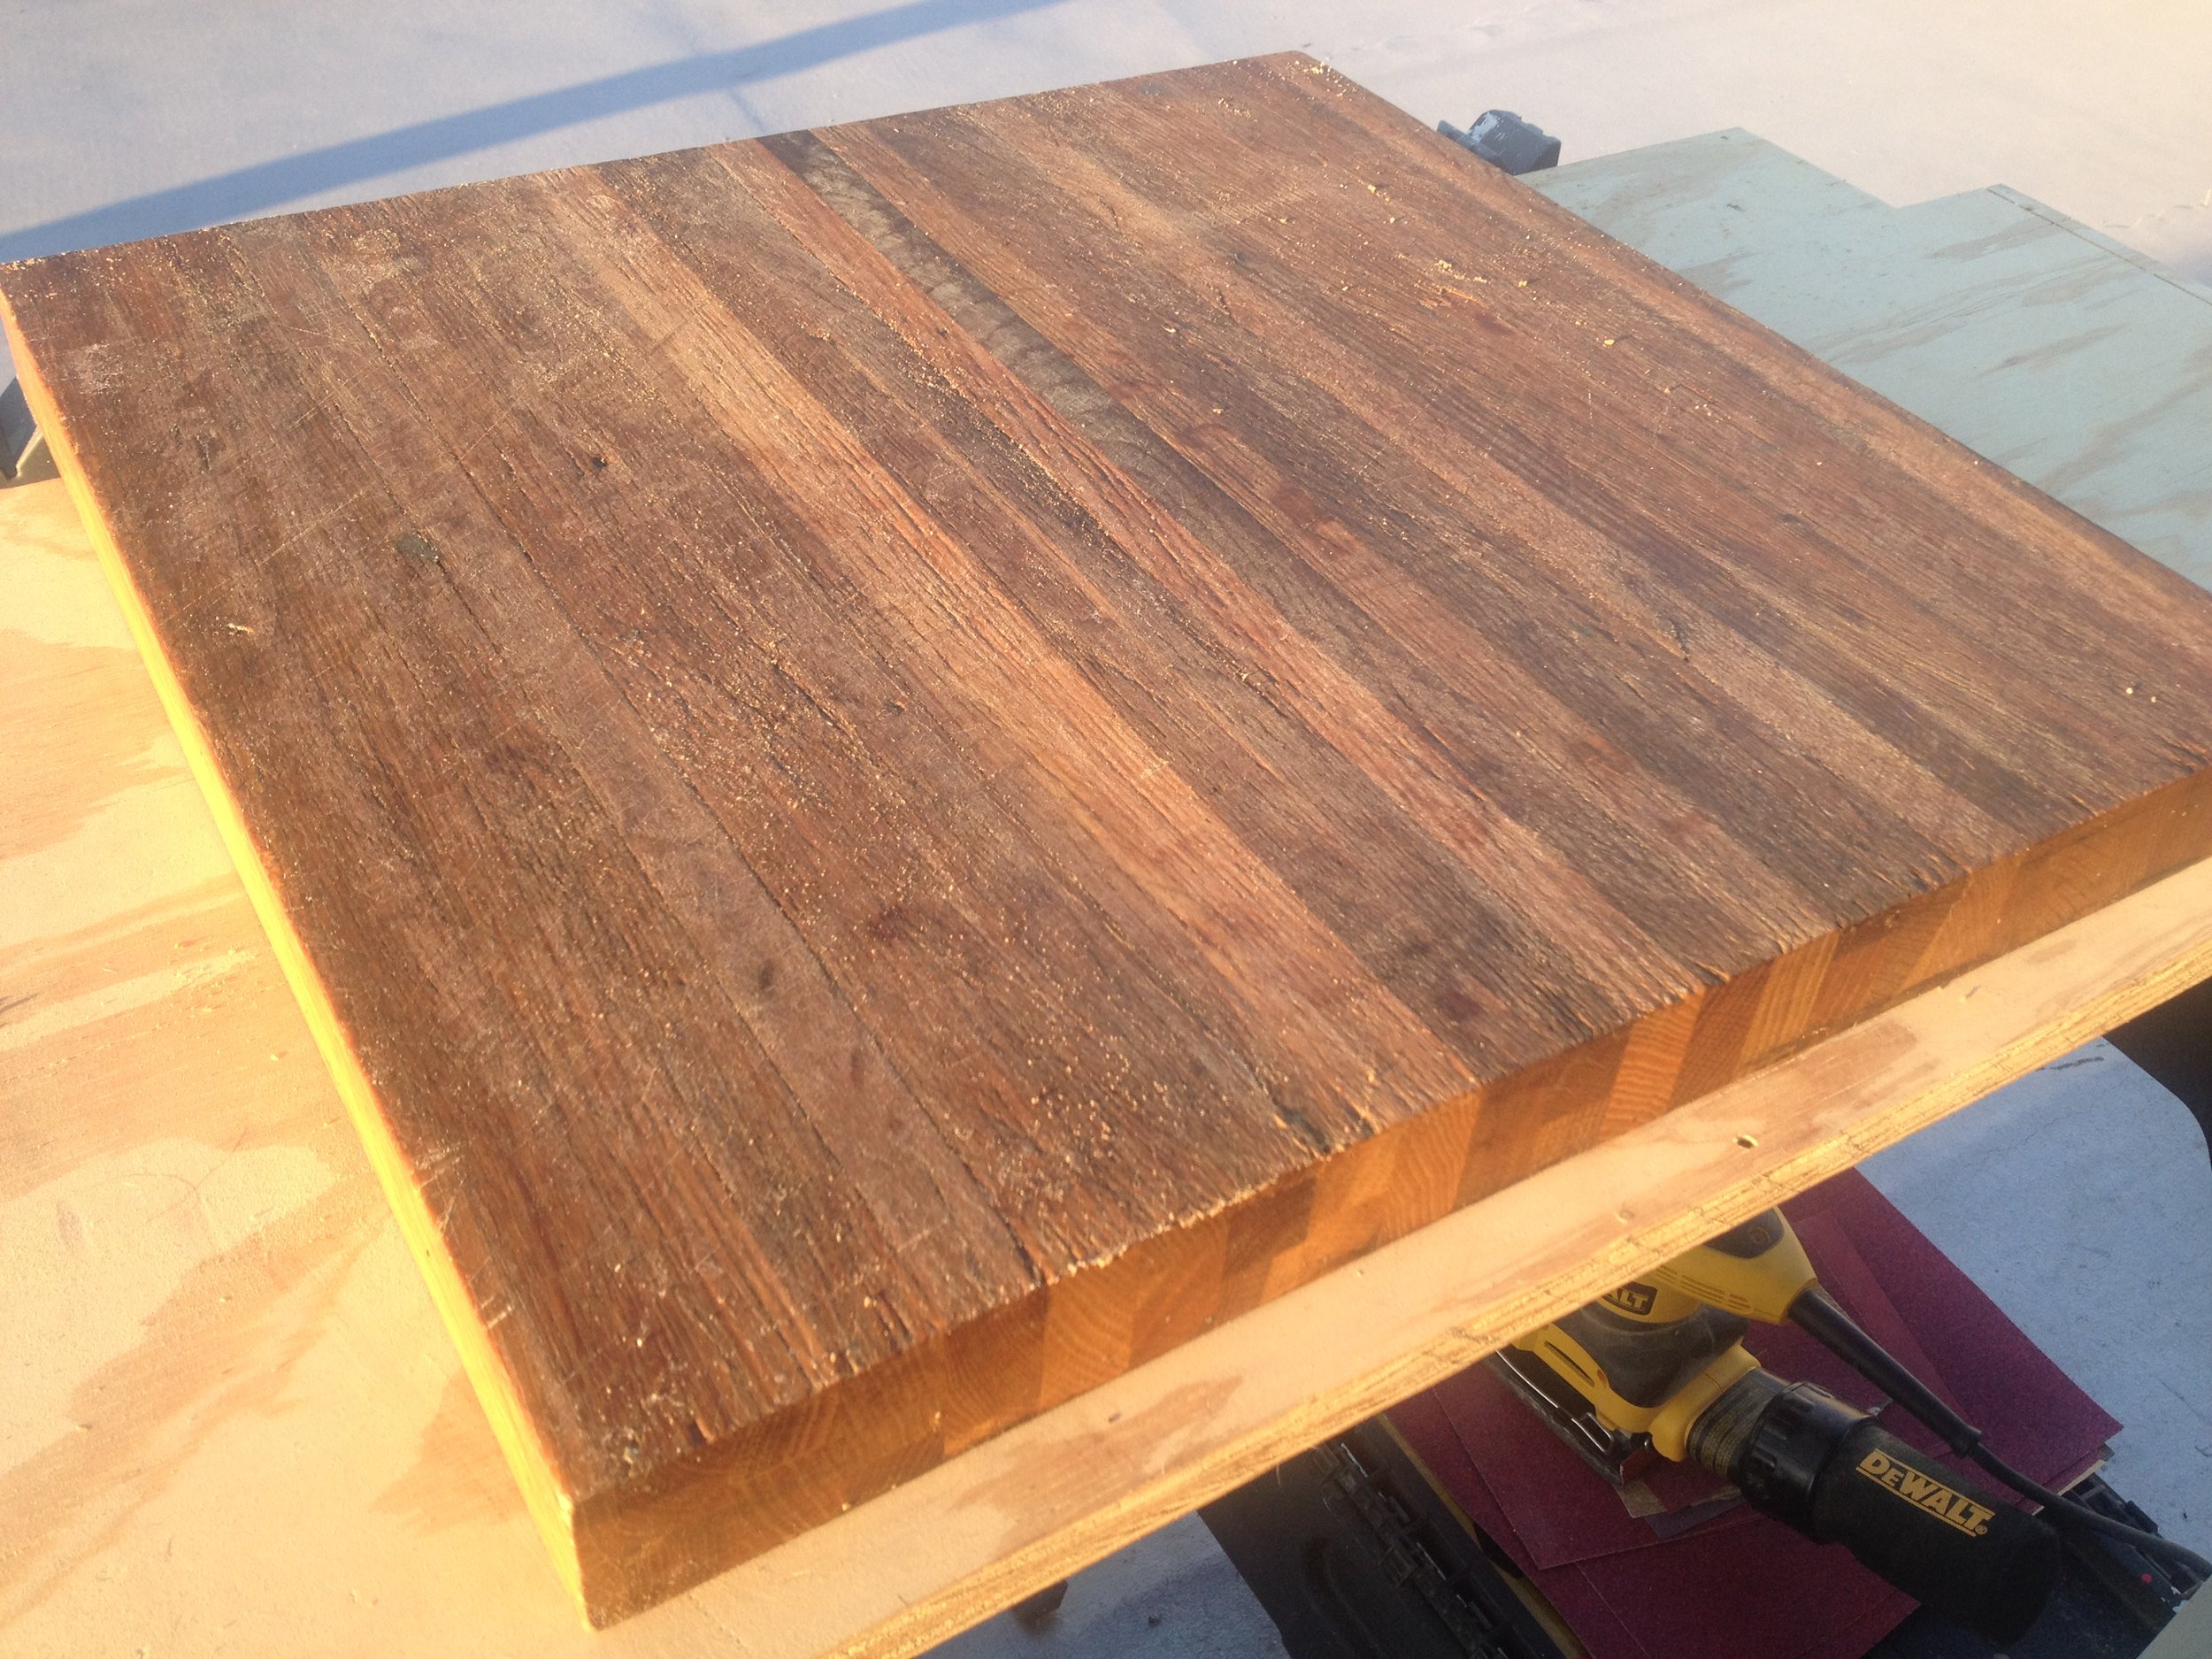
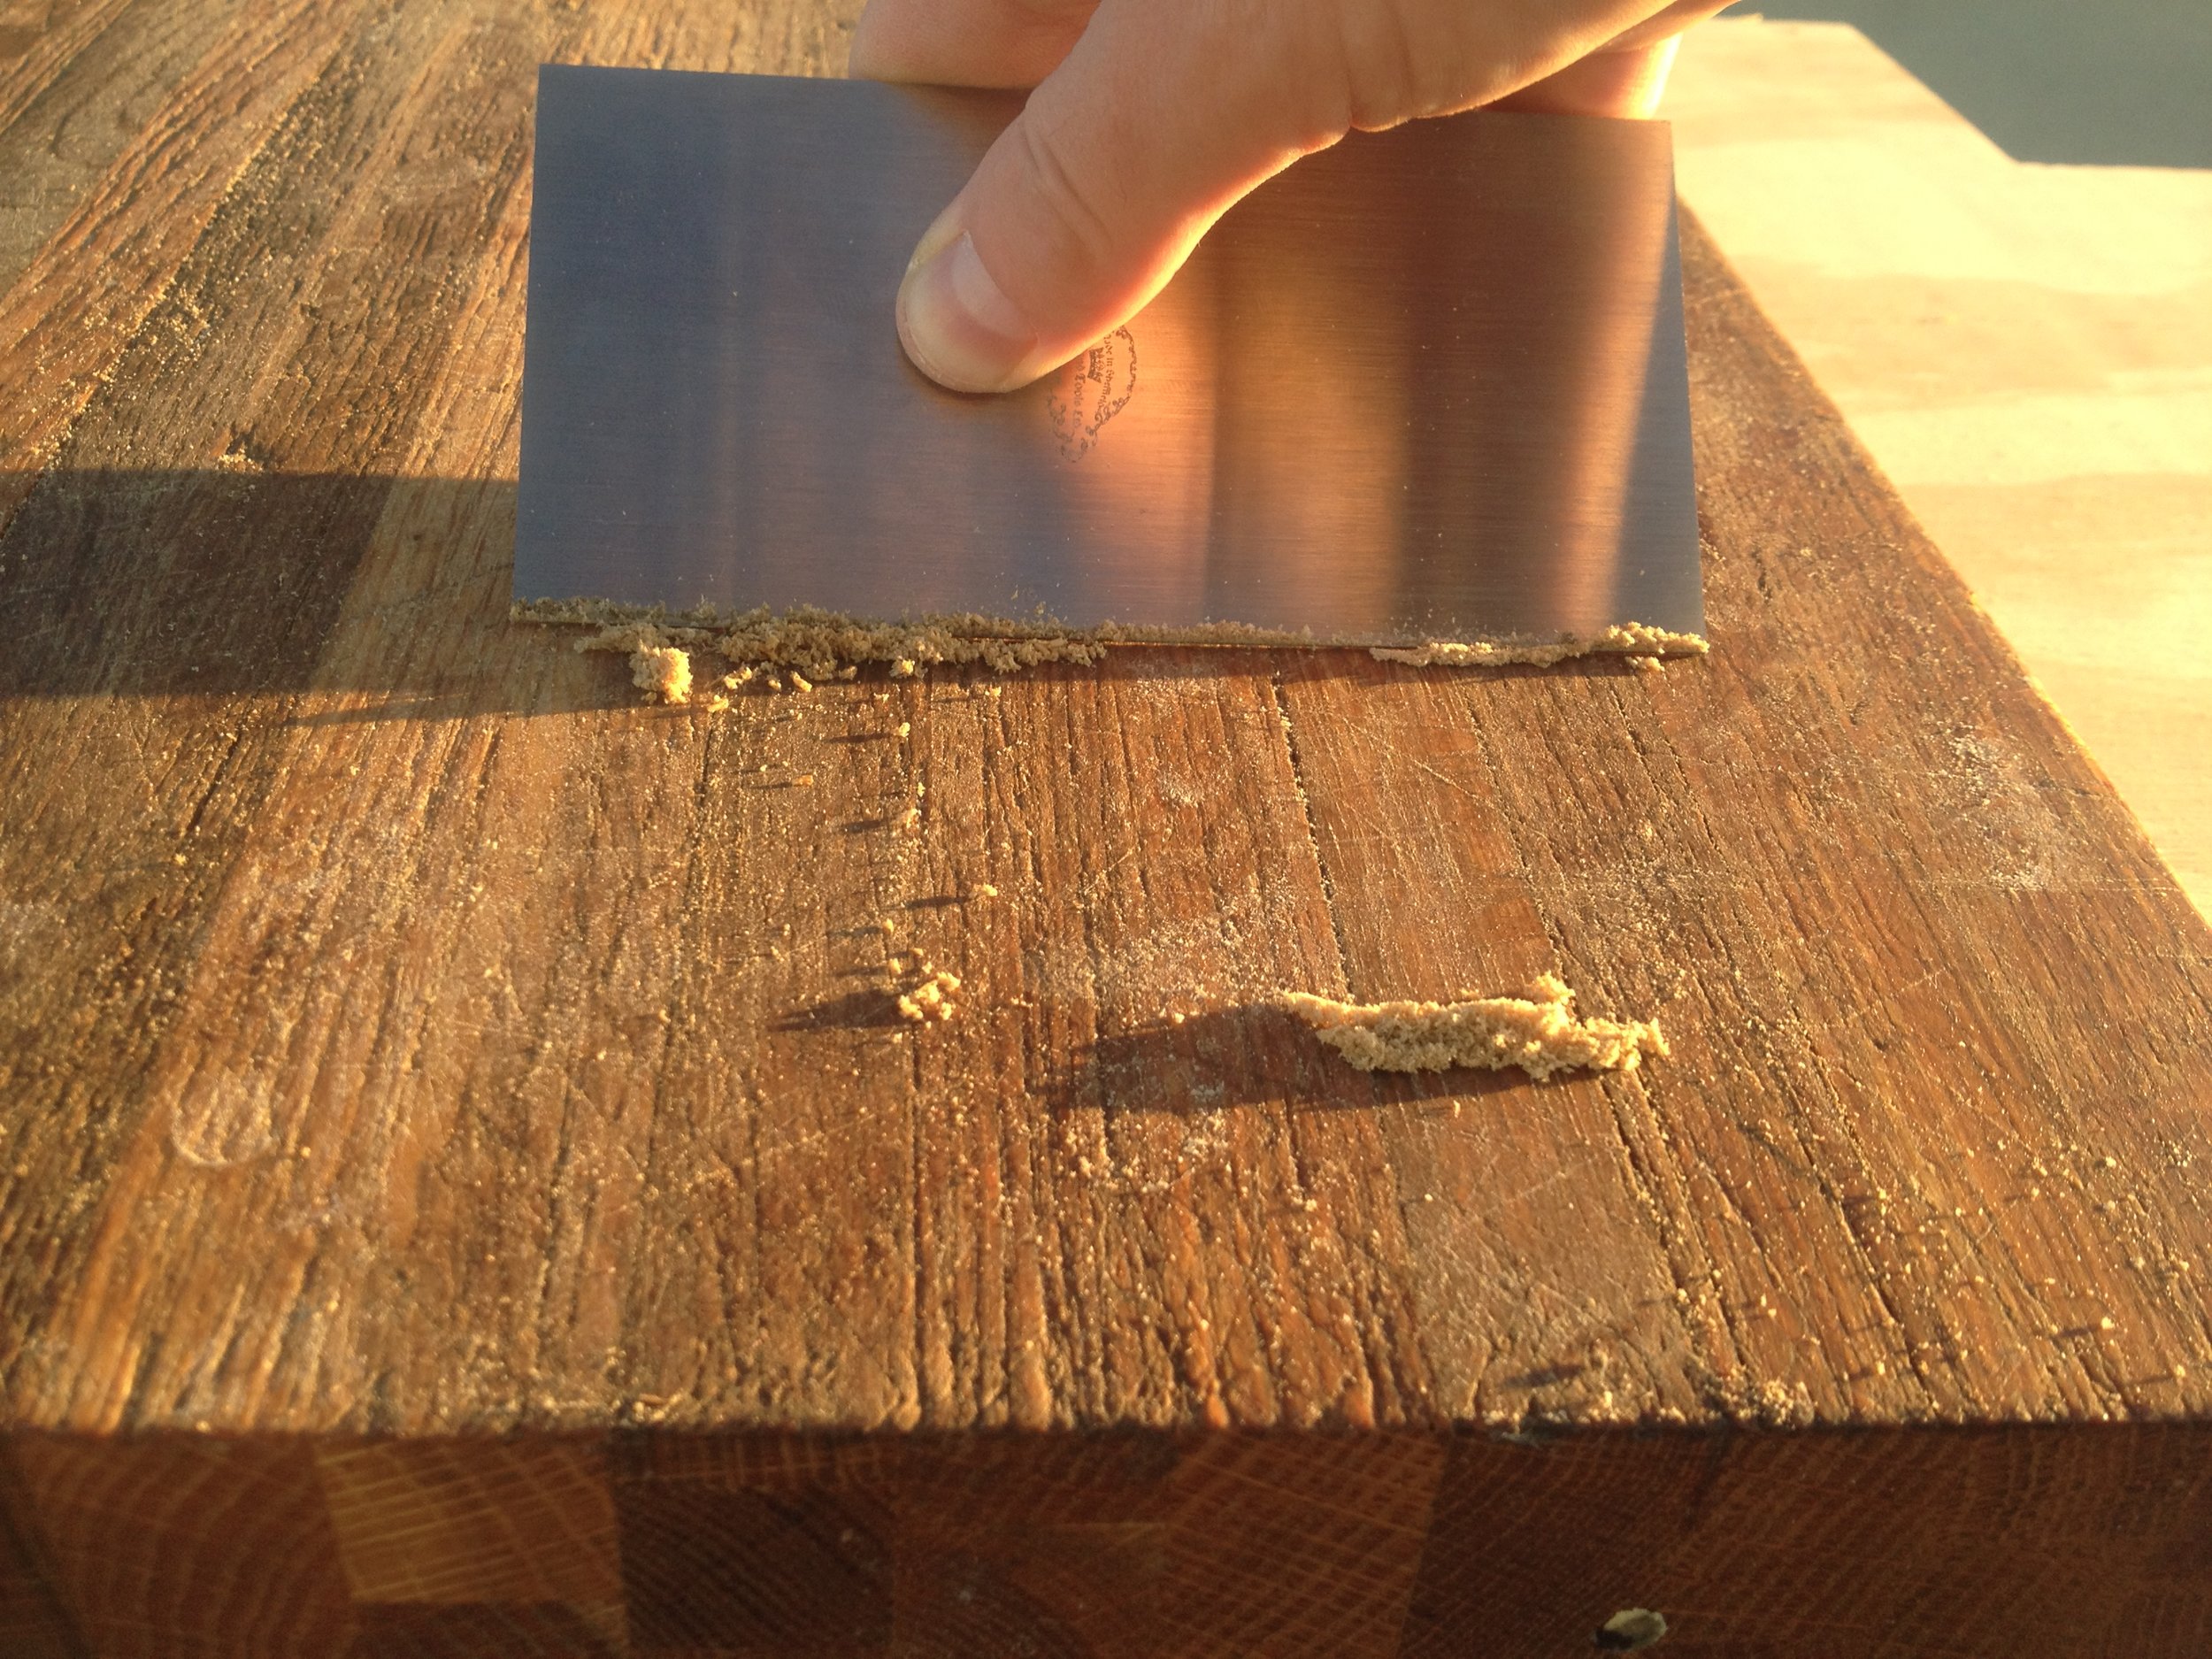
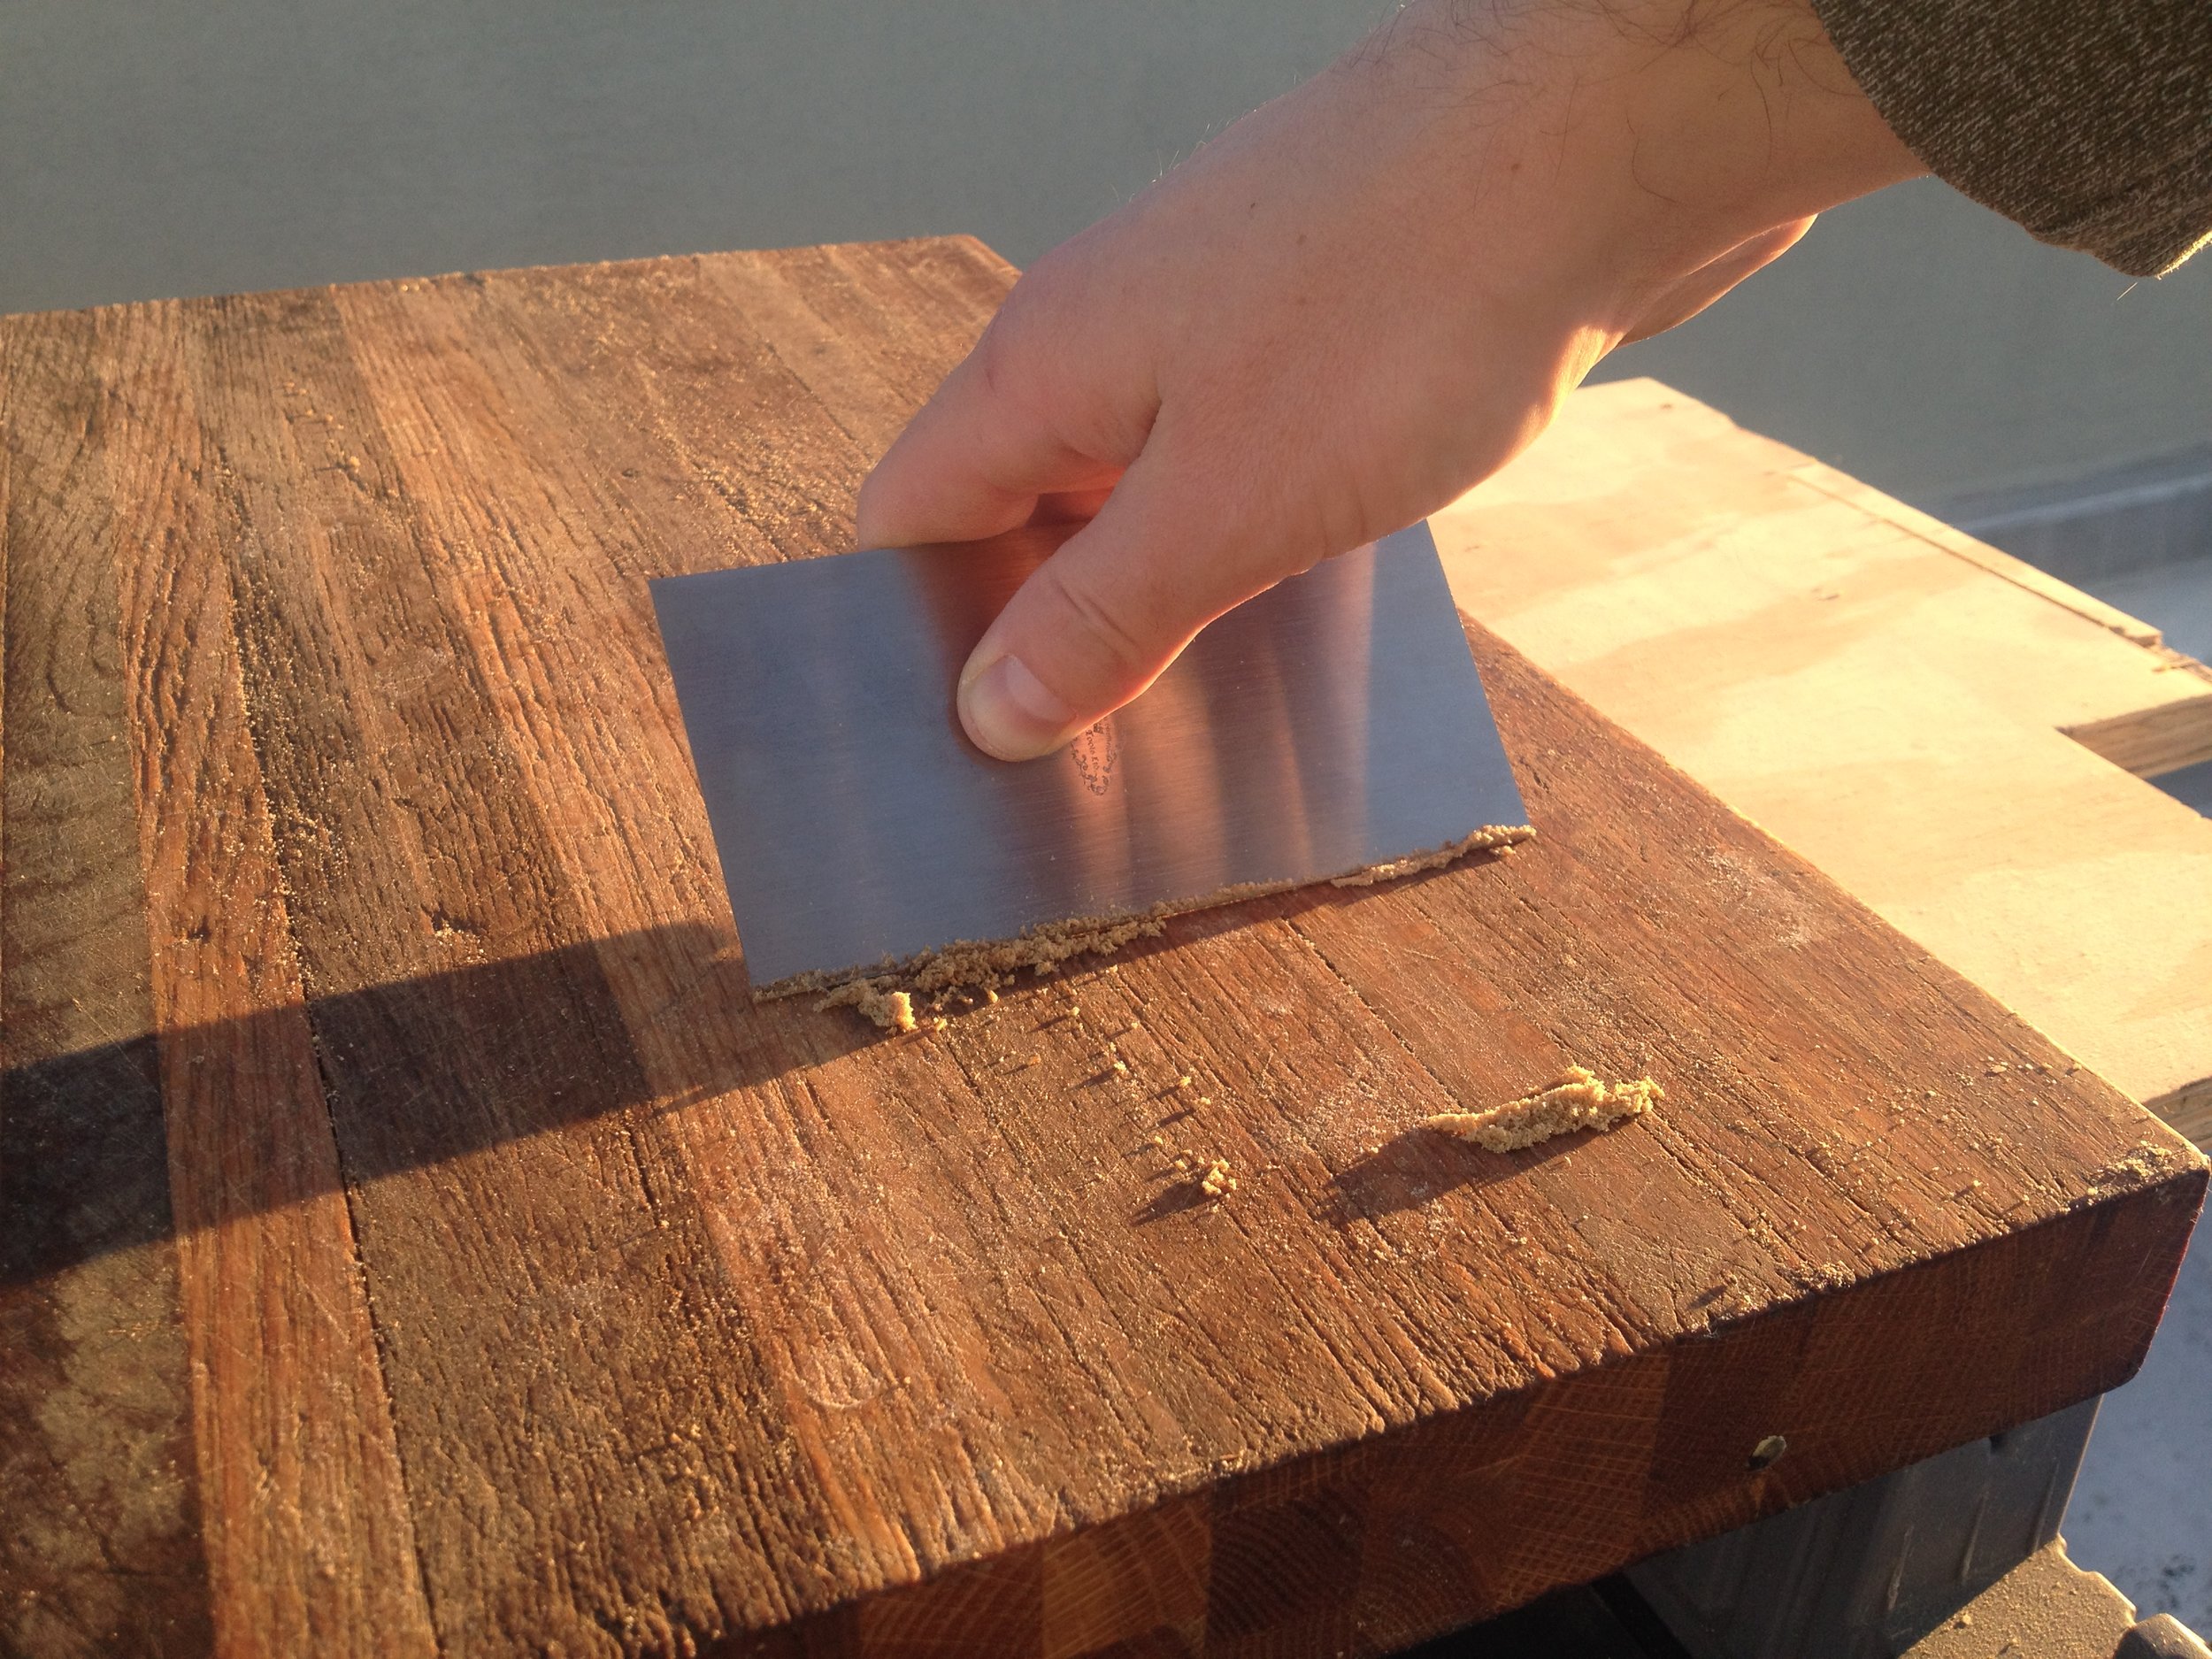
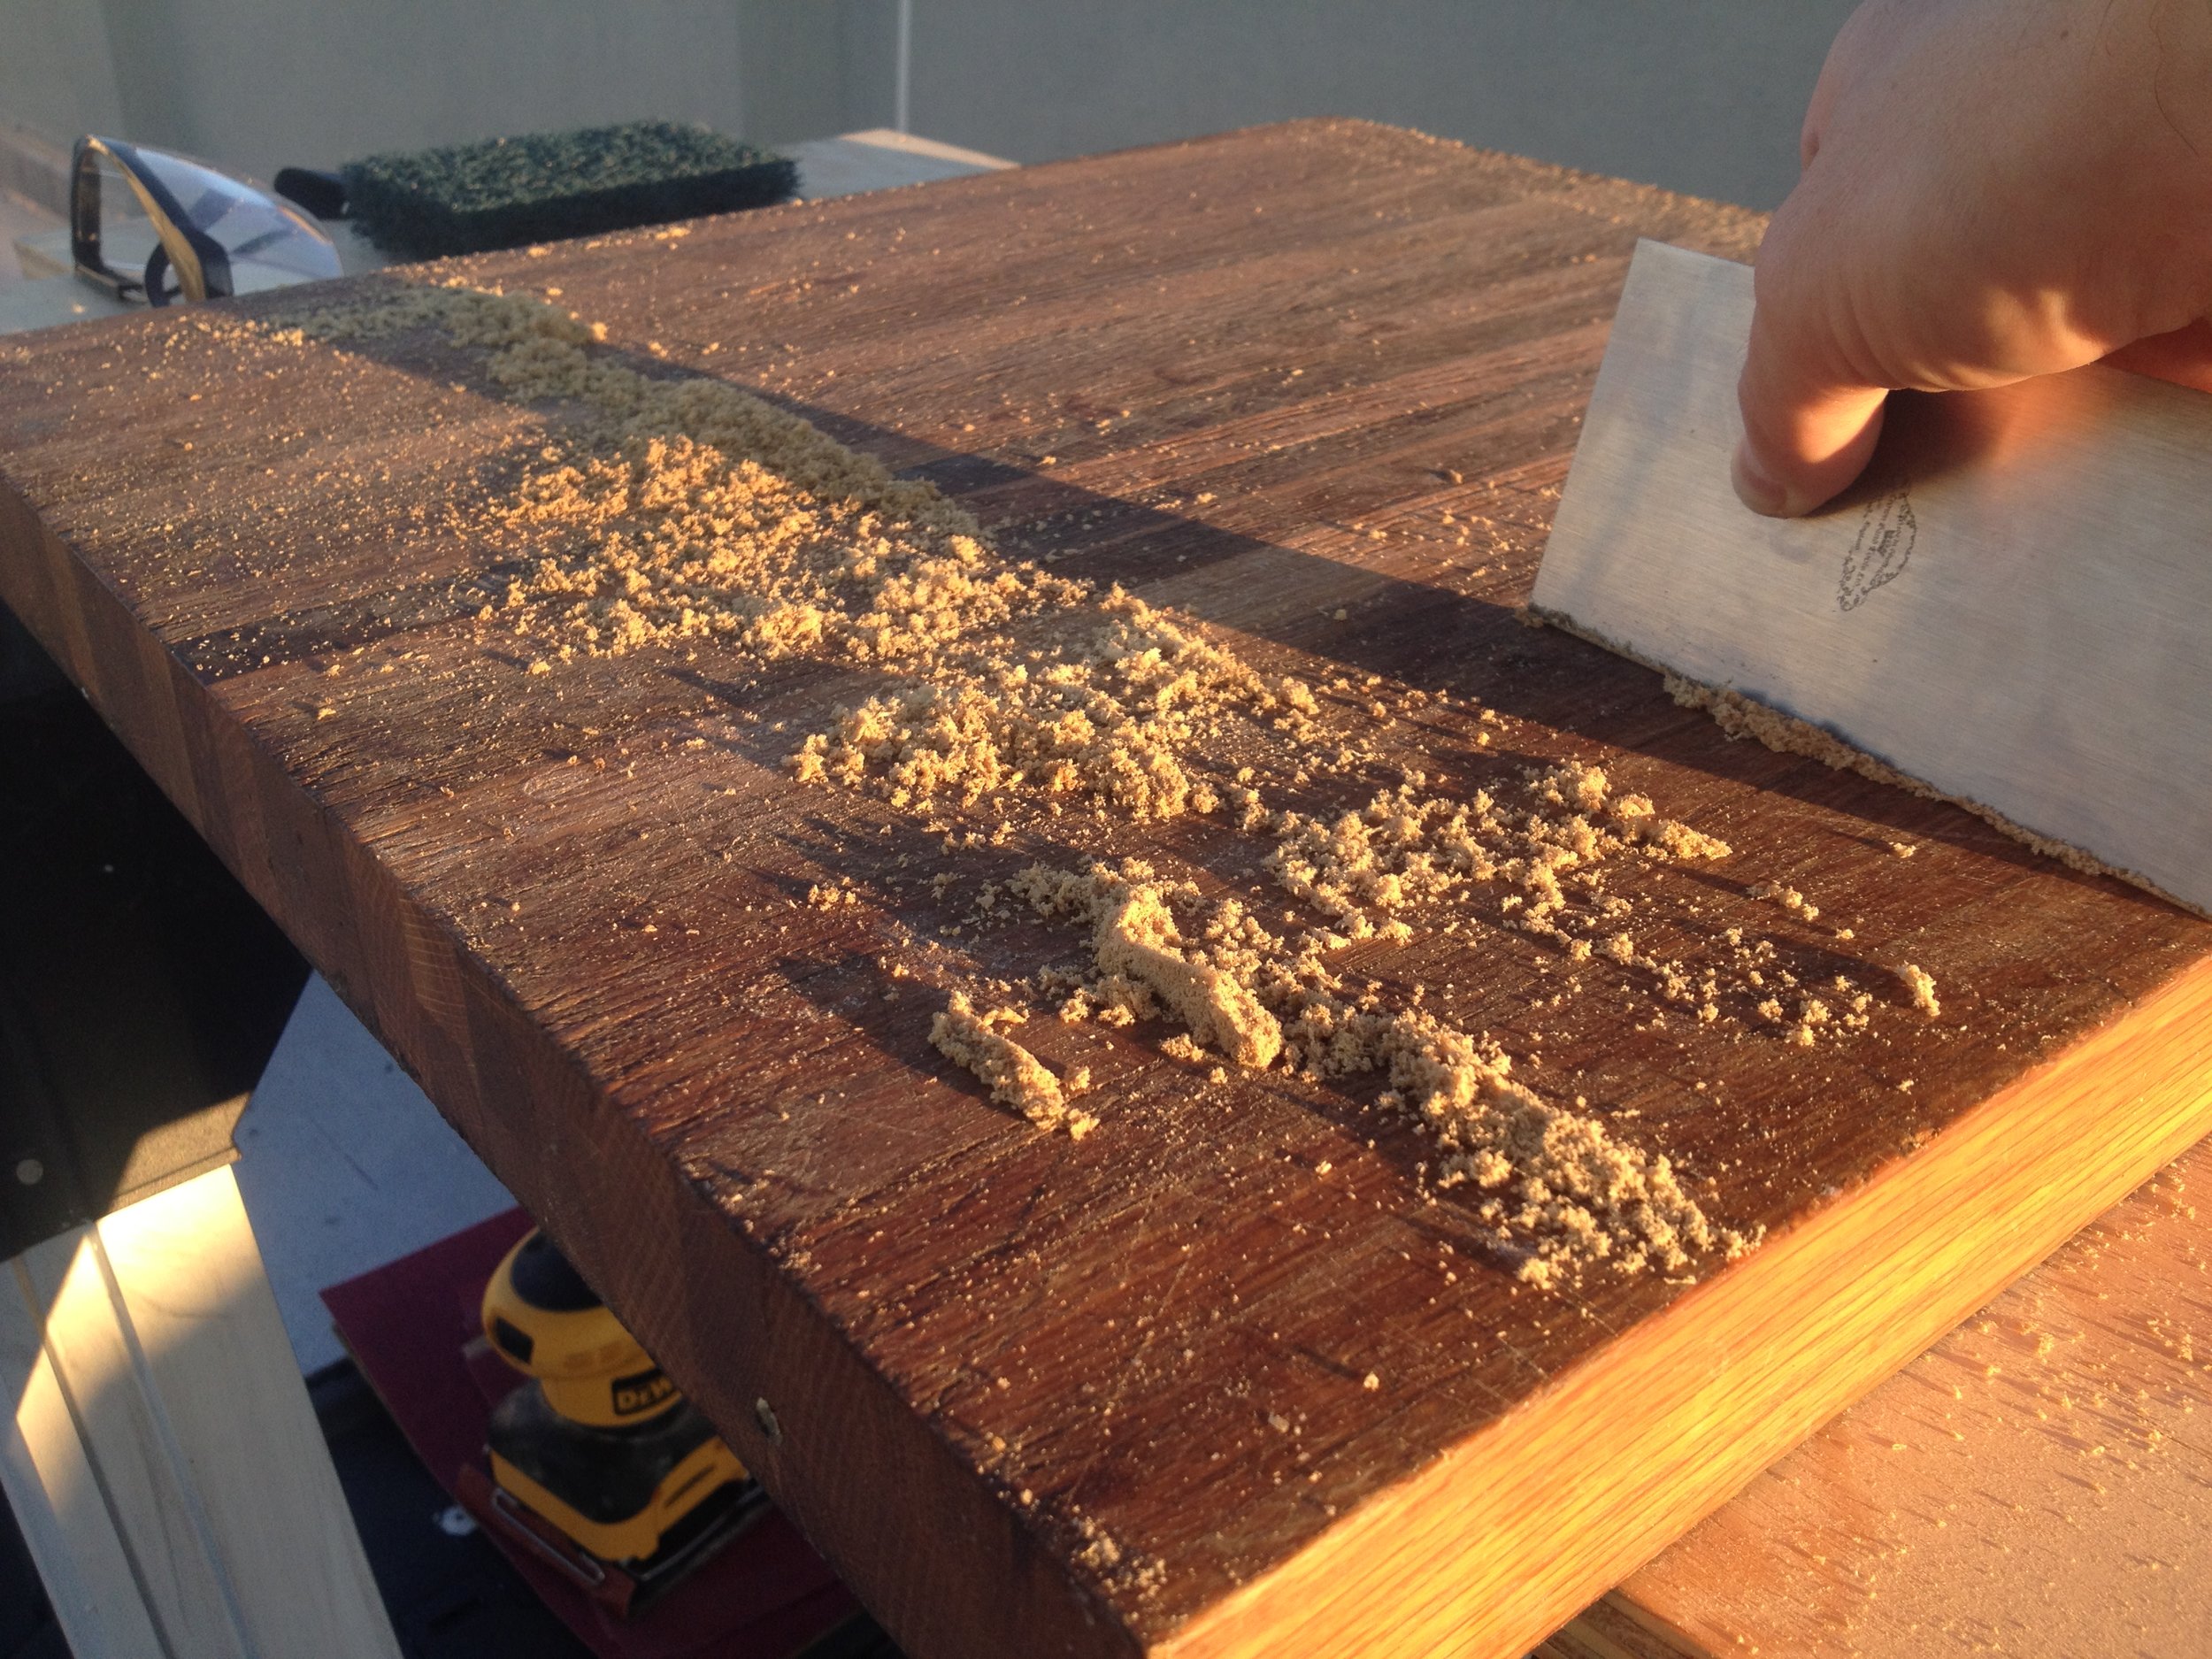
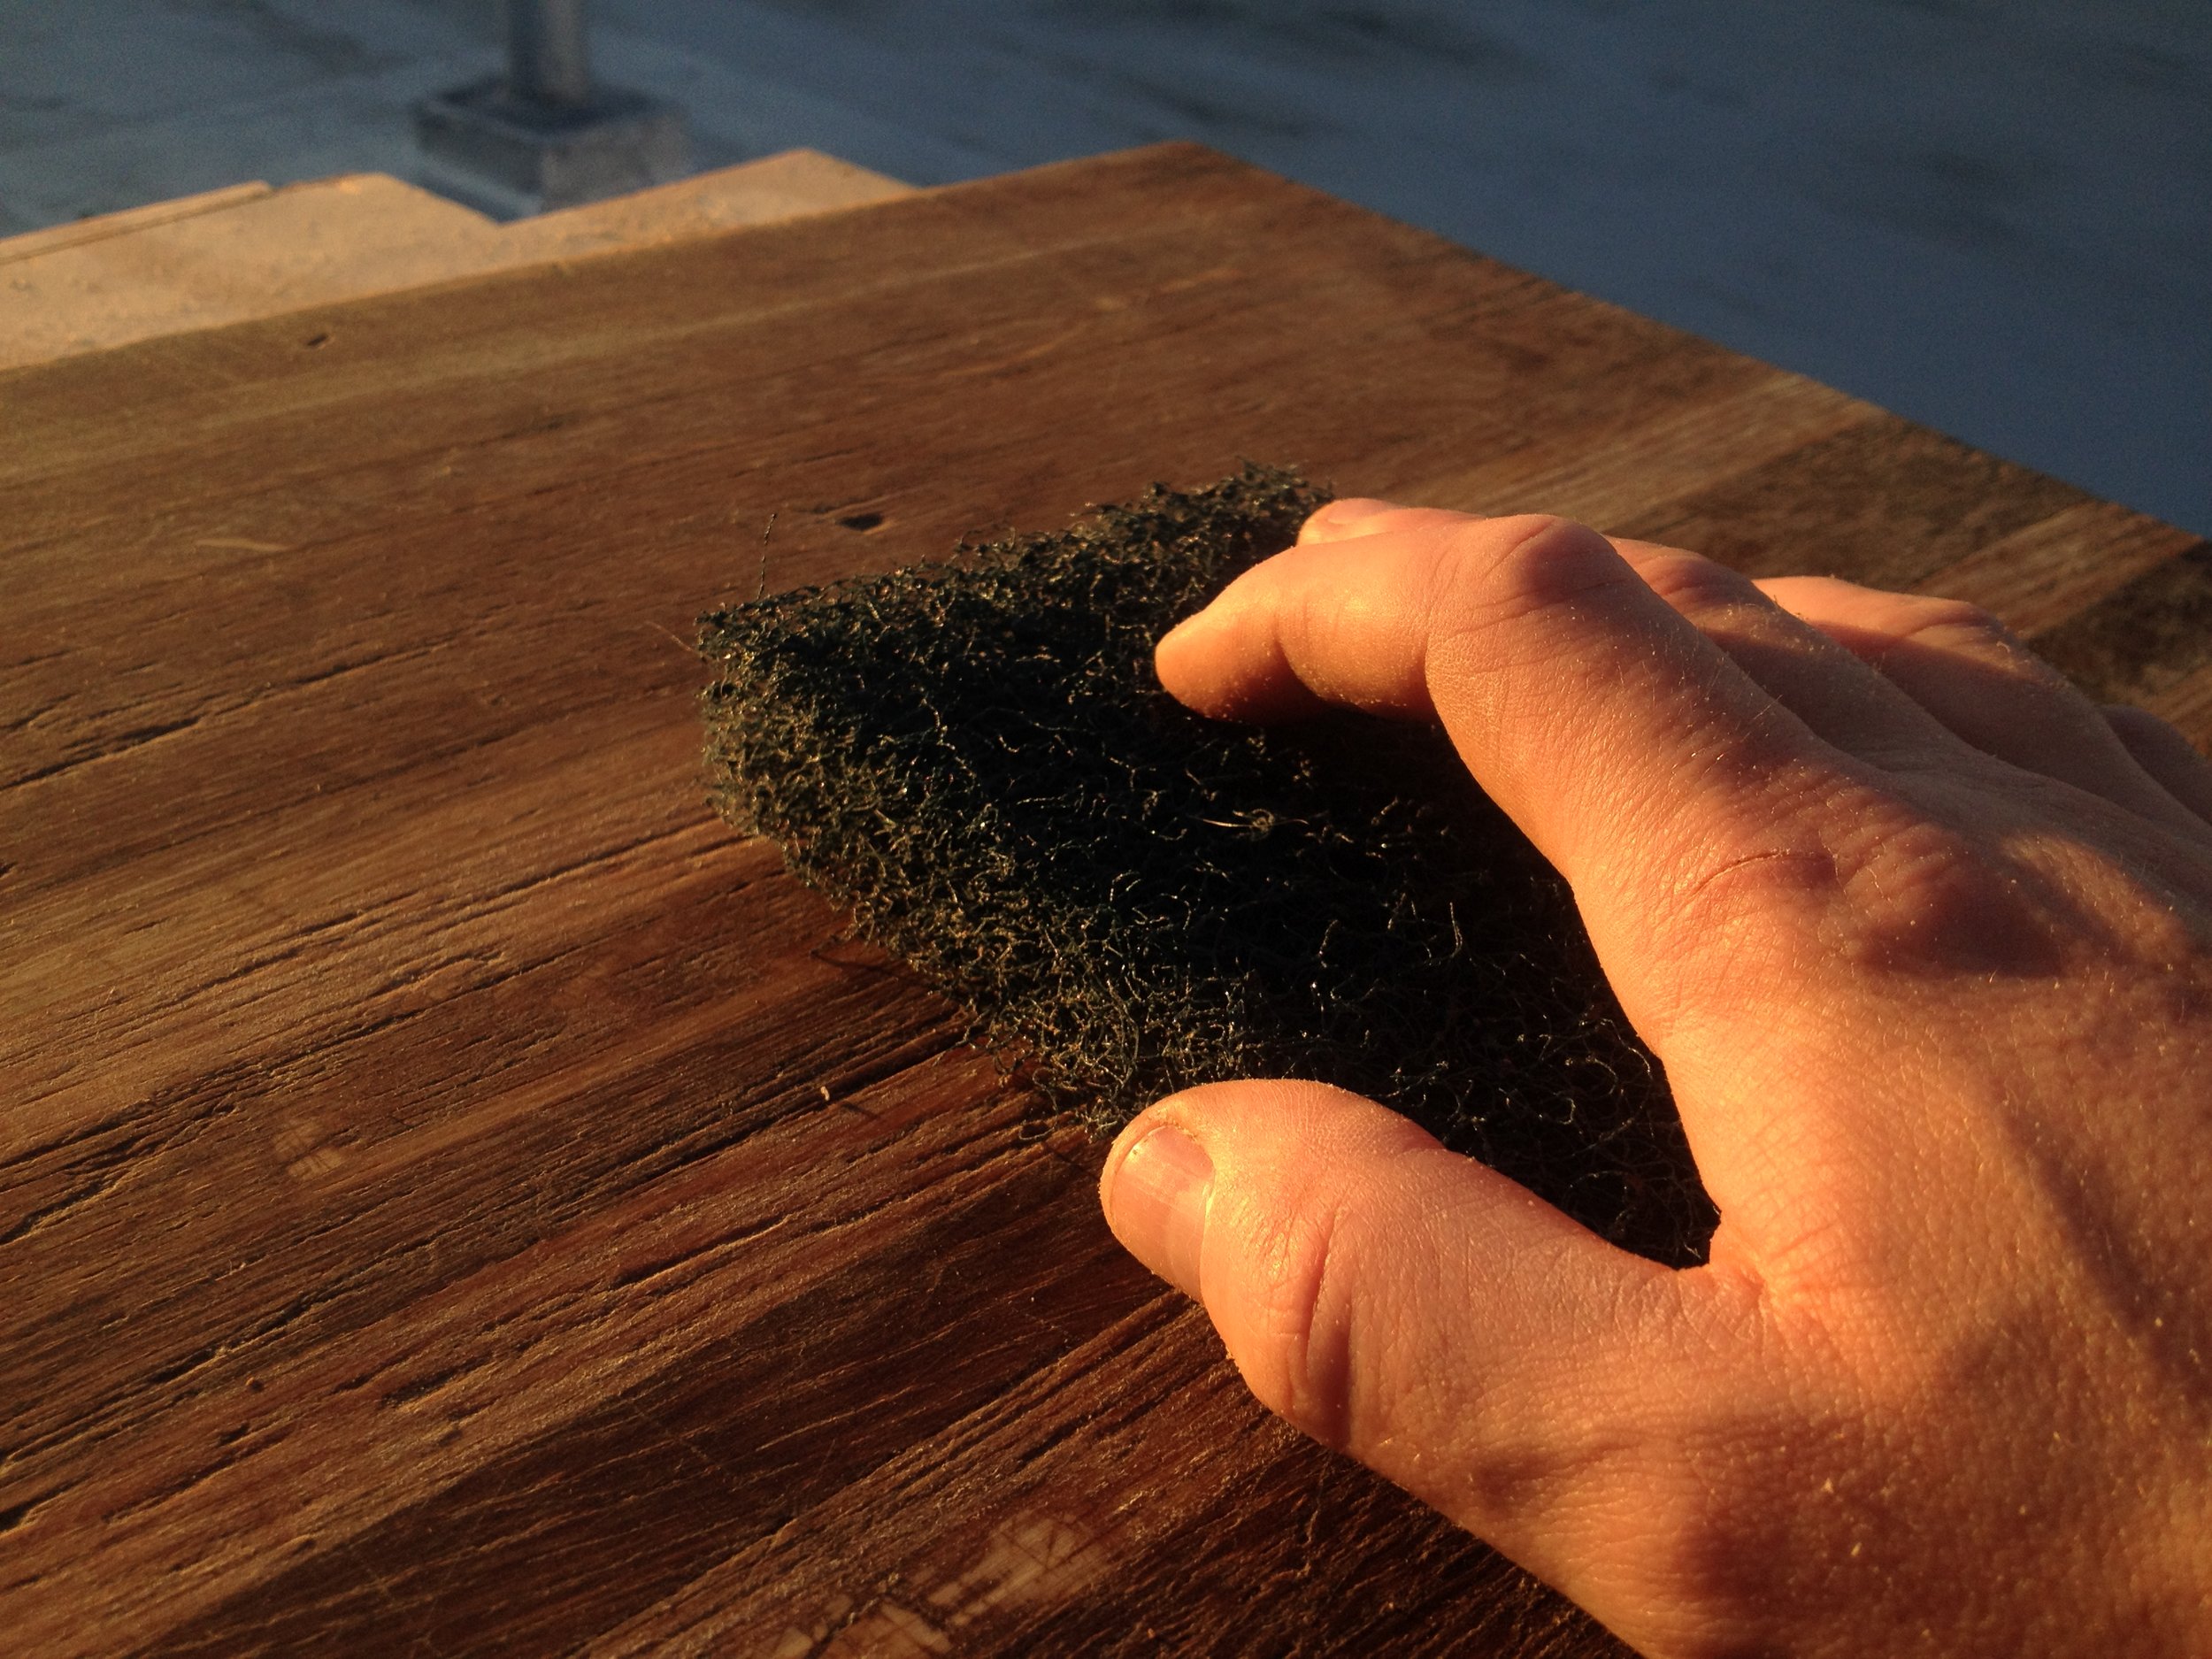
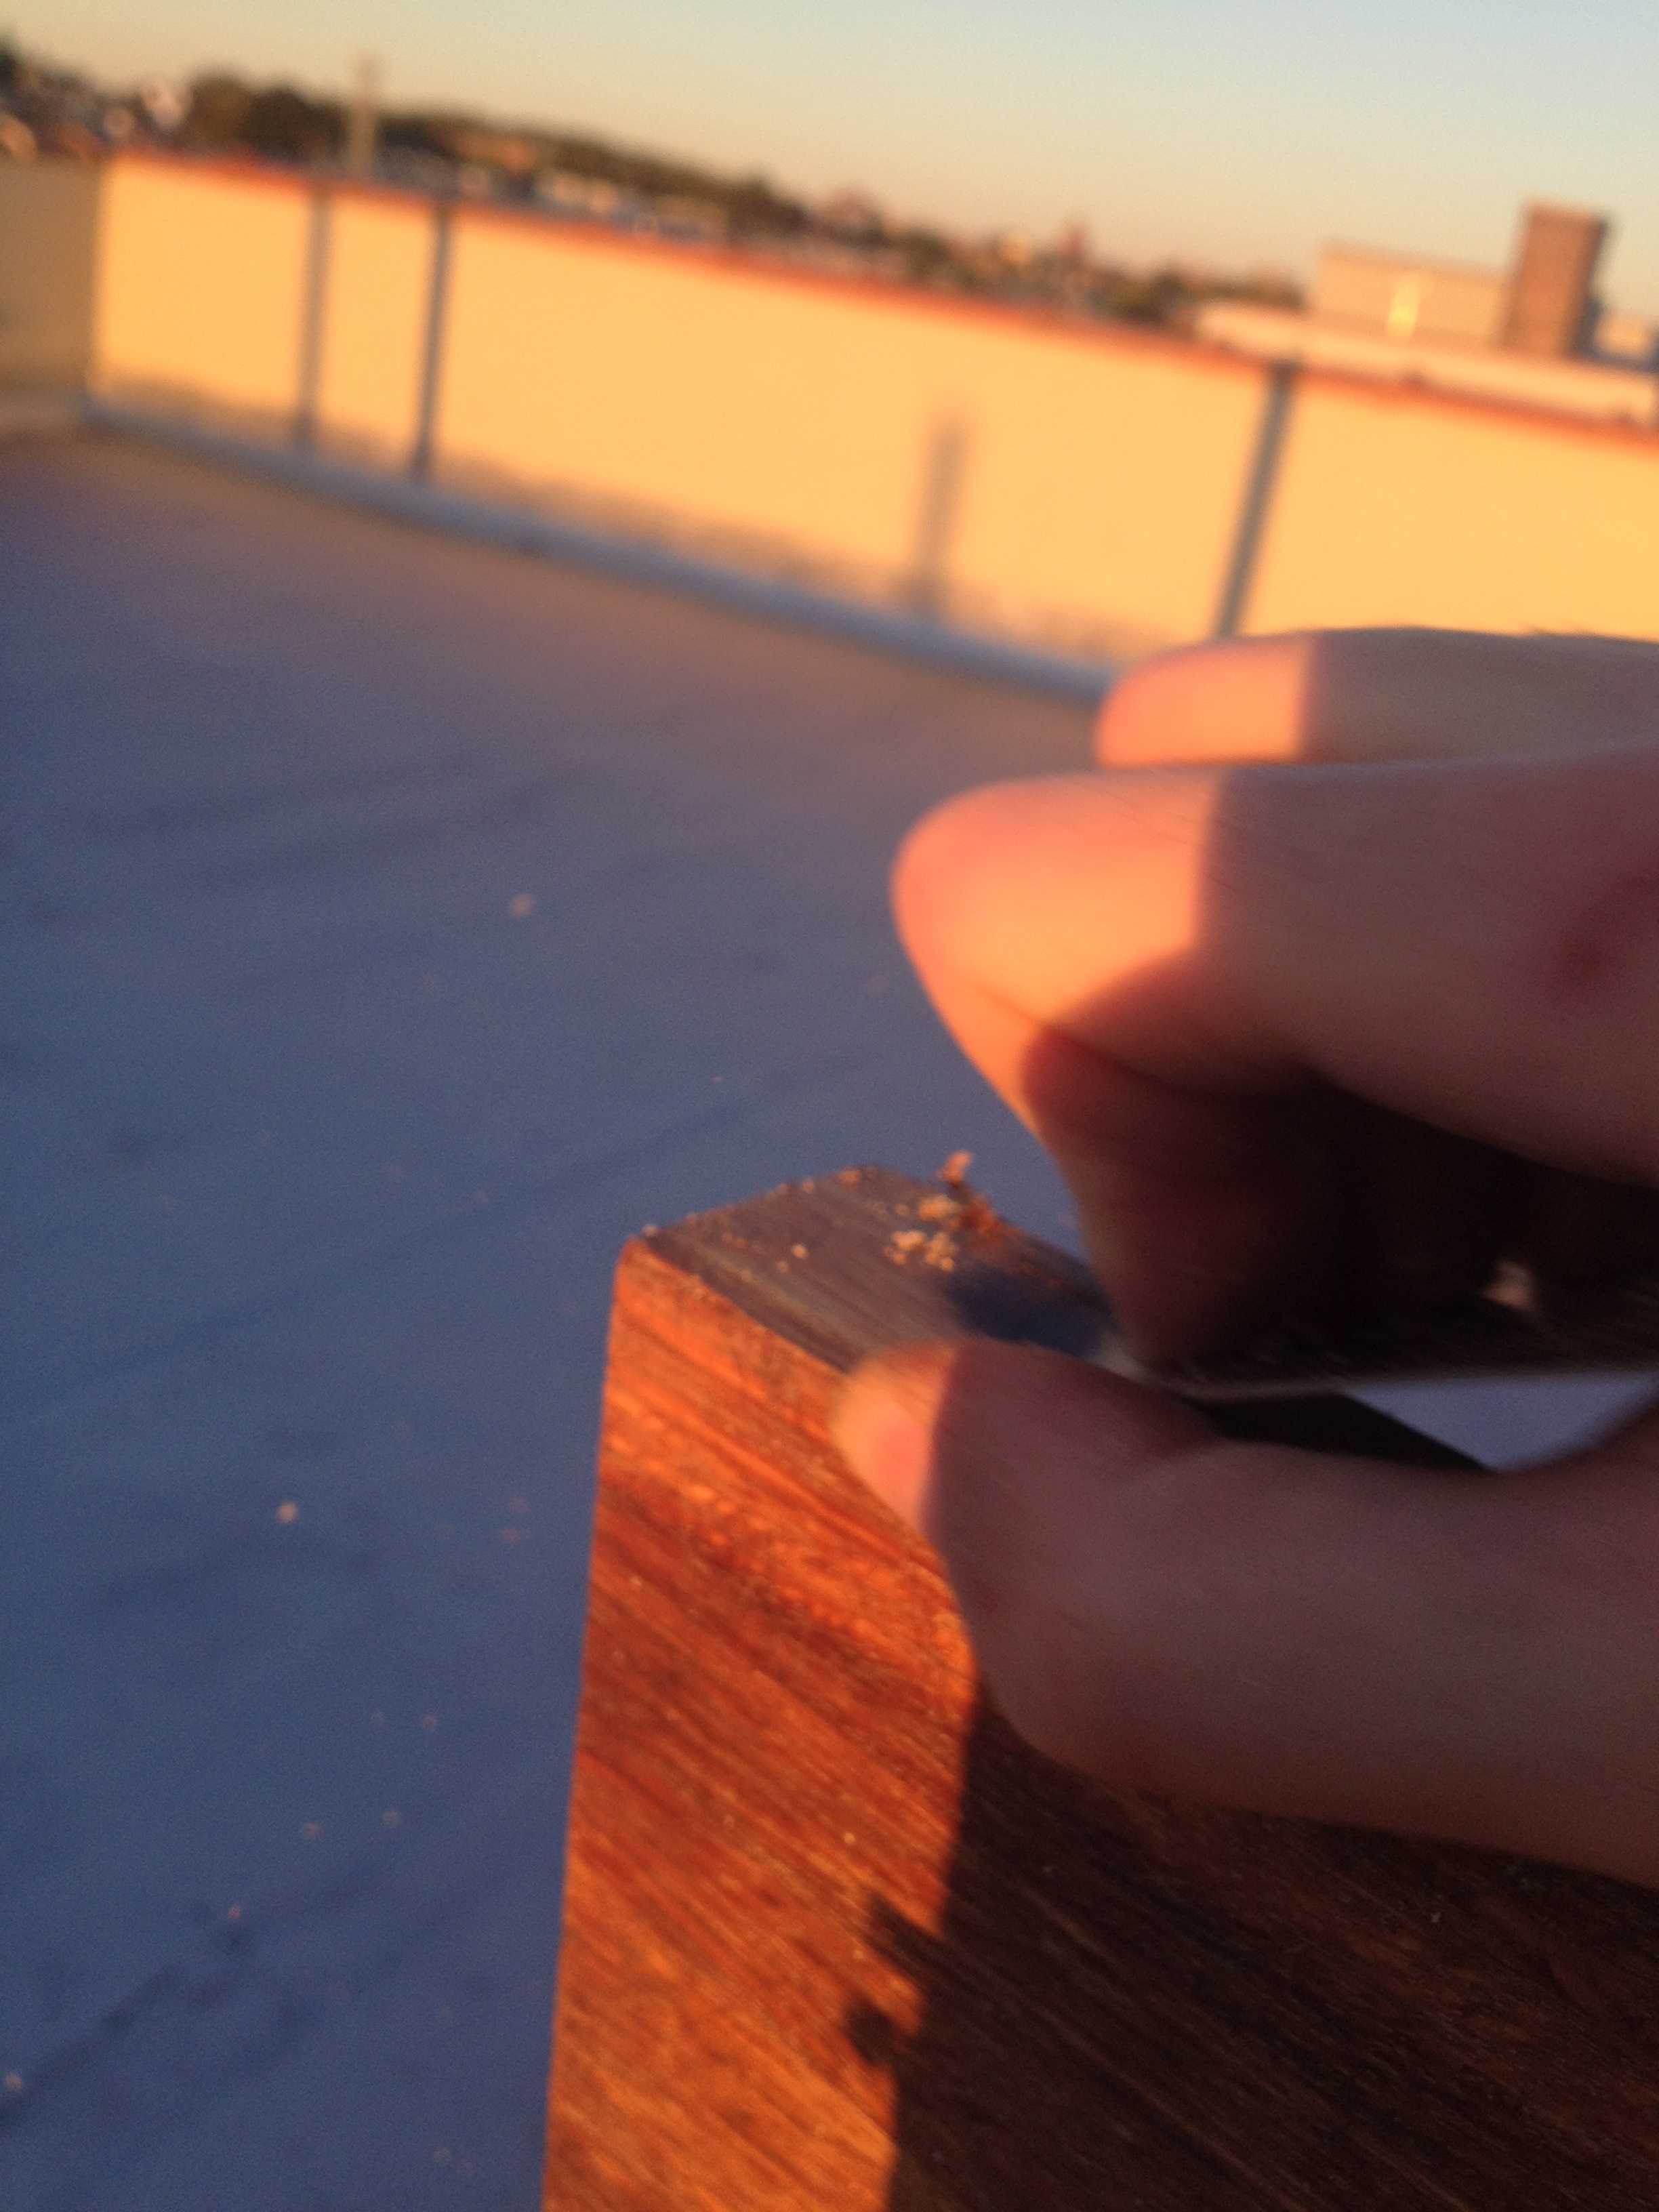
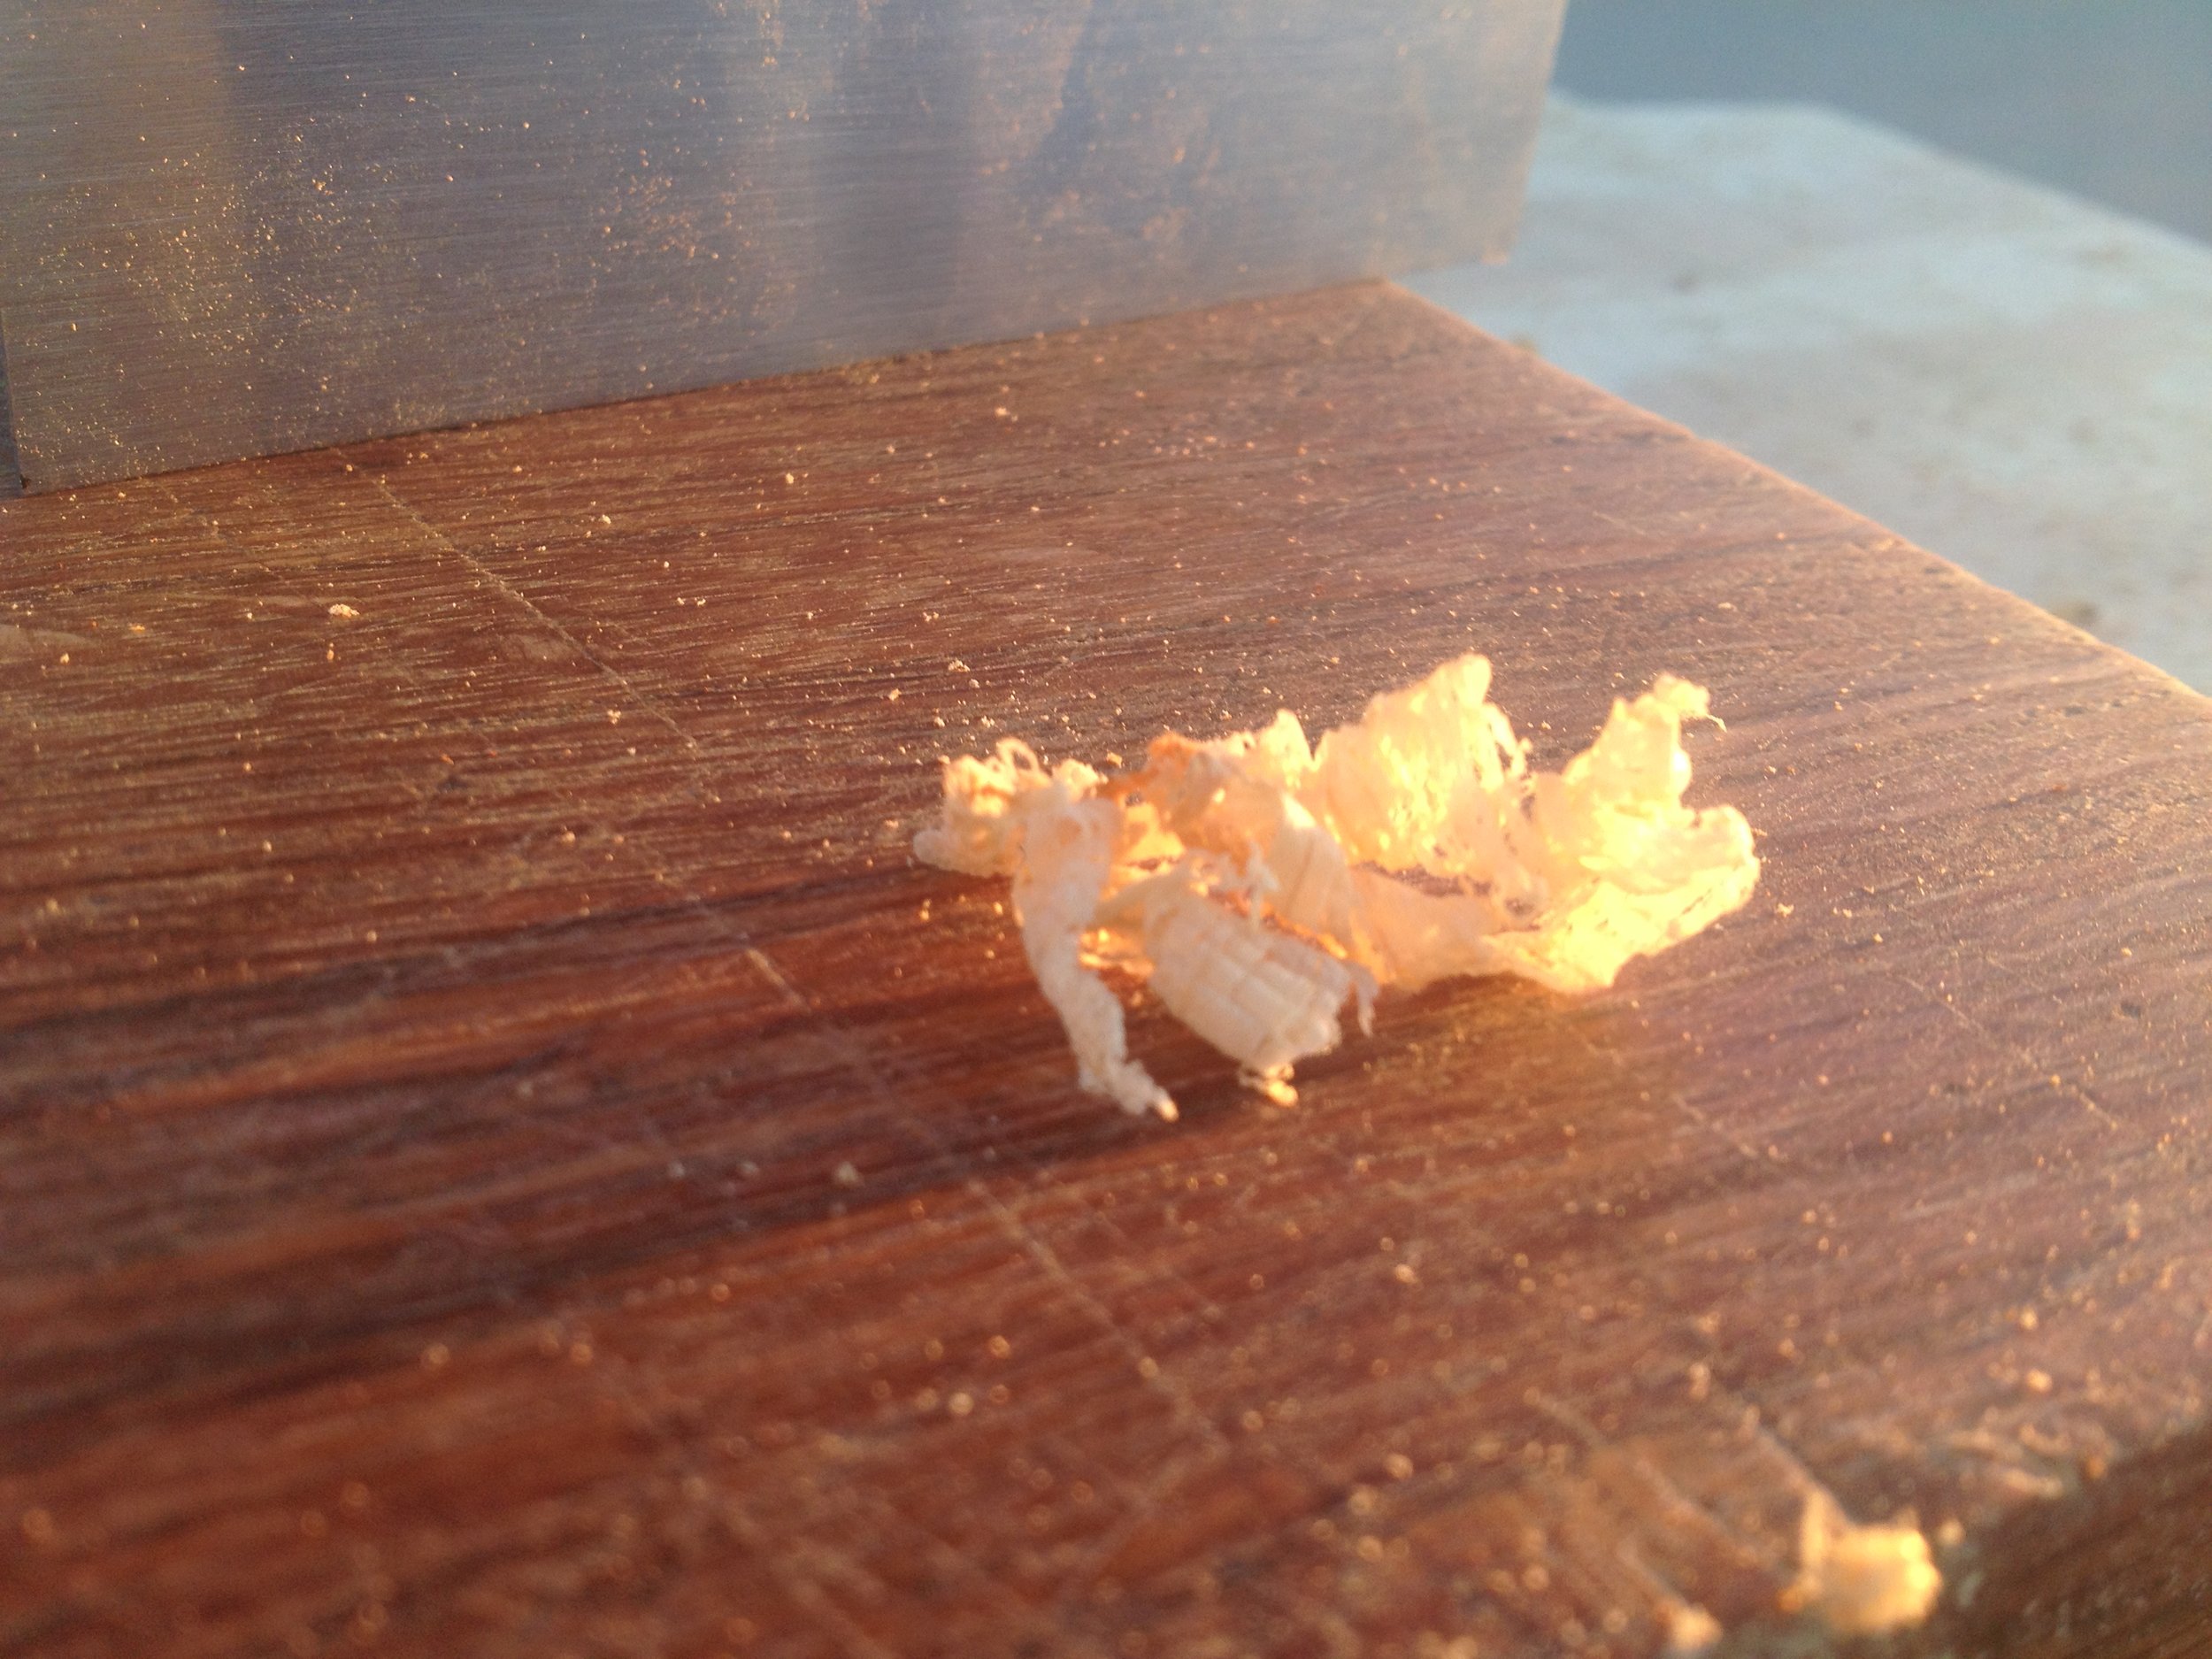
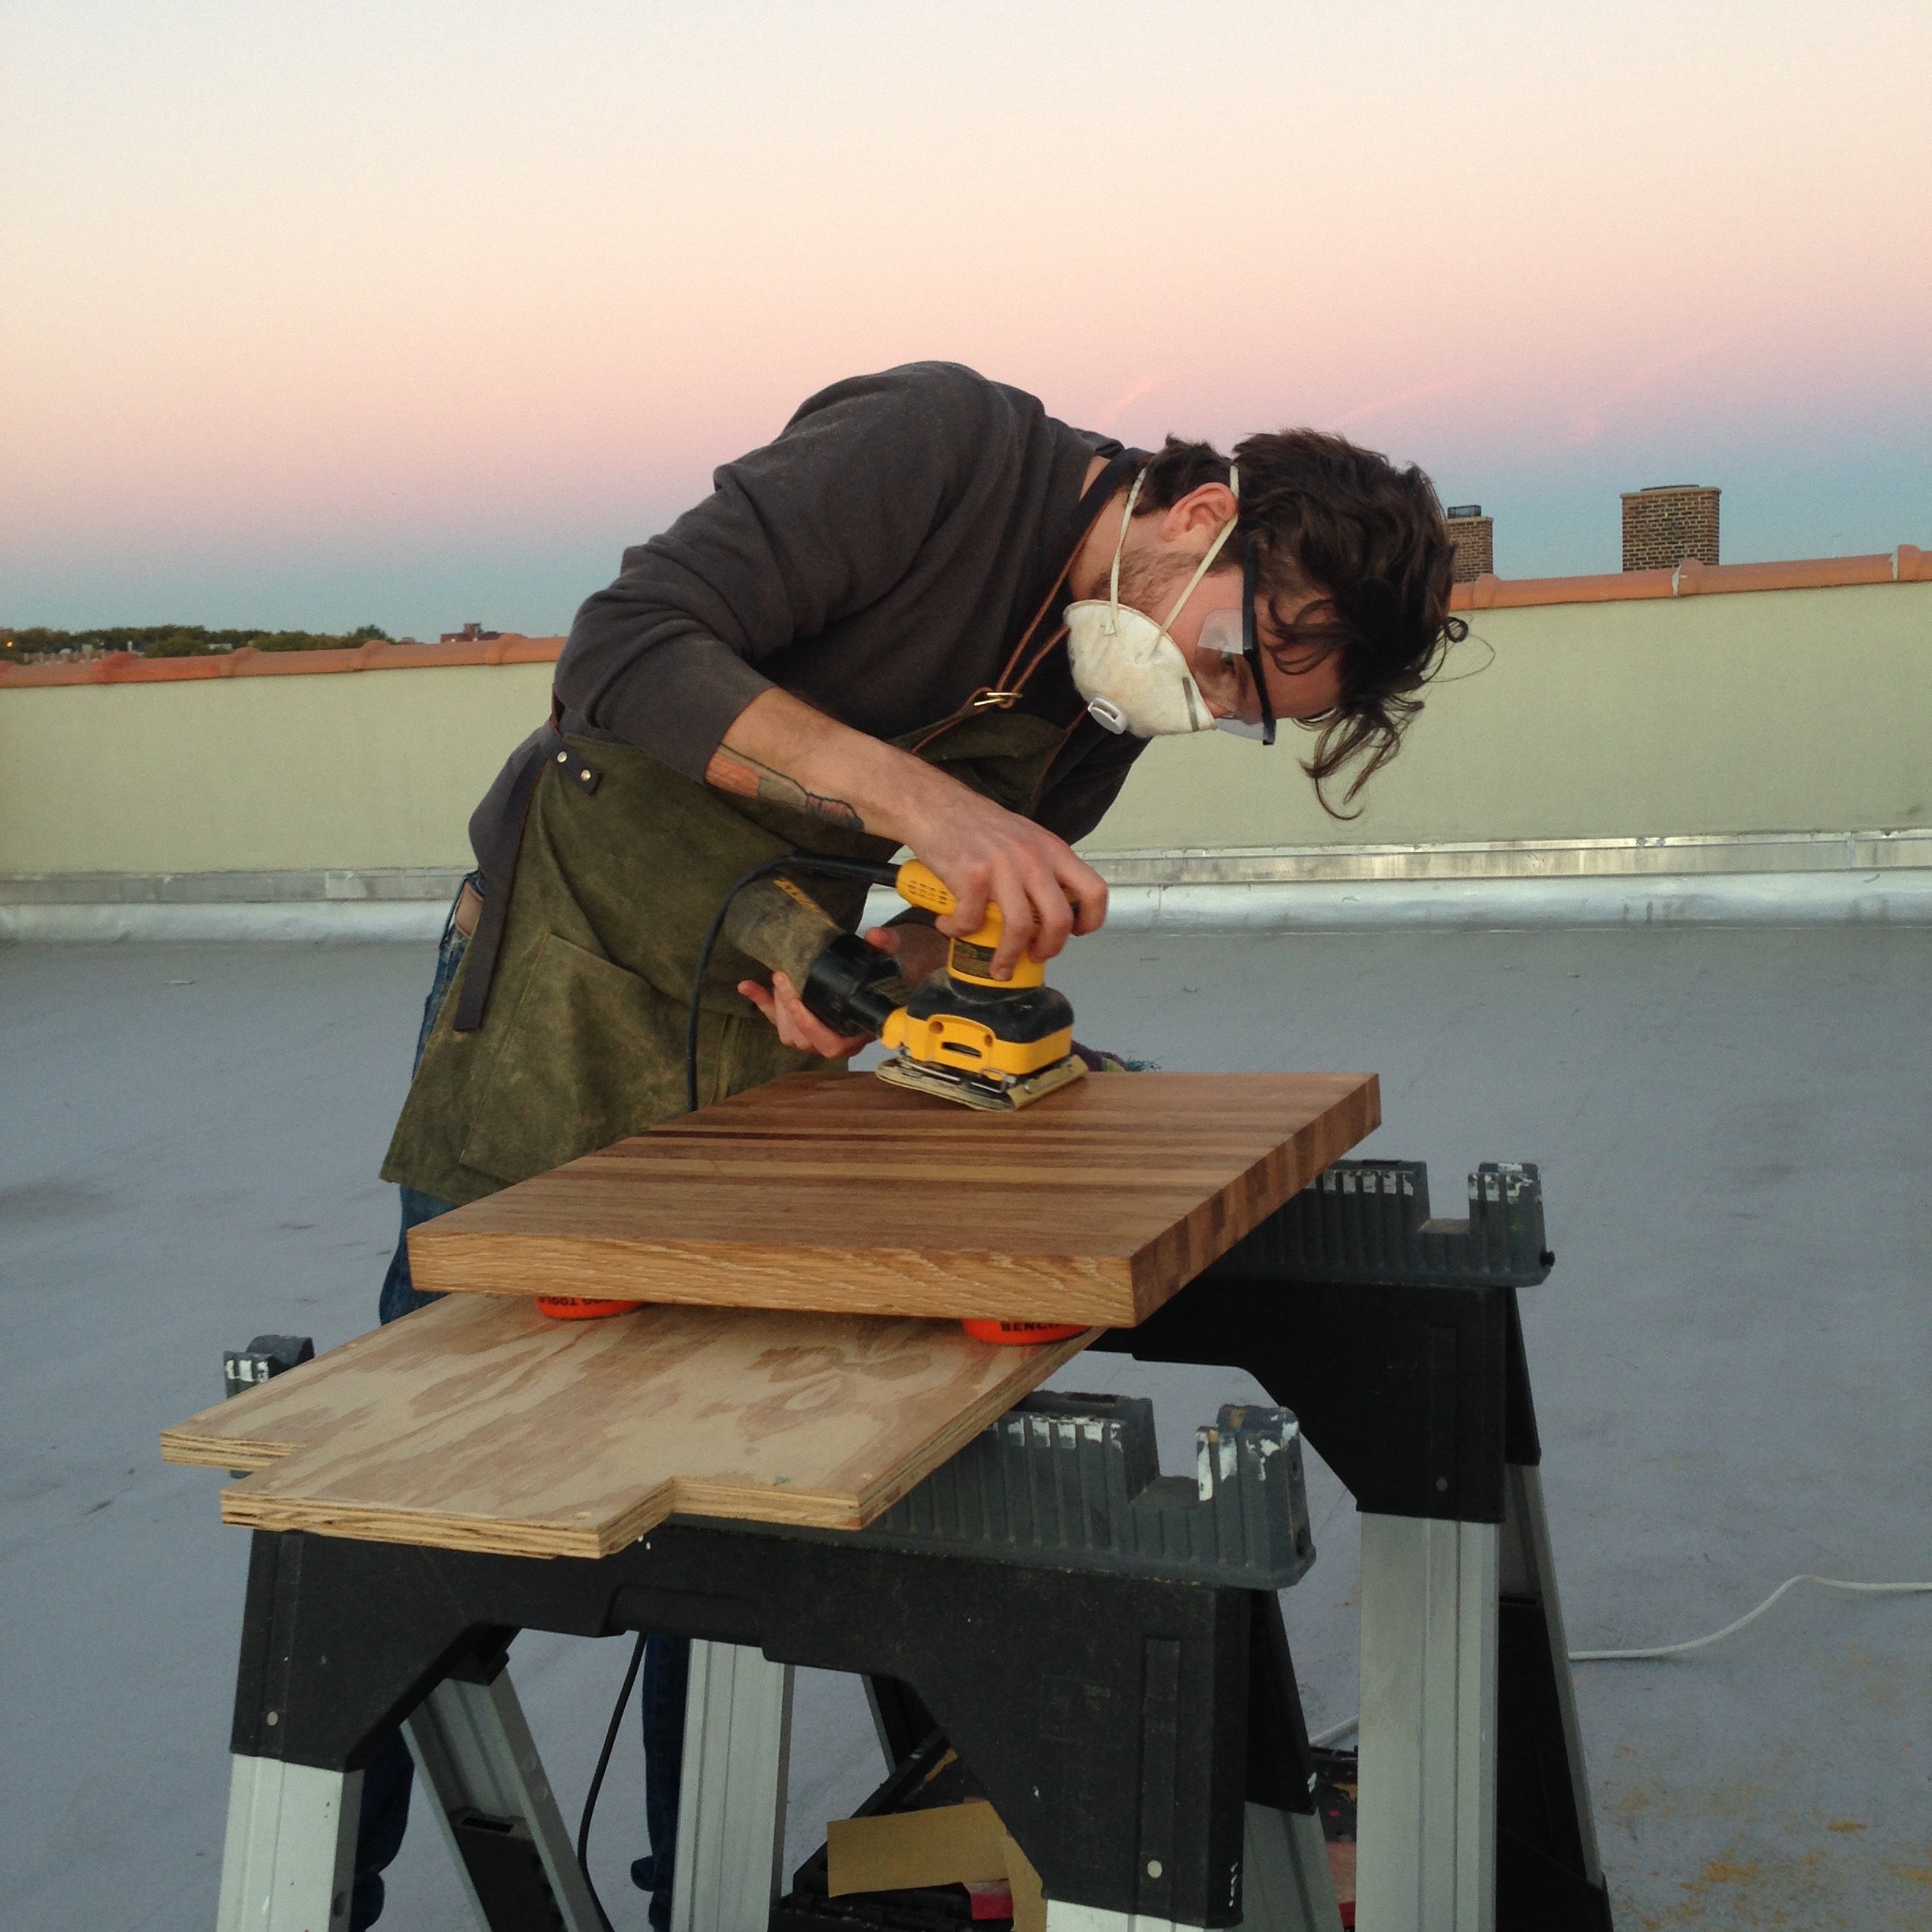
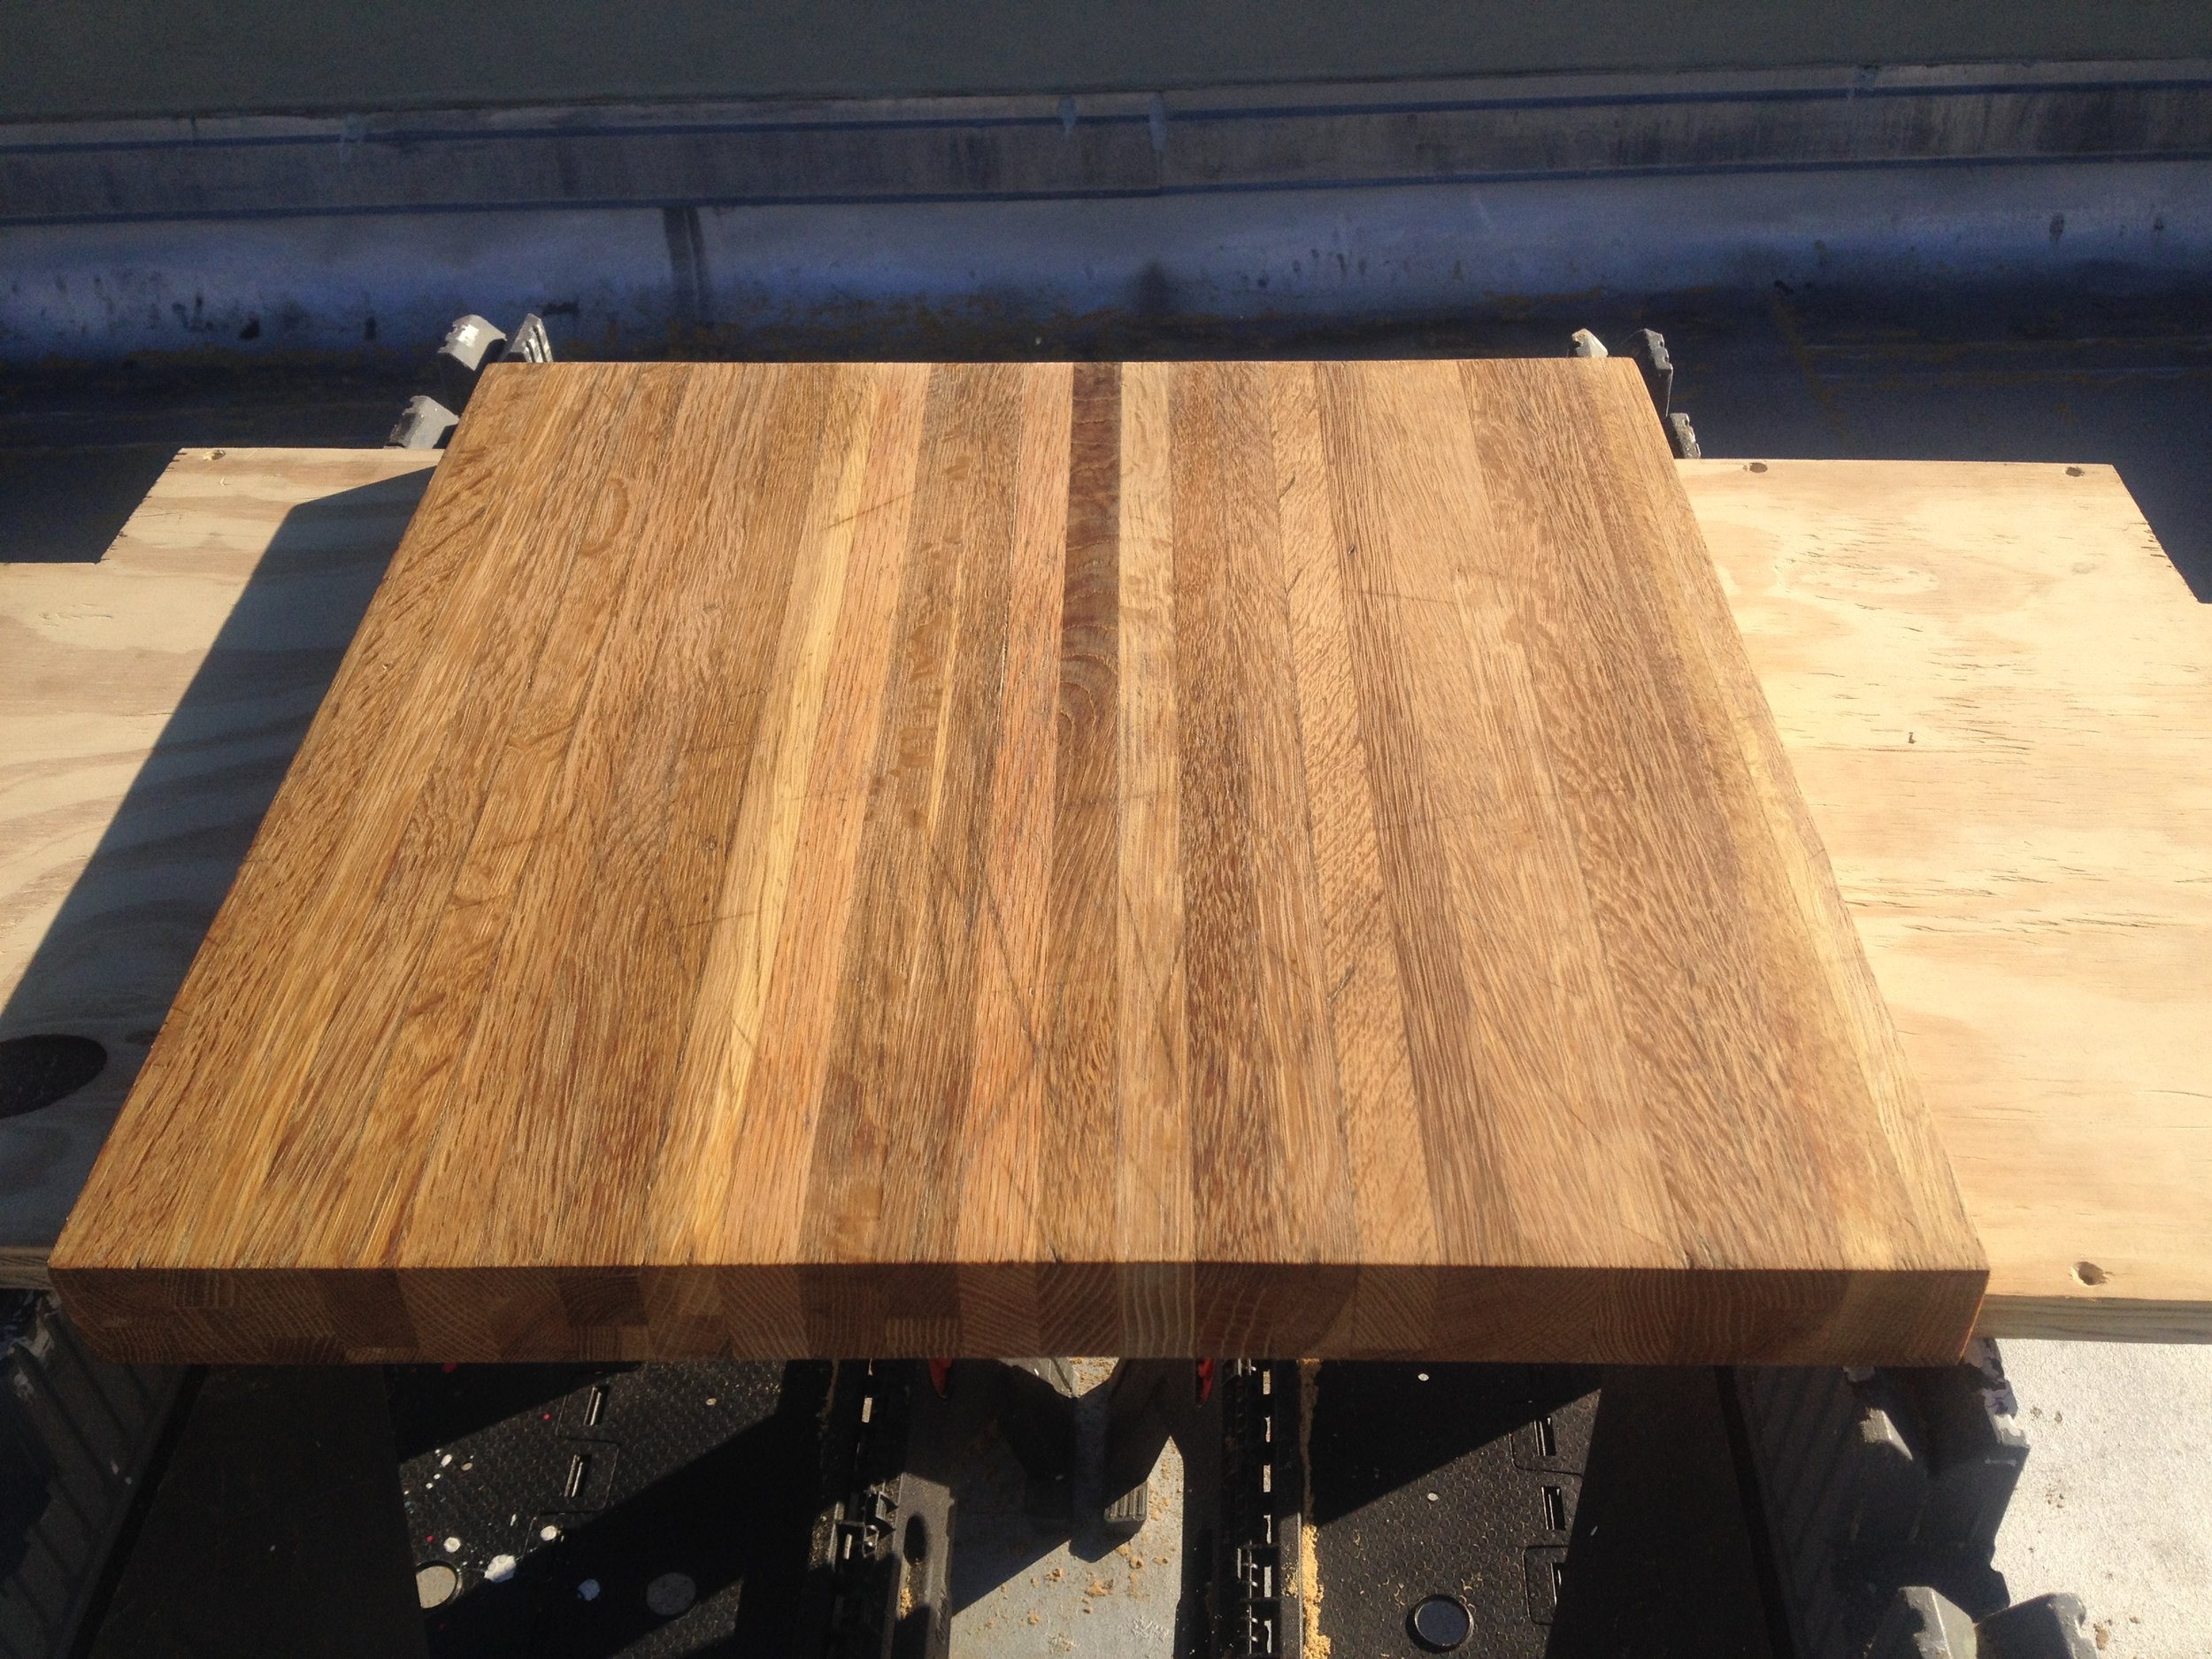
Cutting boards with deep cuts, chips, stains, or water damage may need some extra care by way of restoration. The resurfacing process for this can involve using a block plane or well-sharpened card scraper to remove the damaged layer. Lighter damage can be sanded with a rough (60-grit) sandpaper. To restore the like-new surface, continue sanding with progressively higher grit sand paper — first 120-grit, then 220-grit, and finally finish with 400-grit.
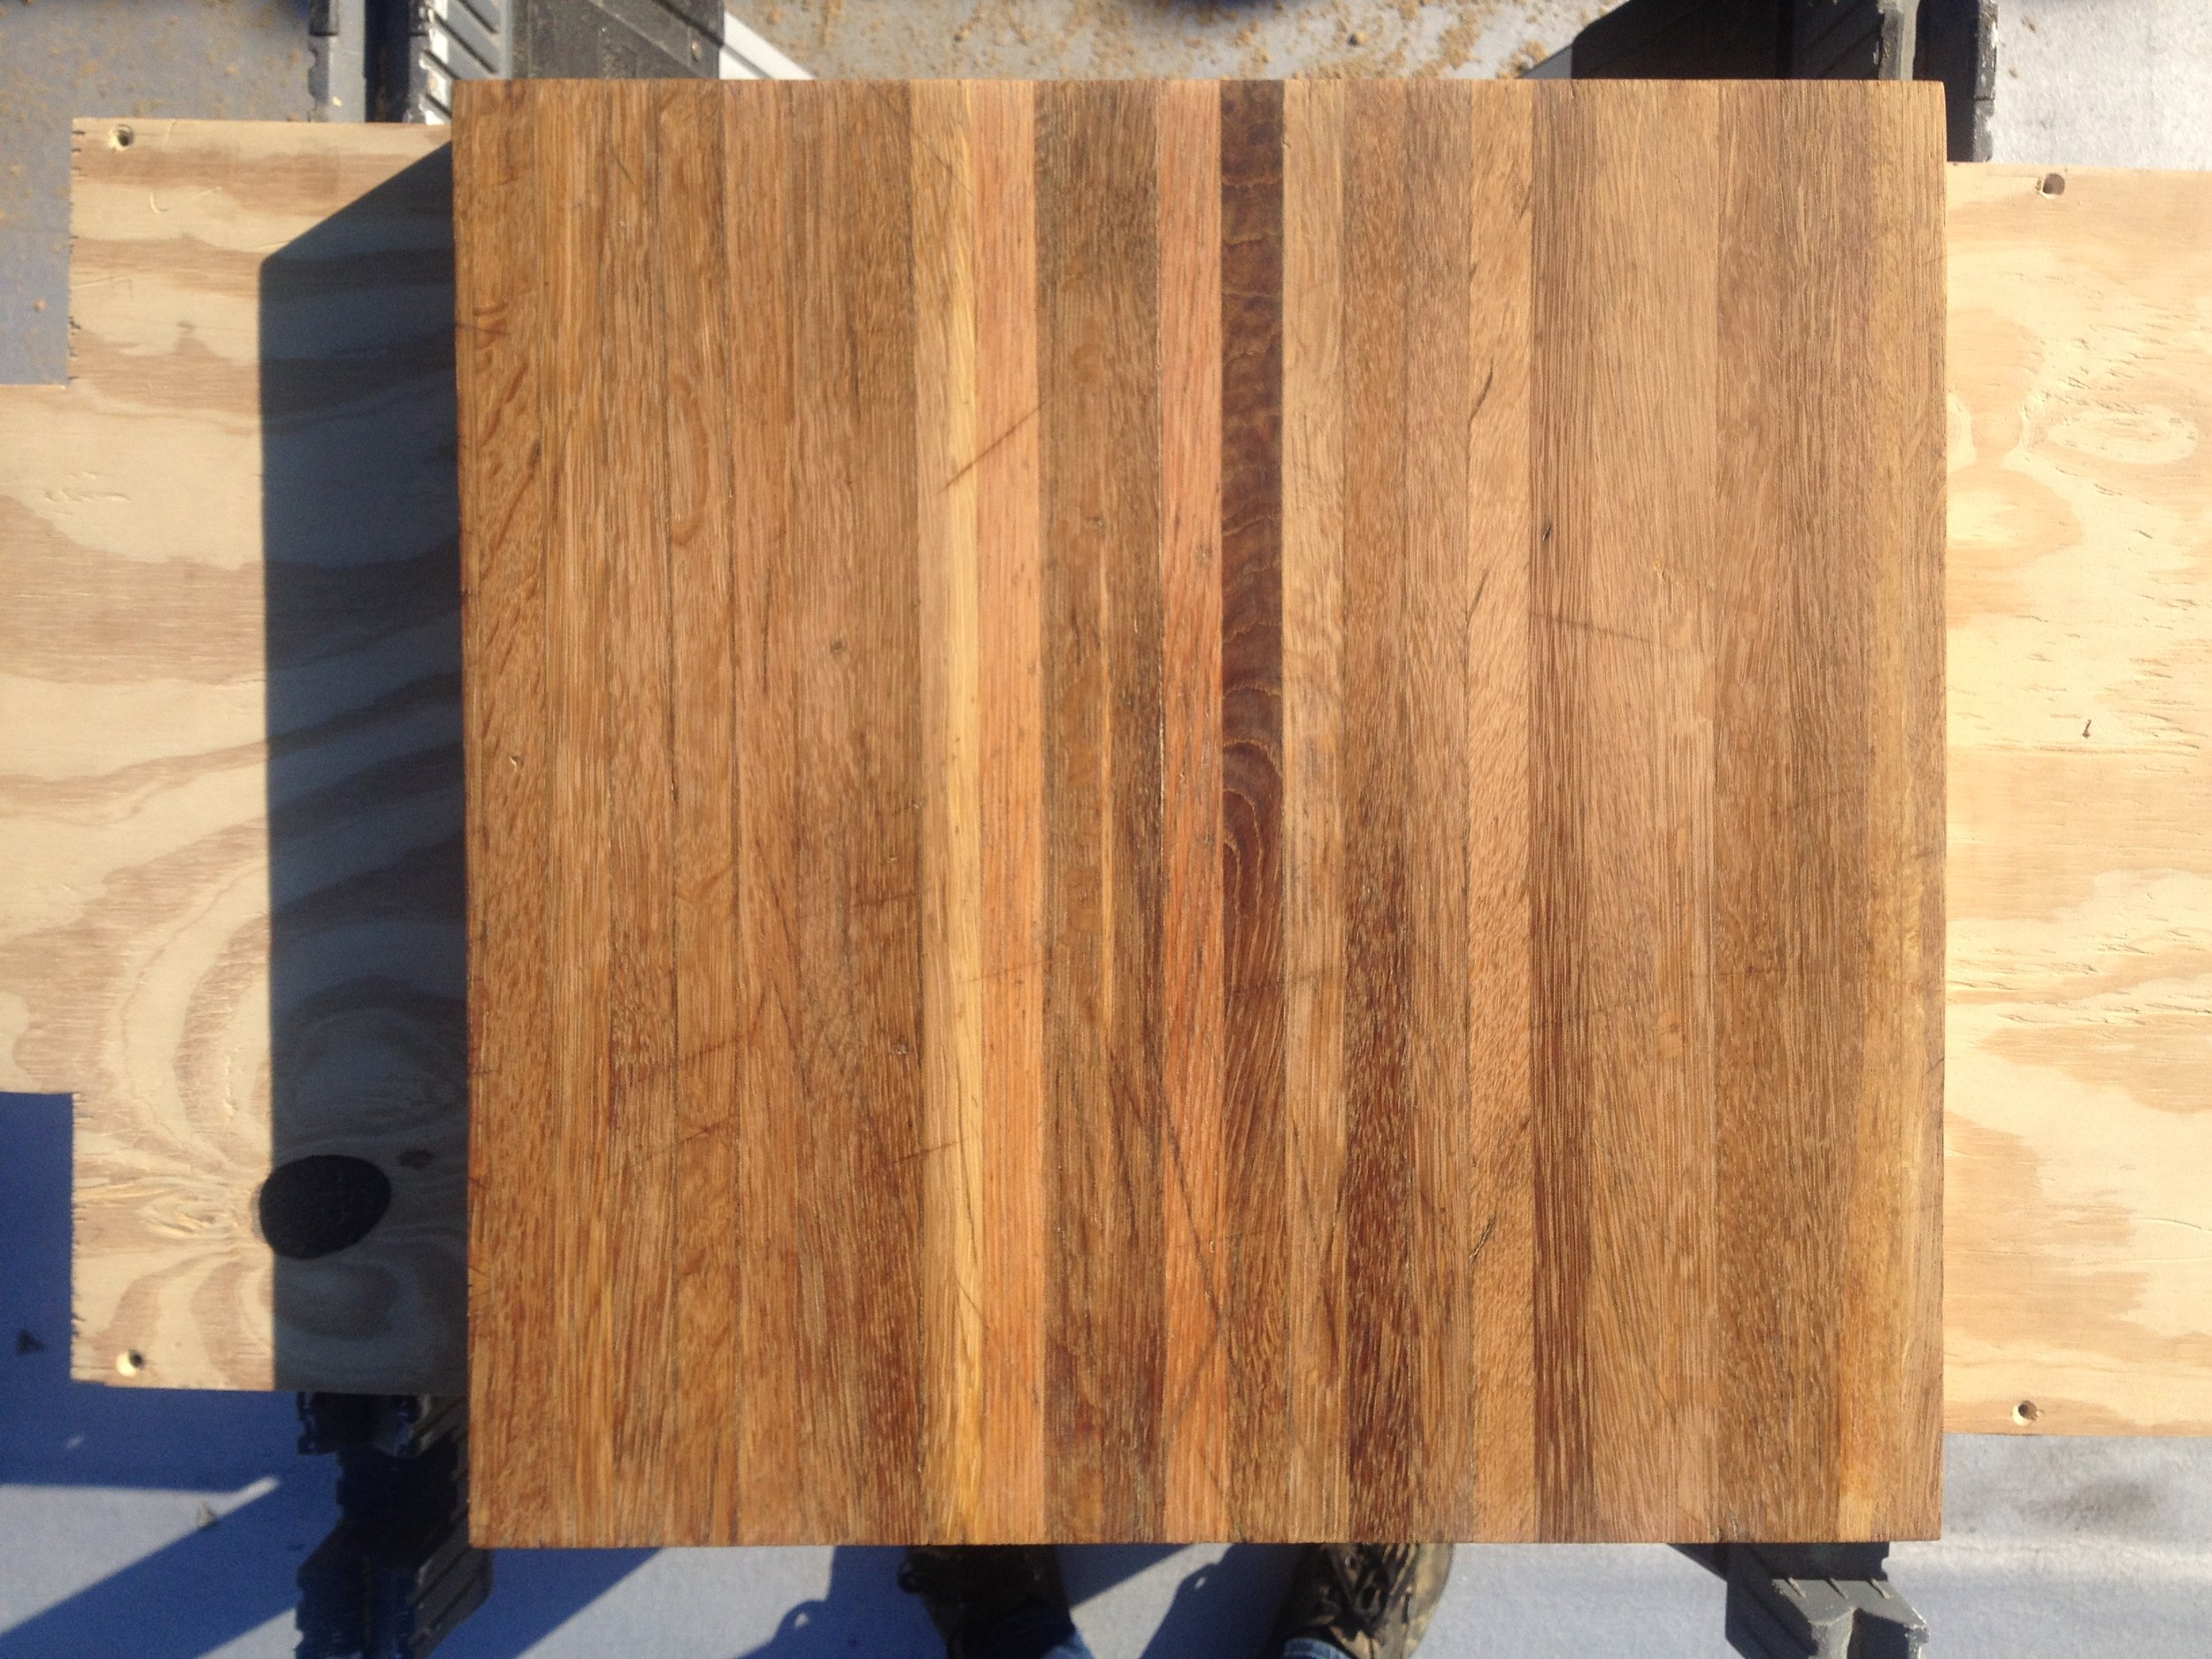
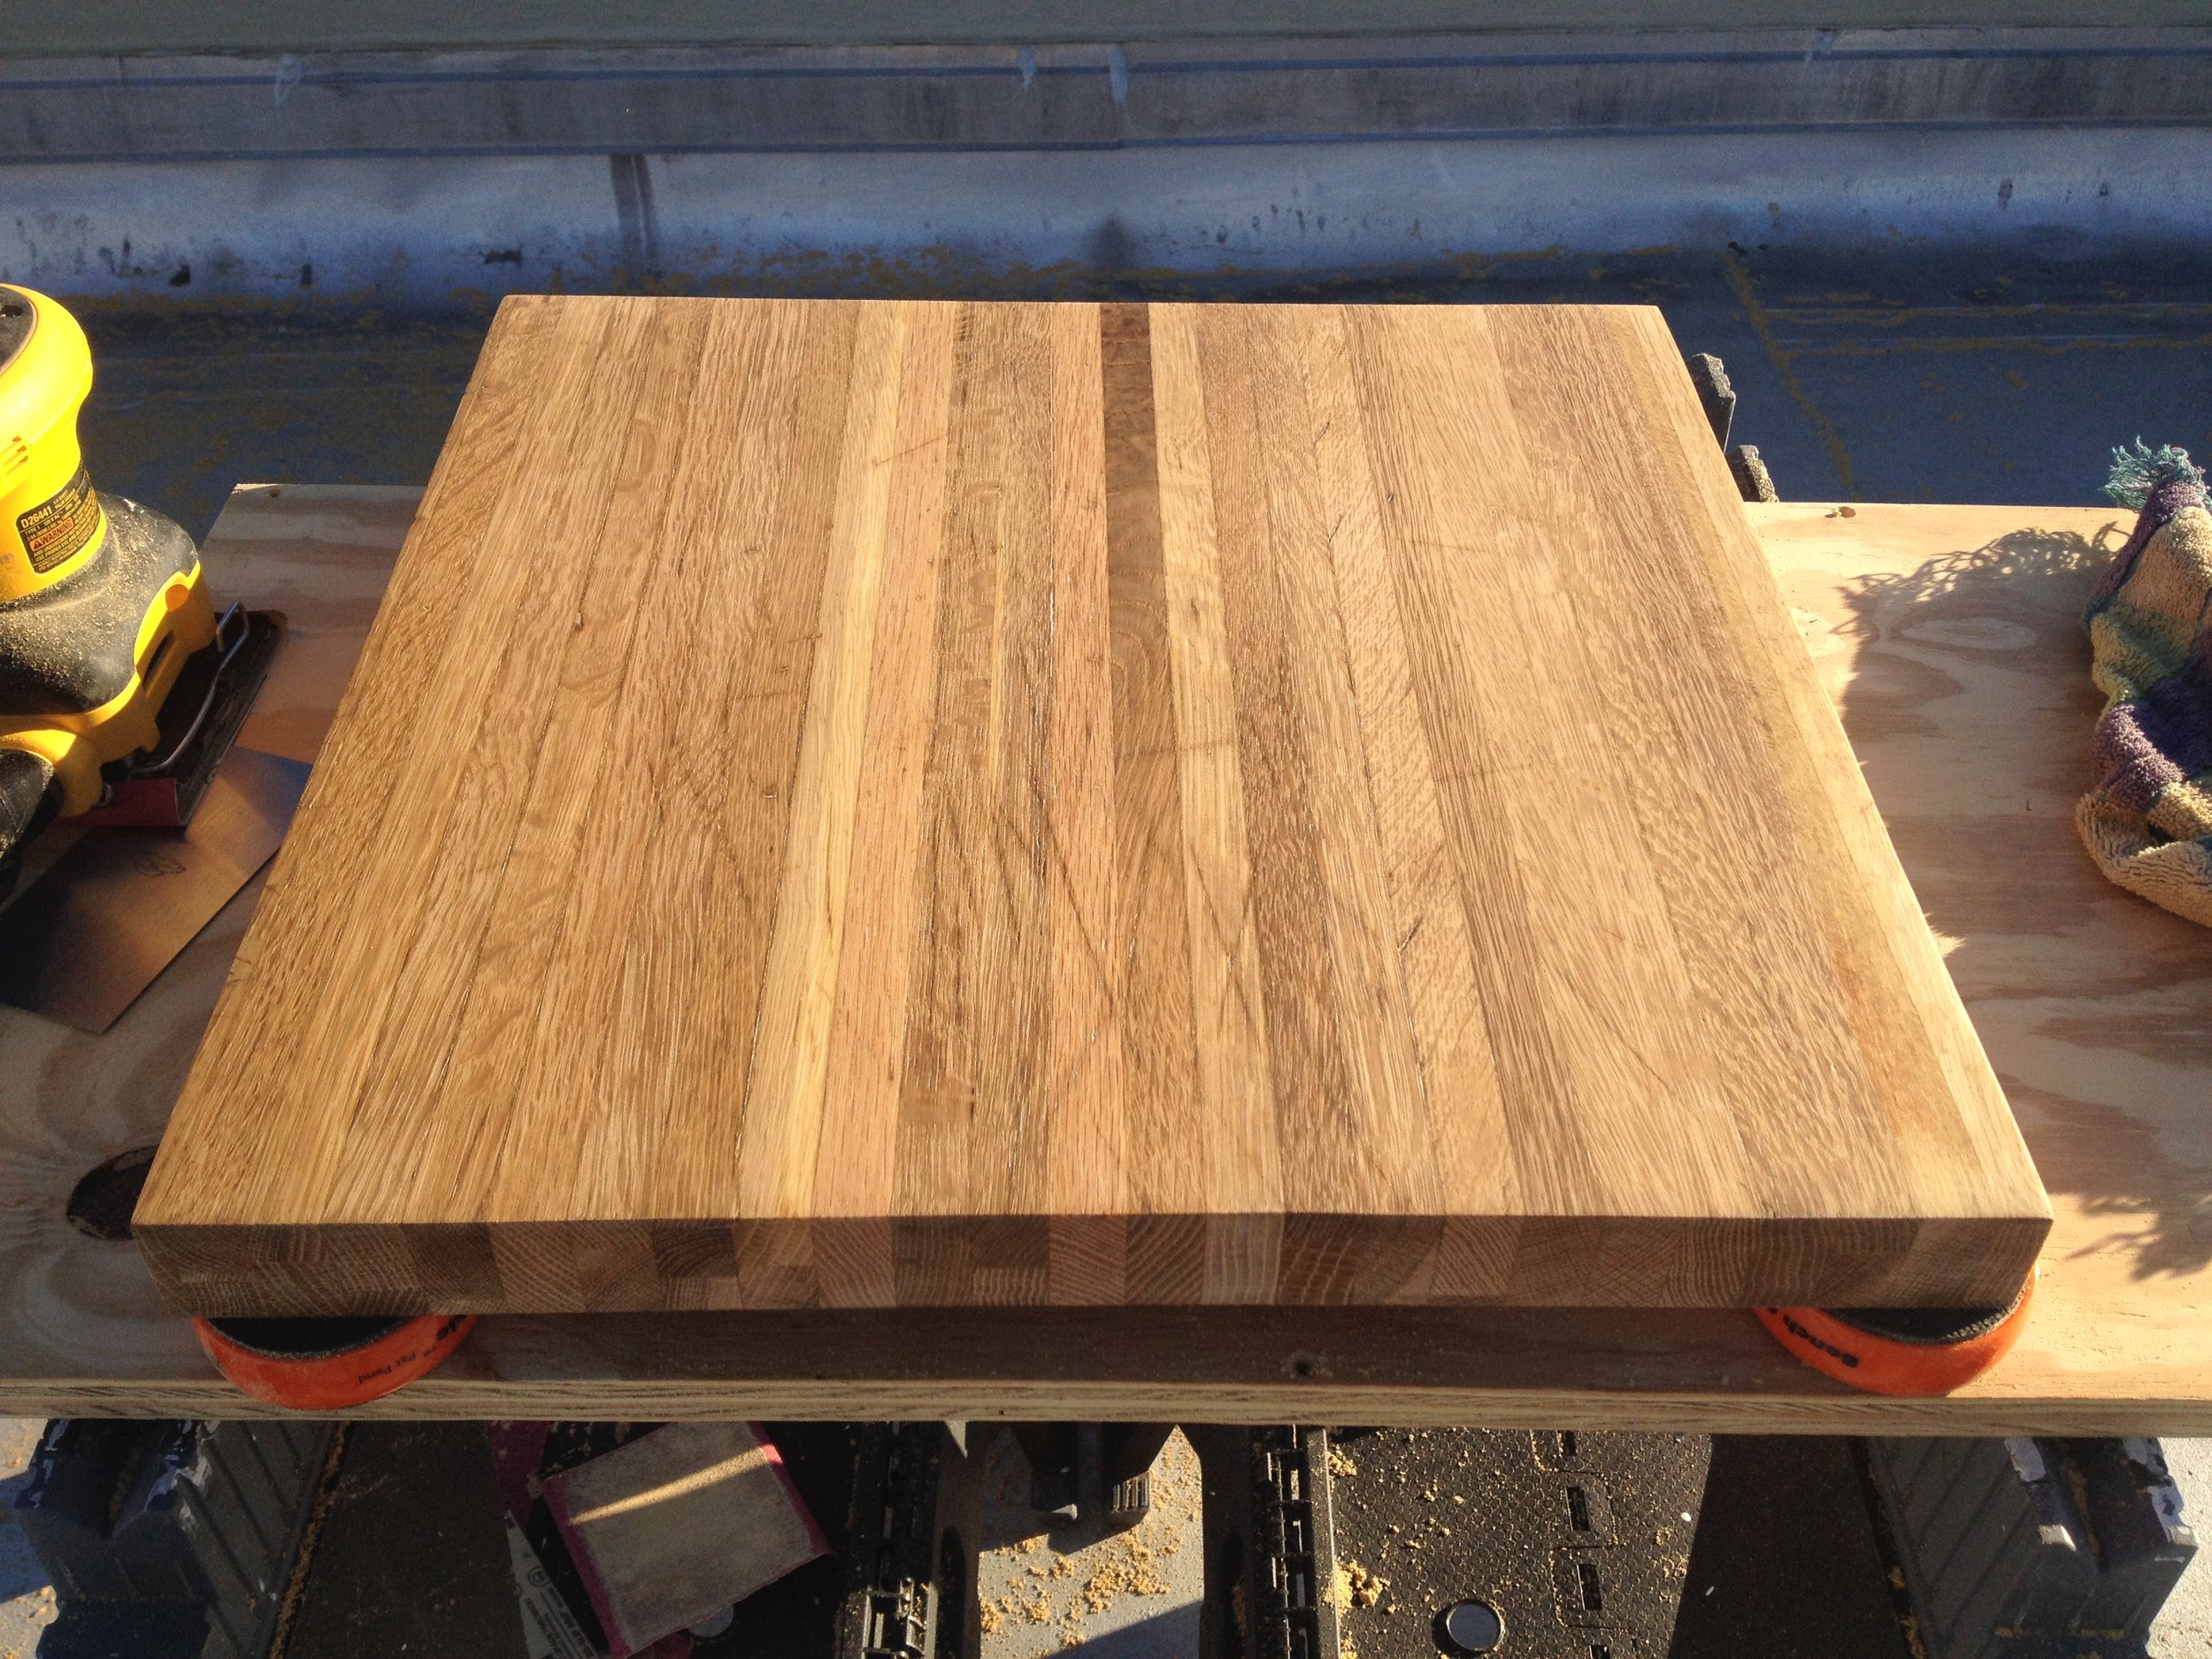
Our method of restoration at this stage is to bathe the board in oil 2-3 times. There are various types of appropriate and food-safe oils. We have researched and tested many of them and prefer using non-GMO Walnut Oil. Let the board stand upright overnight (8-12 hours) between each bath. The last step is to give it a coat of board butter following the waxing instructions above.
If restoring a cutting board sounds like a lot of work, it’s because it is! If you’re interested in having your cutting board restored, we can help. Contact us and we can assess the damage from a photo and provide you a quote in 24 hours. We have the tools and experience to get your cutting looking new again!