


Restoration turned salvage

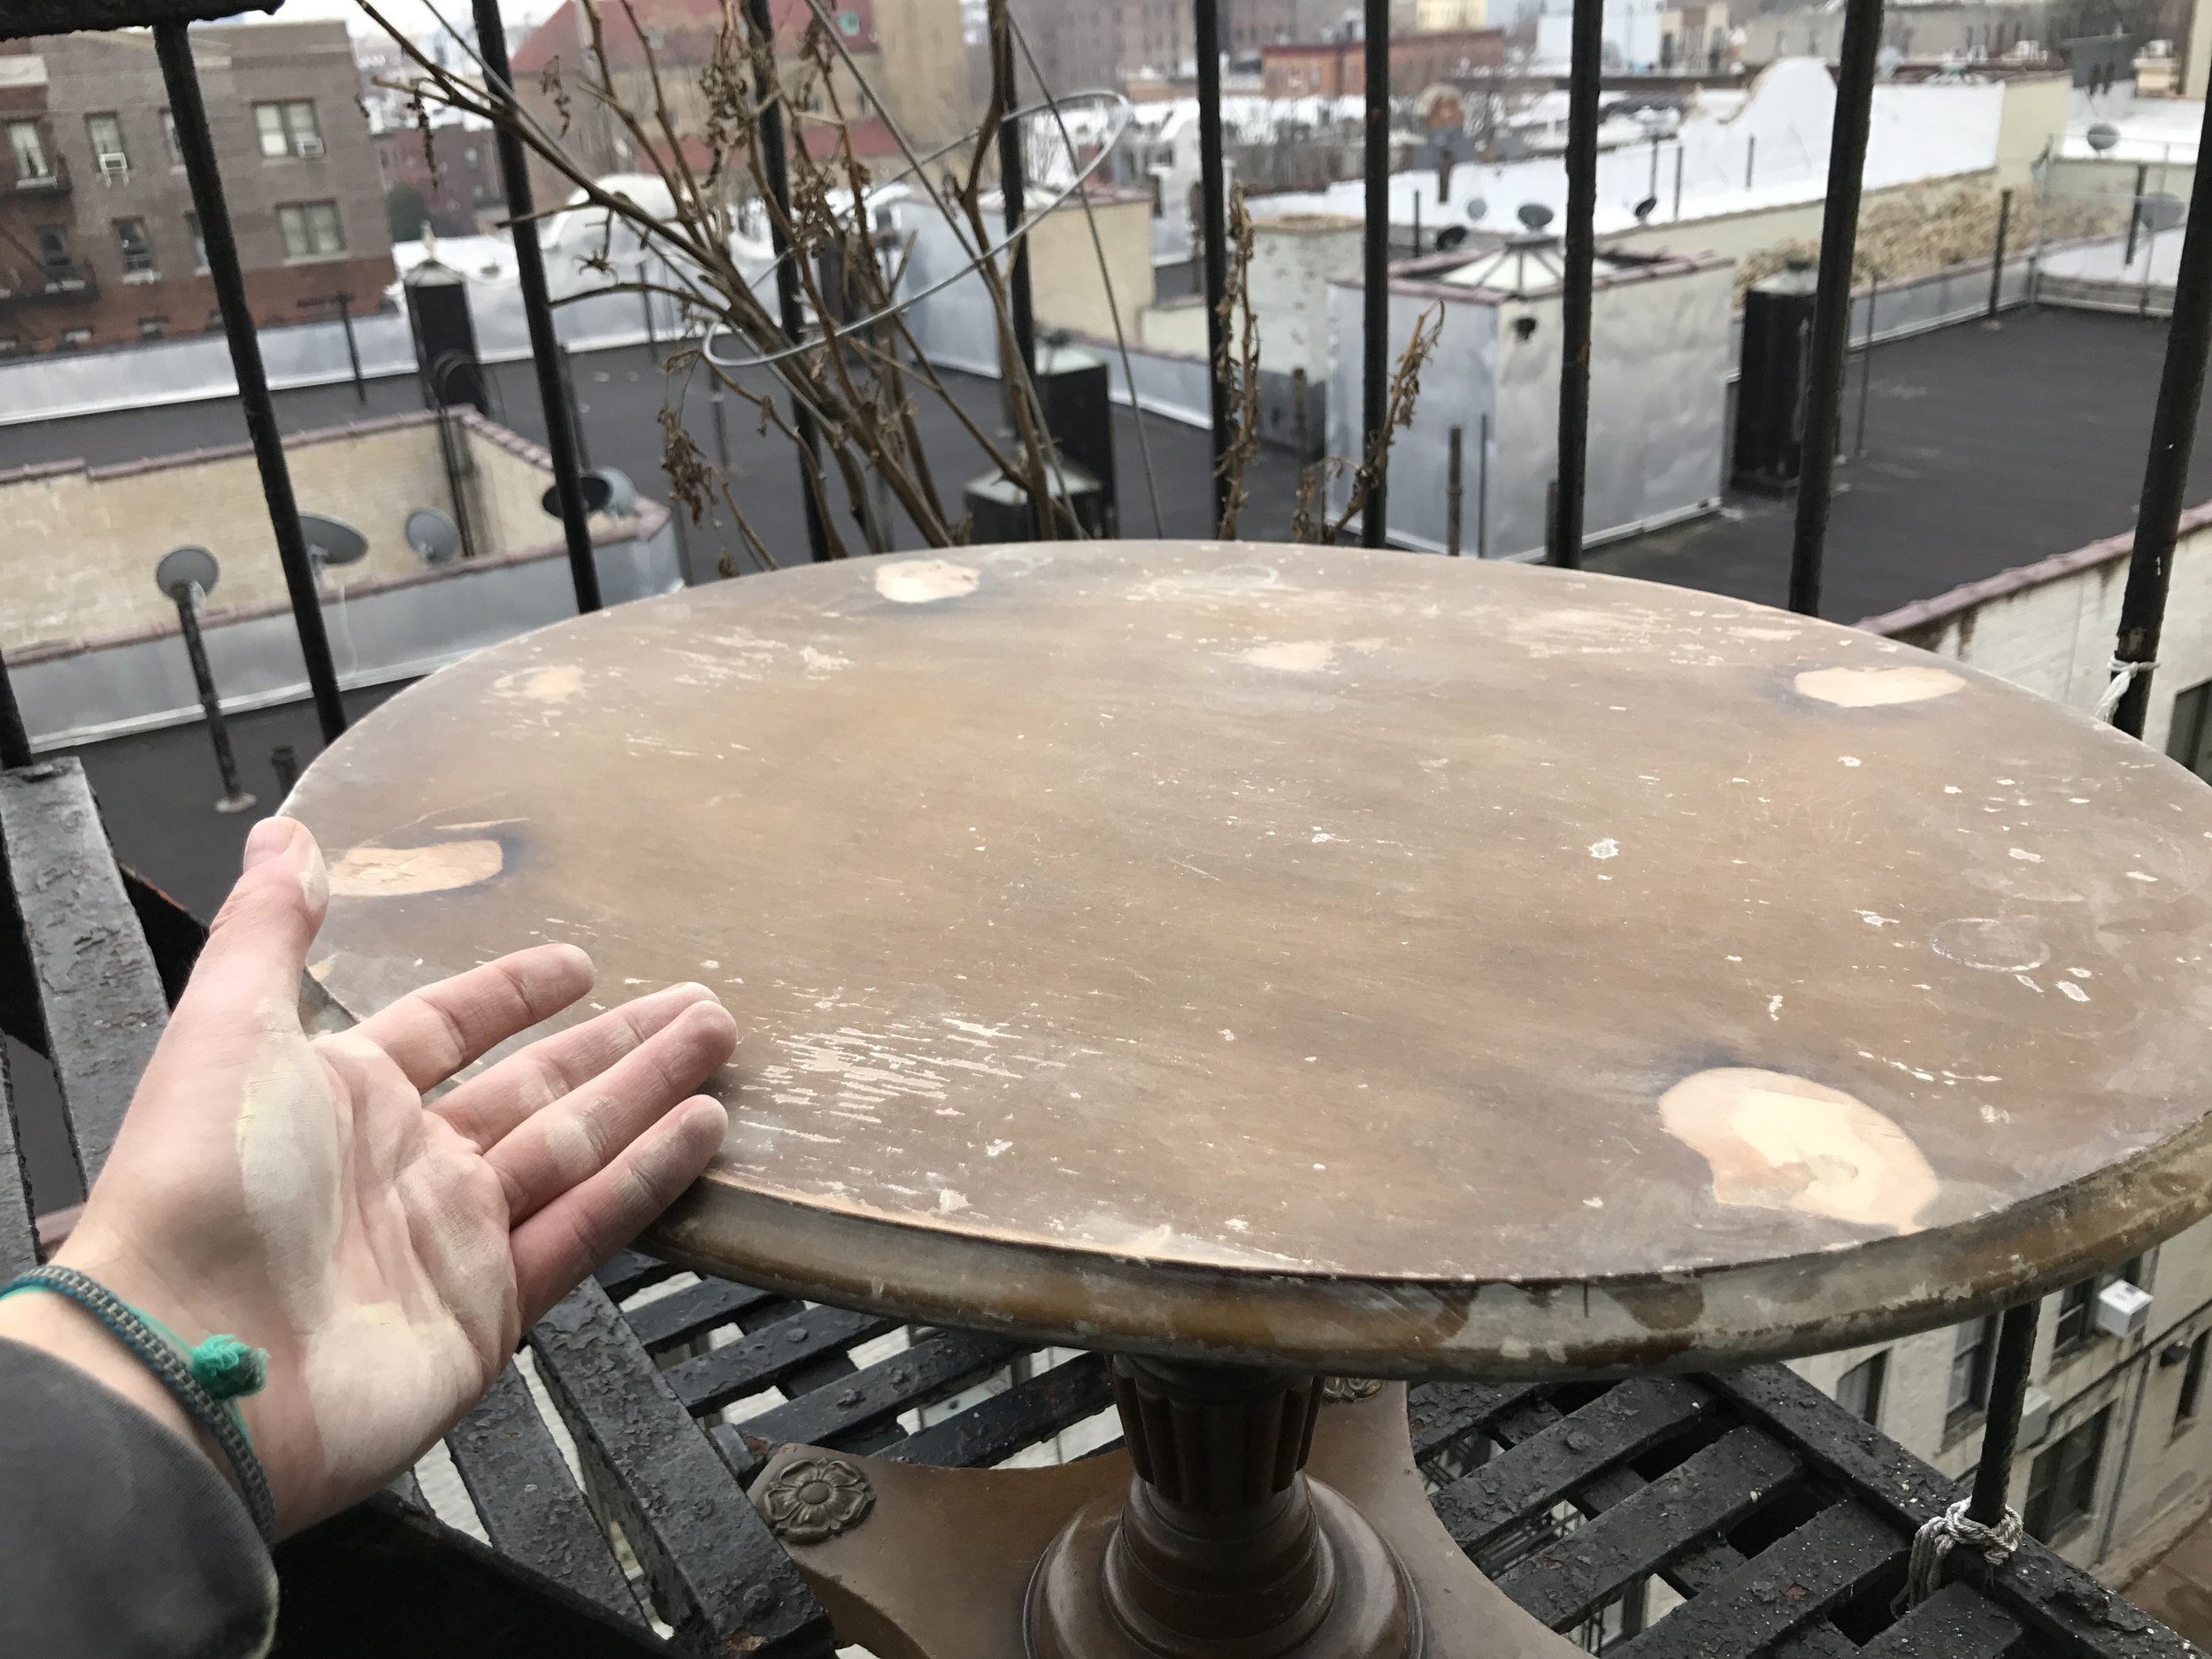
Sometimes you can take all the extra care and safety measures possible, but accidents happen. We wear eye and ear protection while works, lift heavy items together, and wrap and strap pieces that are in transit. This was a best case scenario as no one was hurt, but the table above looked a bit different when we first acquired it.
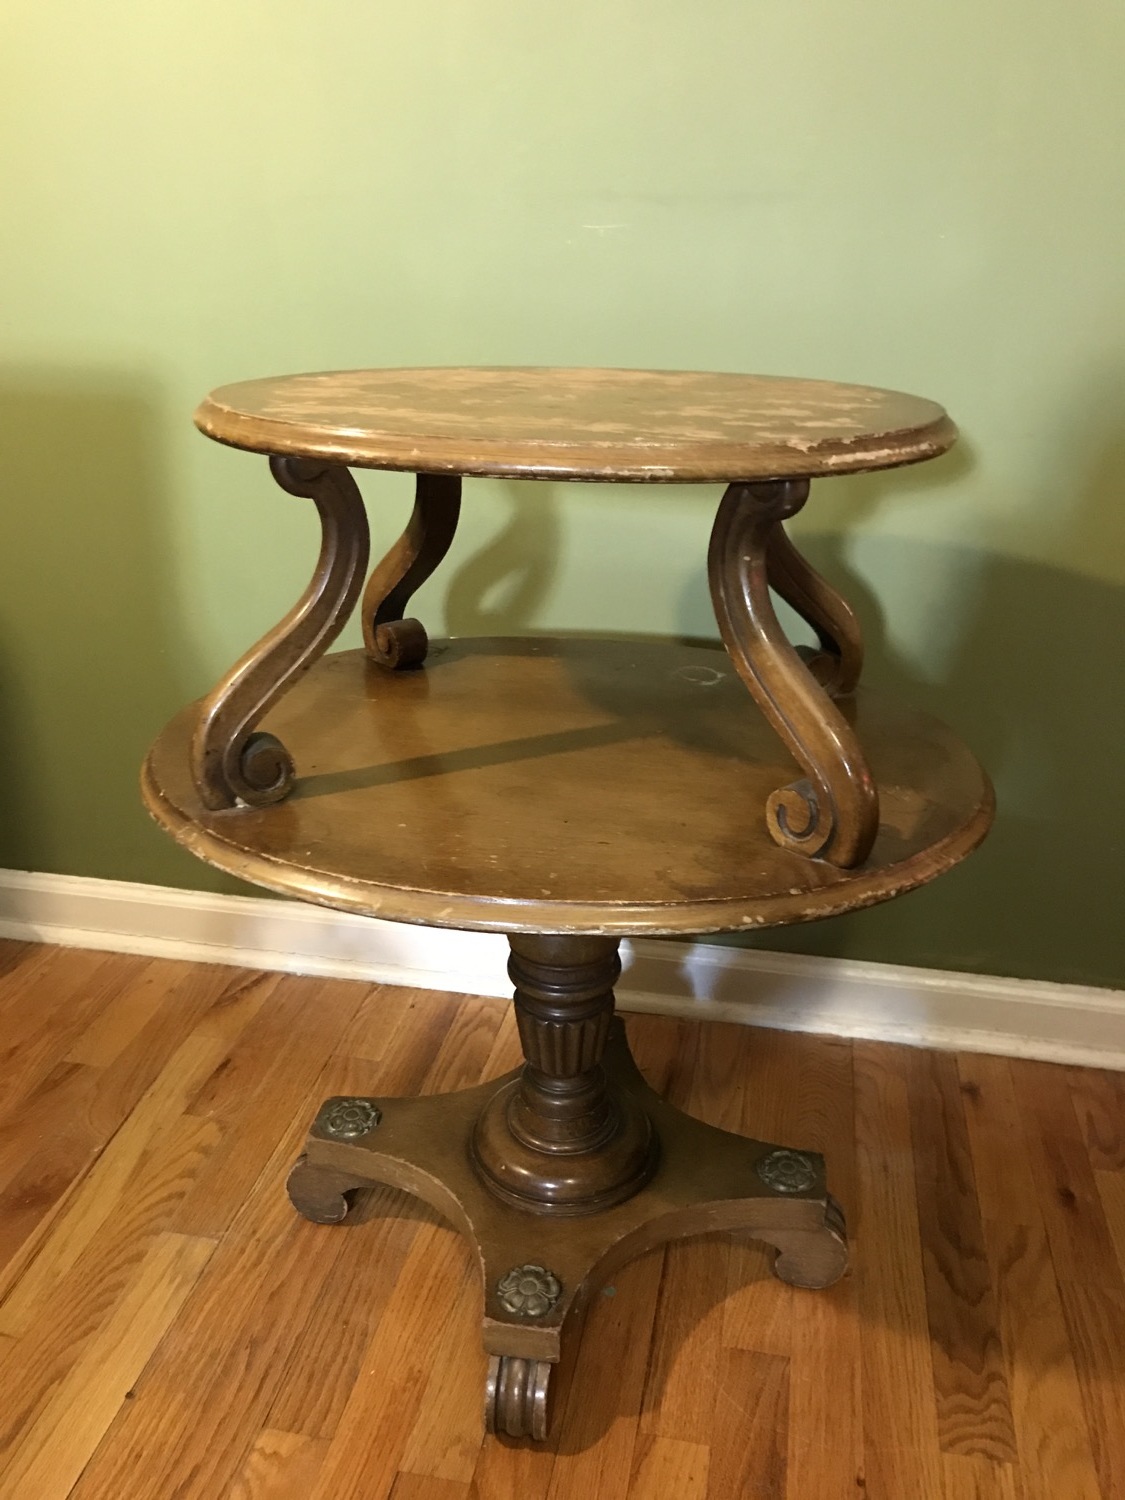
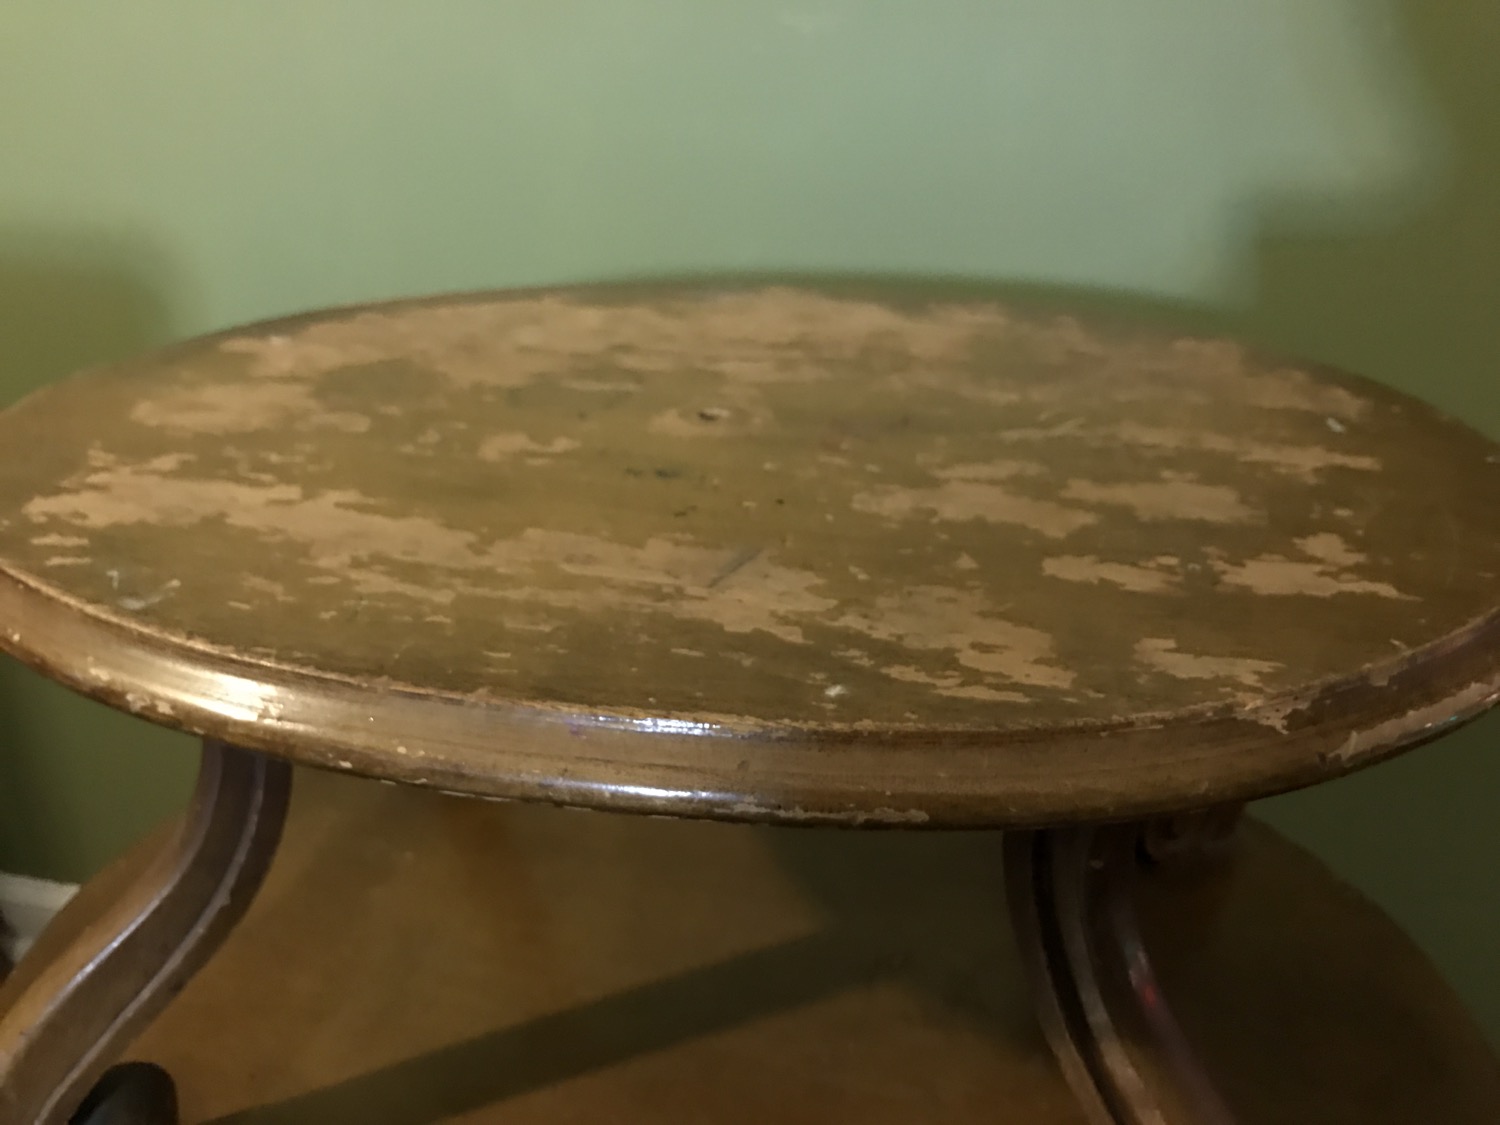
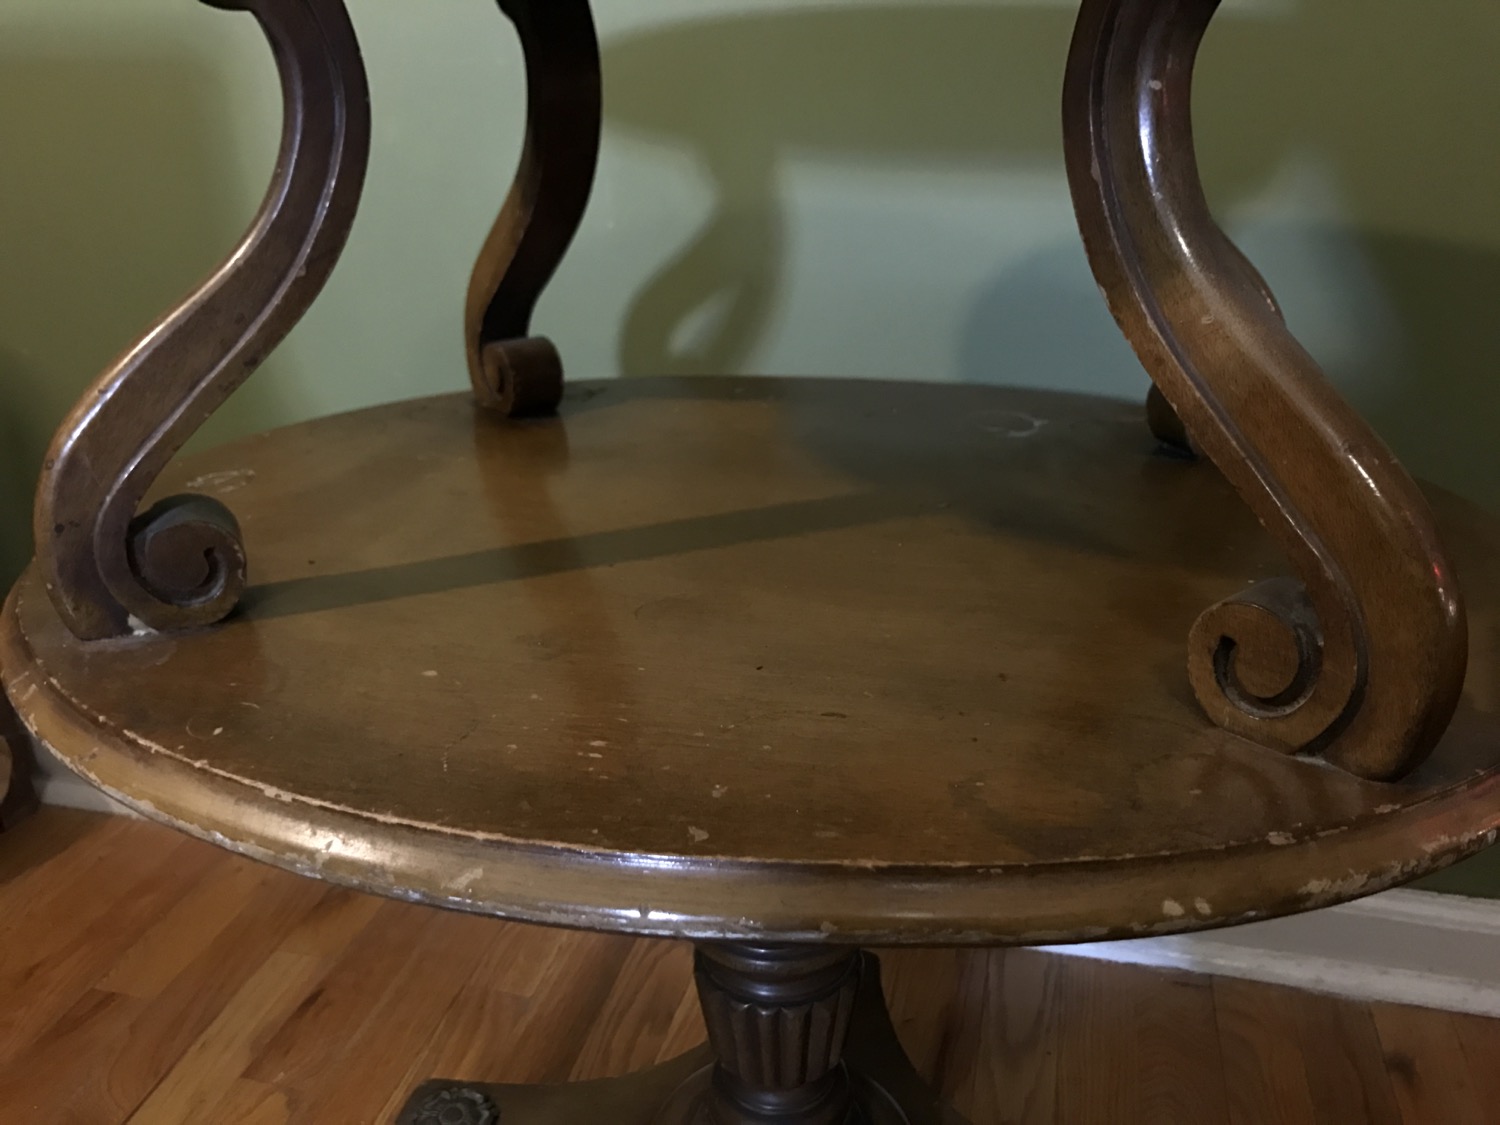
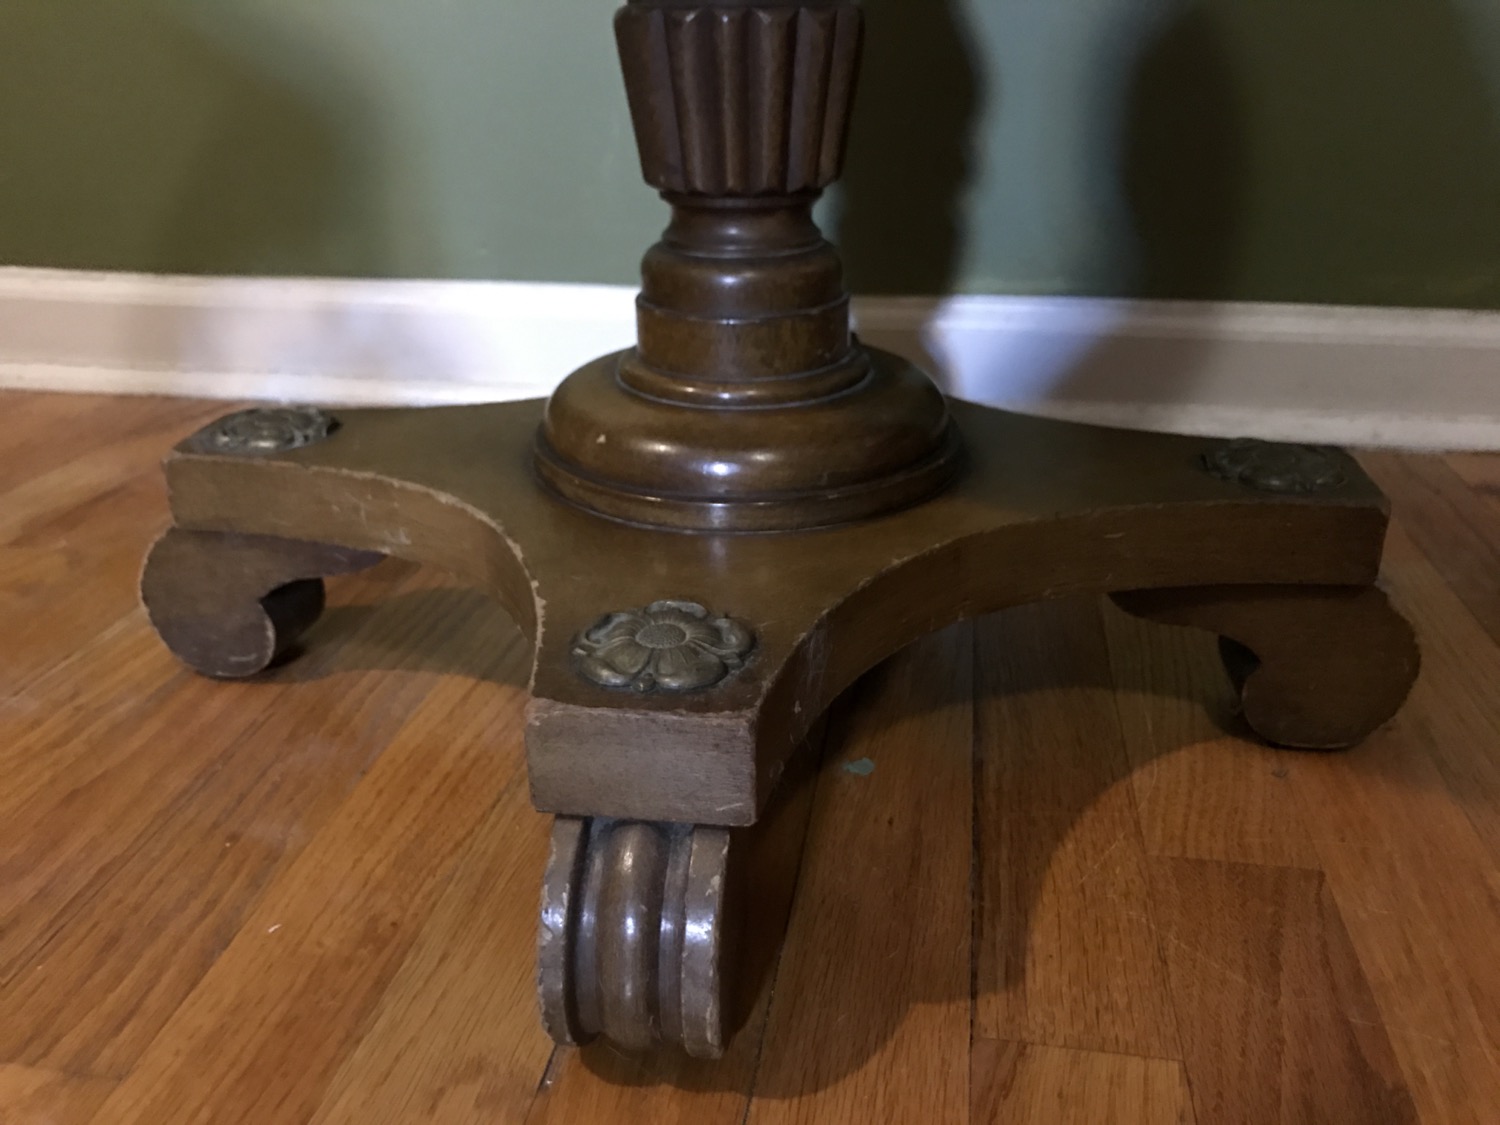
While it was in storage this table was stacked on another. One day though, it fell and landed on the top tier, knocking it nearly clean off. It really would have been preferable to be clean off, but in this case it would take more work than anticipated to get the table back to an attractive condition.
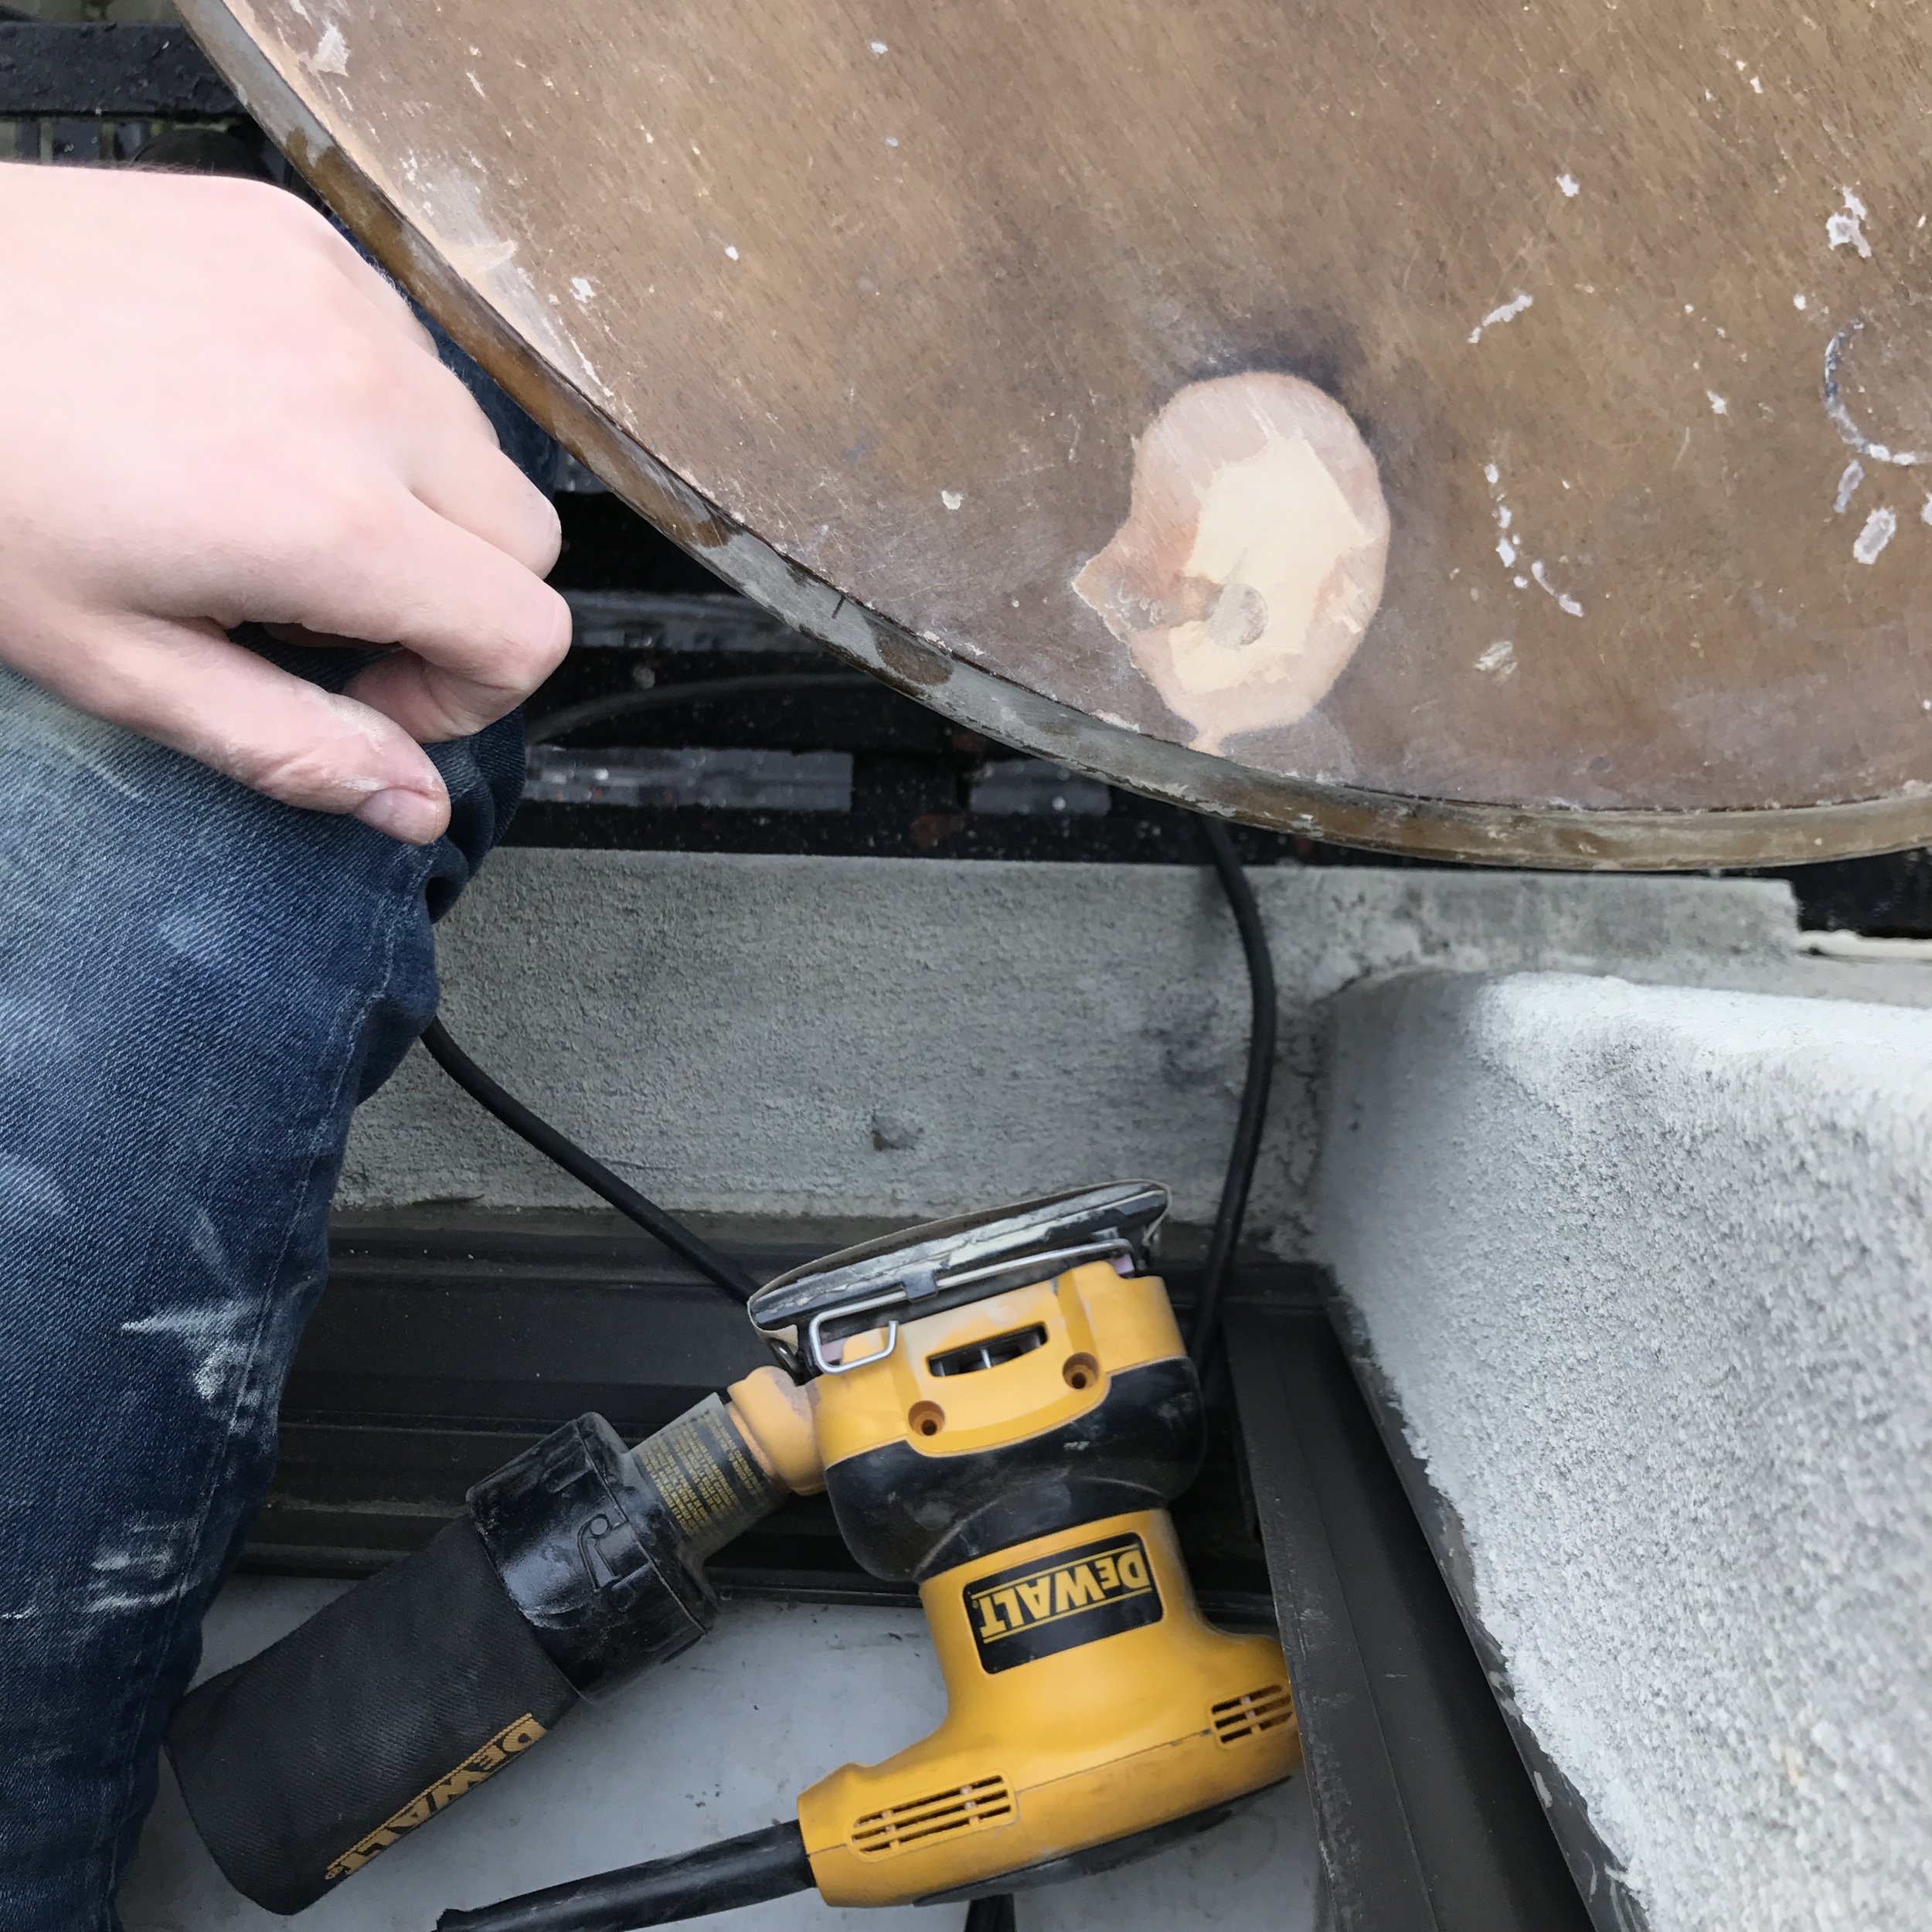

We sawed off the ends of the remaining upper legs and dowels. Then used a planer and power sander to make these smooth too touch and rough the top surface before painting. With a couple coats of paint and a finish on top, the table looks even better than before!

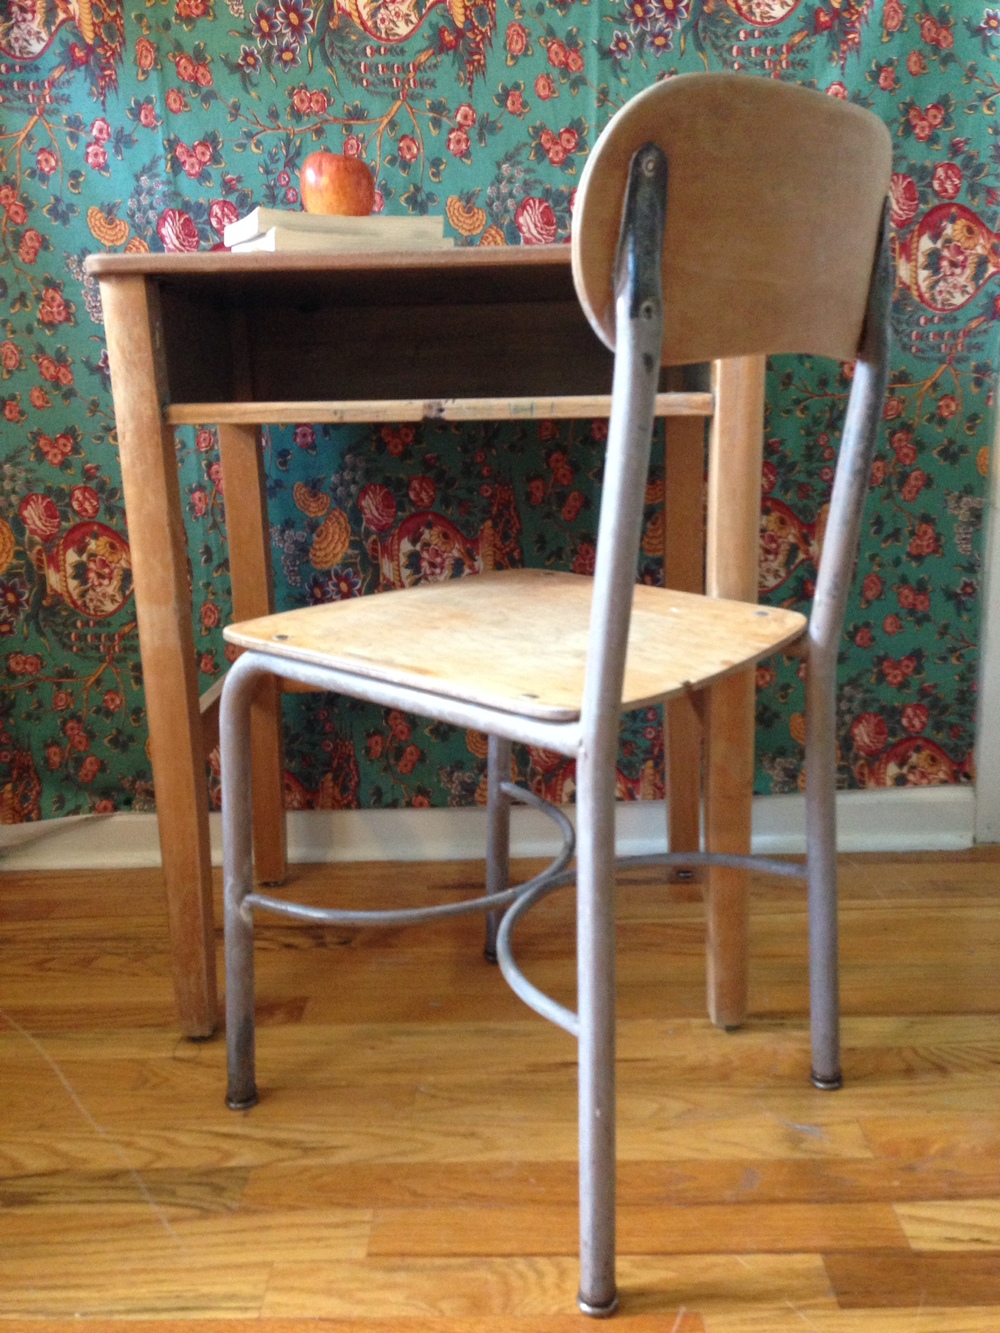
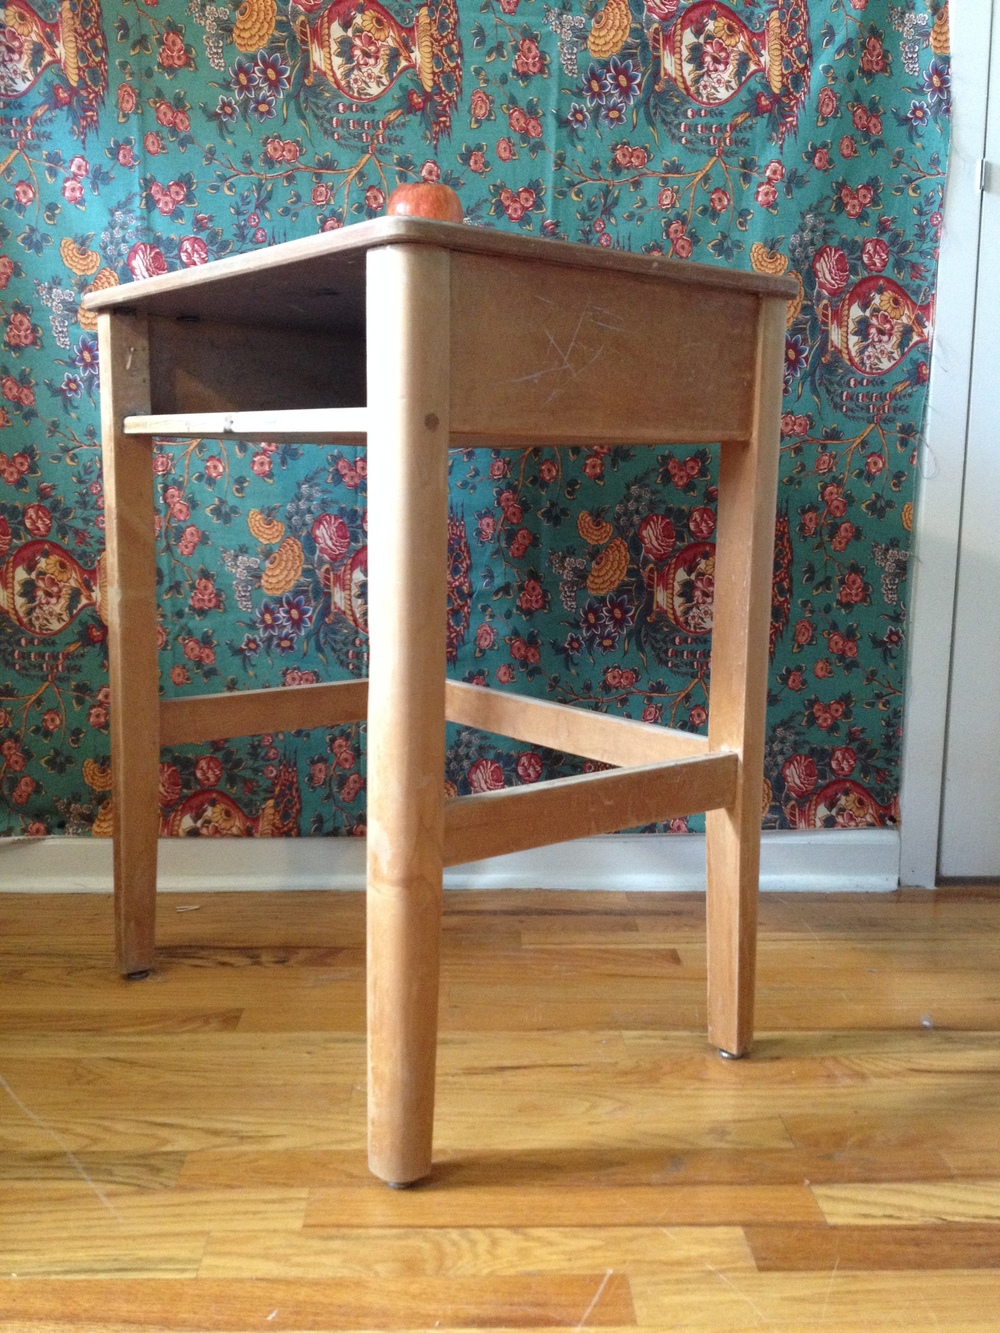
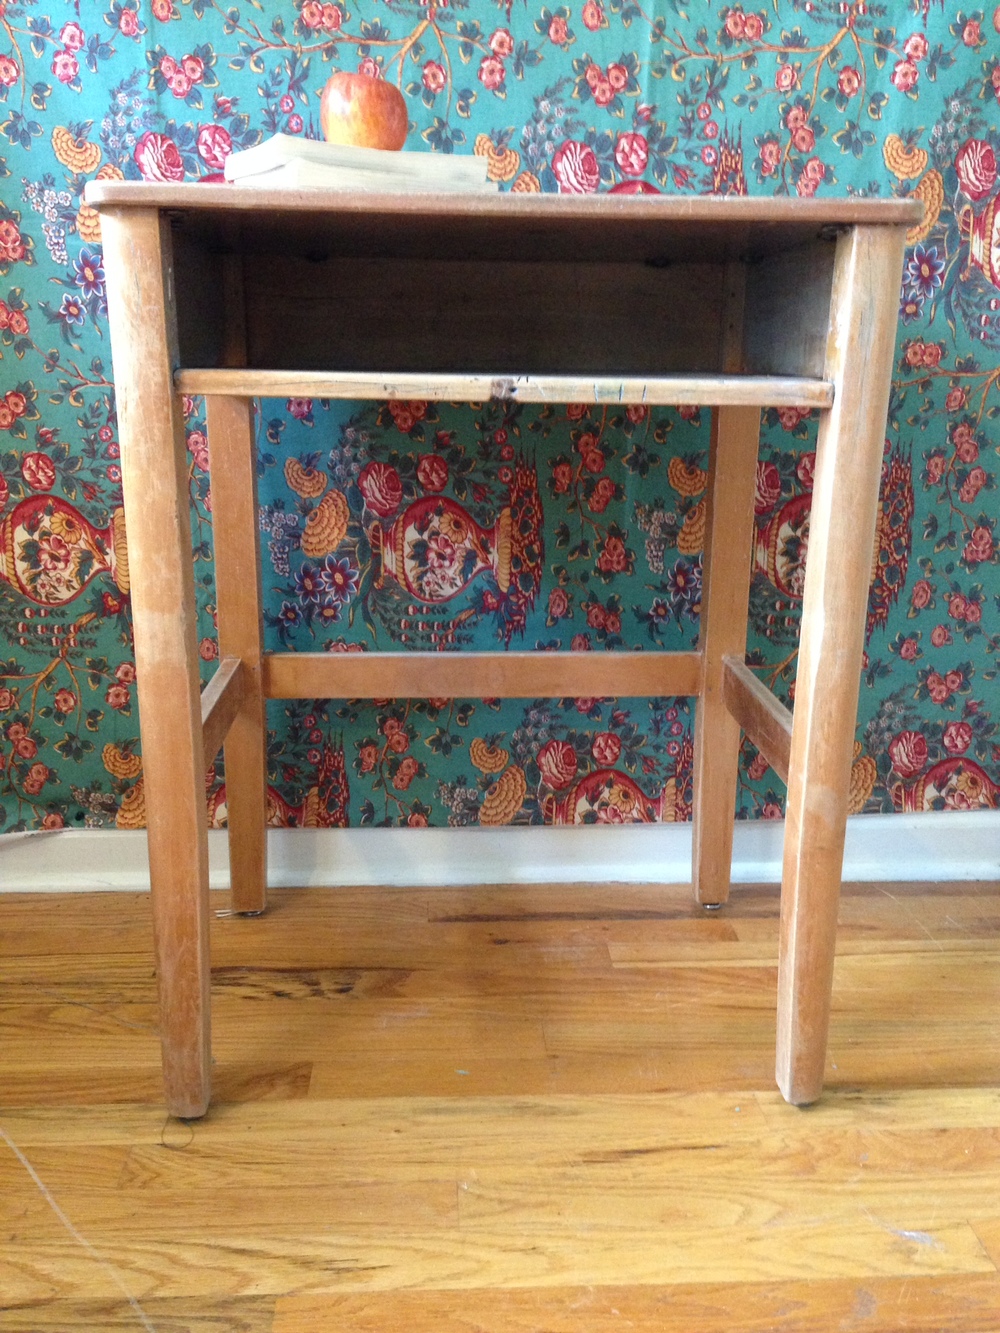
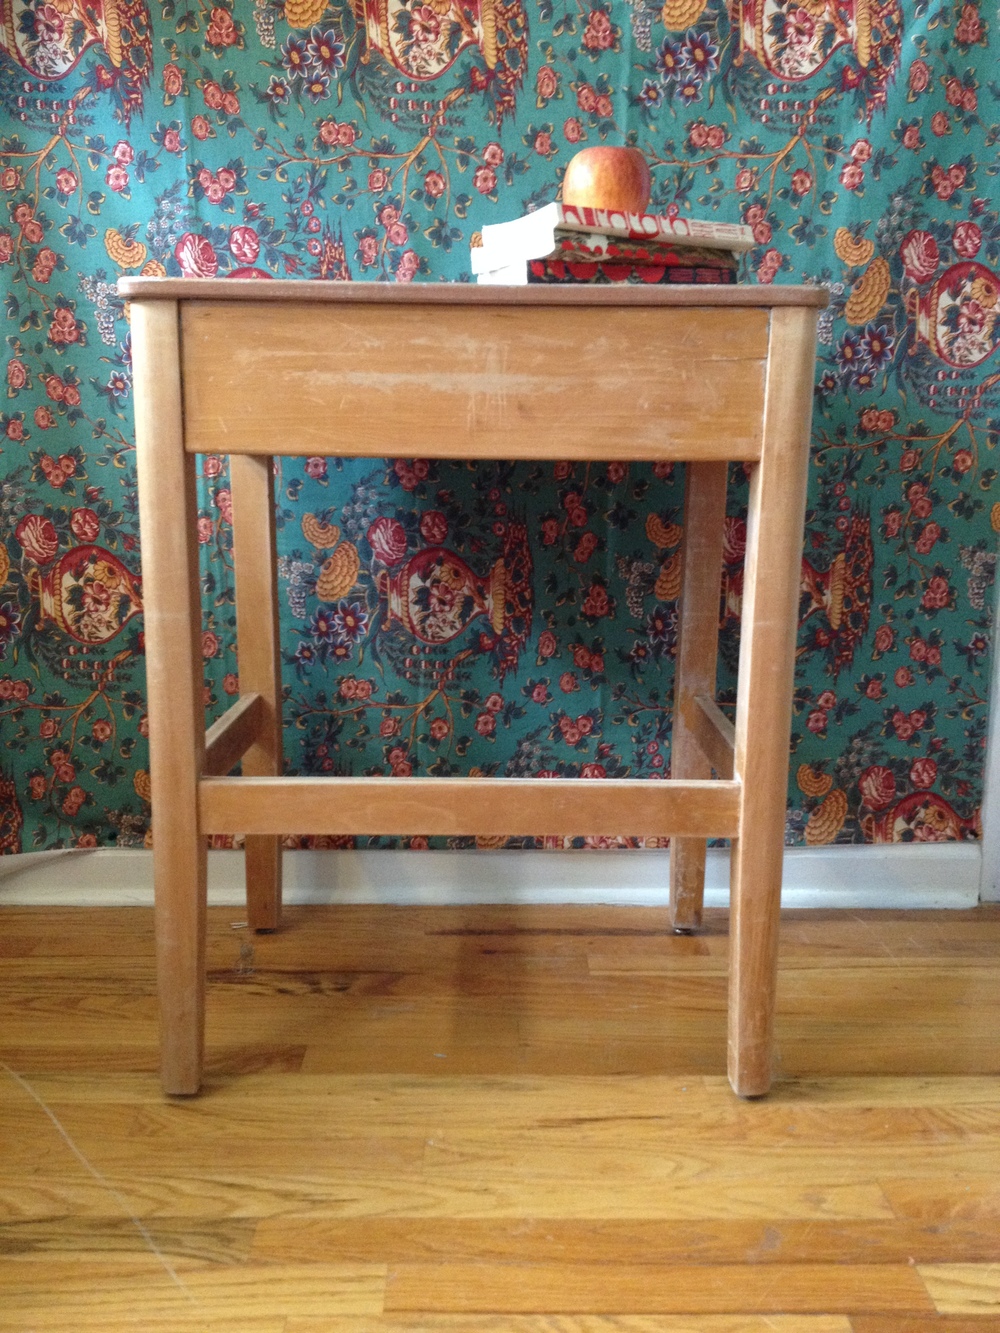
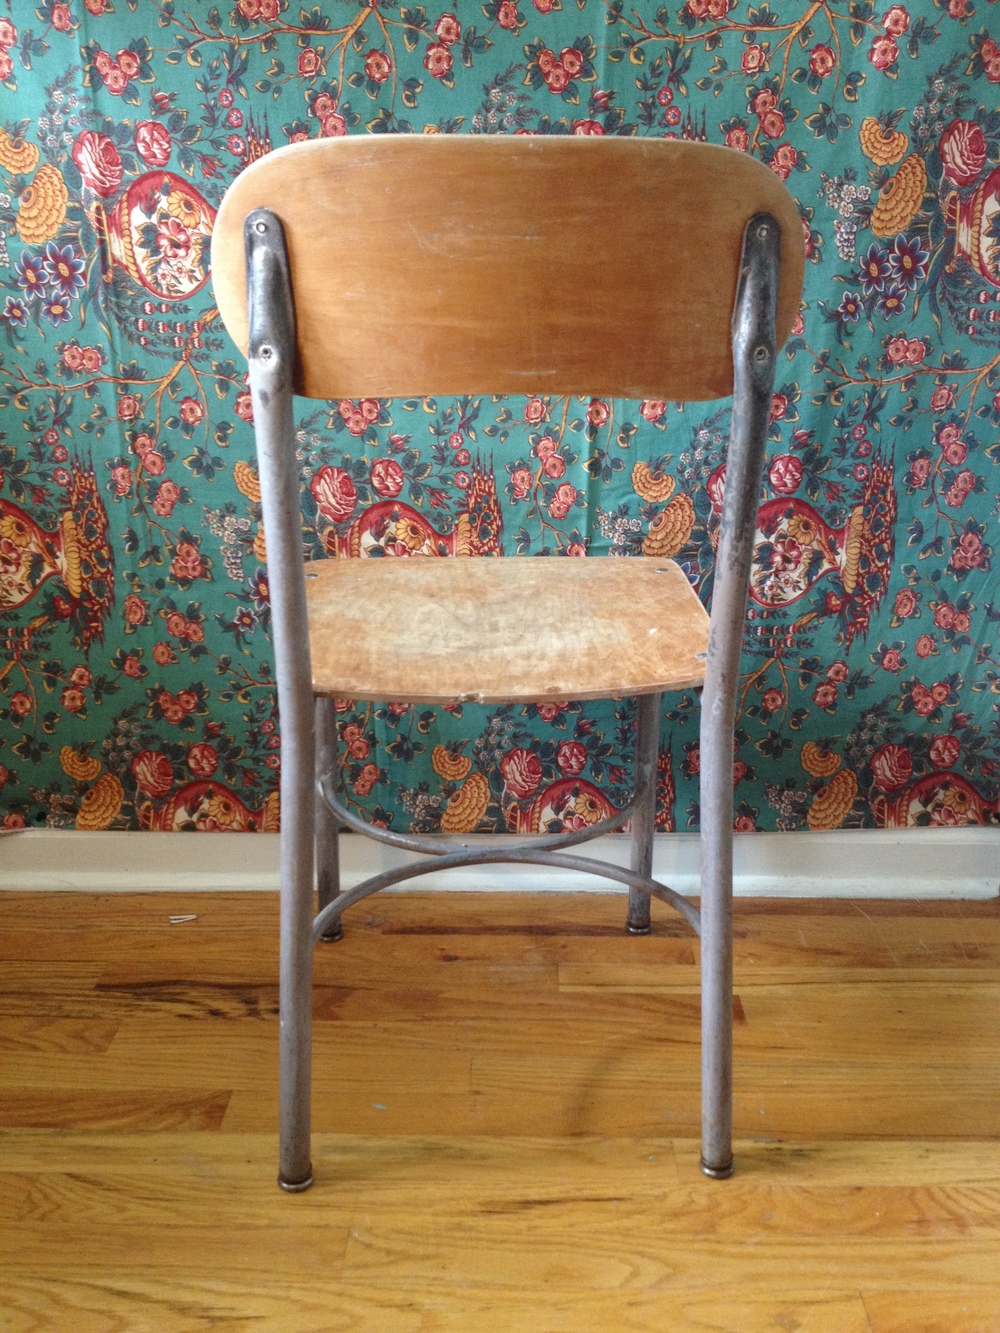
A New Challenge: Restoring a vintage school desk
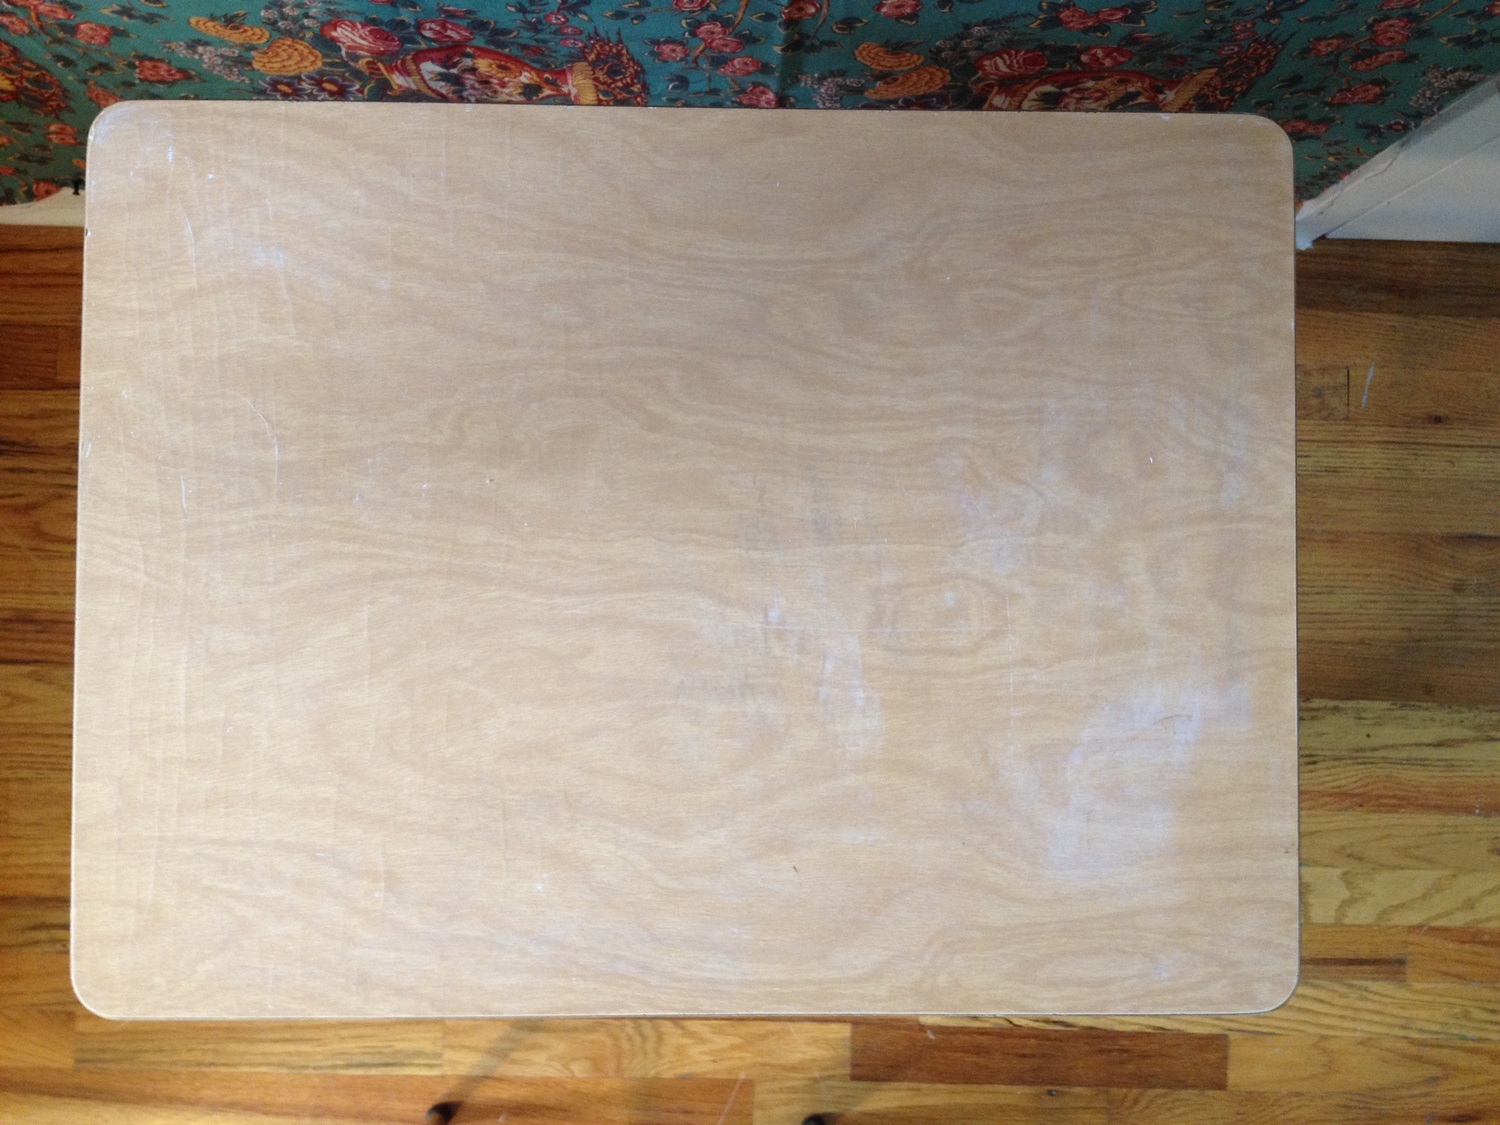
This handsome piece has a lot of character, but most of that character has been carved into it's surface over many years of use by school children, including some choice swear words.
Every restoration begins with a discussion. We have to be careful just how much is restored. On one hand antiques and vintage items acquire wisdom and character over time, but what one person sees as beautiful characteristic, another might see as ugly damage. It's all subjective, but it can be tedious to step slightly outside of your own personal tastes and consider what is best for the piece.
In the case of this wooden school desk we began with a general cleaning with wood soap to remove dirt, grim, and ink marks. Then any nicks that were obvious damage or sharp enough to cause injury were smoothed with 100 grit sandpaper. Those are finished with 220 grit sandpaper for a smooth finish. The metal and hardware is checked for surface rust and tightened. This piece was fortunately rust-free, but that would be lightly sanded with an extra fine grit as well. This wood get a coat of mineral once it's completely dry and the next day receives the final touch -- a coat of our Organic Beeswax Board Butter.

Reupholstery
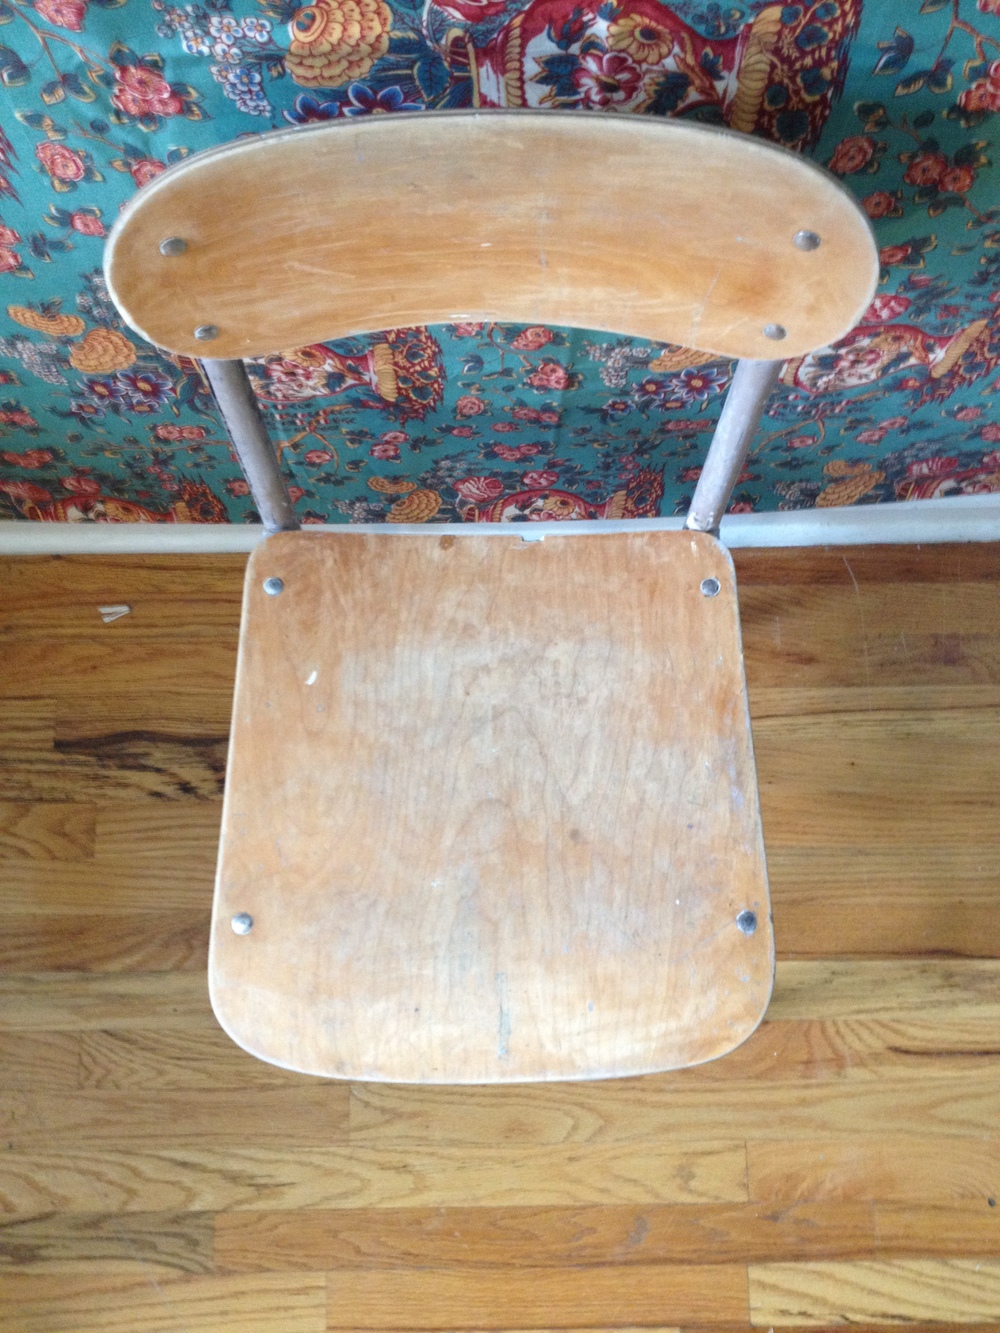
We've gotten a couple new chairs brought into the shop that require some love. Most of the time this requires the lost art of the ancients -- reupholstery.

The first step will be removing all the screws and assessing the damage. This includes inspecting the surface for scuffs, scratches, and gouges, the screw holes for stripping, and the joints for any wiggle room or instability. Most of the scuffs can be cleaned up with some wood soap. In this chair we'll need to reseat the leg joints with wood glue, clamp it down, and let it set for at least 8 hours. Overnight is probably best.
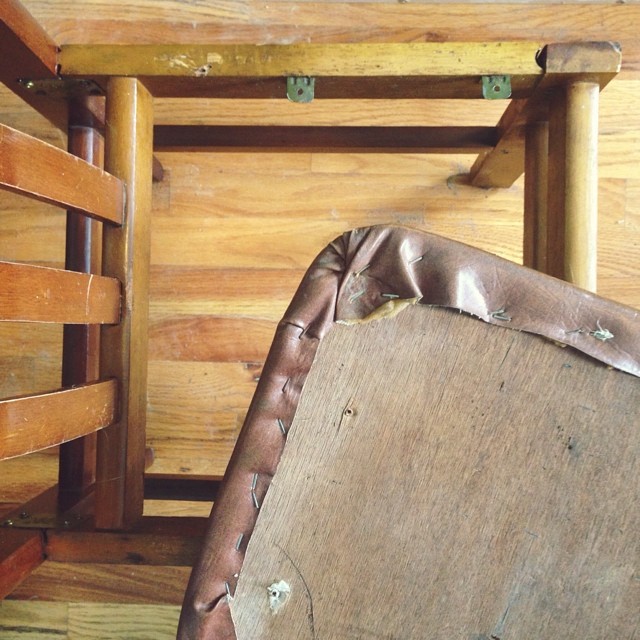
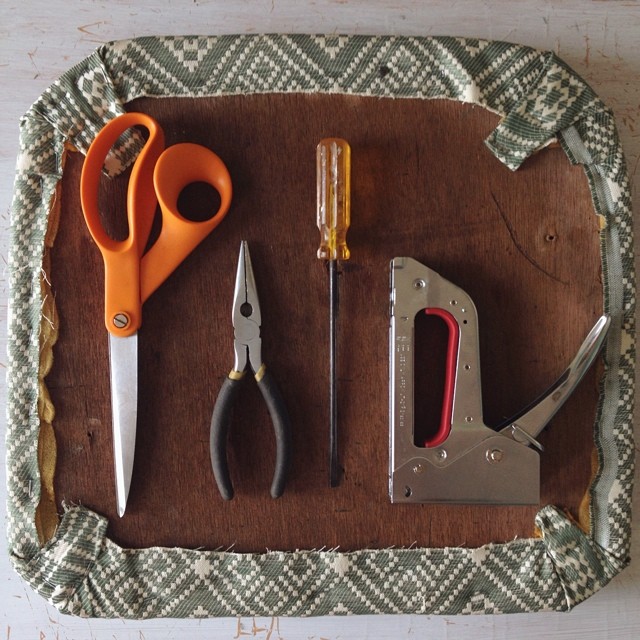
In the meantime, we'll start removing the staples from the bottom of the cushion. The foam is still good, so we'll just need some new fabric. Make some clean folds, and pop in some new staples.
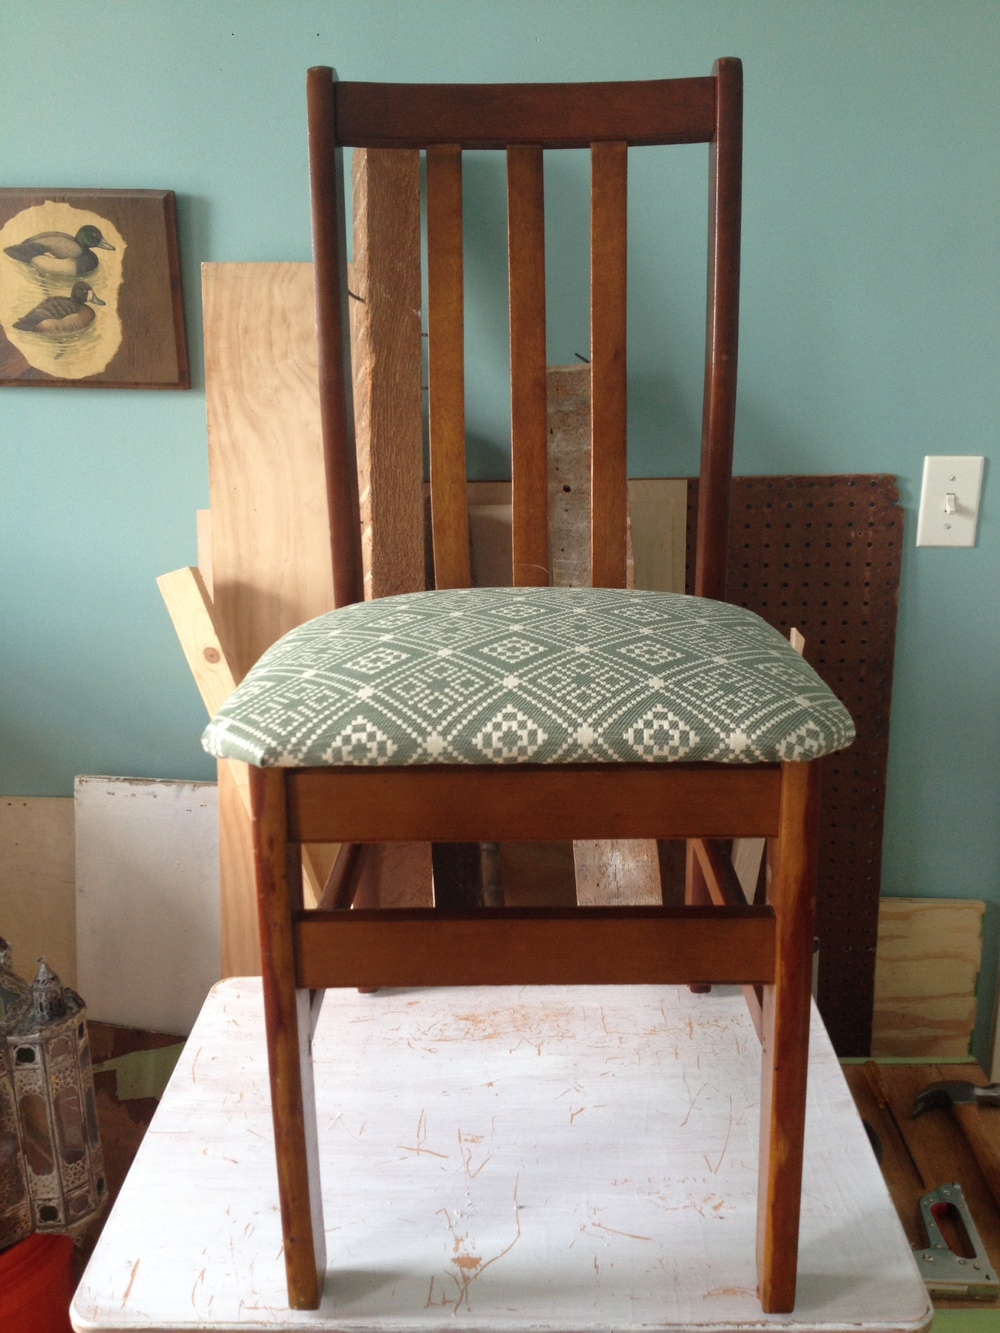
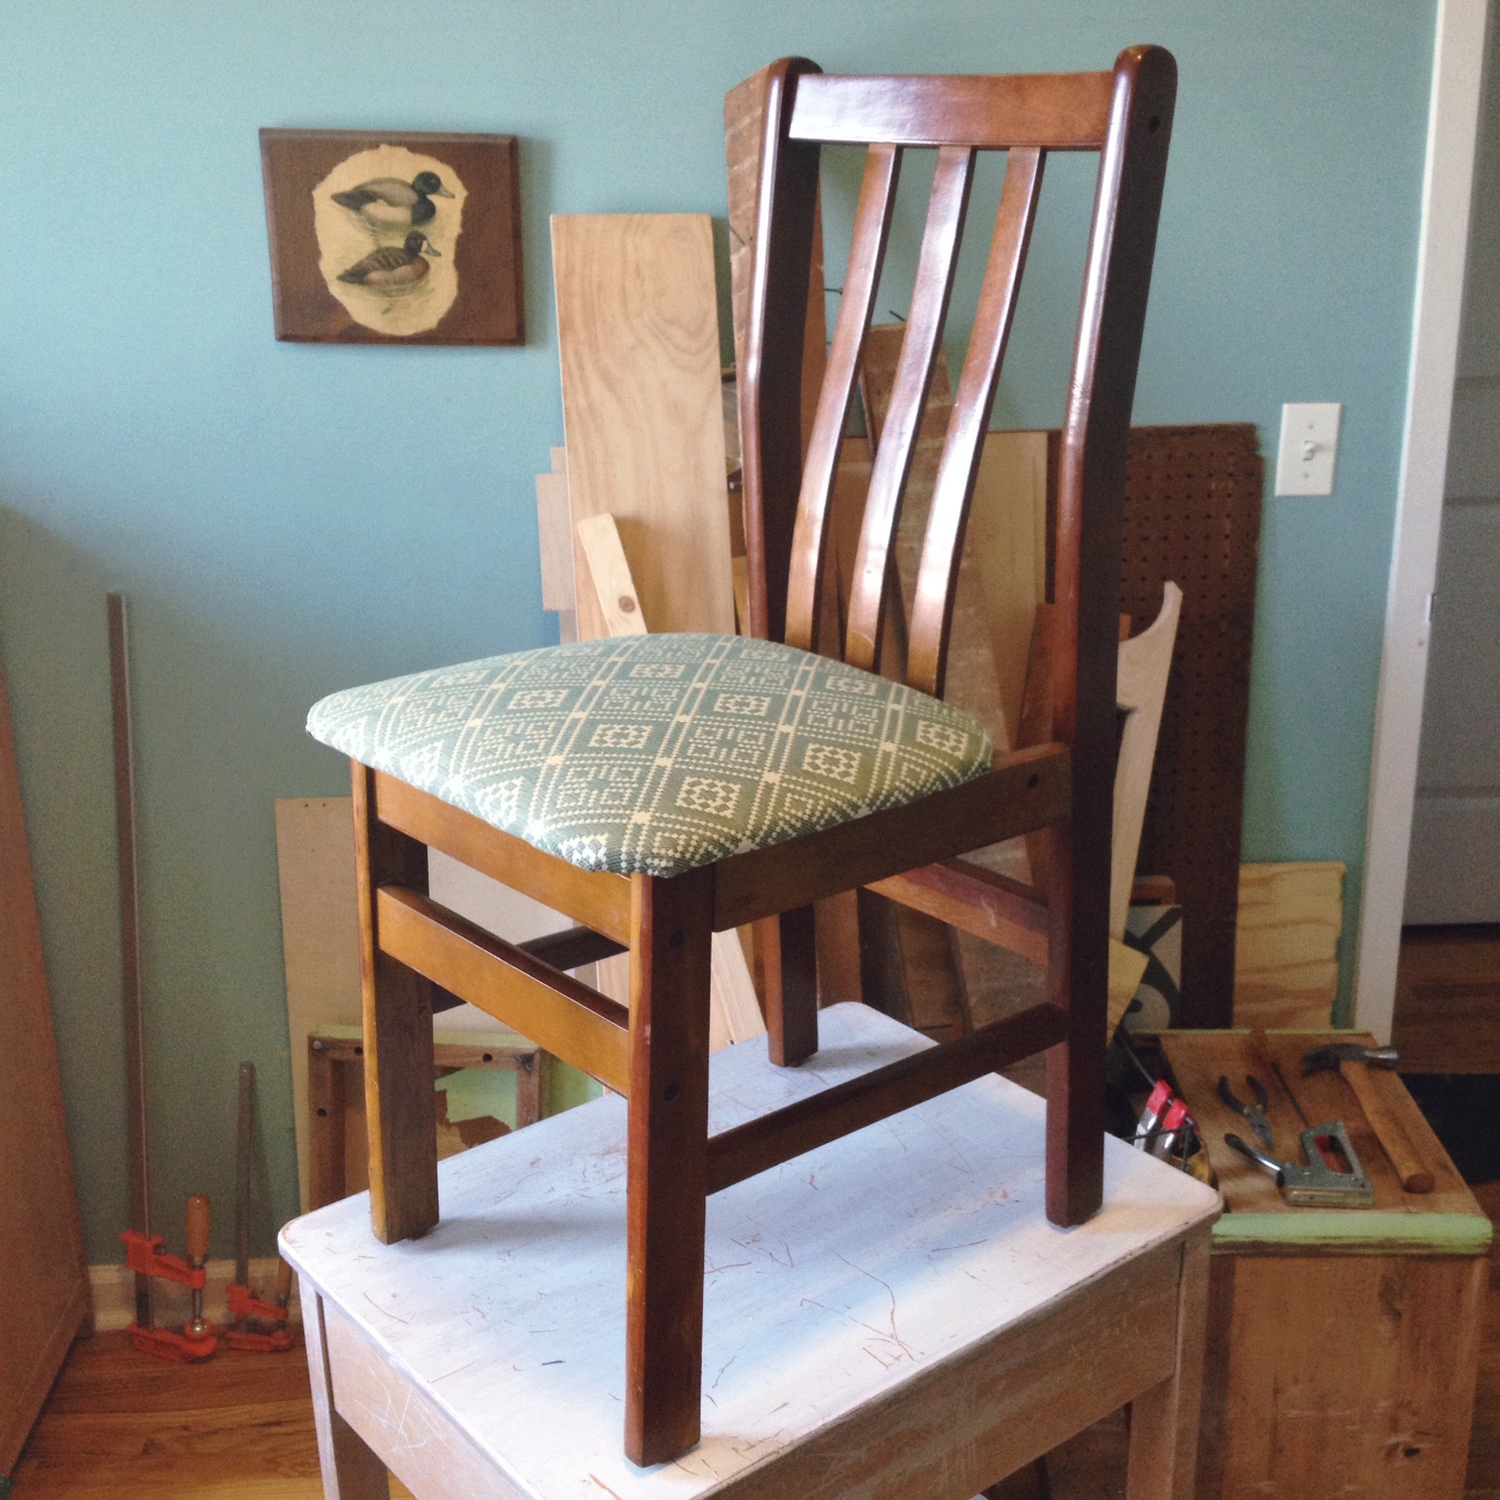
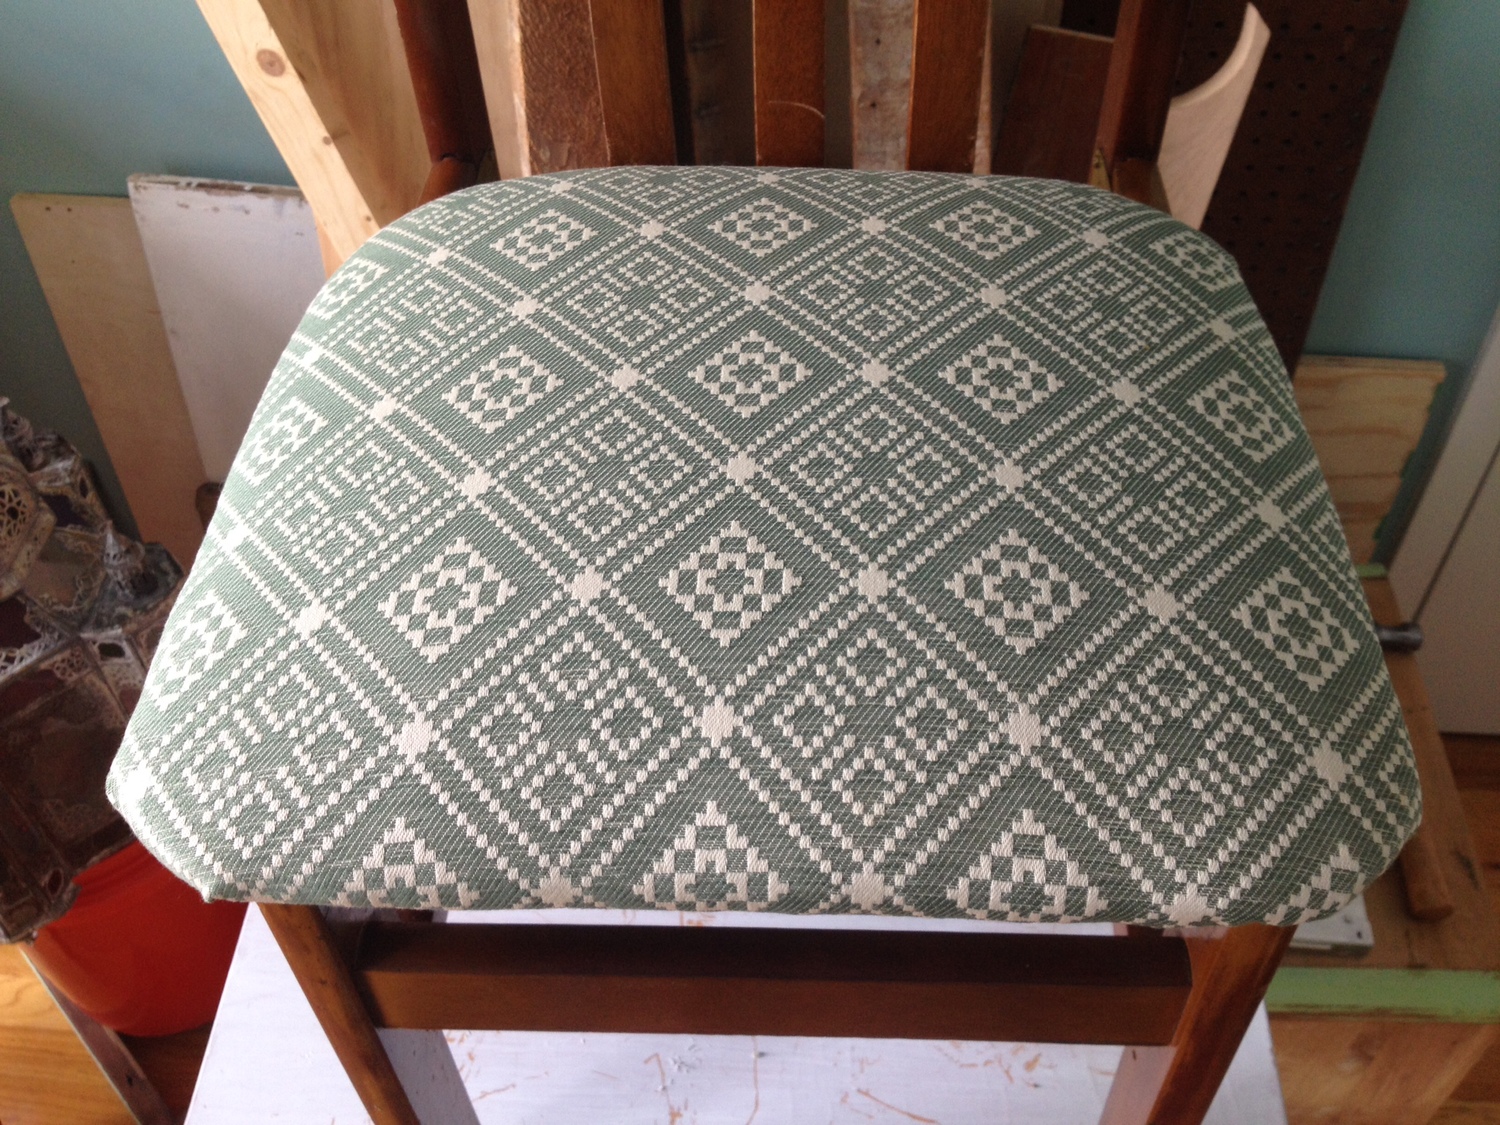
Voila, we have a brand new chair!