


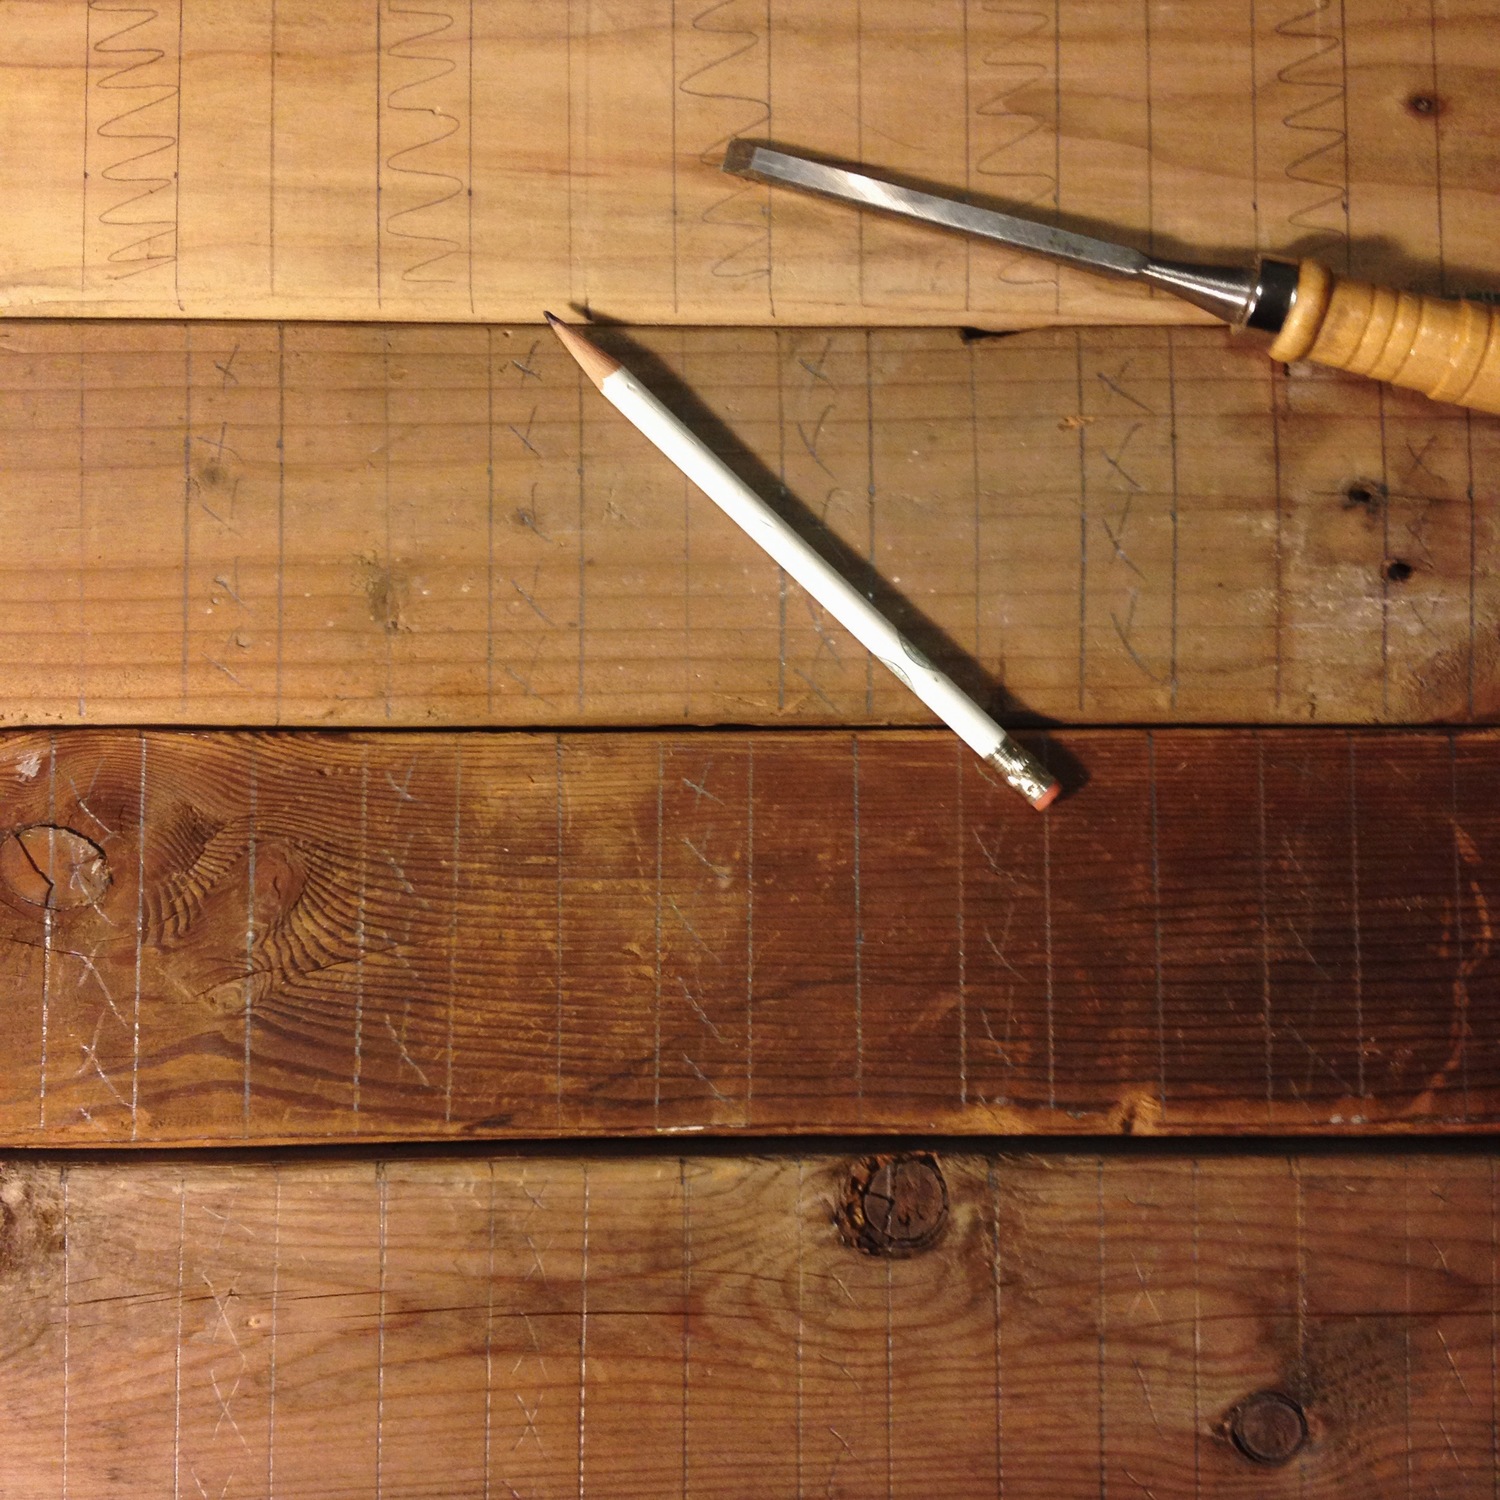
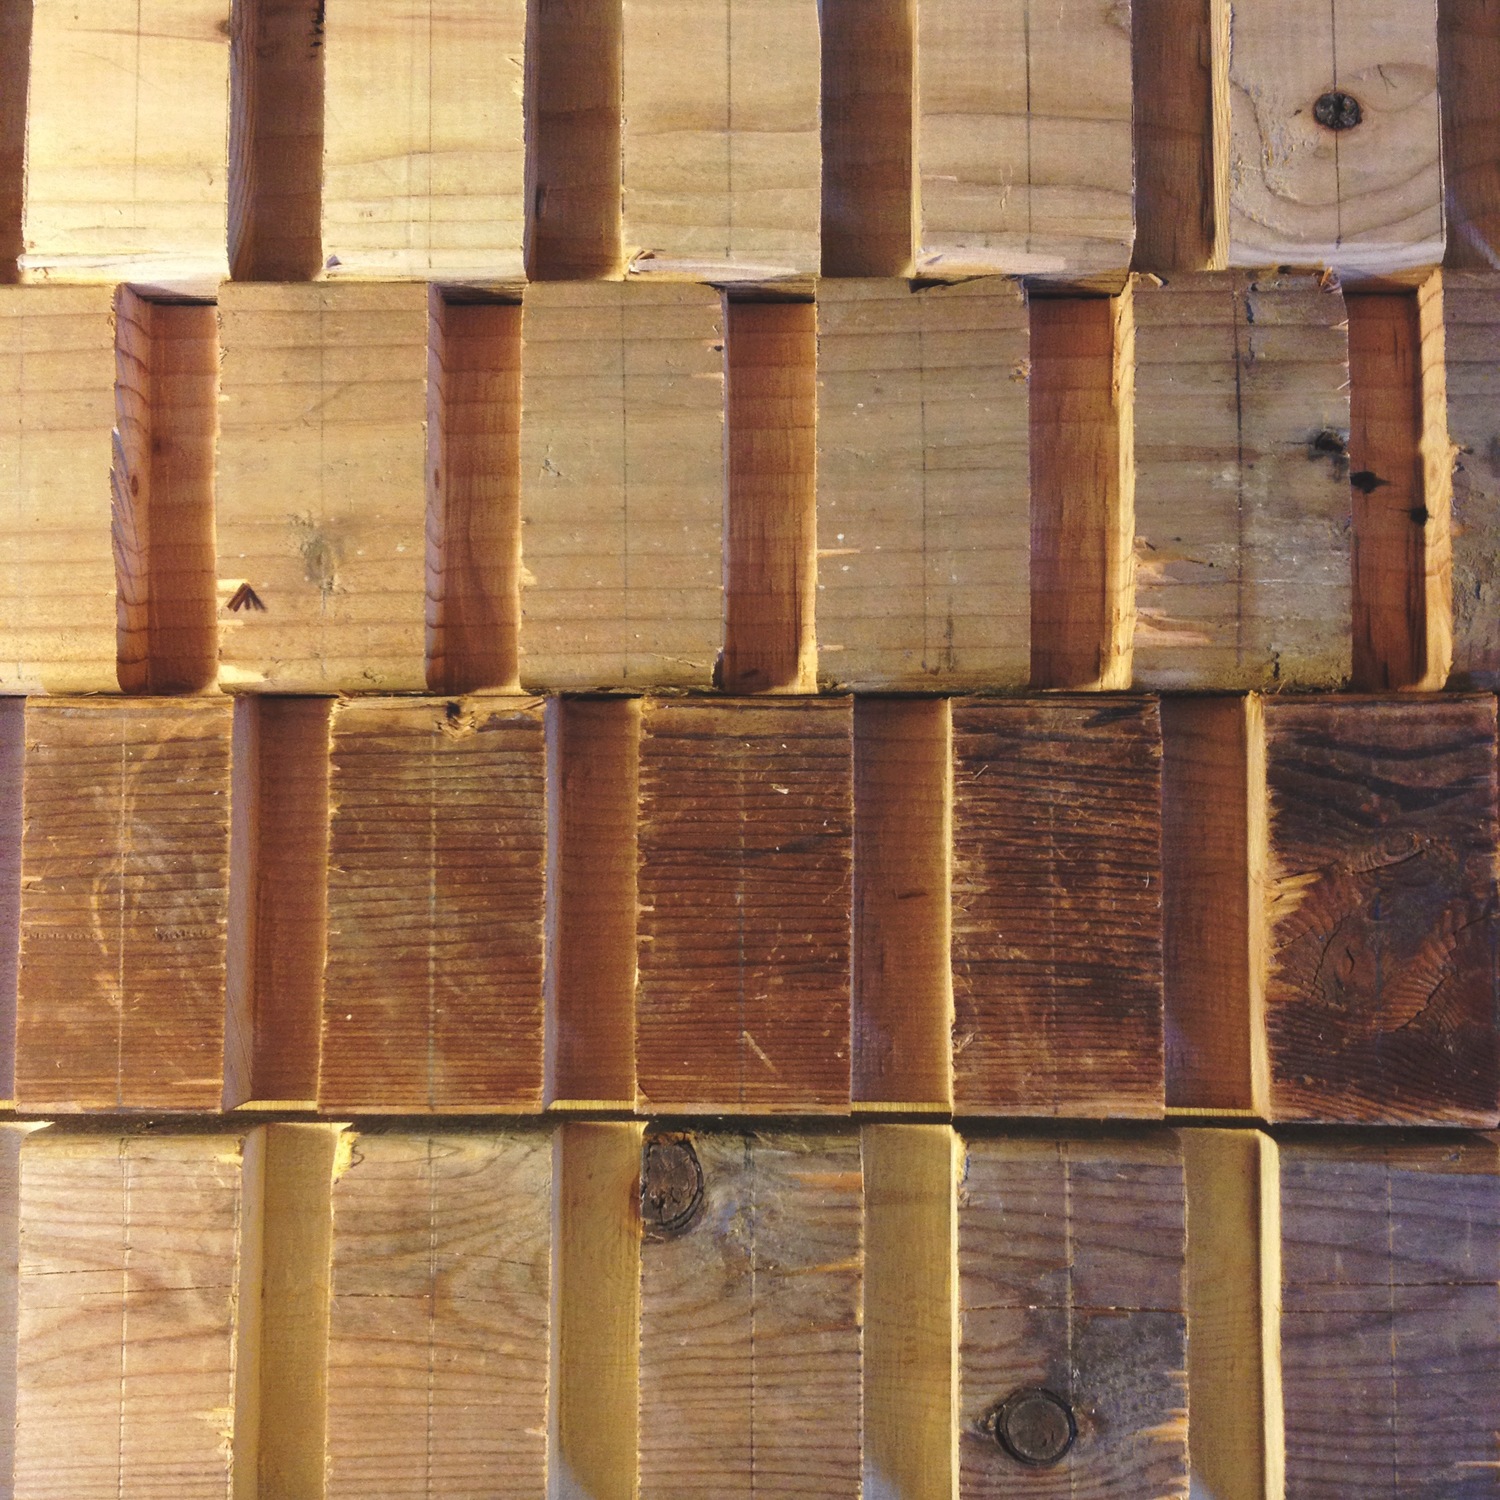
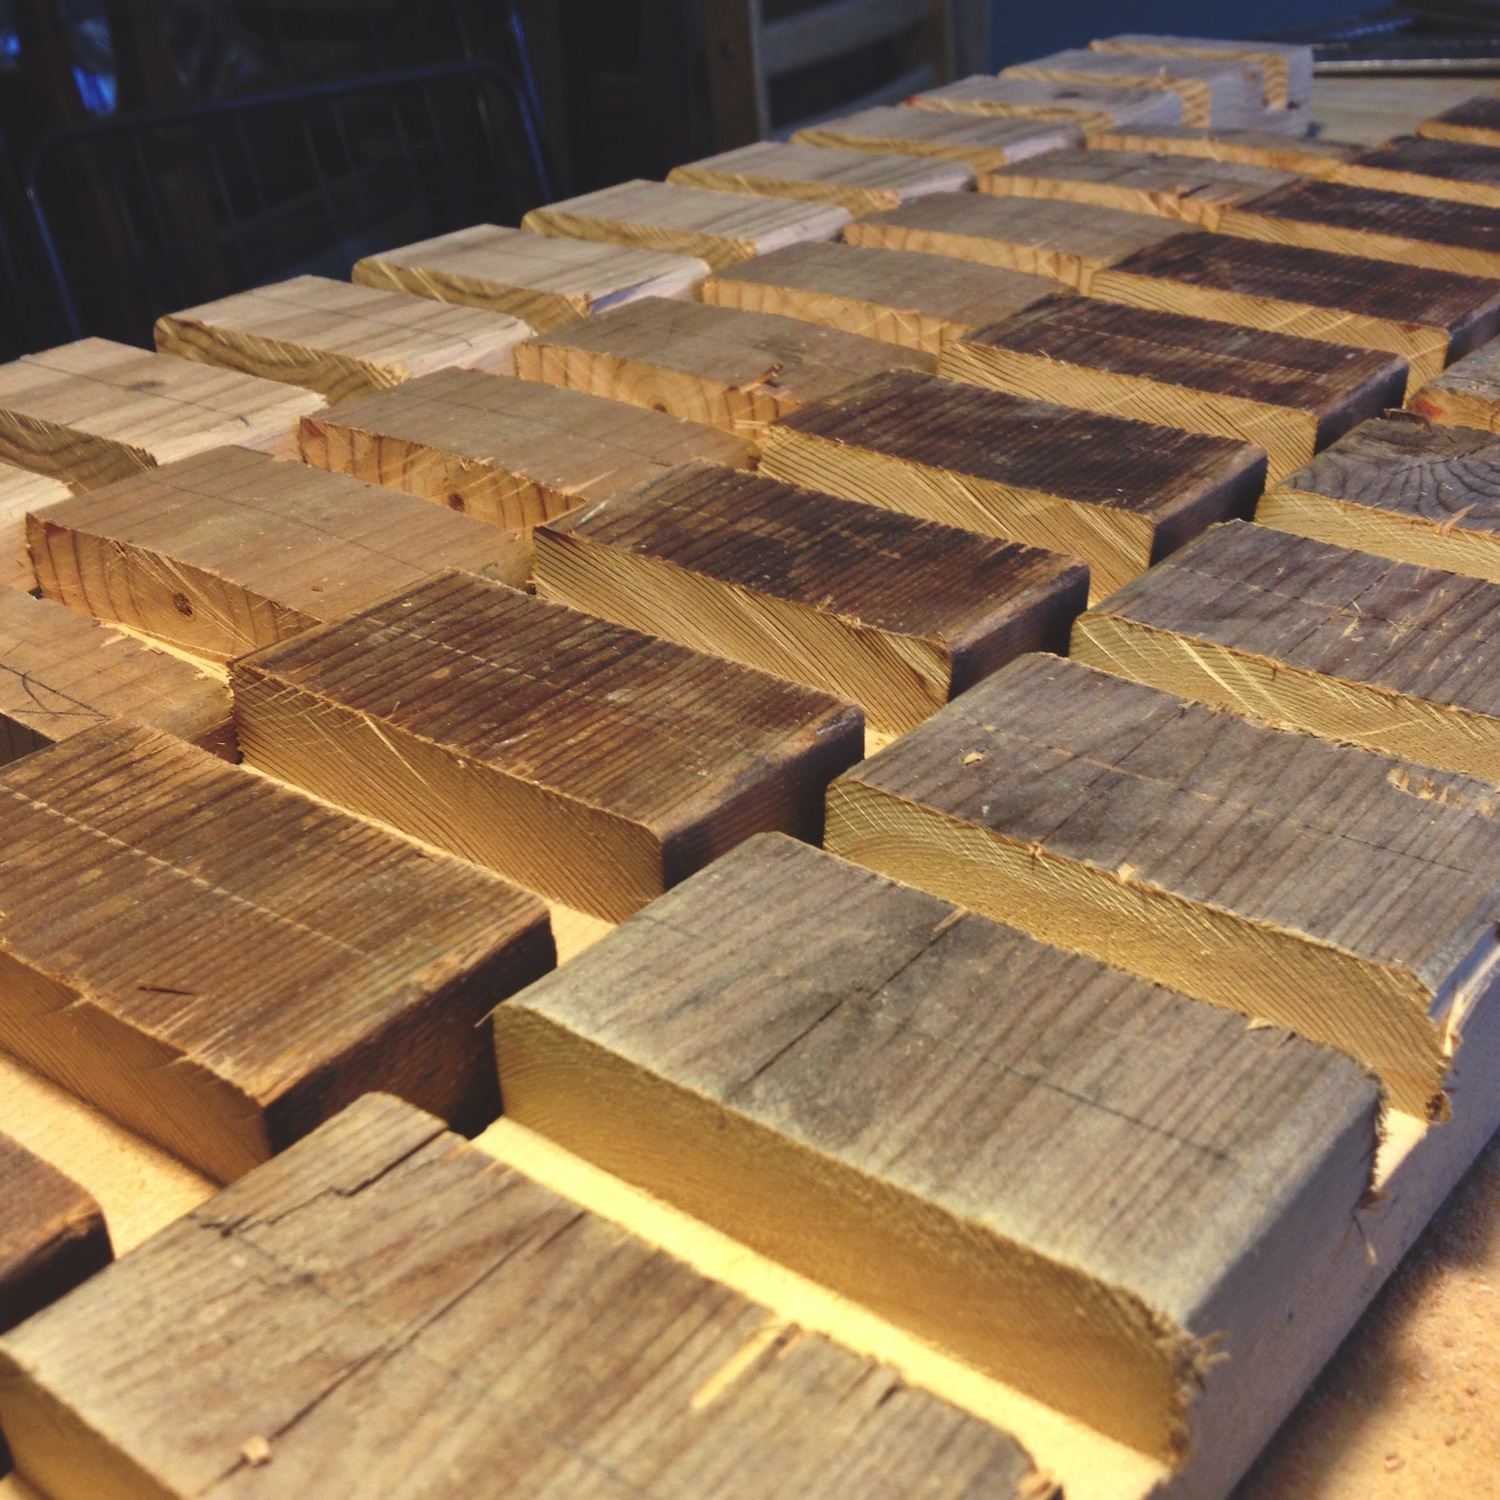
We thought it would be nice to share a look at how we cut the blanks for our device stands.
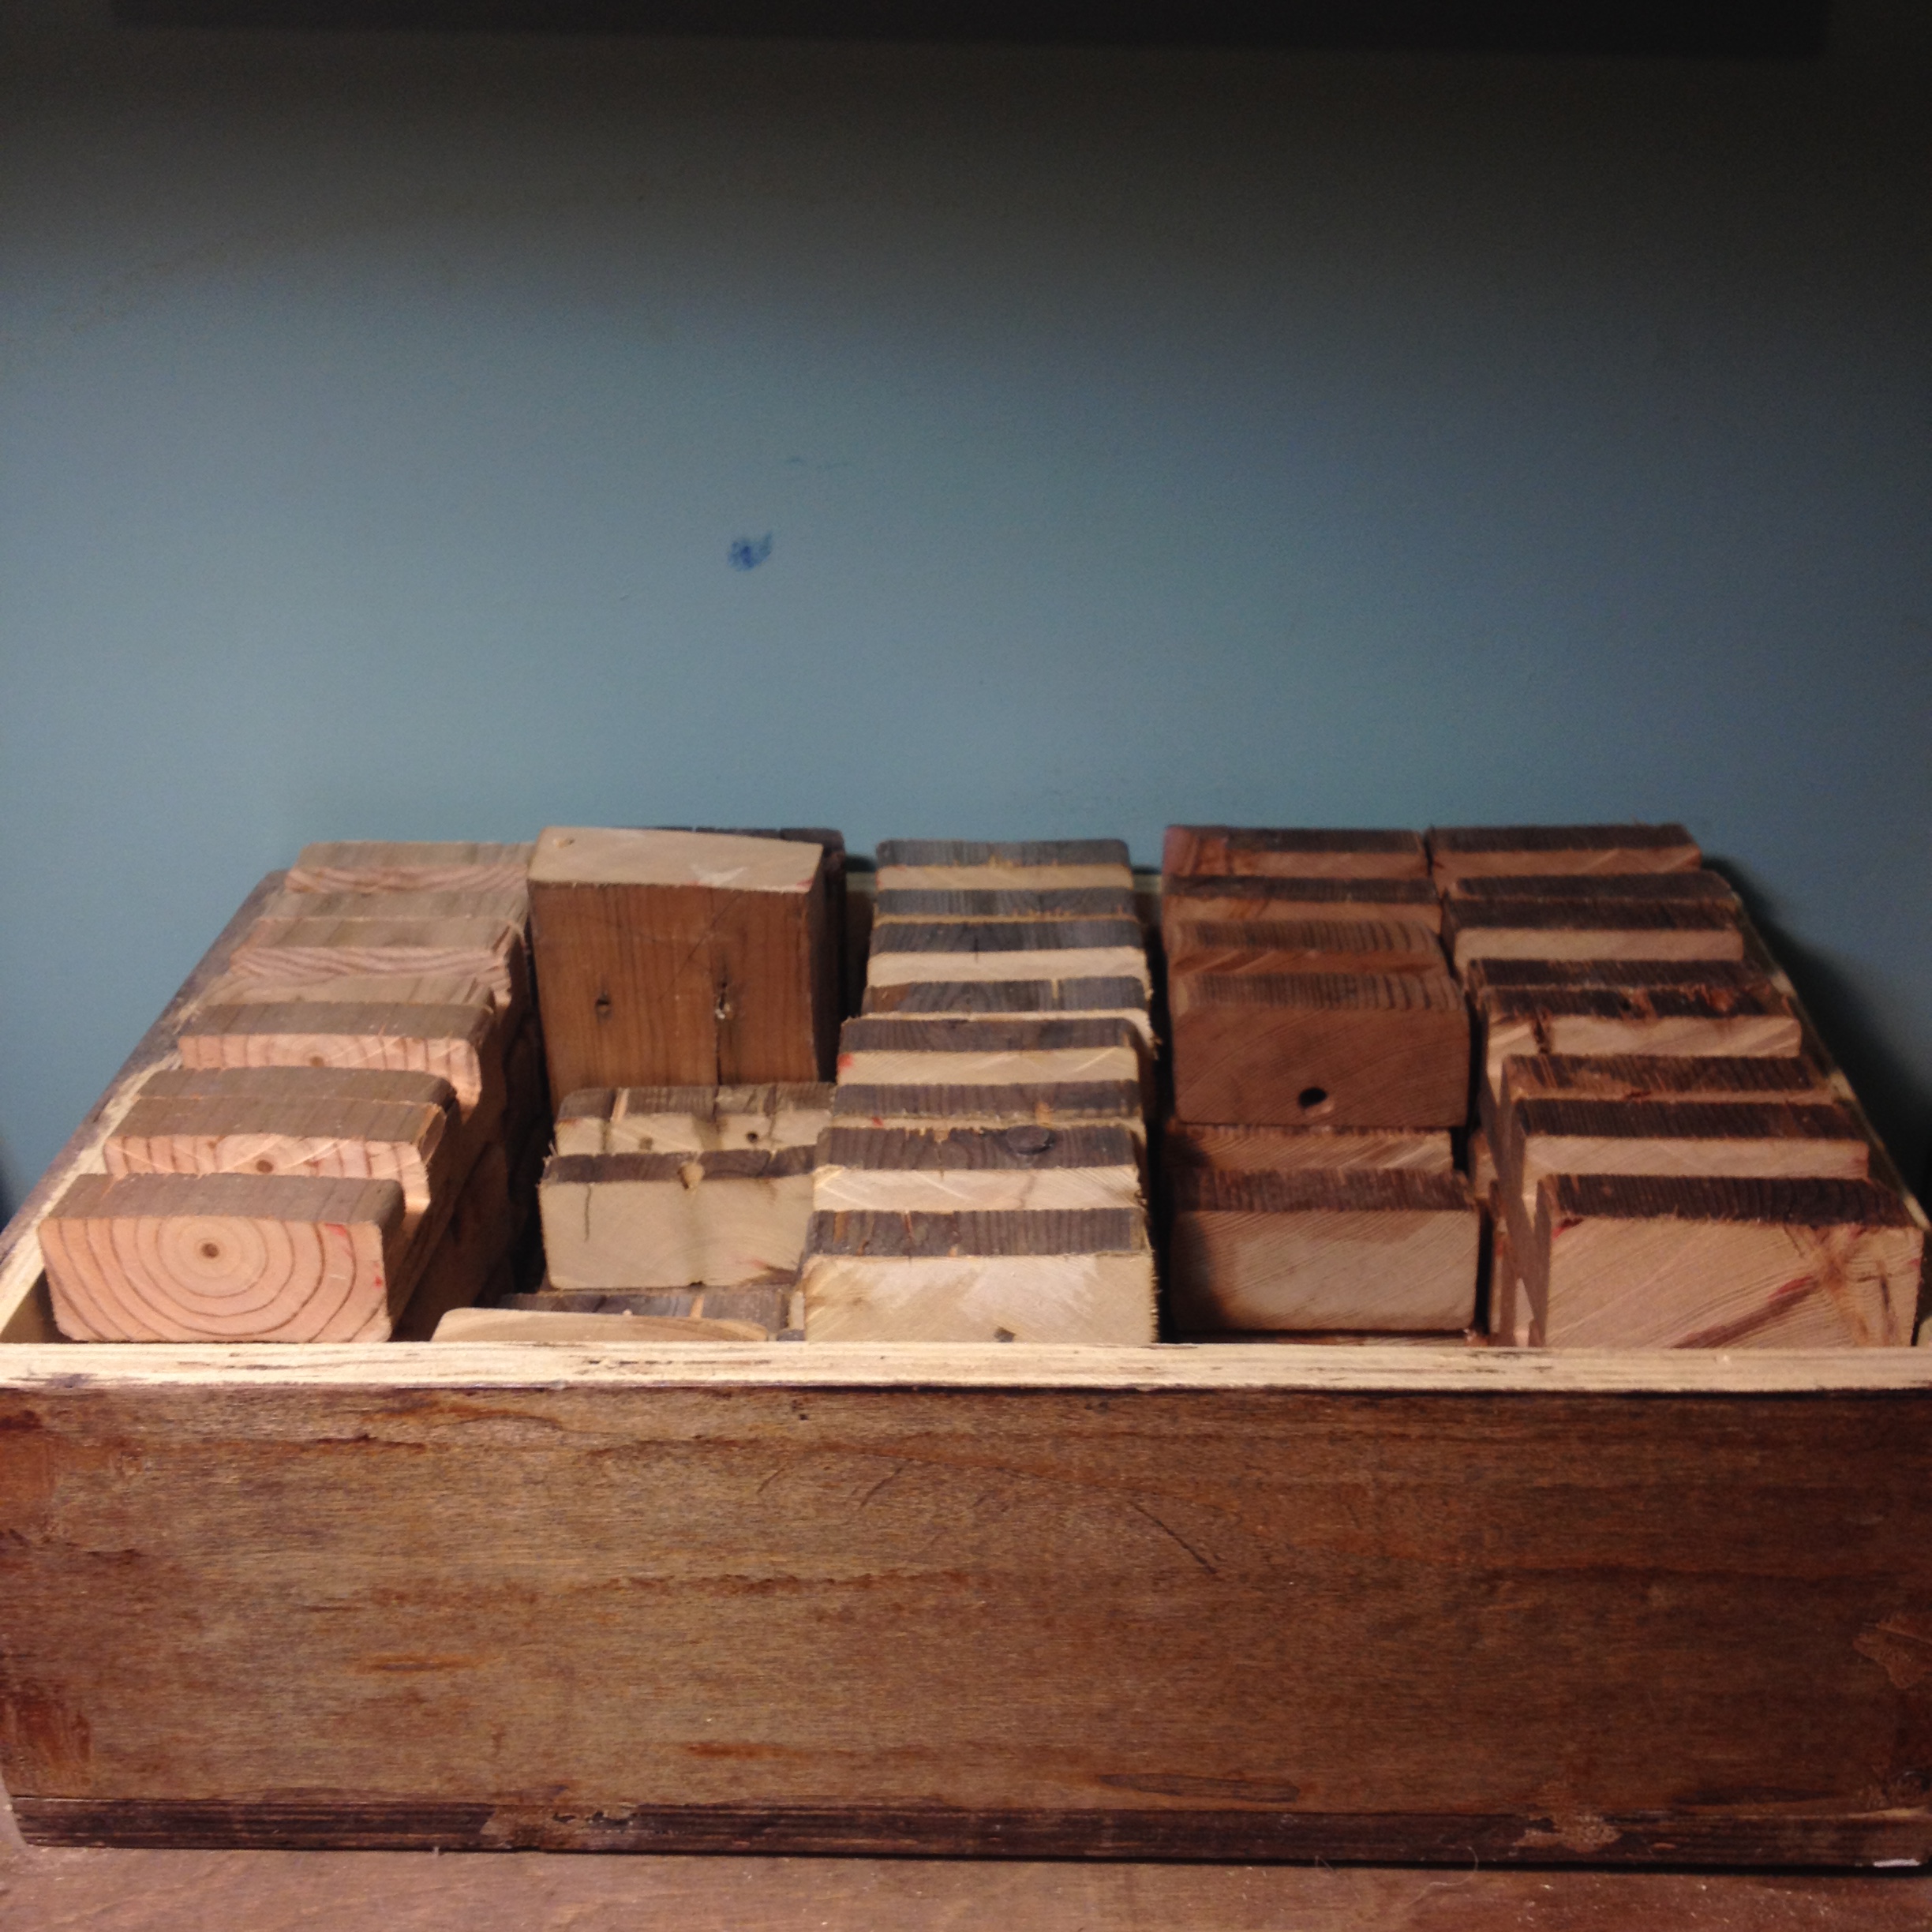
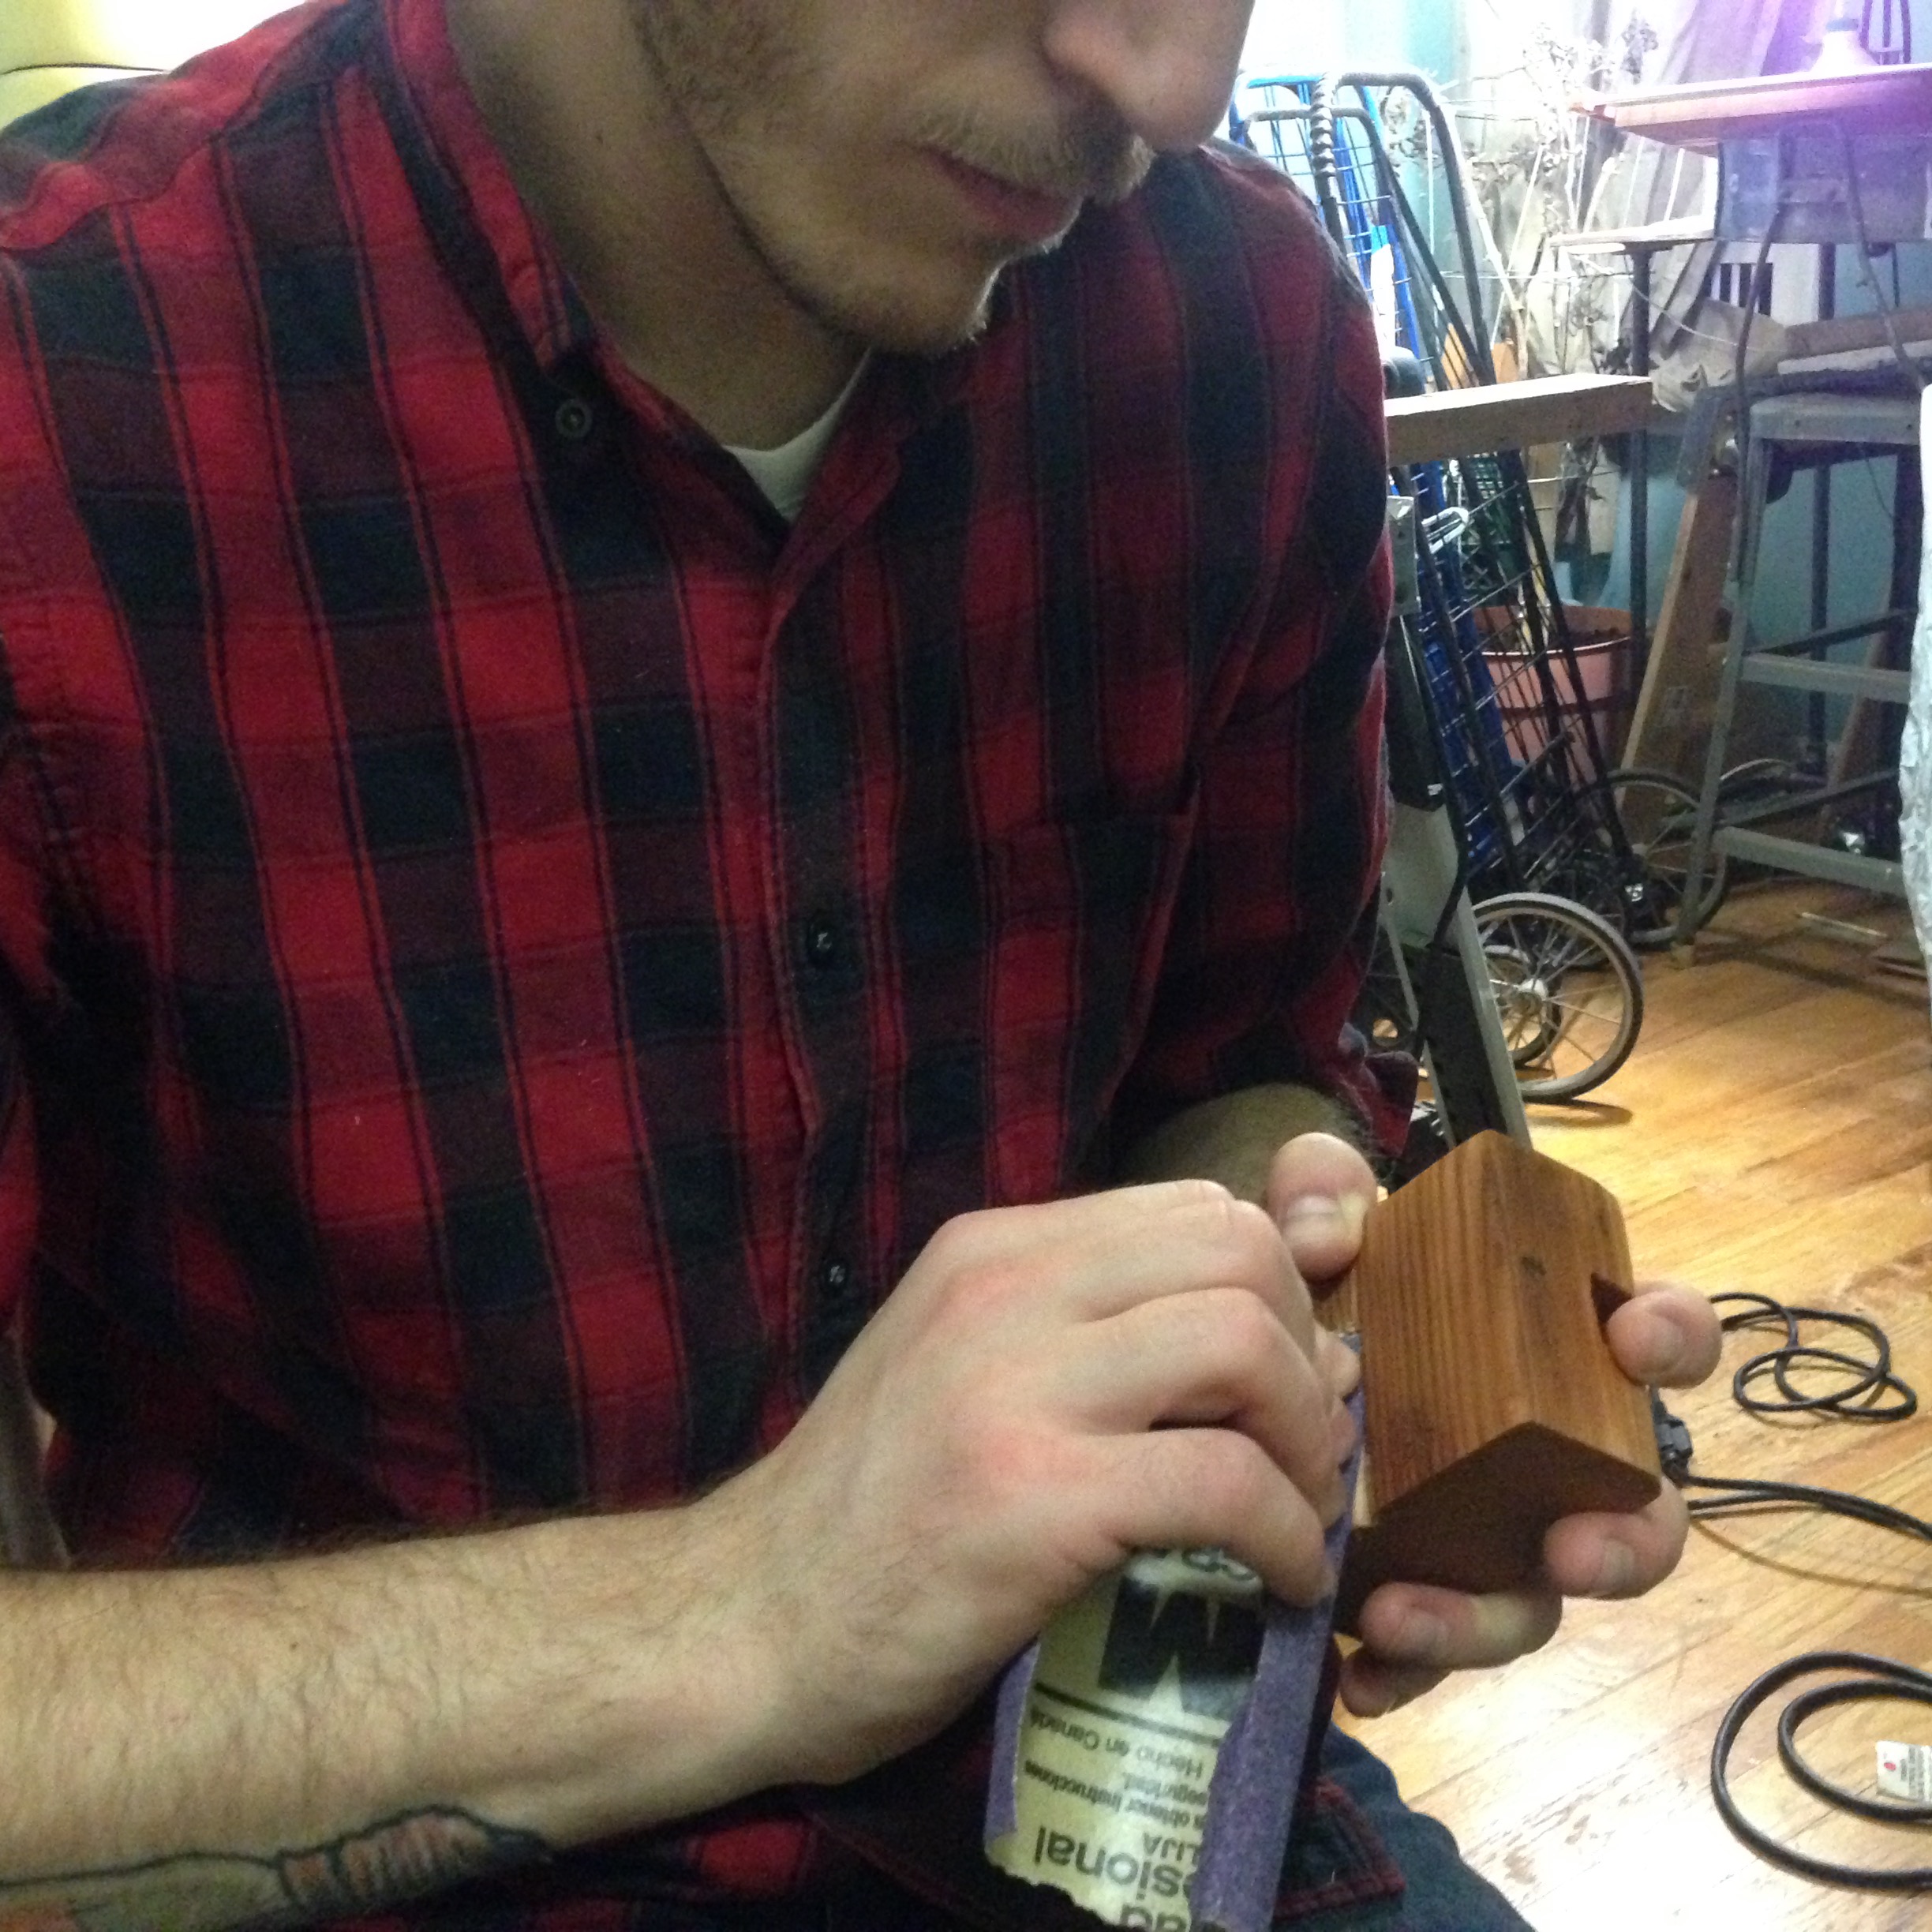
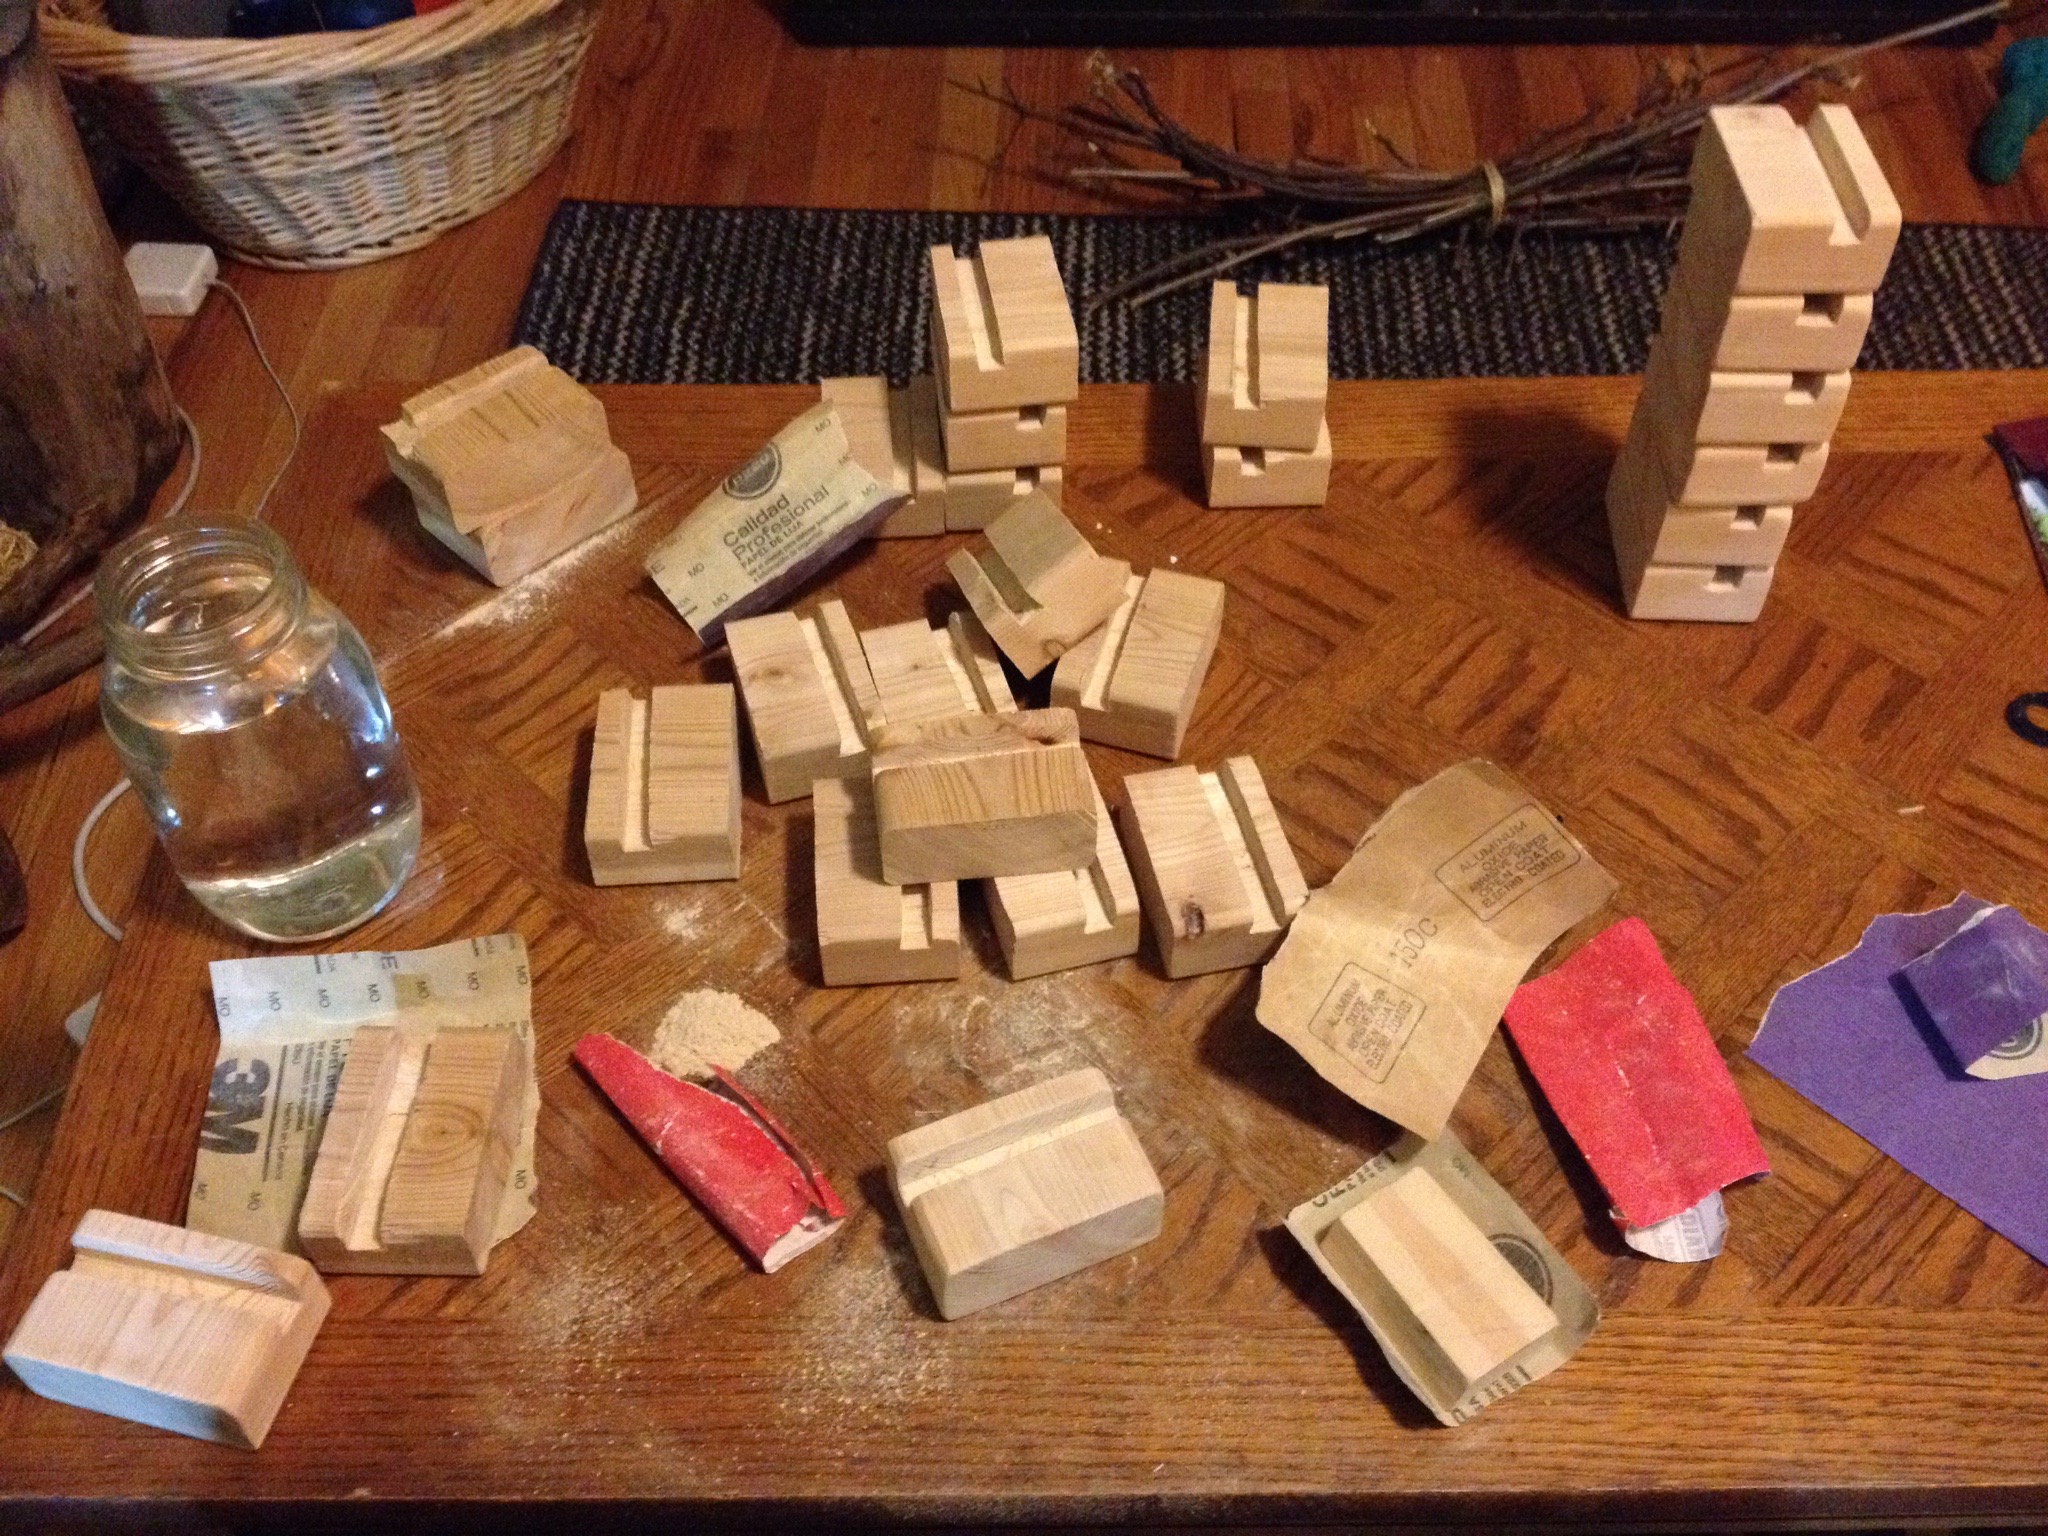
Once the blanks are cut they are ready for the a 2-3 step sanding process to clean up the surface, edges and to soften the existing imperfections from using reclaimed wood — chips, cracks, nail and screw holes, etc. Before the final sanding we drill and carve out the hole for the charger and cable run.
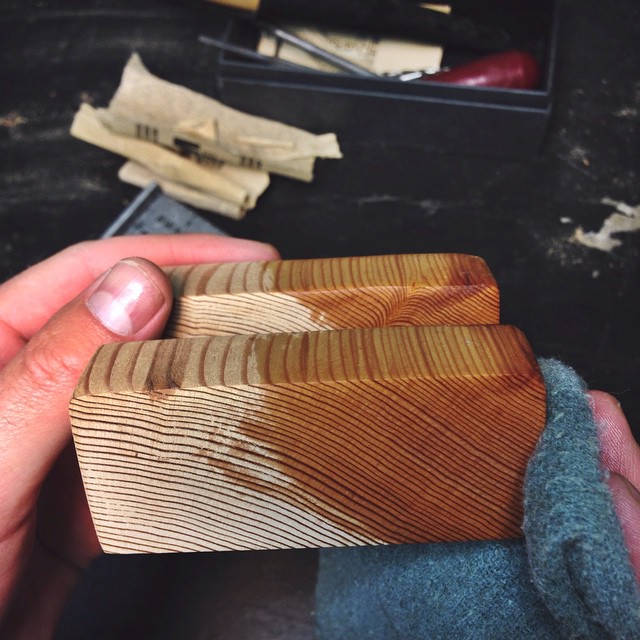
Once all sides are smoothed out, we bathe the wood in mineral oil and let it rest for a day. Then we seal it with our homemade recipe of Organic Beeswax Board Butter.
