salvage

Salvaged maple for our butcher blocks

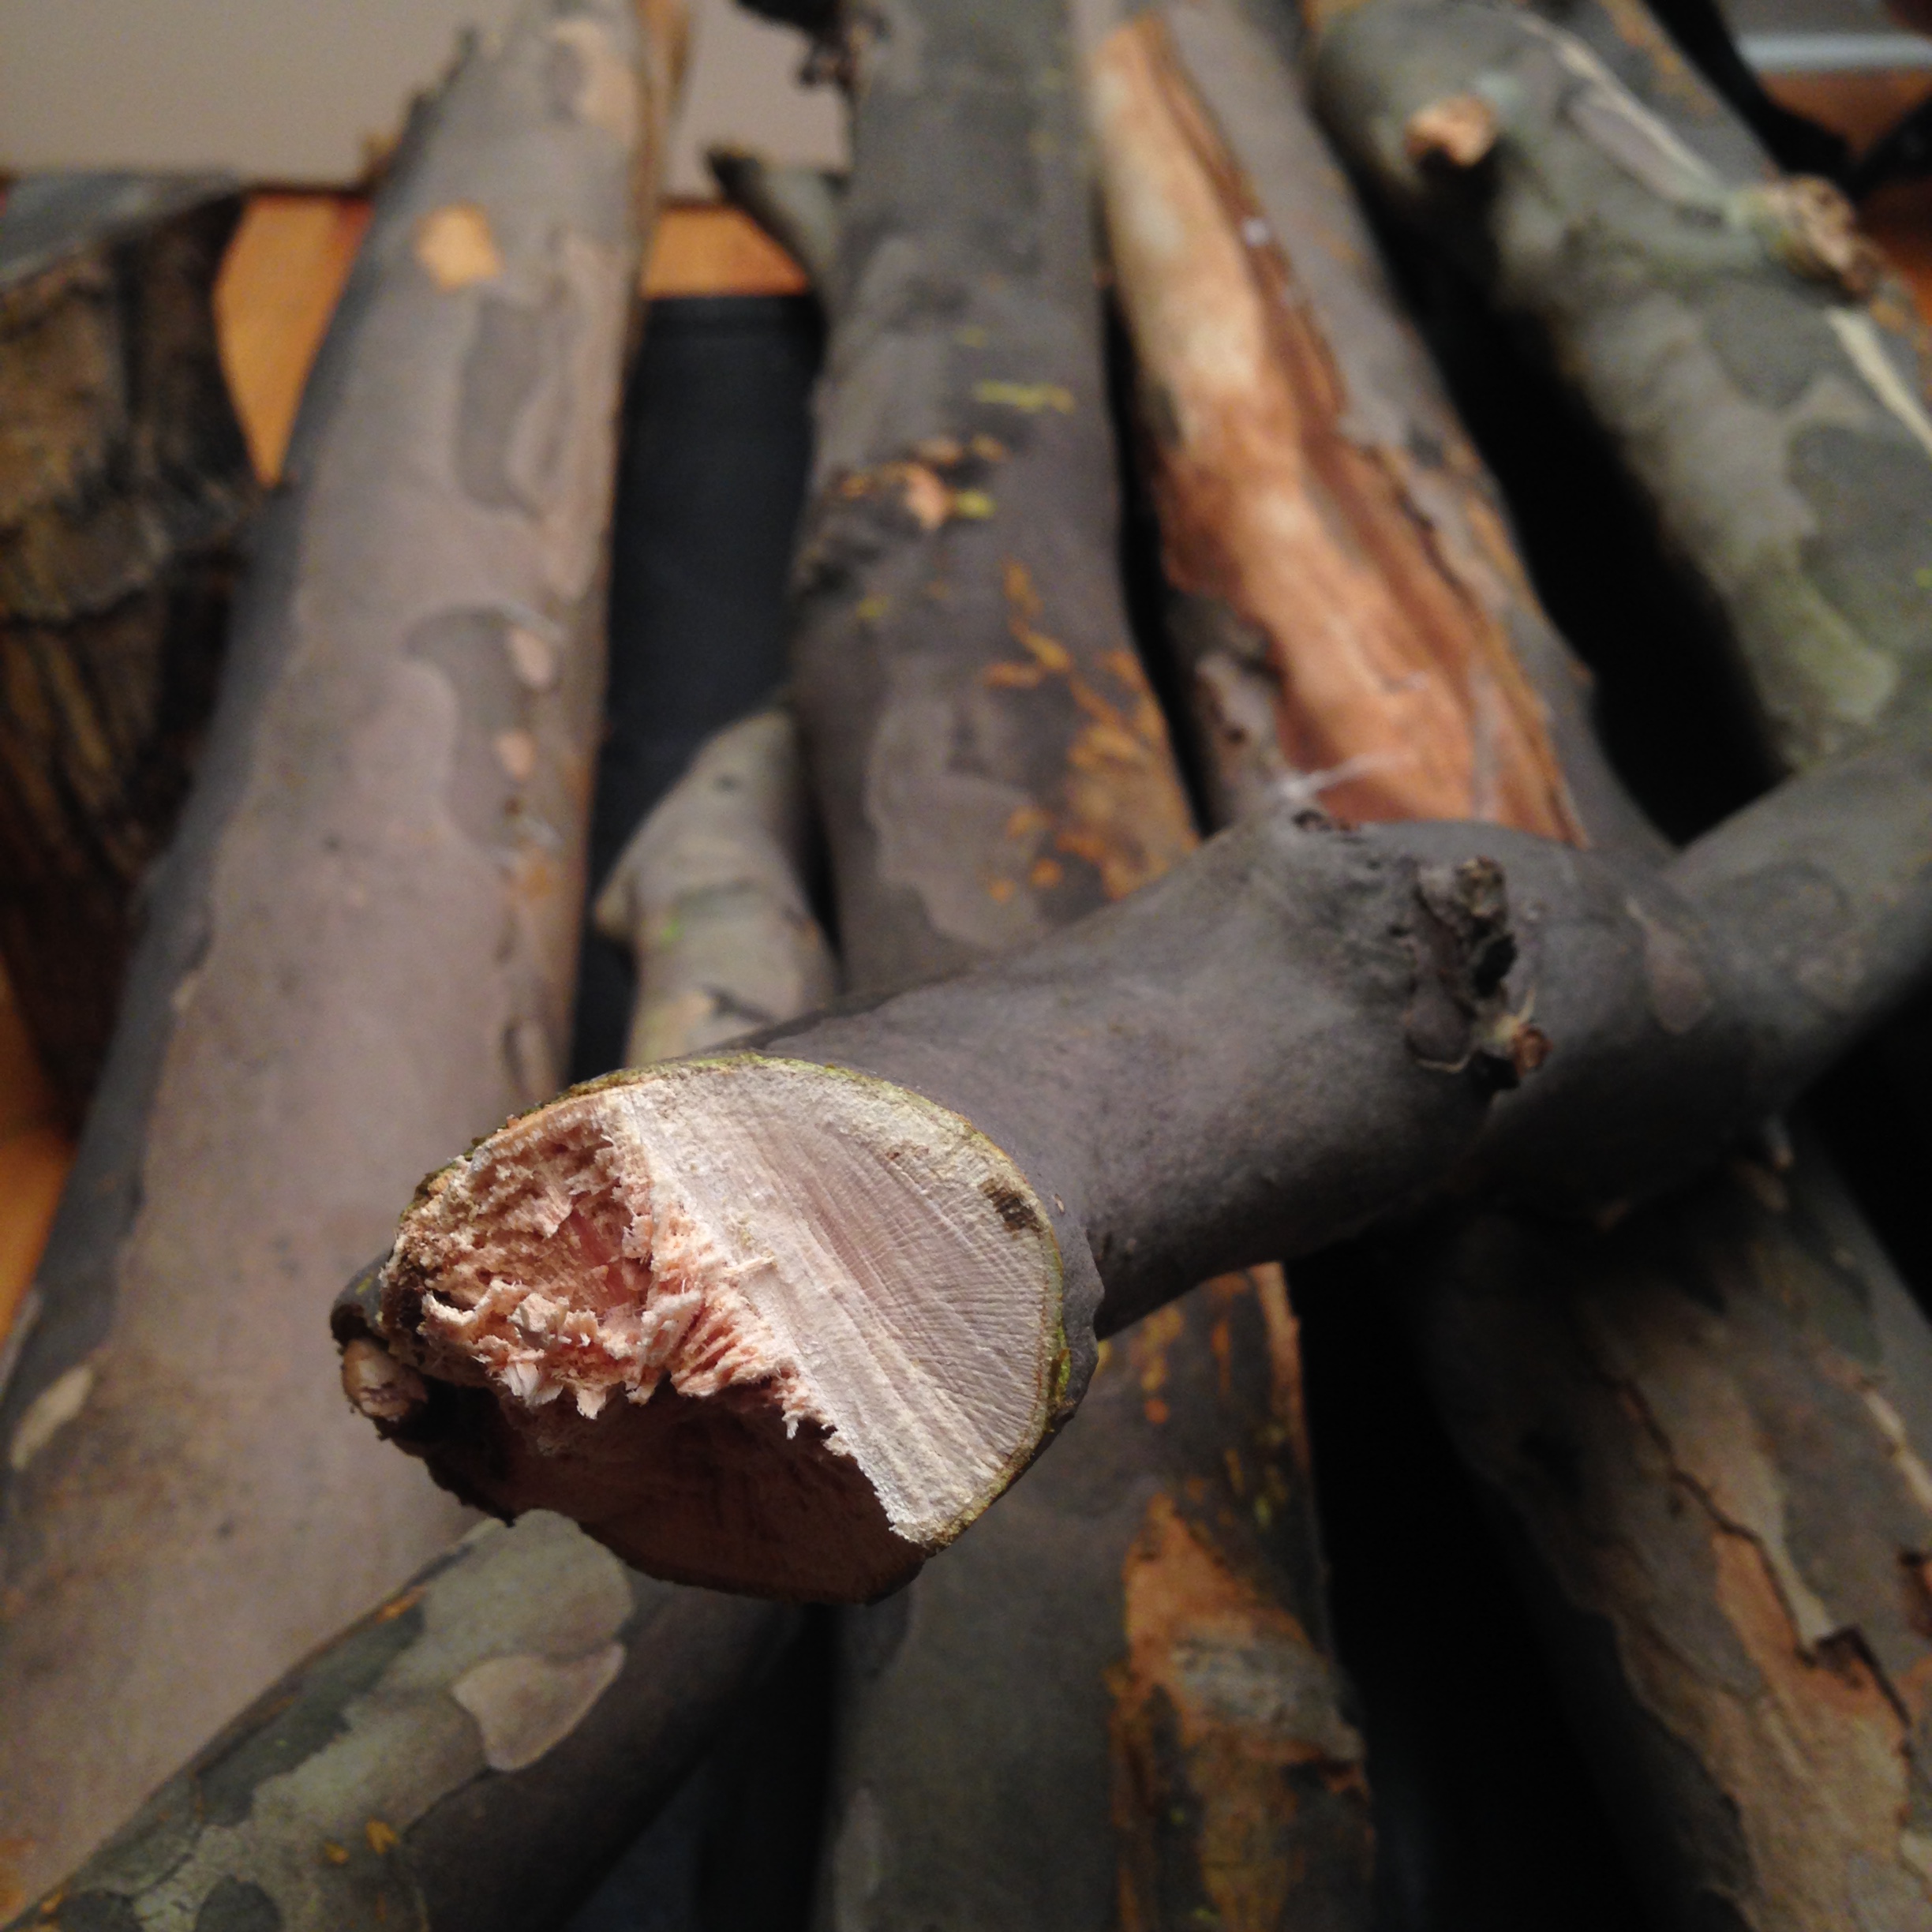
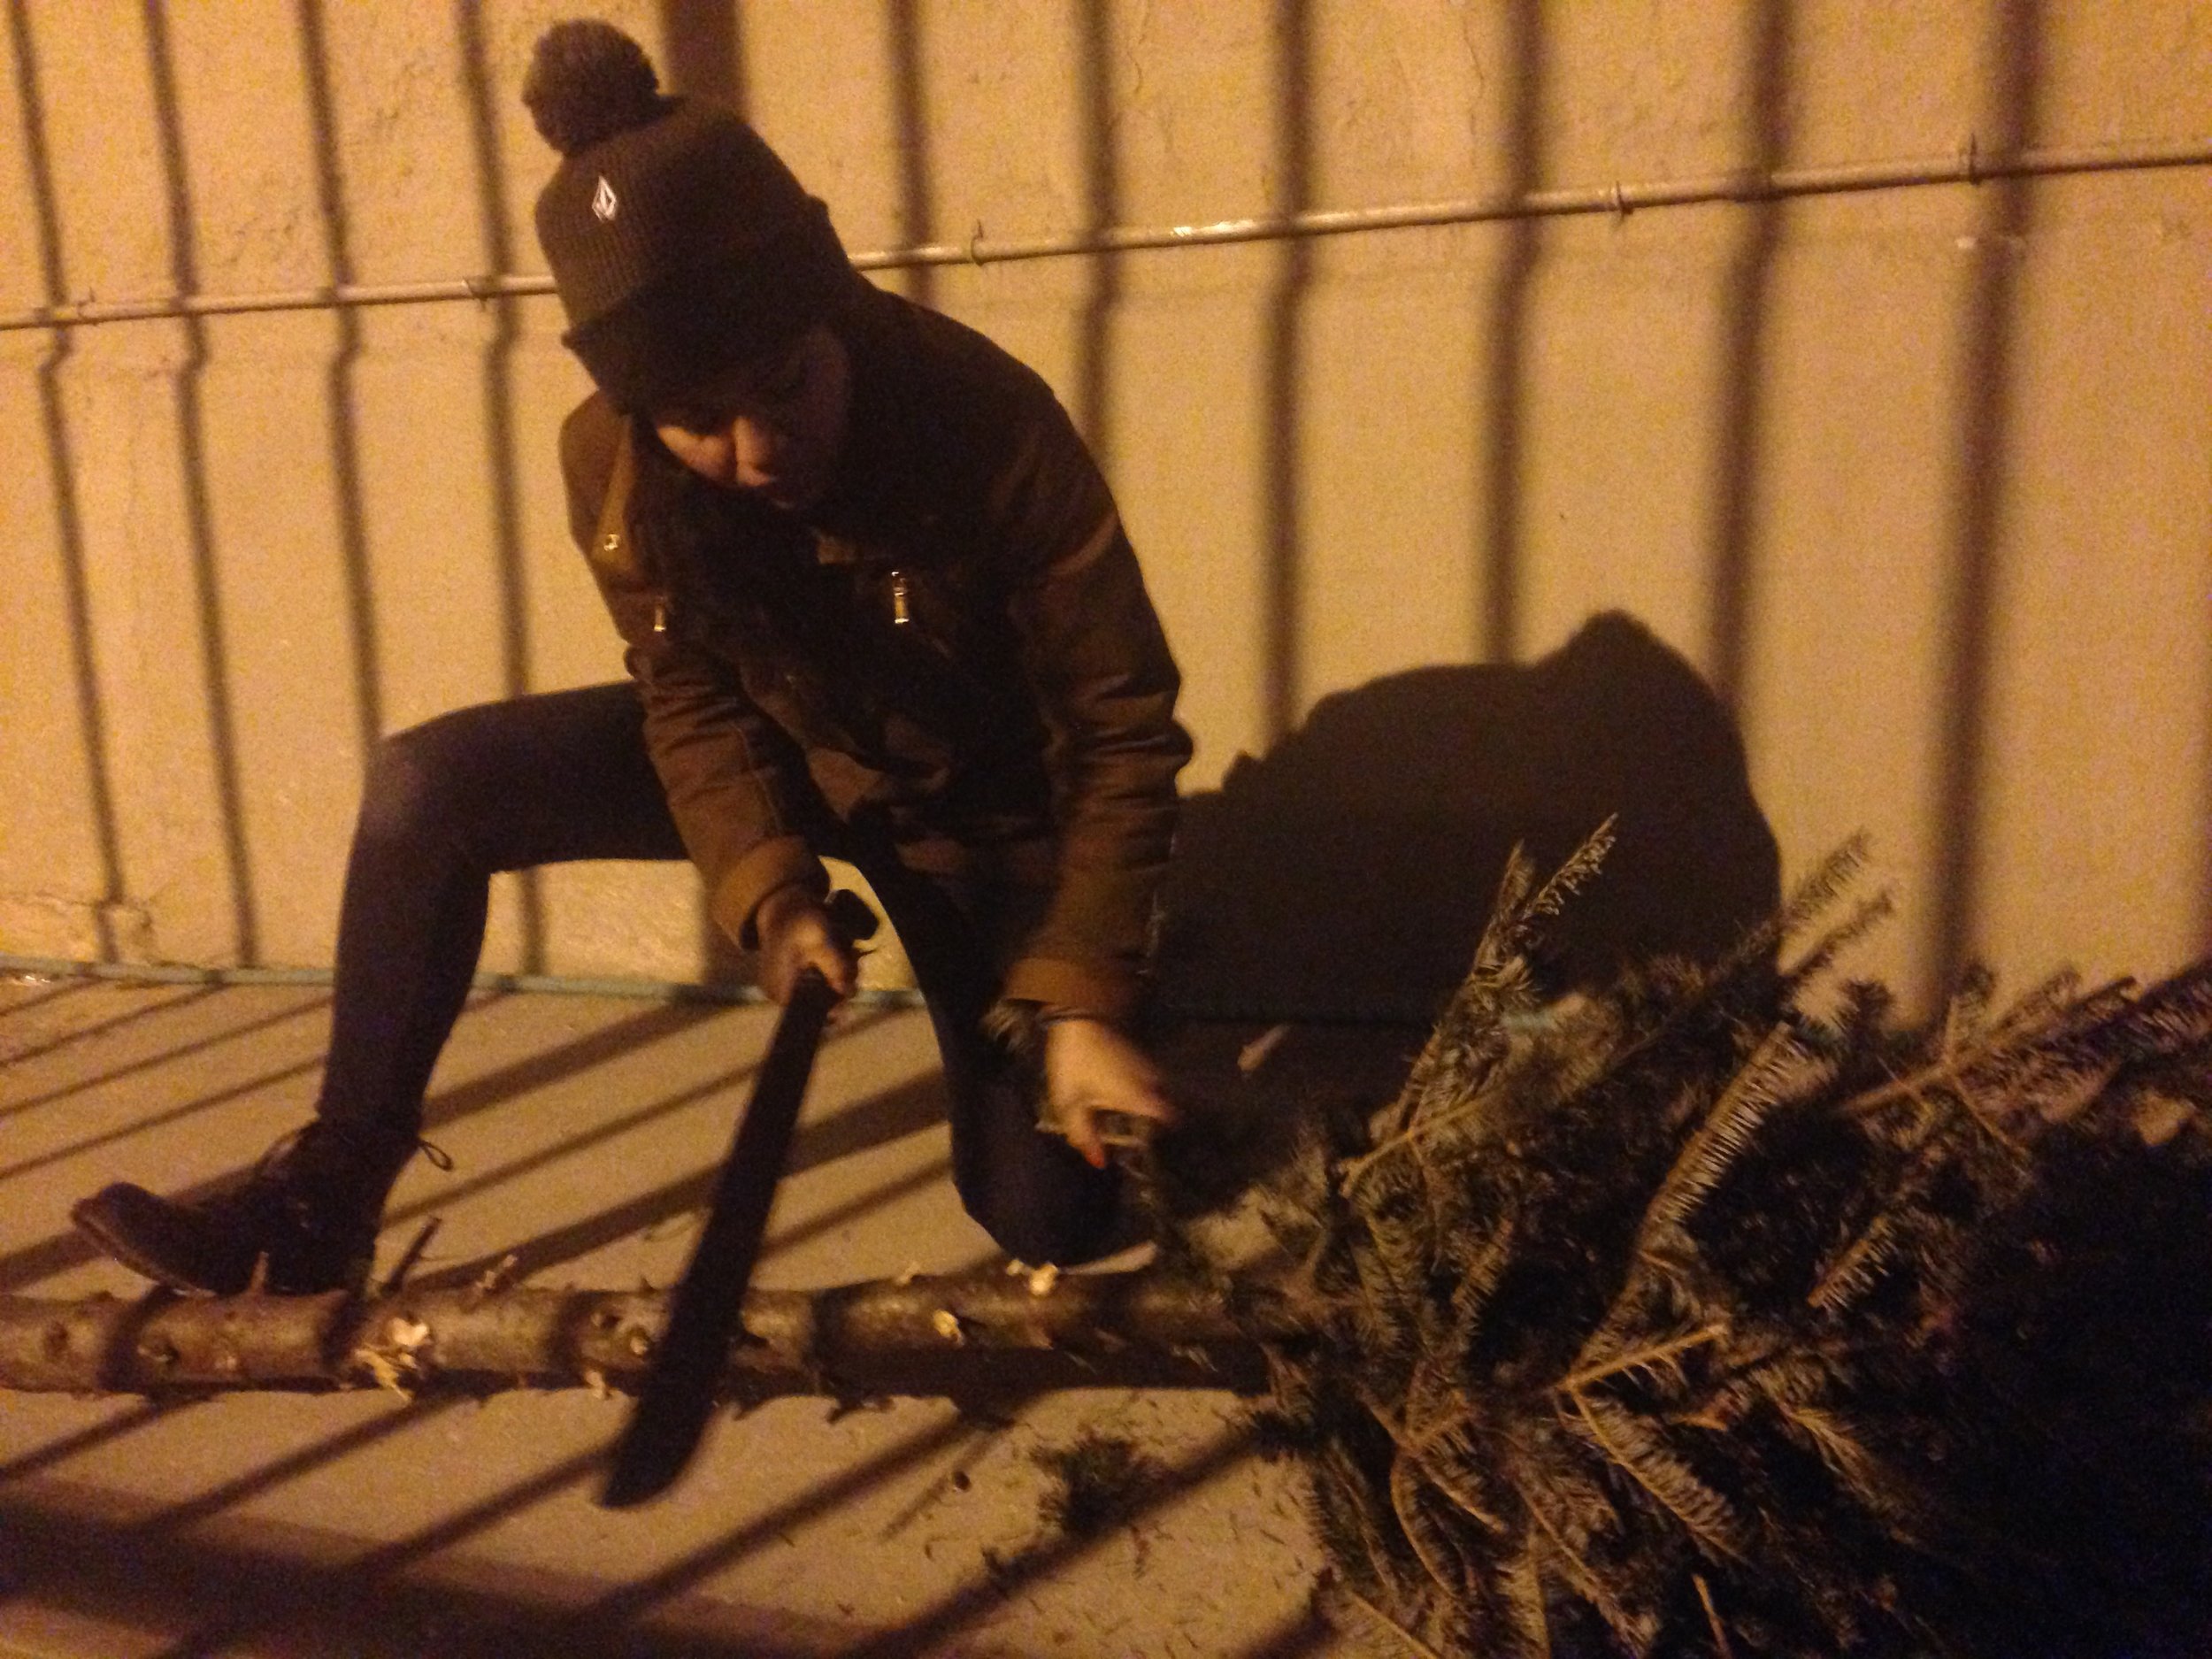
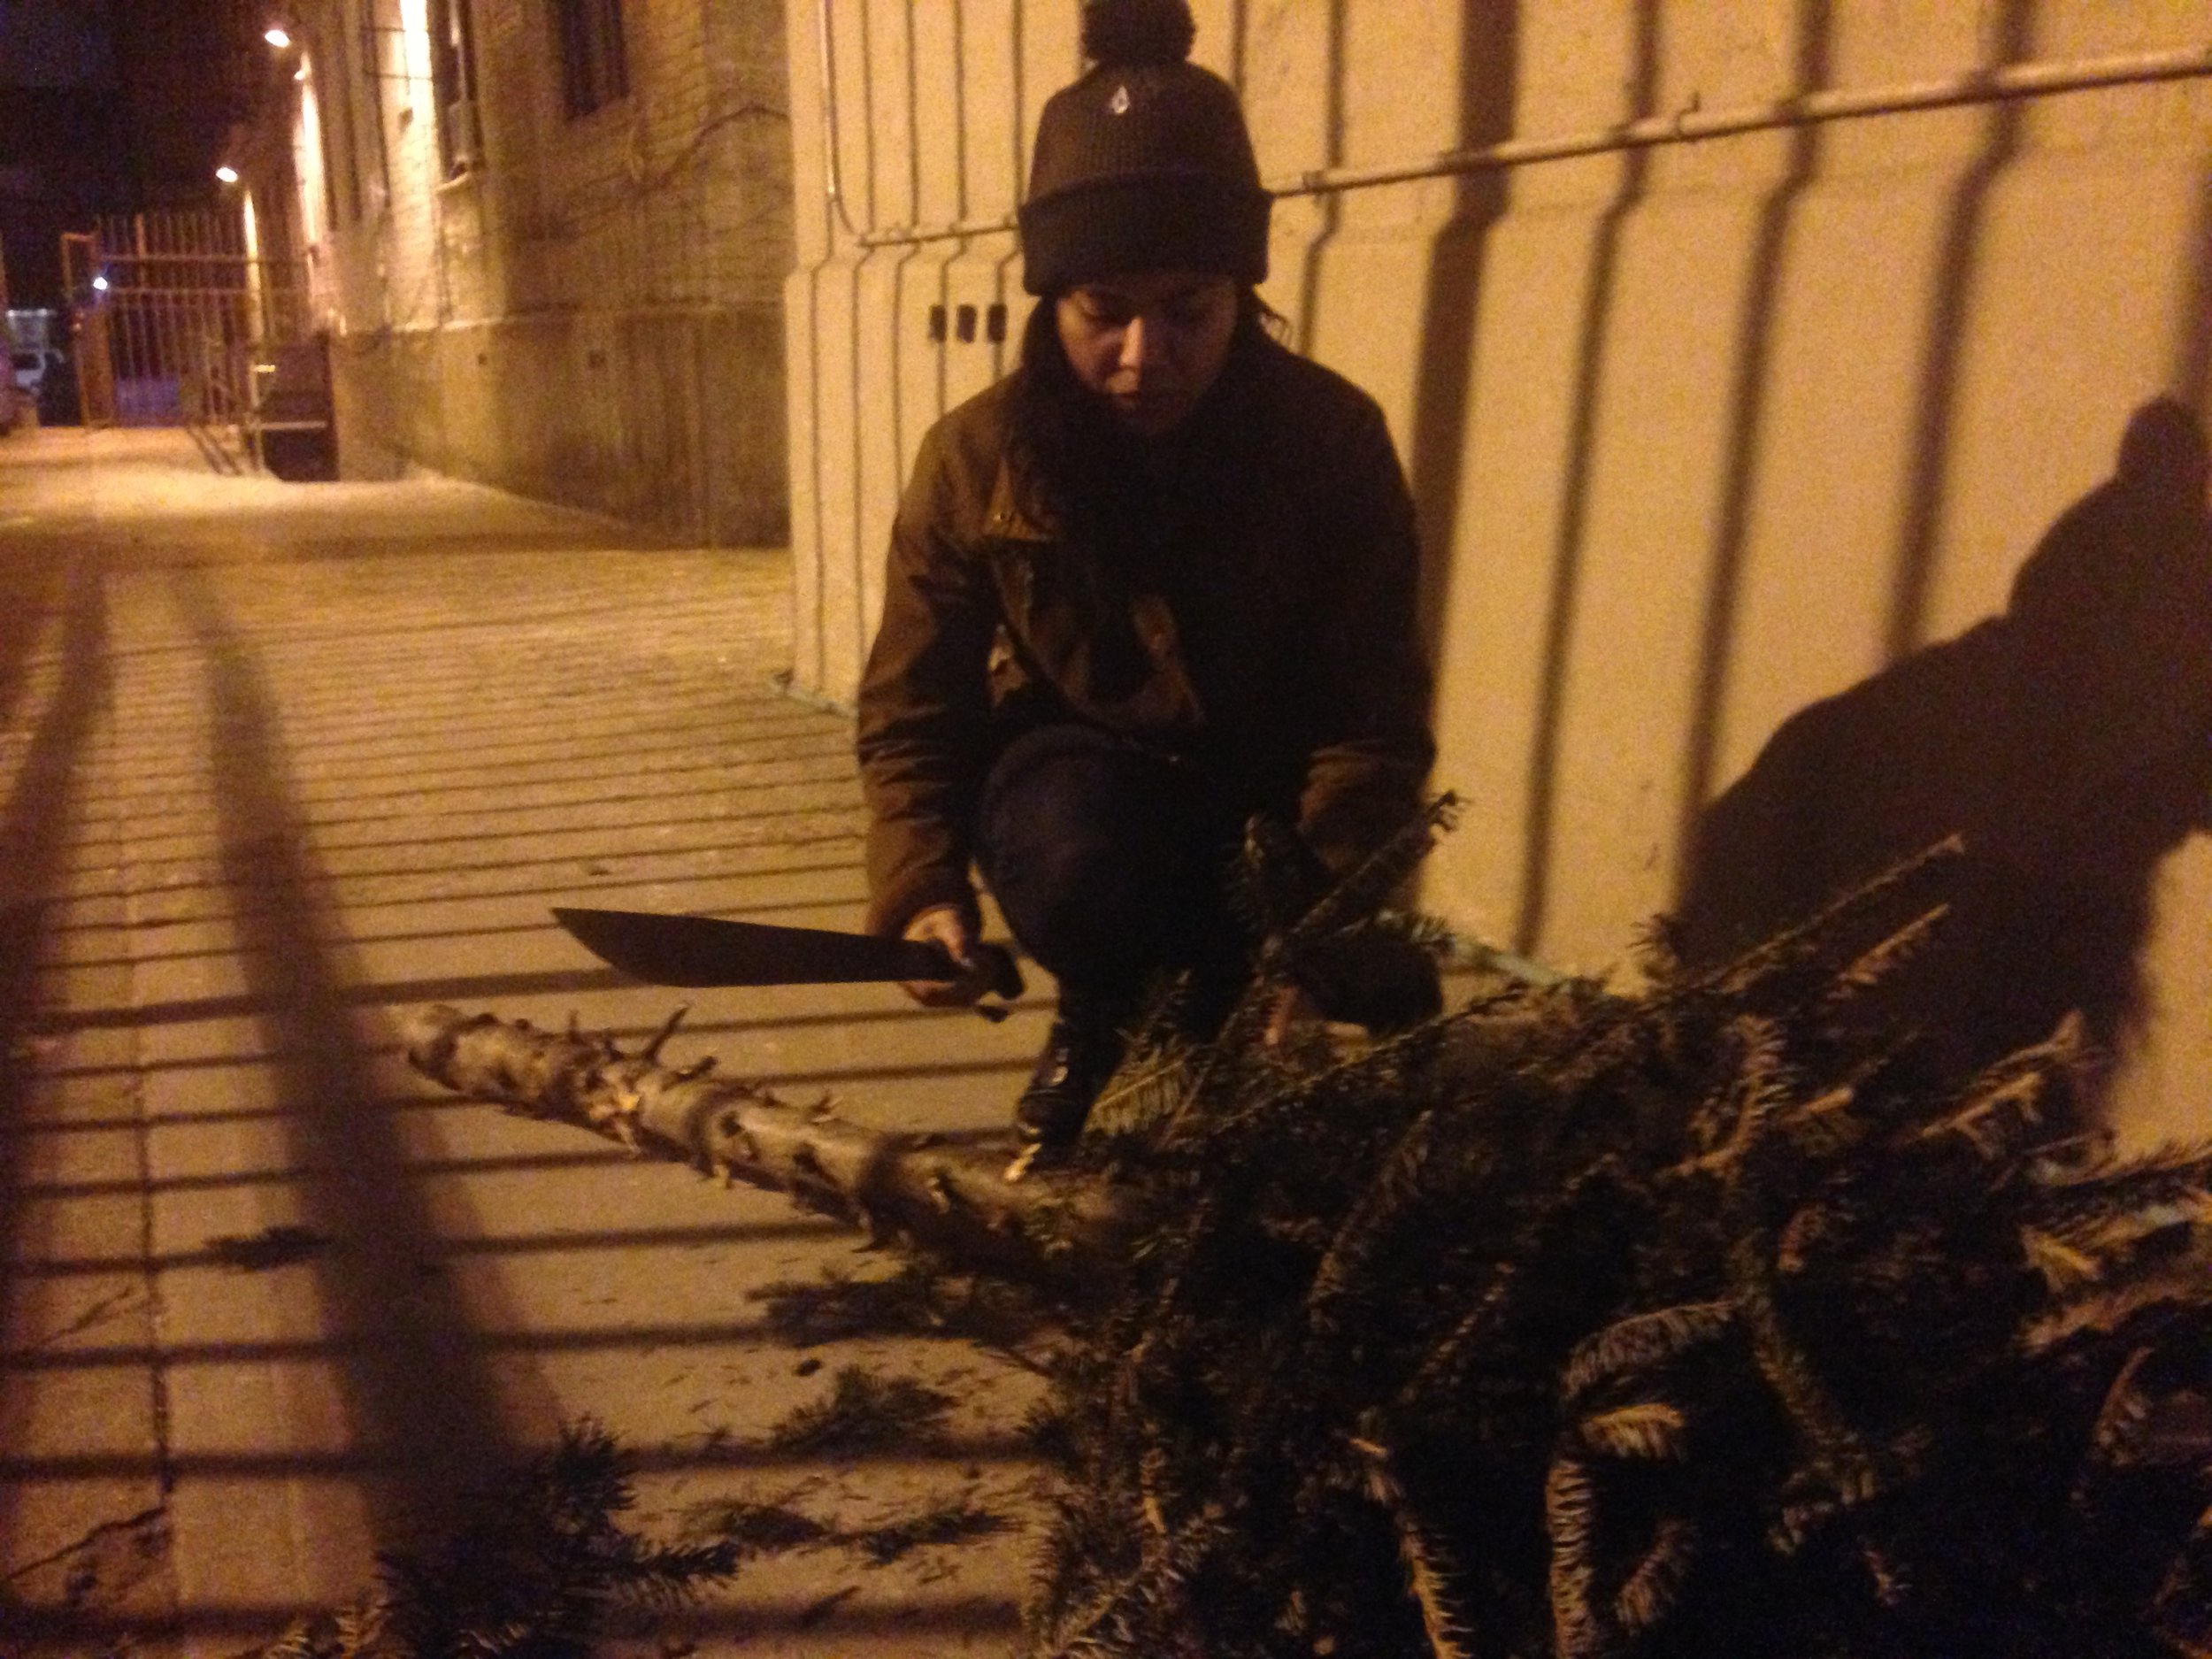
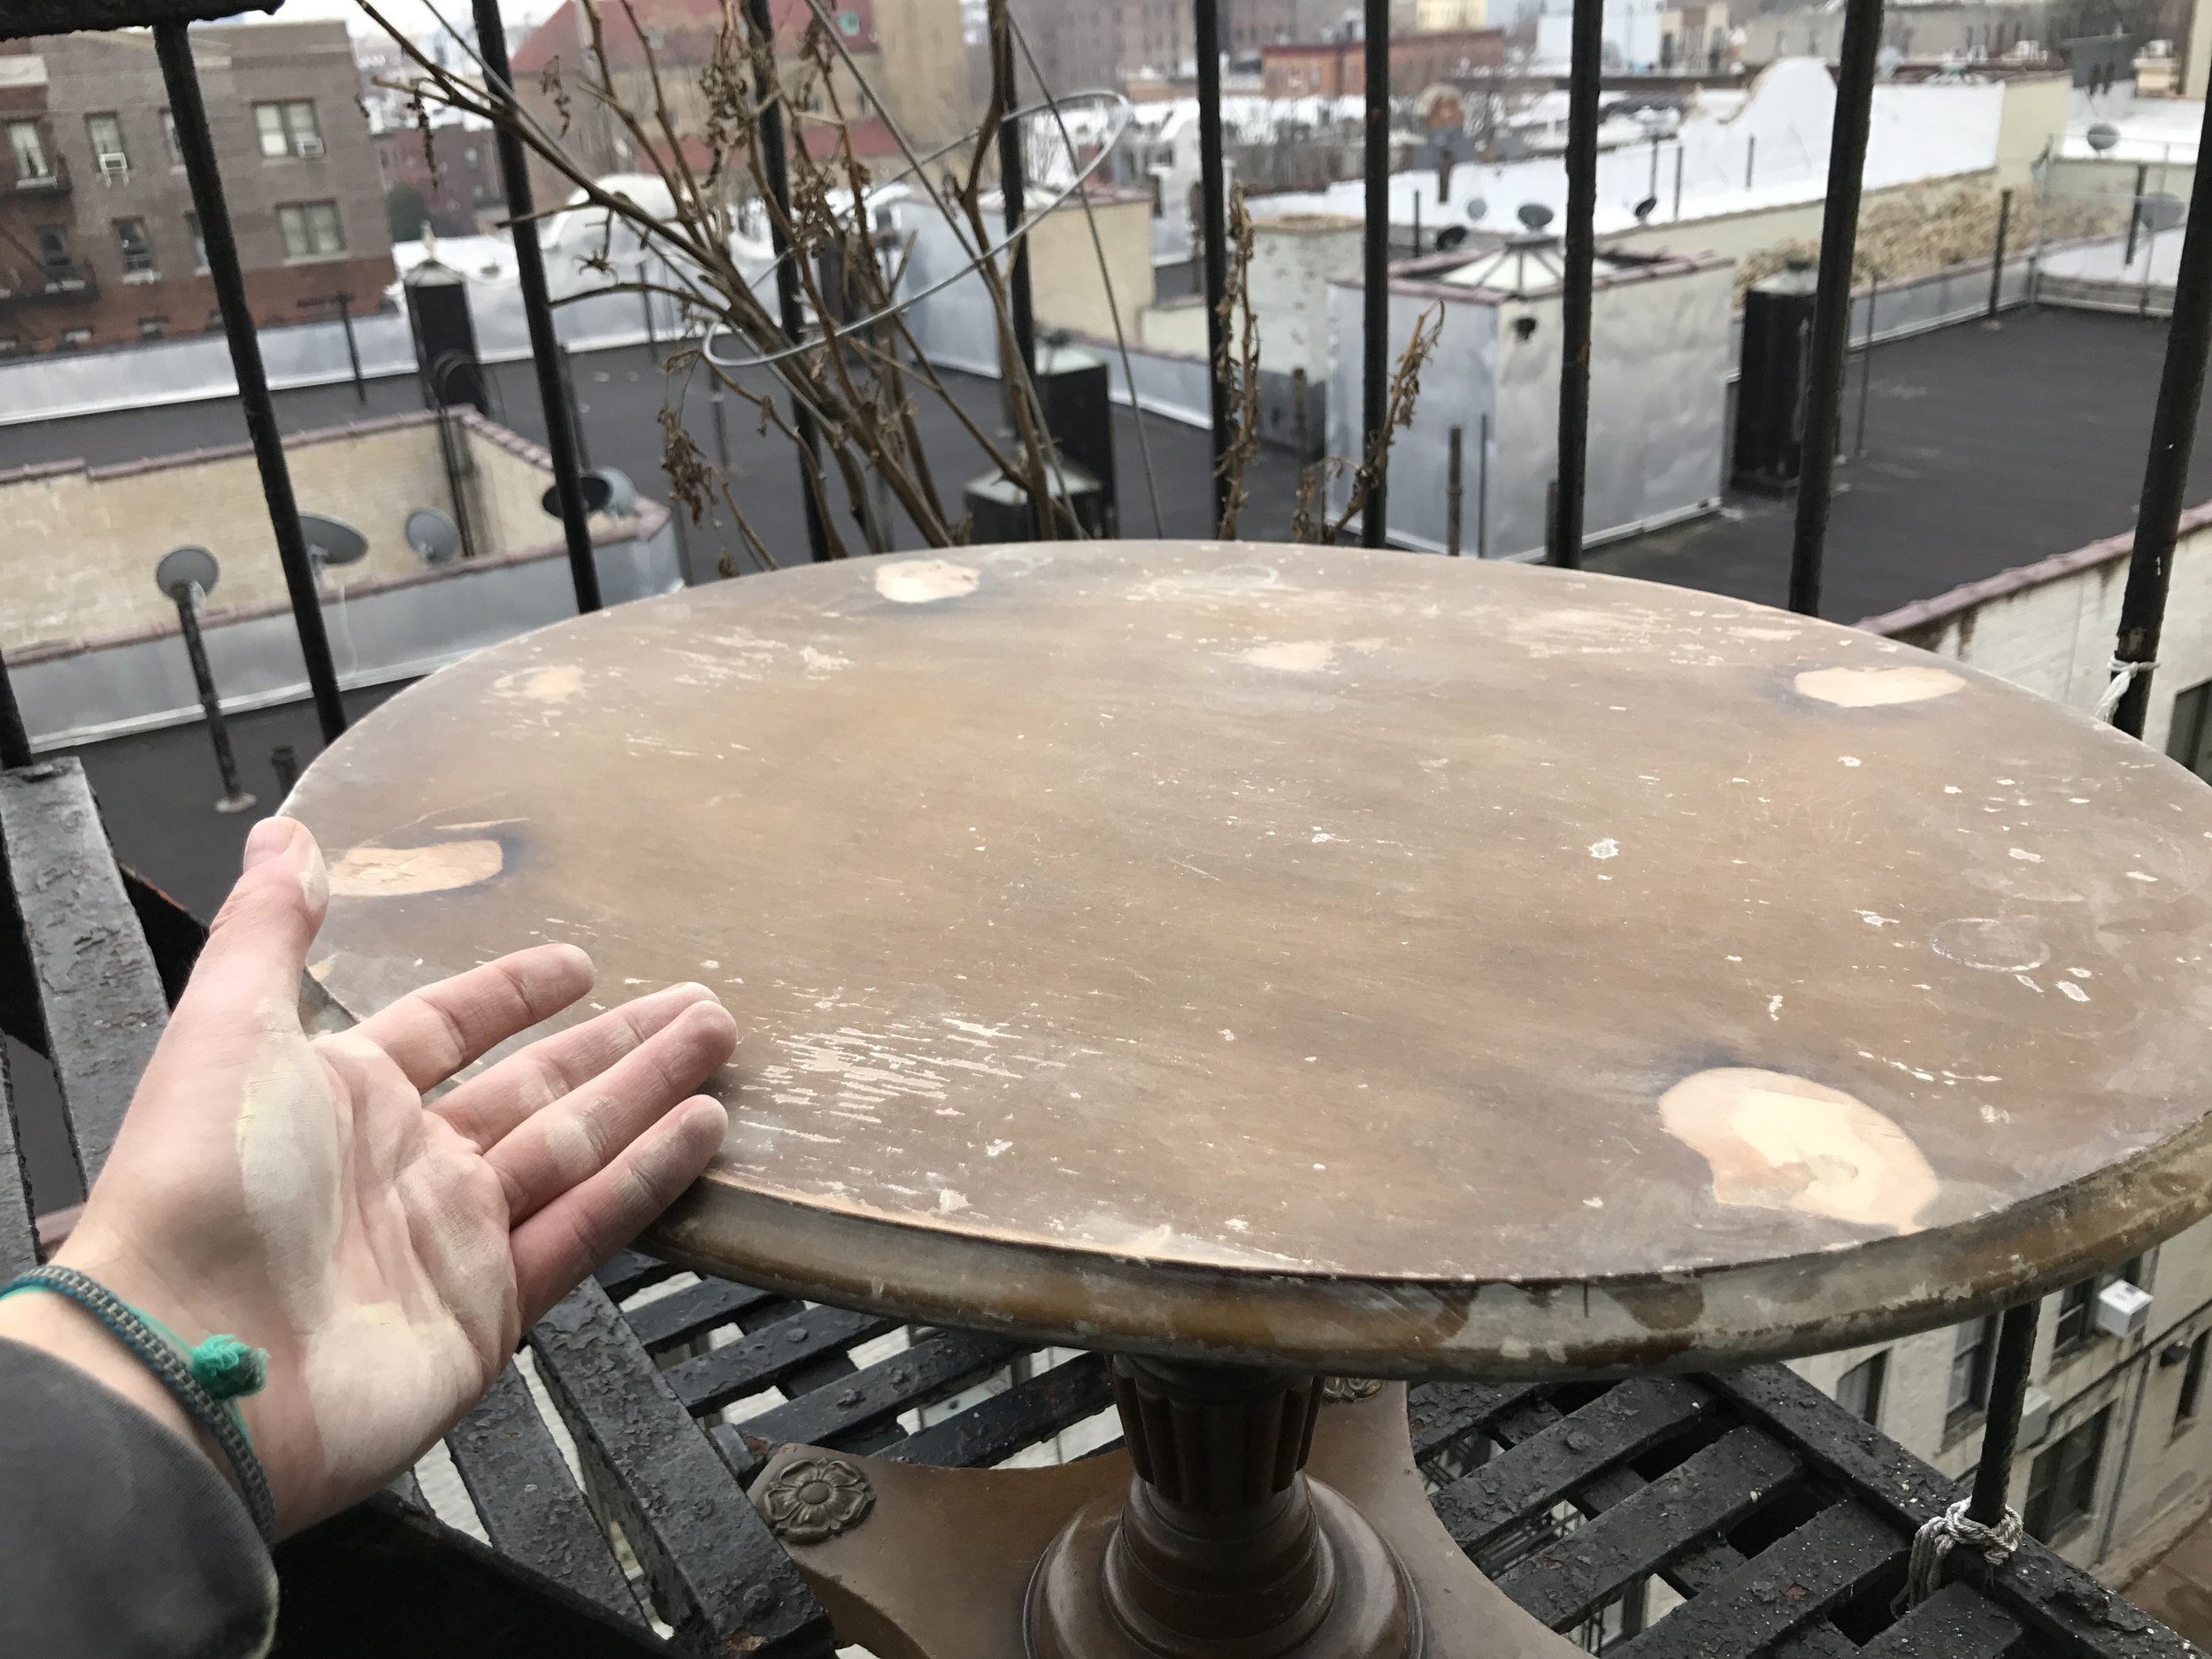
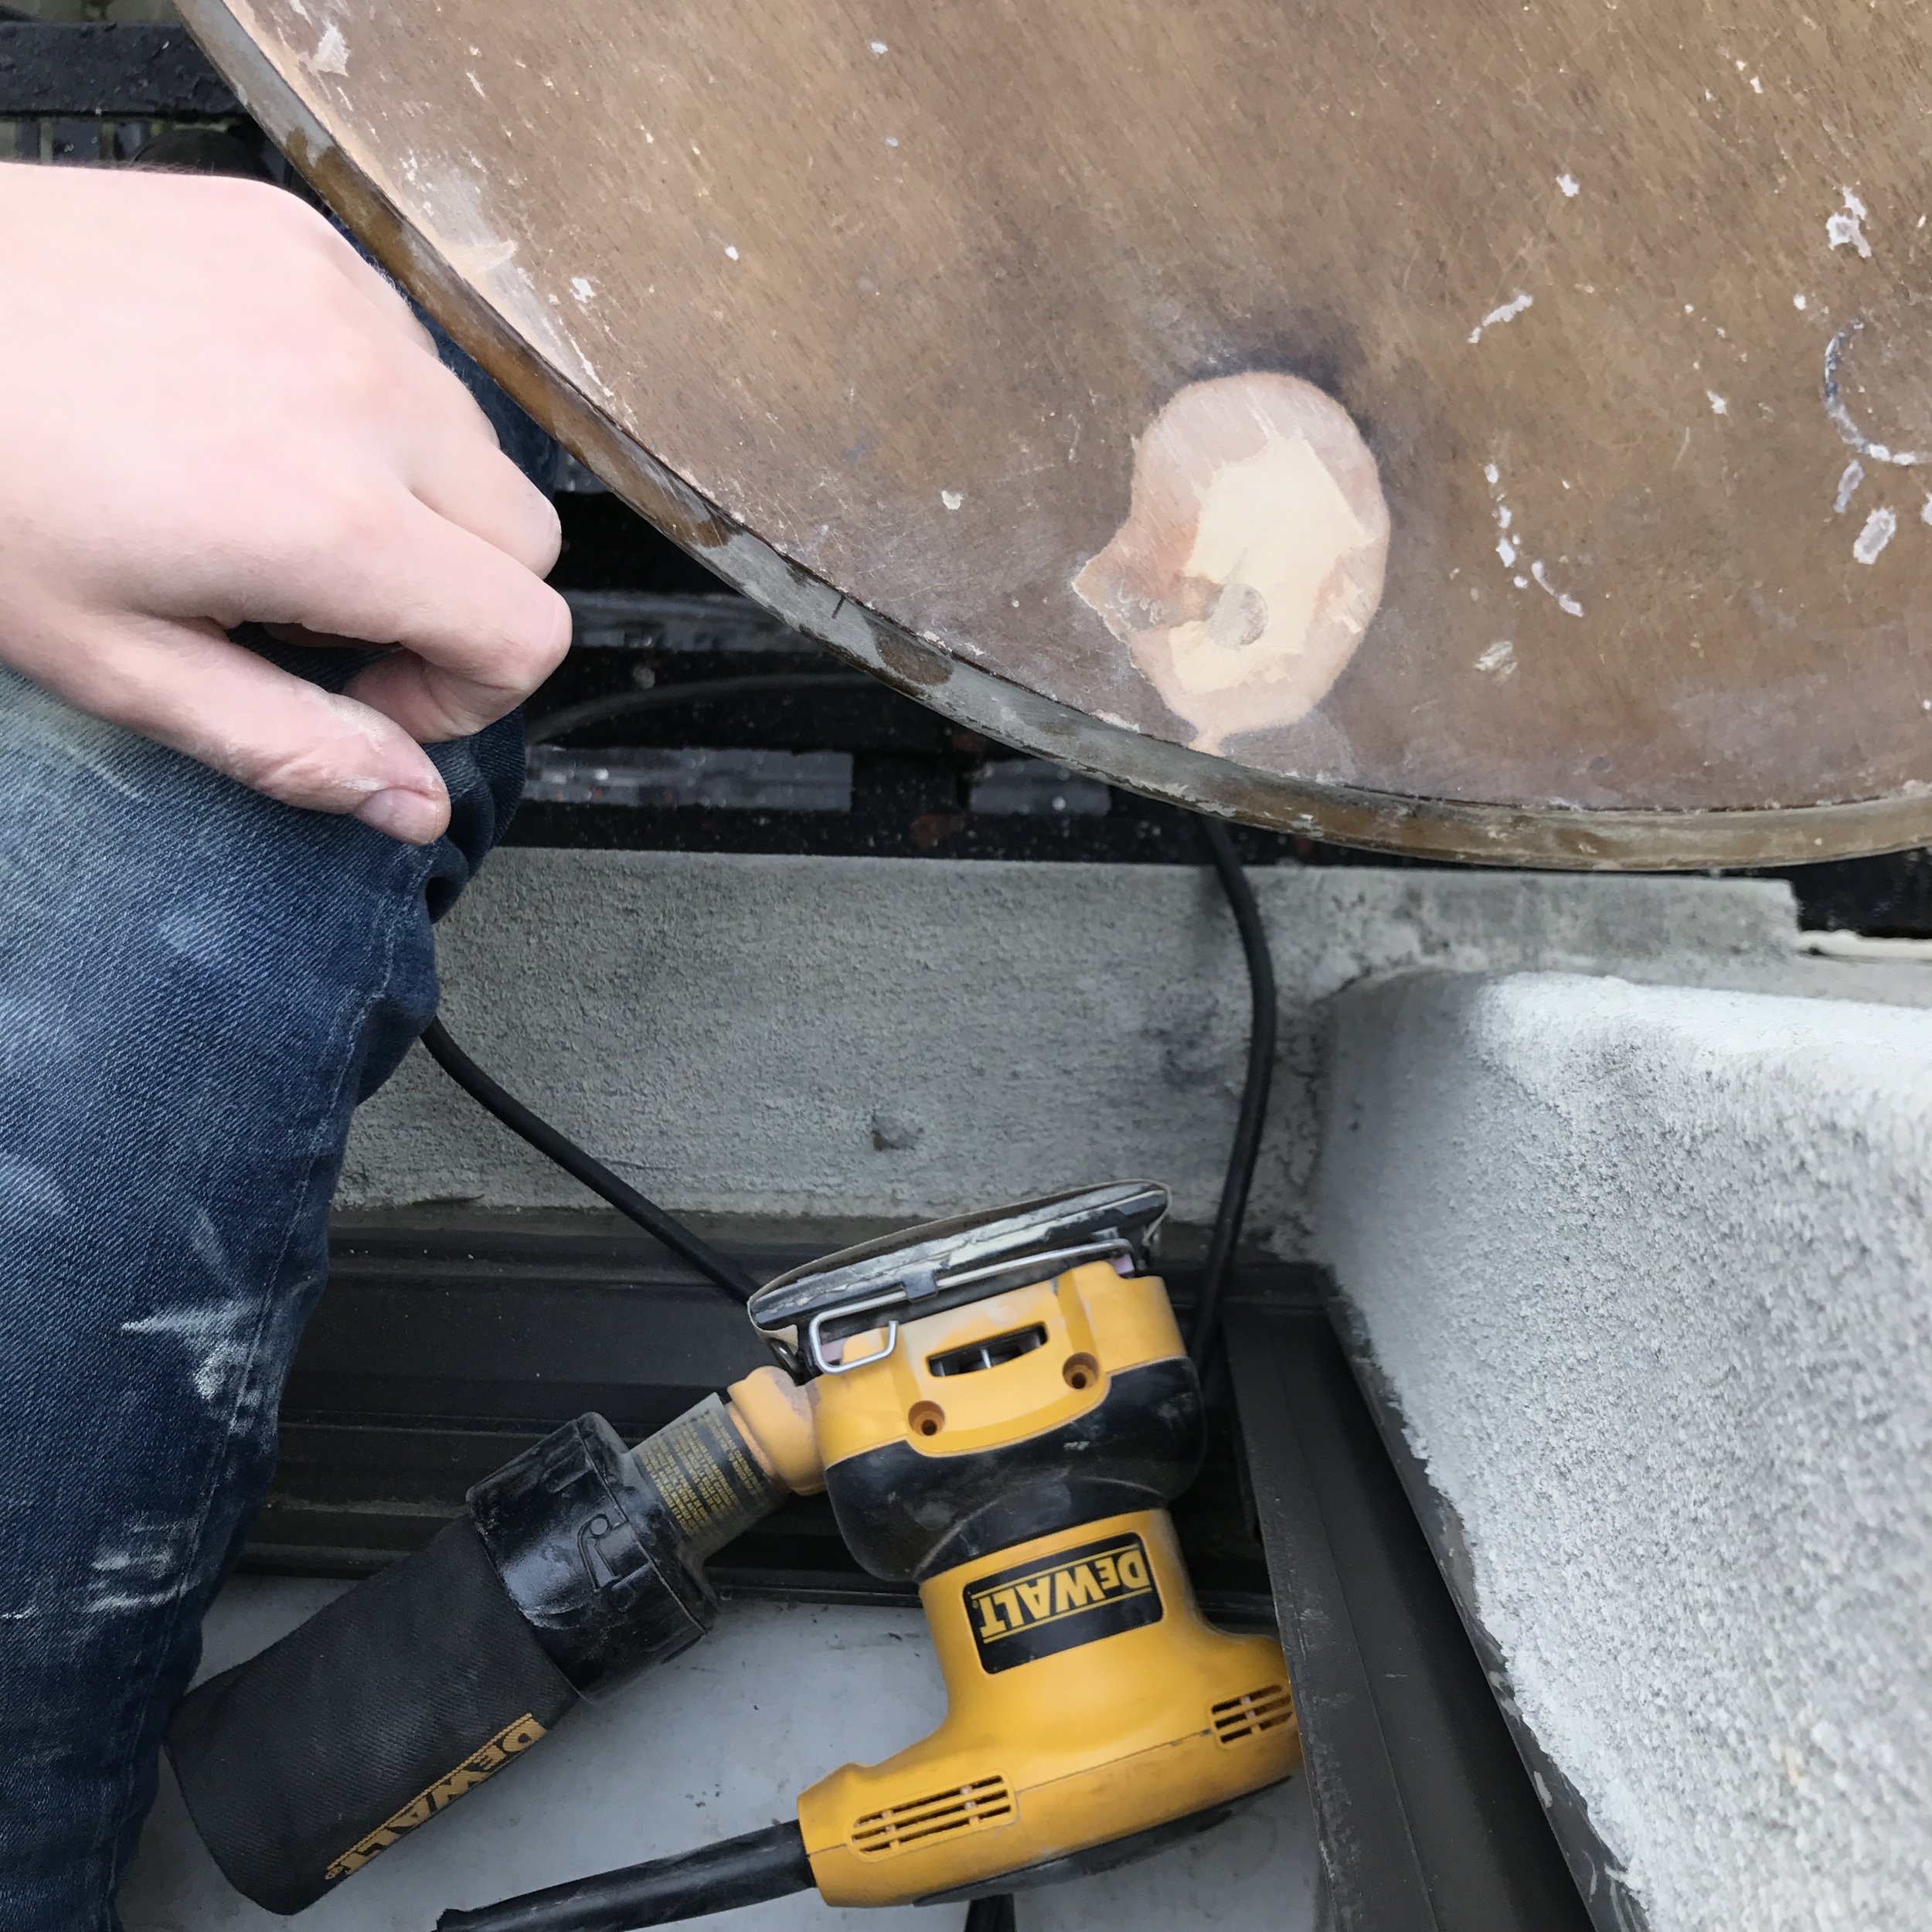
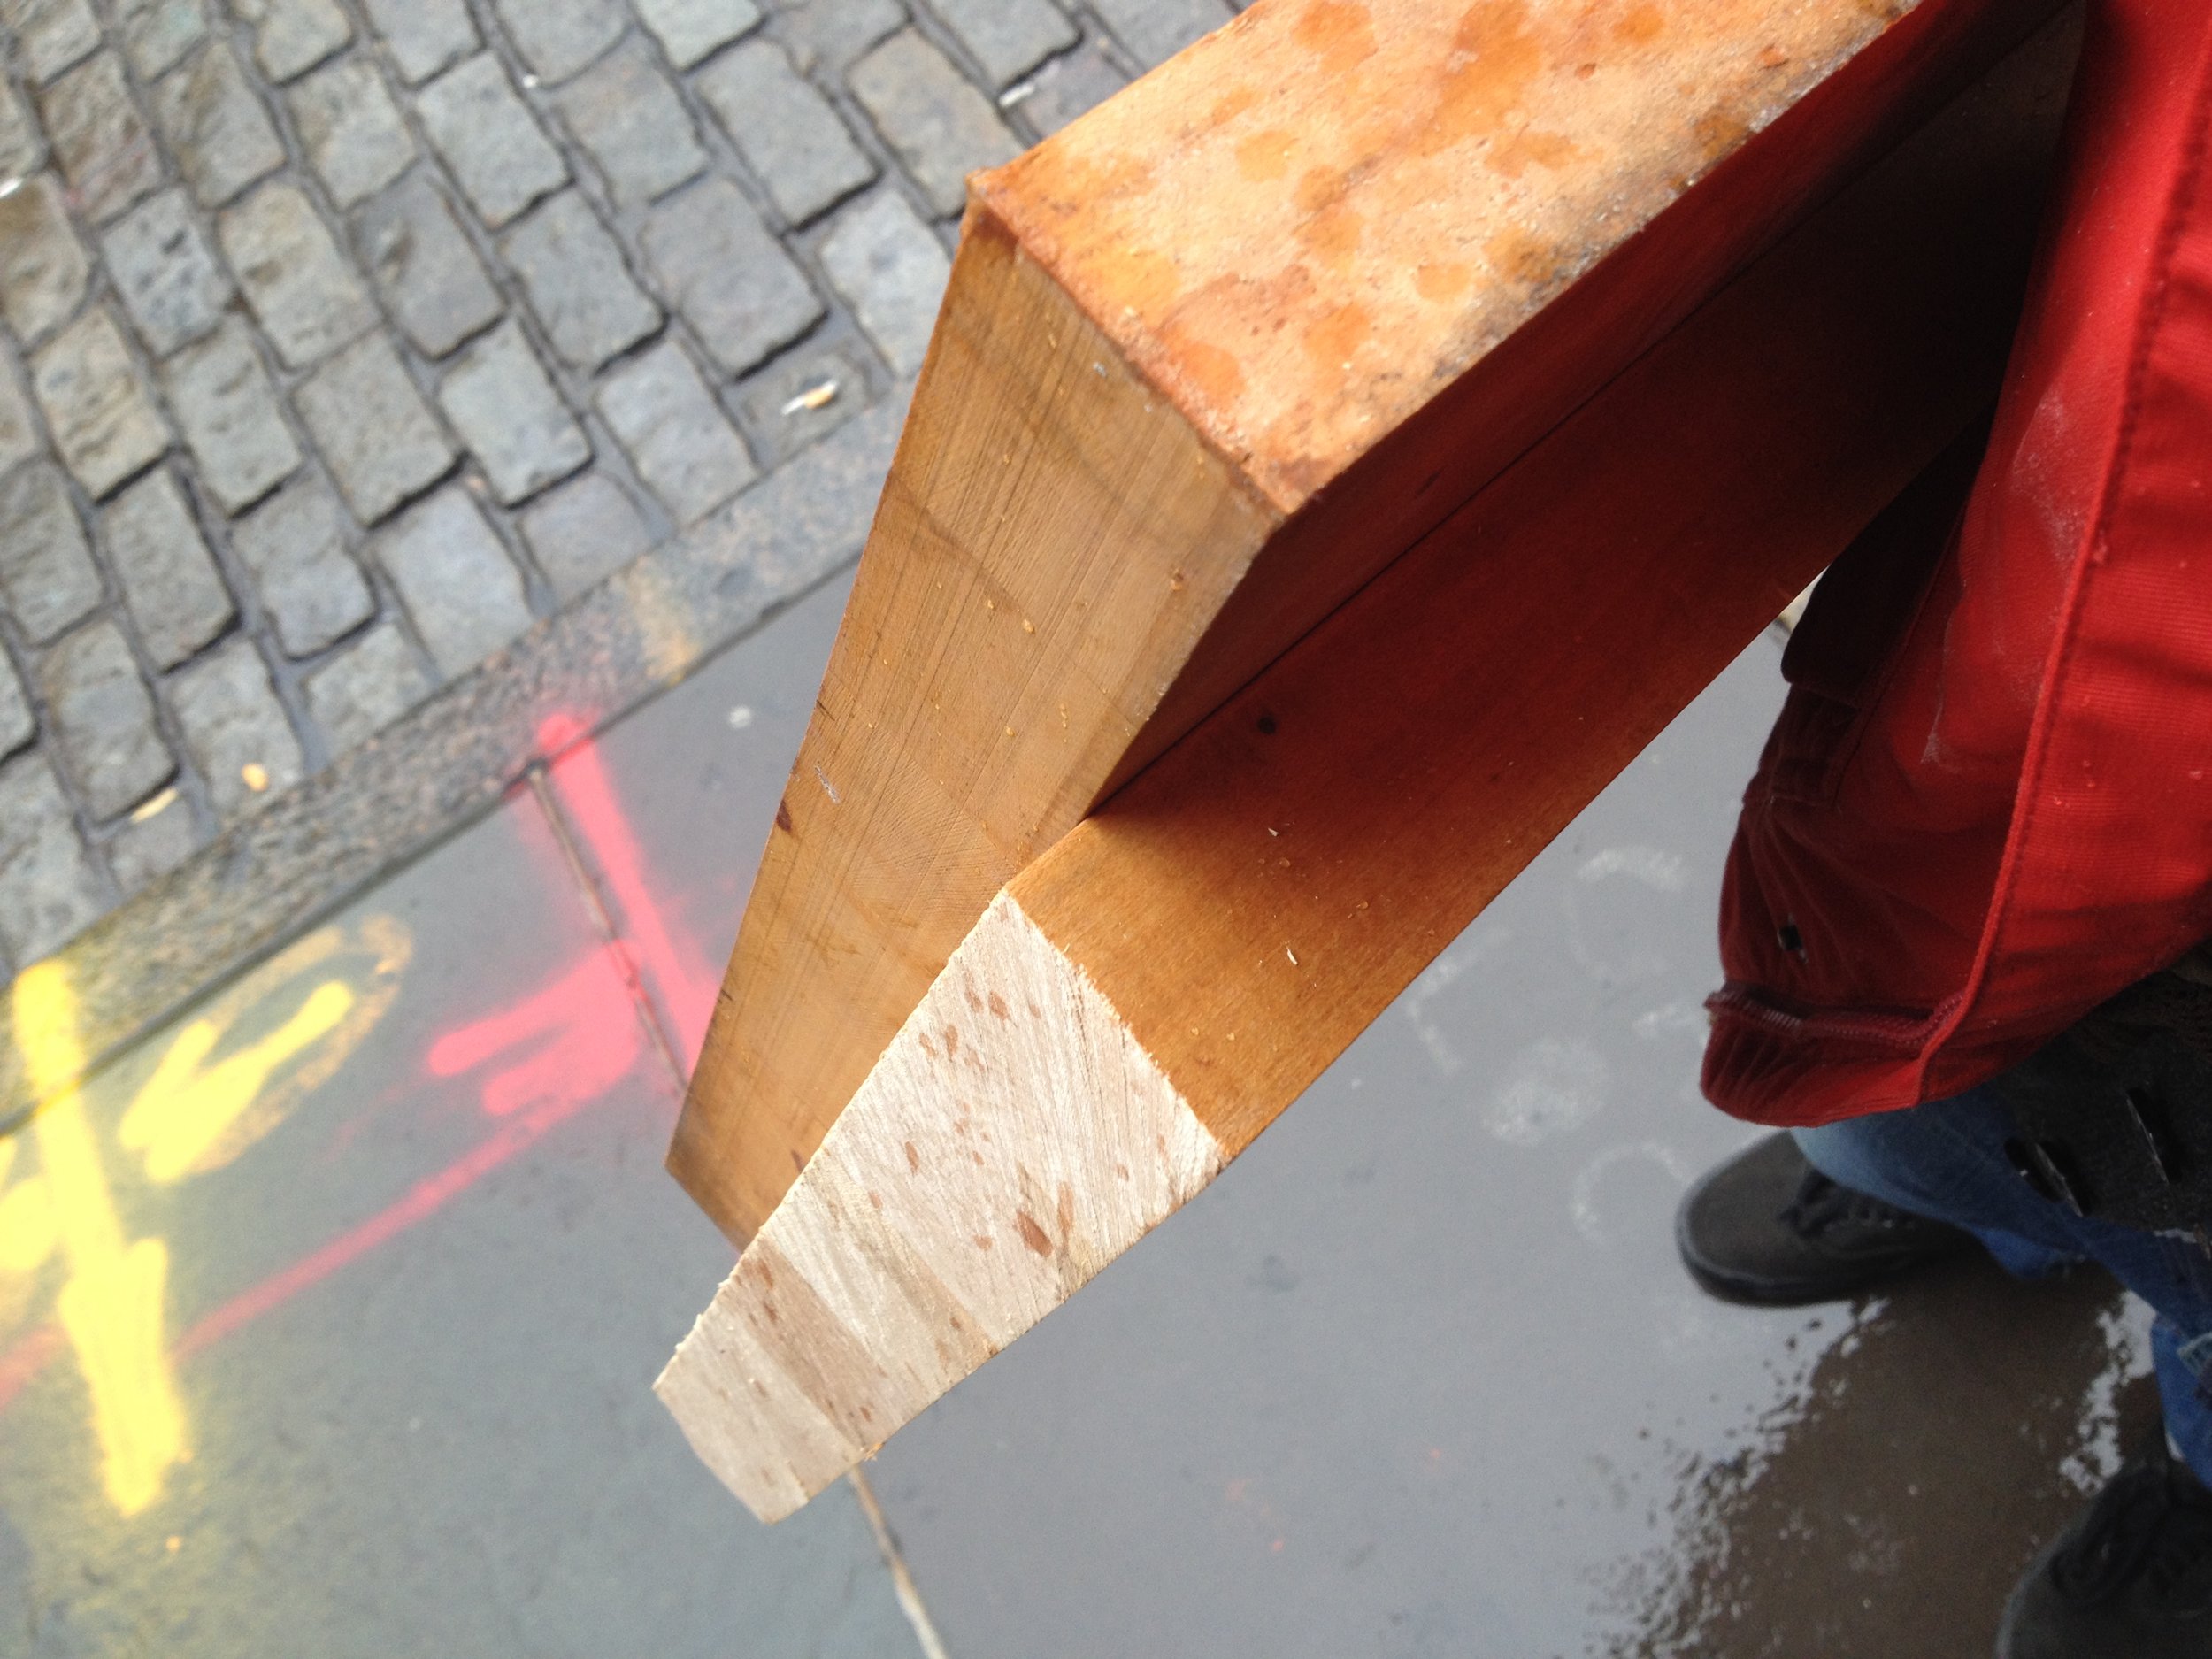
A great thing about NYC is you never know what's around any given corner. On a cold, rainy day, we stumbled upon a house renovation in SOHO. The workman had cut up what was once a beautiful maple countertop and put it on the curb. We were lucky enough to get to it before the rain swelled the wood.

 
salvaged-maple.jpg
 

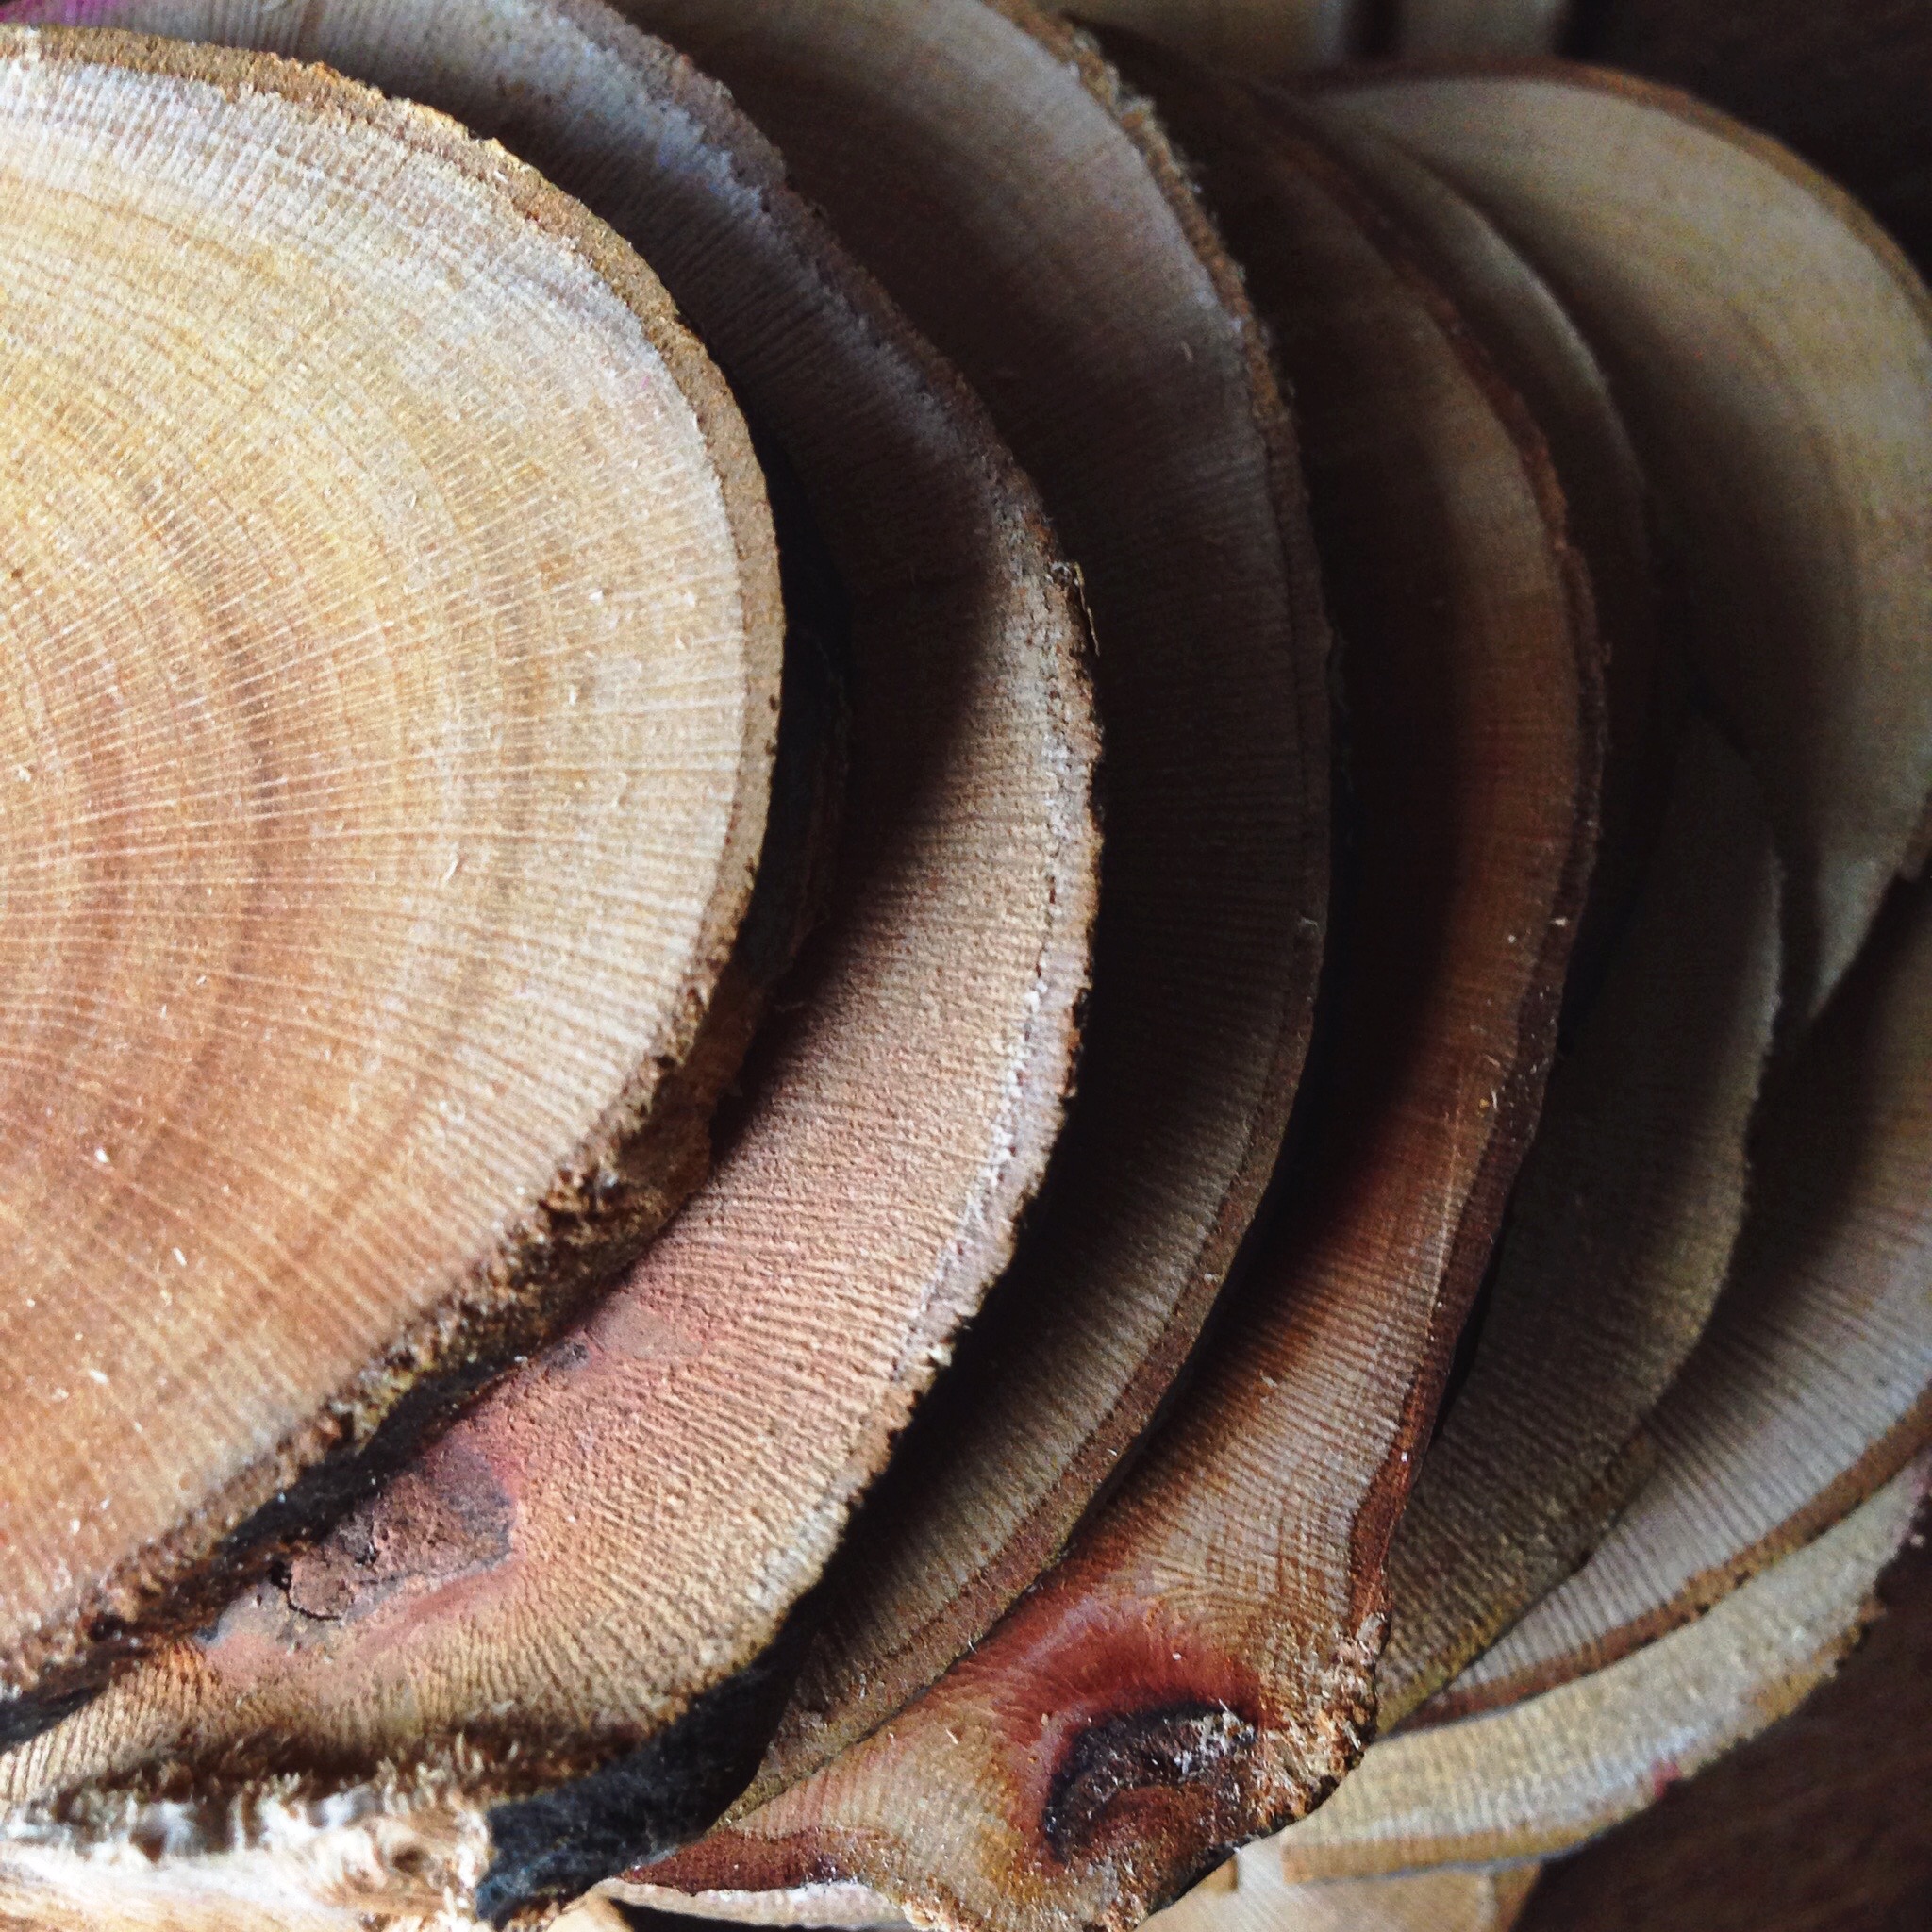
We took all we could carry back to our shop, and made a series of beautiful maple cutting boards, cheese boards, and butcher blocks. We used the same restoration process that we've discussed in an earlier post, and sealed the boards with our Organic Beeswax Board Butter.

Salvaging Nature: Drying green wood at home

That backbone of Real Good Goods is to reduce and repurpose waste. Since humans produce a lot of waste, especially in densely populated areas like New York City, there's is hardly ever a shortage of opportunities to be creative. After the holiday and stormy weather however, we found new opportunities.

When working with live or green wood, it's necessary to let the wood dry before building anything with it. Green wood contains more moisture than seasoned wood, which has been dried through passage of time or by forced drying in kilns. It's considered to have 100% moisture content relative to air-dried or seasoned wood which is considered to have 20%. Though green lumber is more commonly used in arid regions of the United States, such as Arizona and parts of California, because the wood will dry more quickly. Damper regions often require kiln-dried wood, which must have a moisture content of 19% or less. Depending on thickness, it can take a considerable amount of time before it reaches that recommend moisture content when you don't have a kiln available. 


These Sycamore branch have been stored and air-drying for two years. Smaller pieces can be cut and dried in a household oven.

Drying wood in your home oven

  1. Set your oven racks so one is in the bottom and another is in the center. Place a large sheet pan on the bottom oven rack or line it with foil.

  2. Set the oven as close to 218° F as possible.

  3. If available, turn on the convection fan. Check the oven thermometer after 15 minutes have passed. Adjust the oven settings until the internal temperature reading is between 210° and 225° F.

  4. Place your wood on the center rack without letting them touch. Set smaller wood pieces perpendicular to the wires of the oven rack so they do not fall through. Dry the wood for 1 hour.

  5. While wearing heat-resistant gloves, remove a 2-3 pieces a varying sizes. Press the two metal contact points of the moisture meter to the surface of the wood to test. Return the wood to the oven if the desired moisture-level has not been reached.

  6. Test again every 15 minutes until moisture content reads 20% or less. Remove wood and place on a wire cooling rack in a dry place.


Restoration turned salvage

 
oval-table-1.jpg
 

Sometimes you can take all the extra care and safety measures possible, but accidents happen. We wear eye and ear protection while works, lift heavy items together, and wrap and strap pieces that are in transit. This was a best case scenario as no one was hurt, but the table above looked a bit different when we first acquired it.

While it was in storage this table was stacked on another. One day though, it fell and landed on the top tier, knocking it nearly clean off. It really would have been preferable to be clean off, but in this case it would take more work than anticipated to get the table back to an attractive condition.

We sawed off the ends of the remaining upper legs and dowels. Then used a planer and power sander to make these smooth too touch and rough the top surface before painting. With a couple coats of paint and a finish on top, the table looks even better than before!