

We built a table!
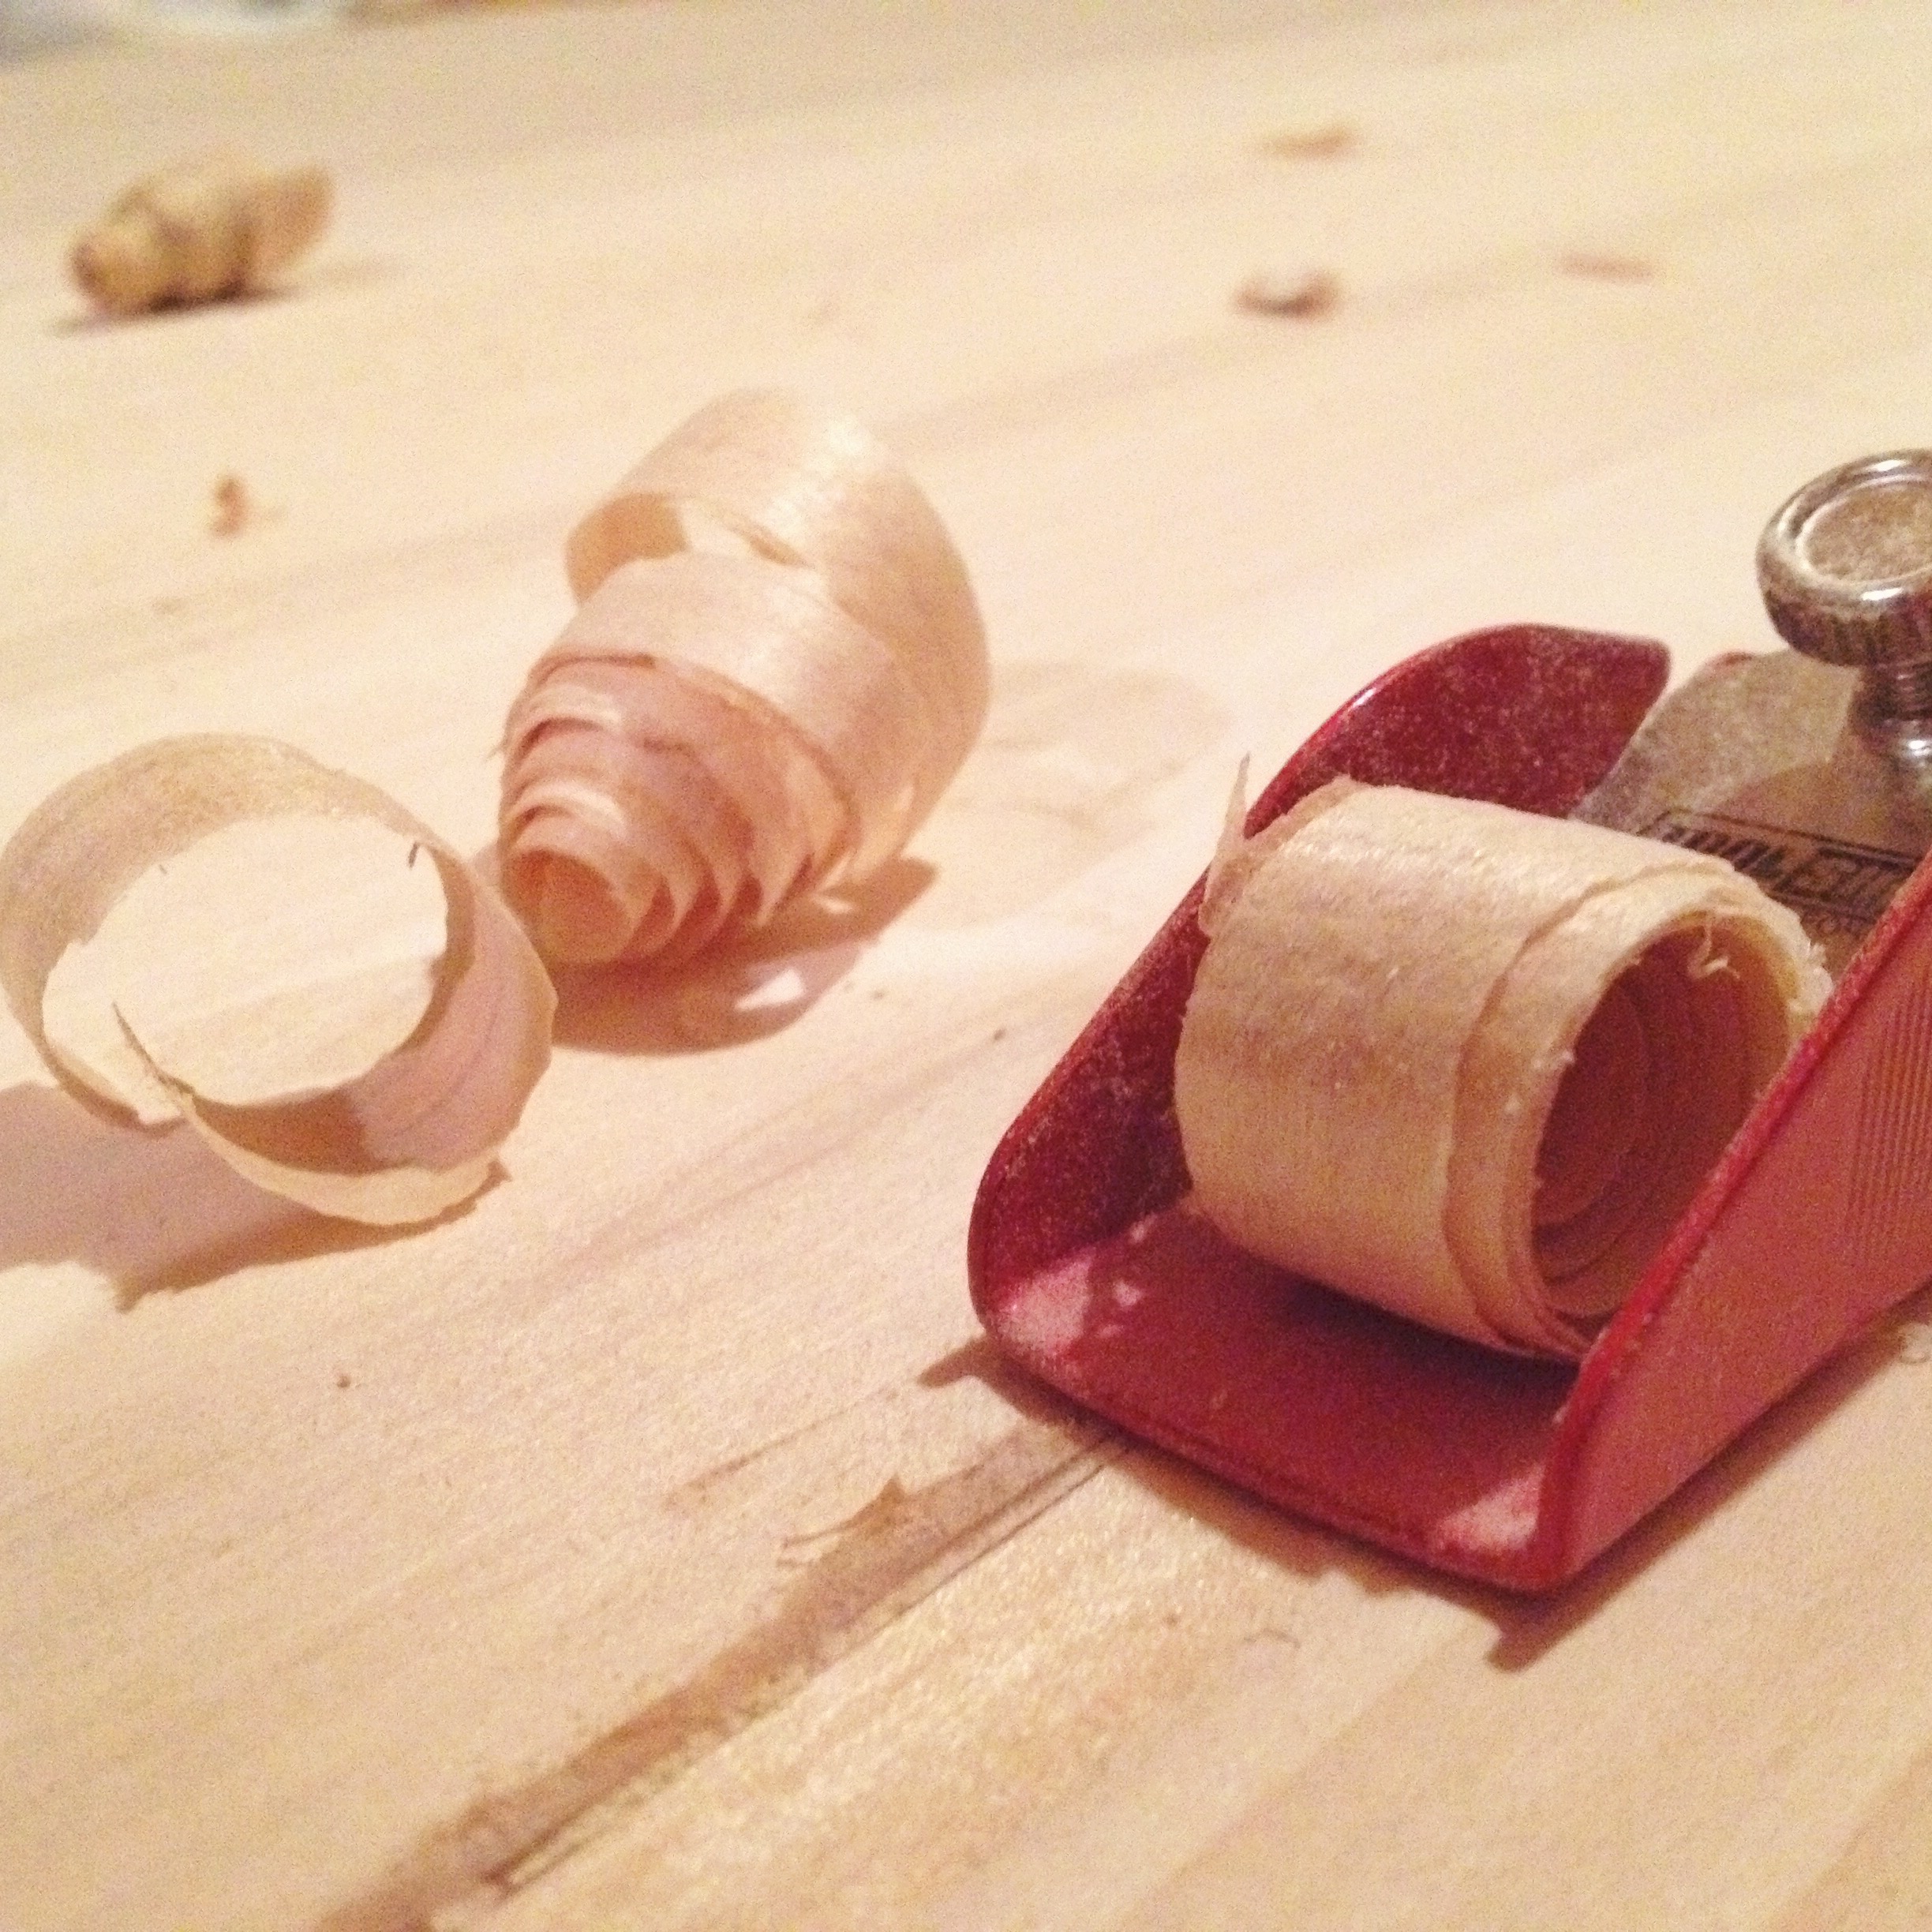
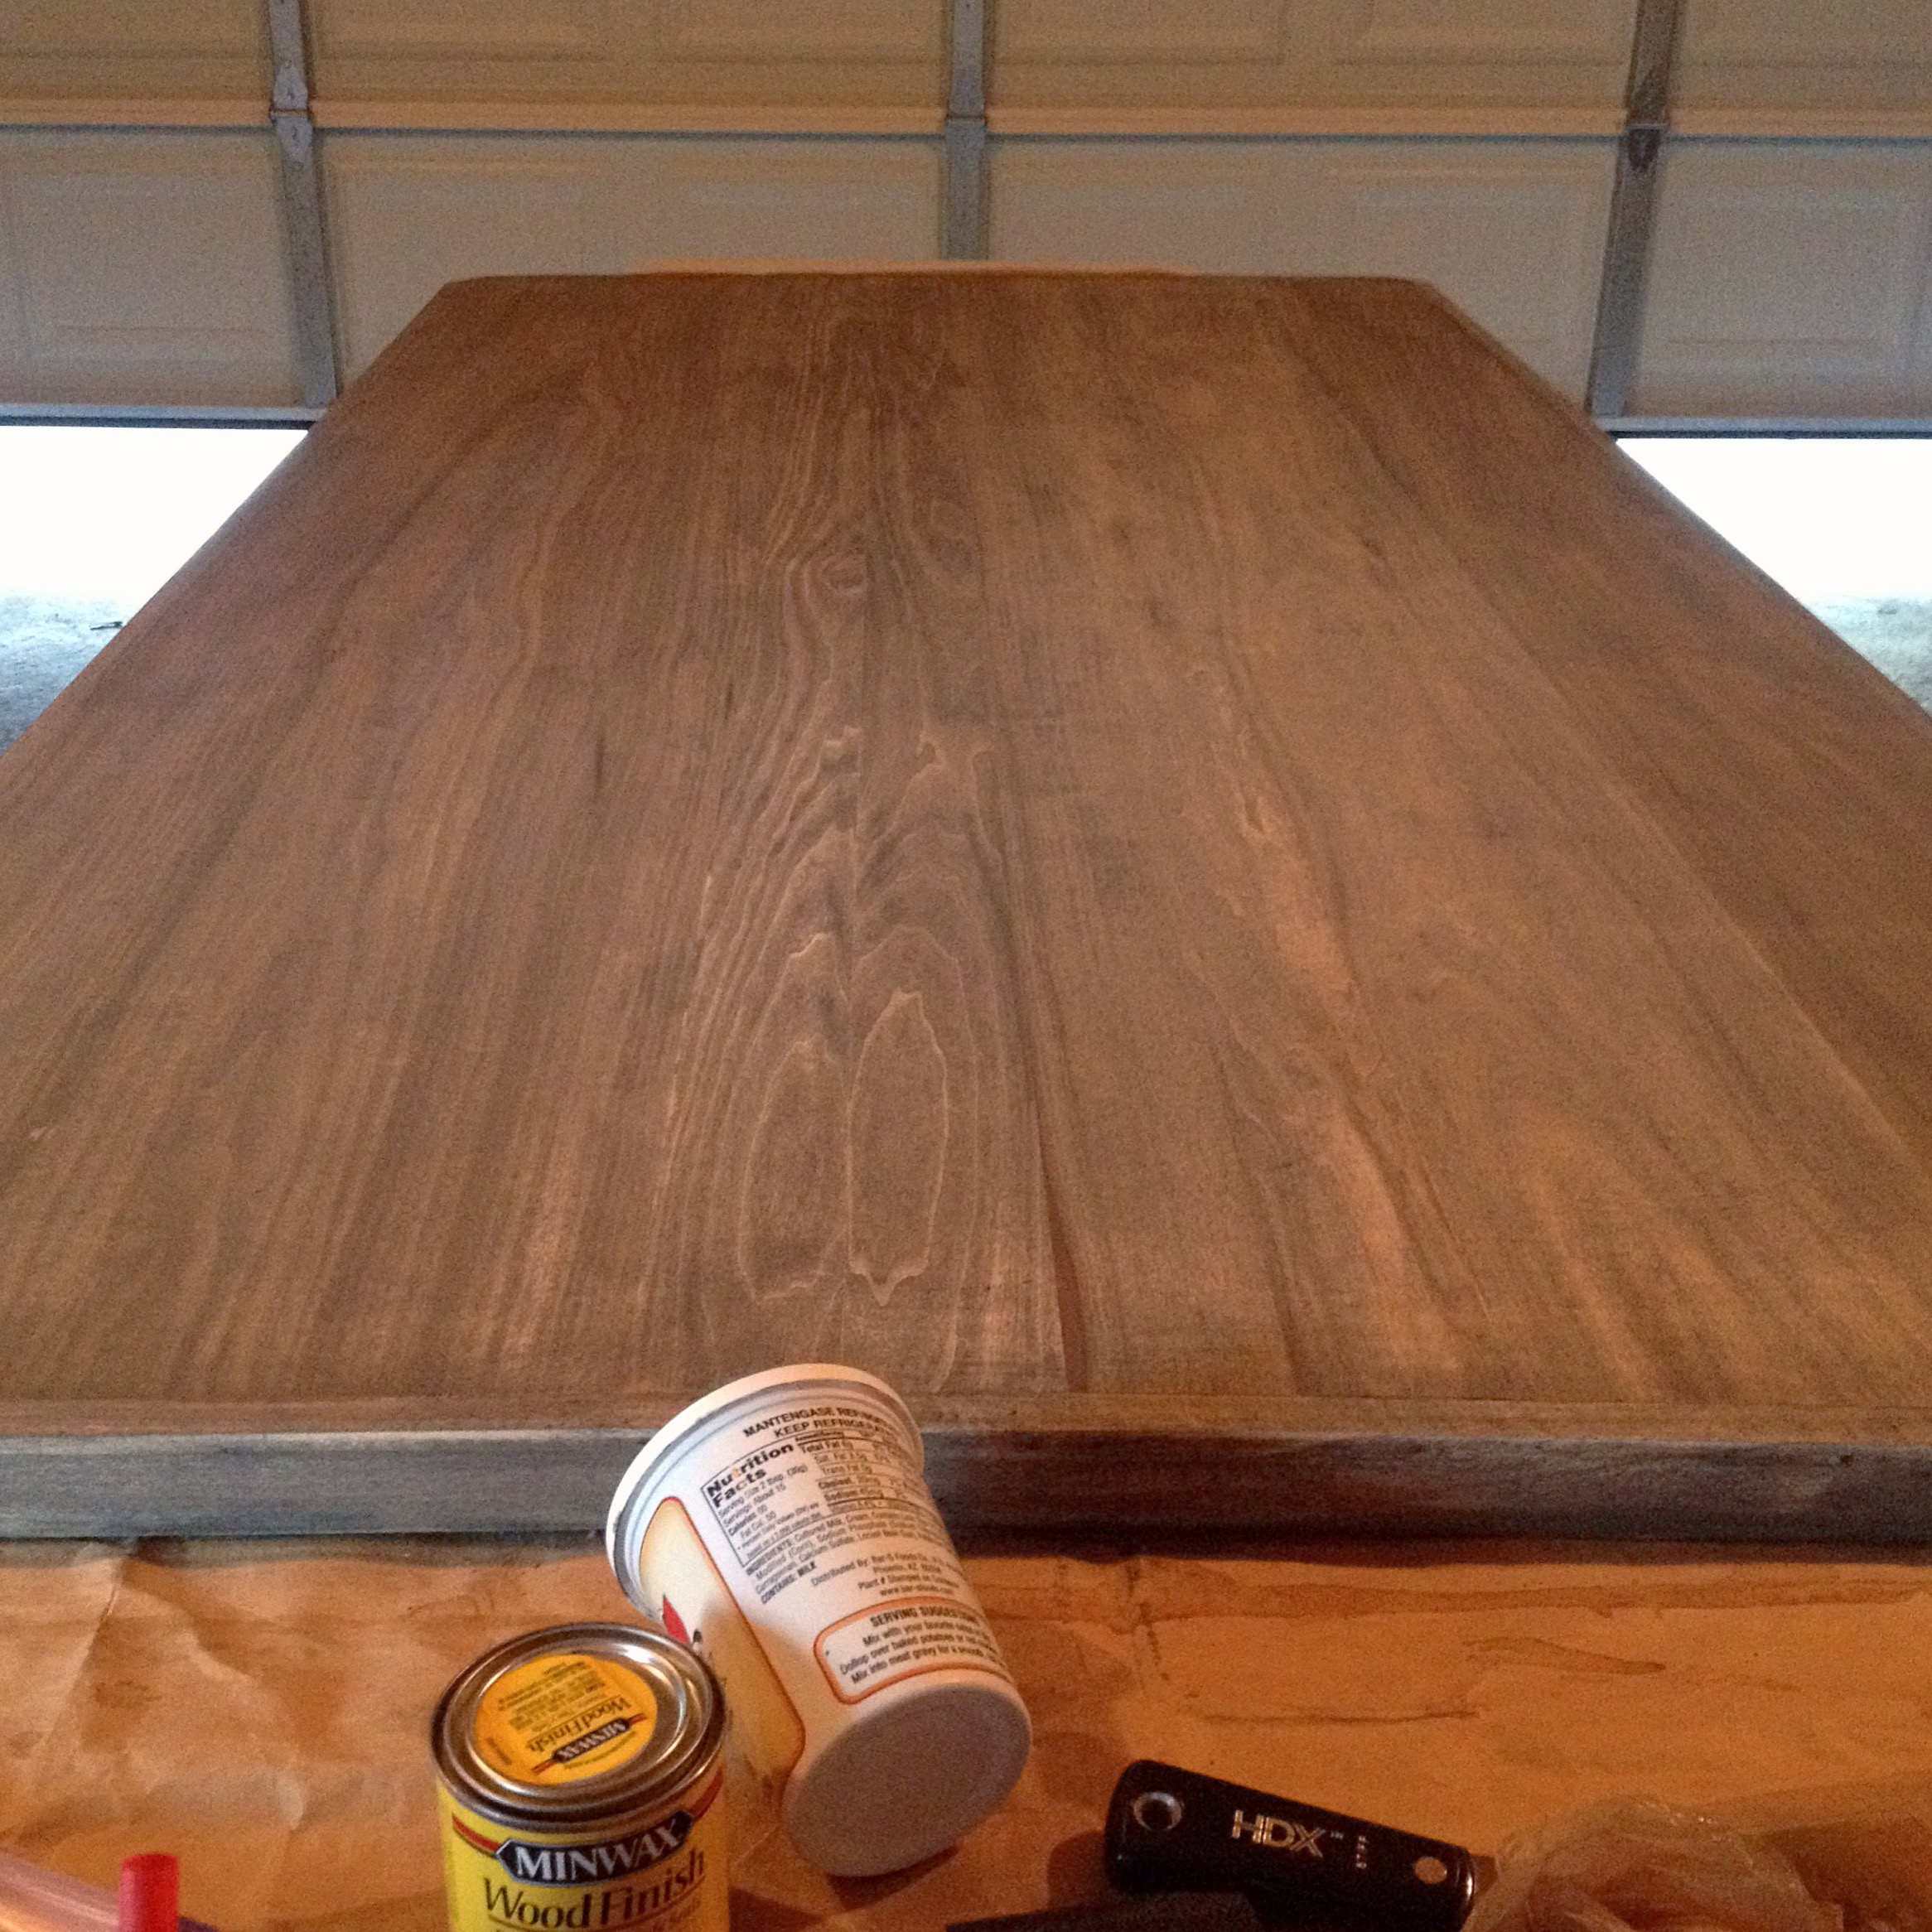
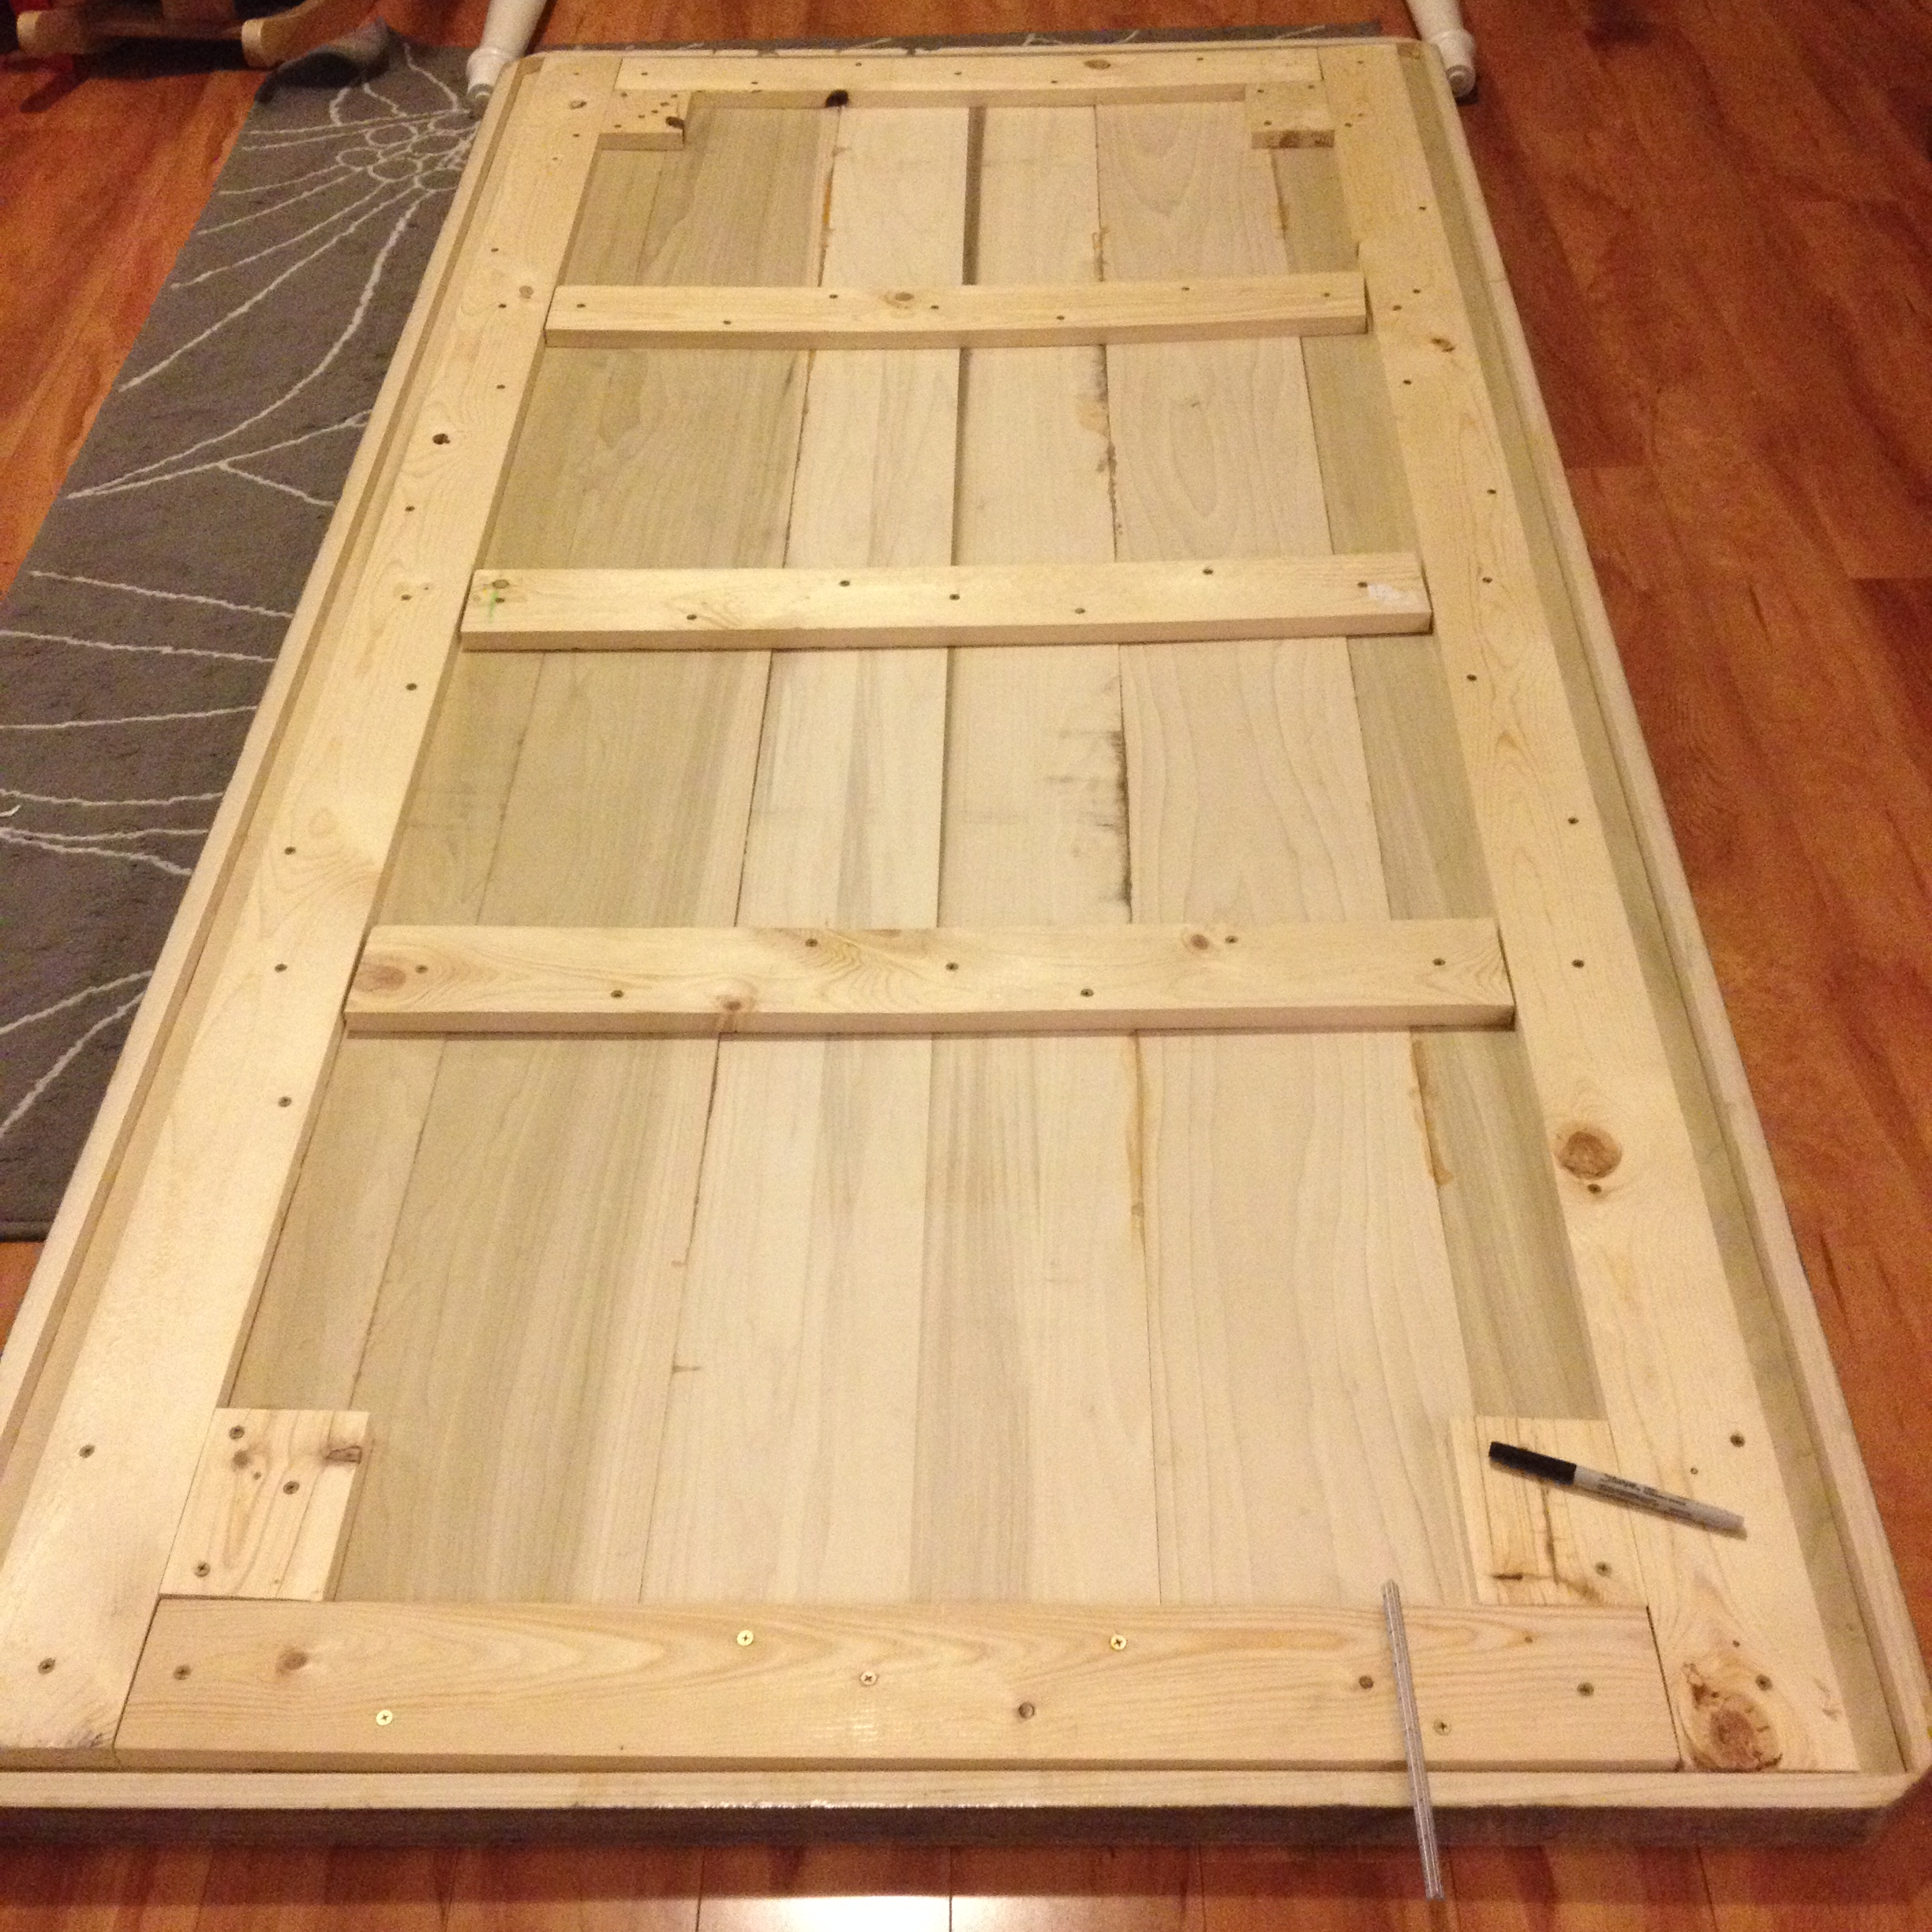
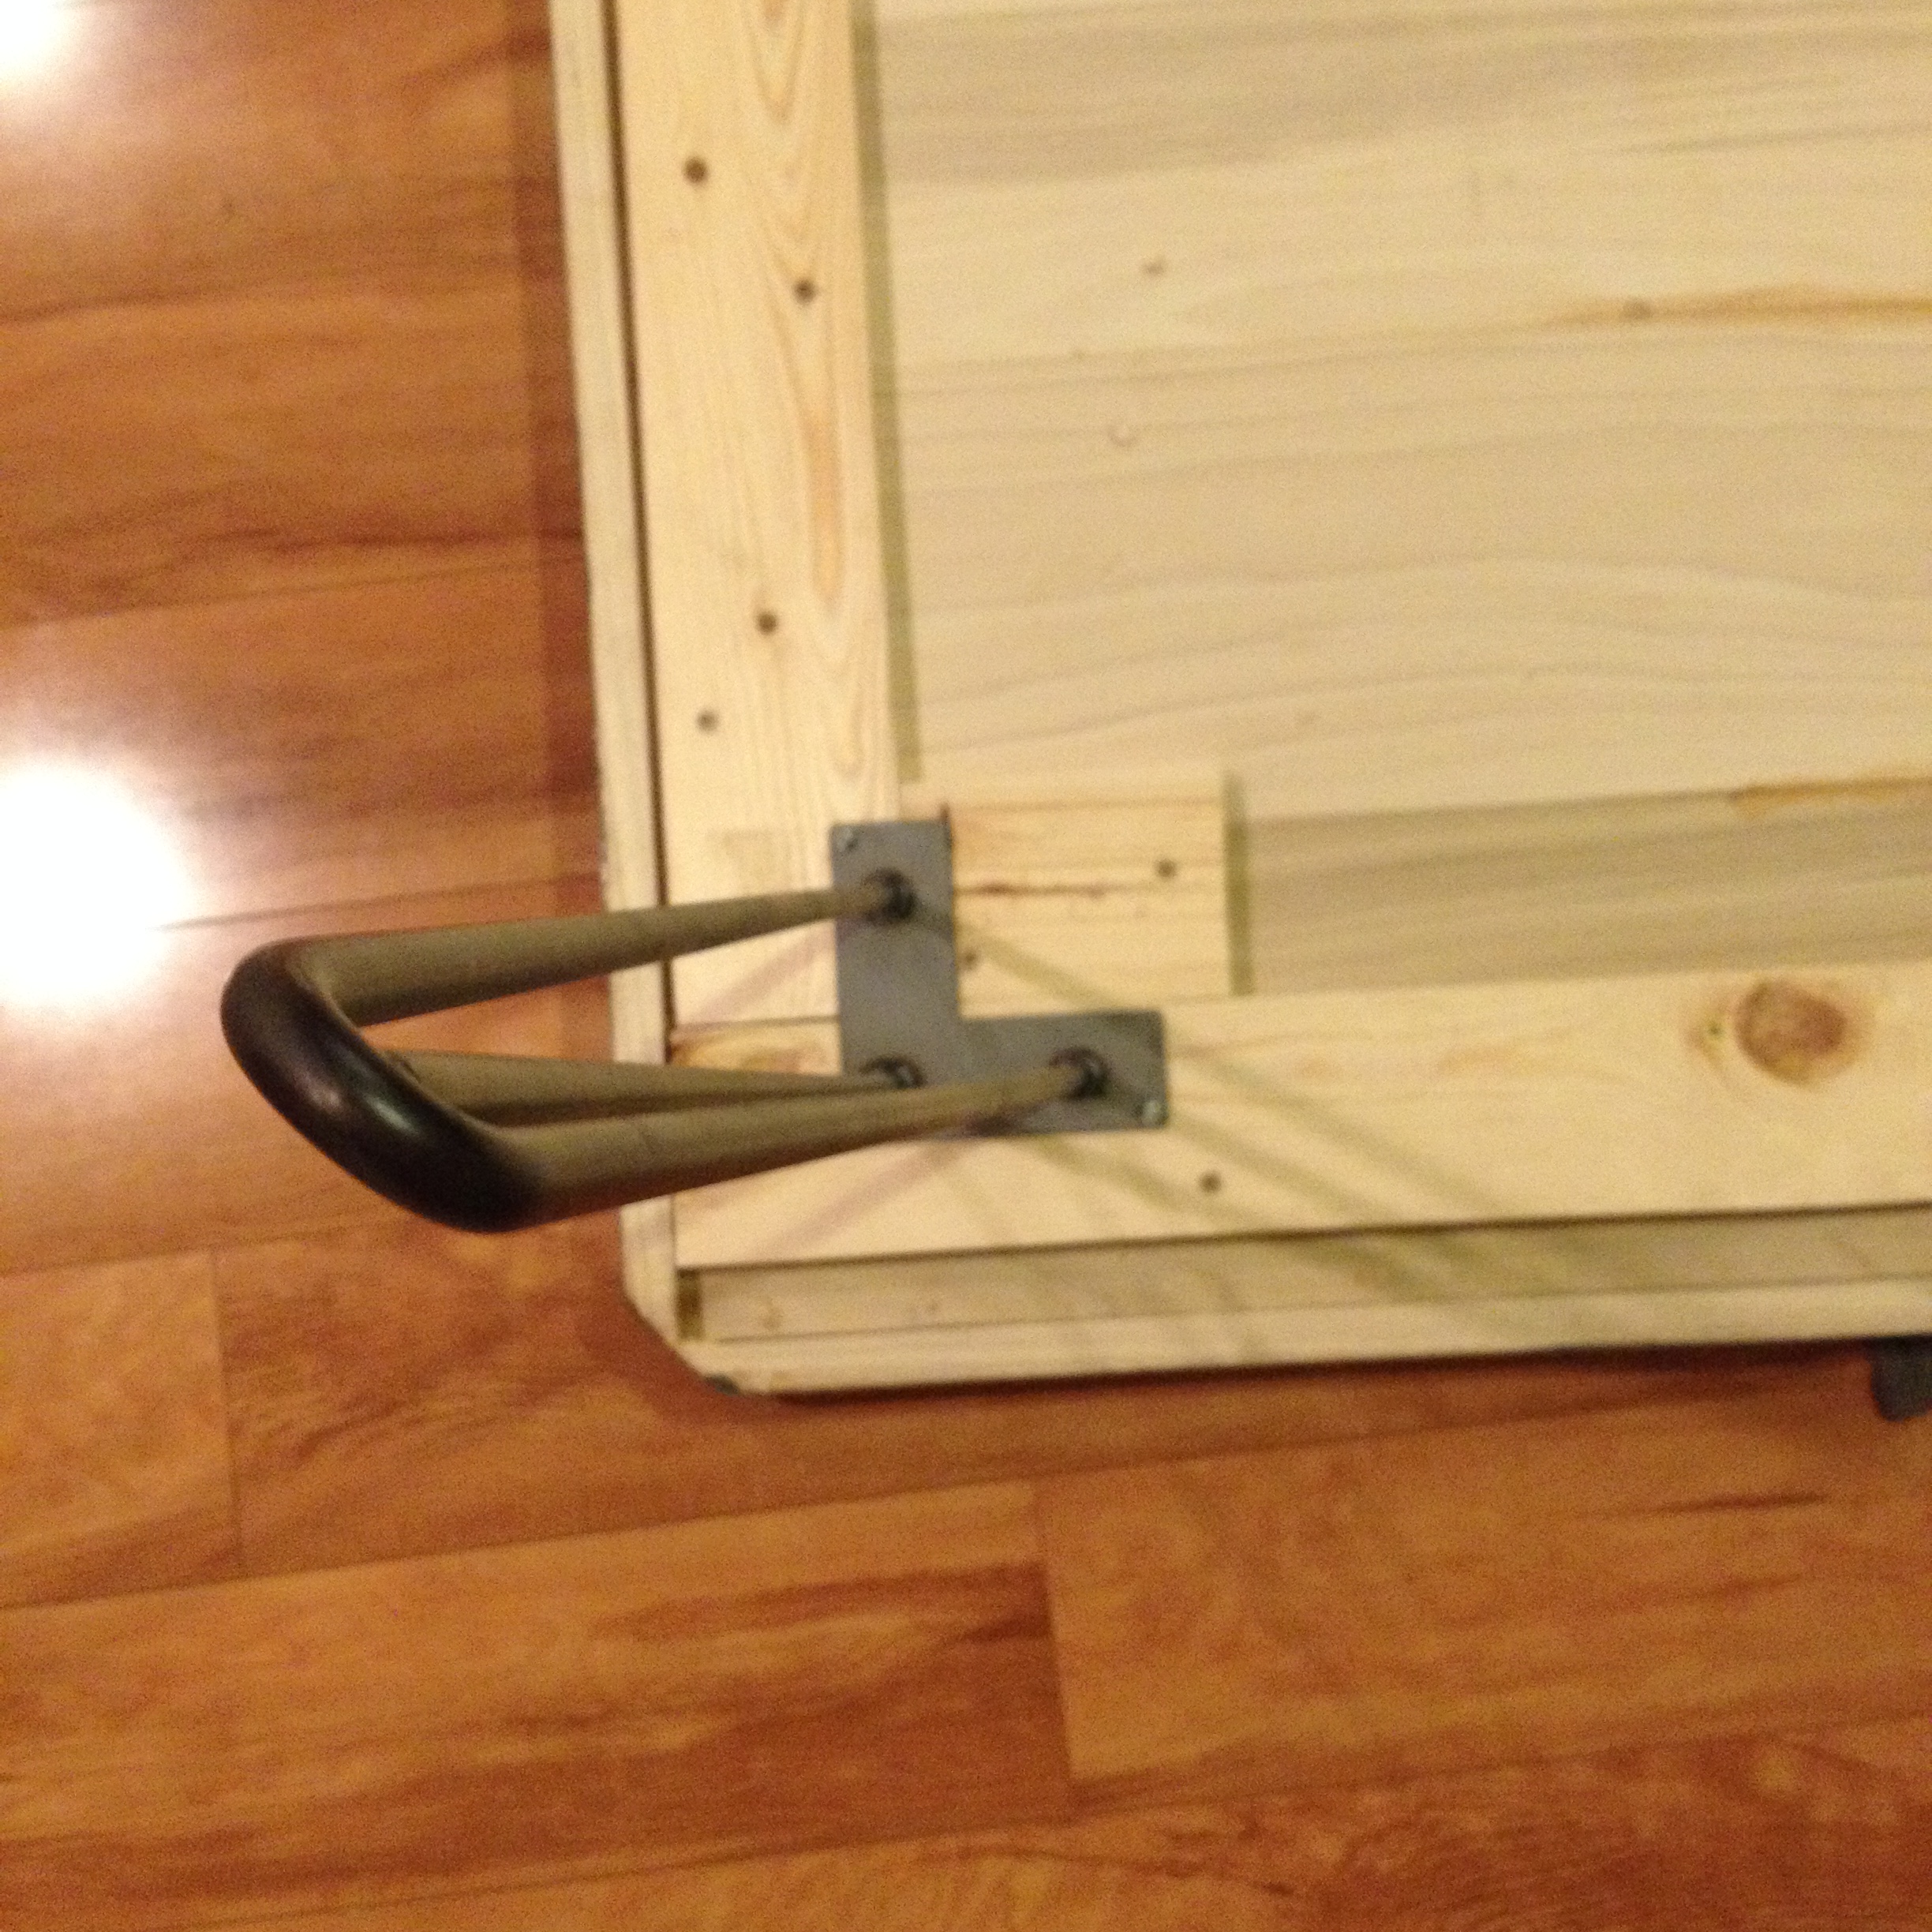
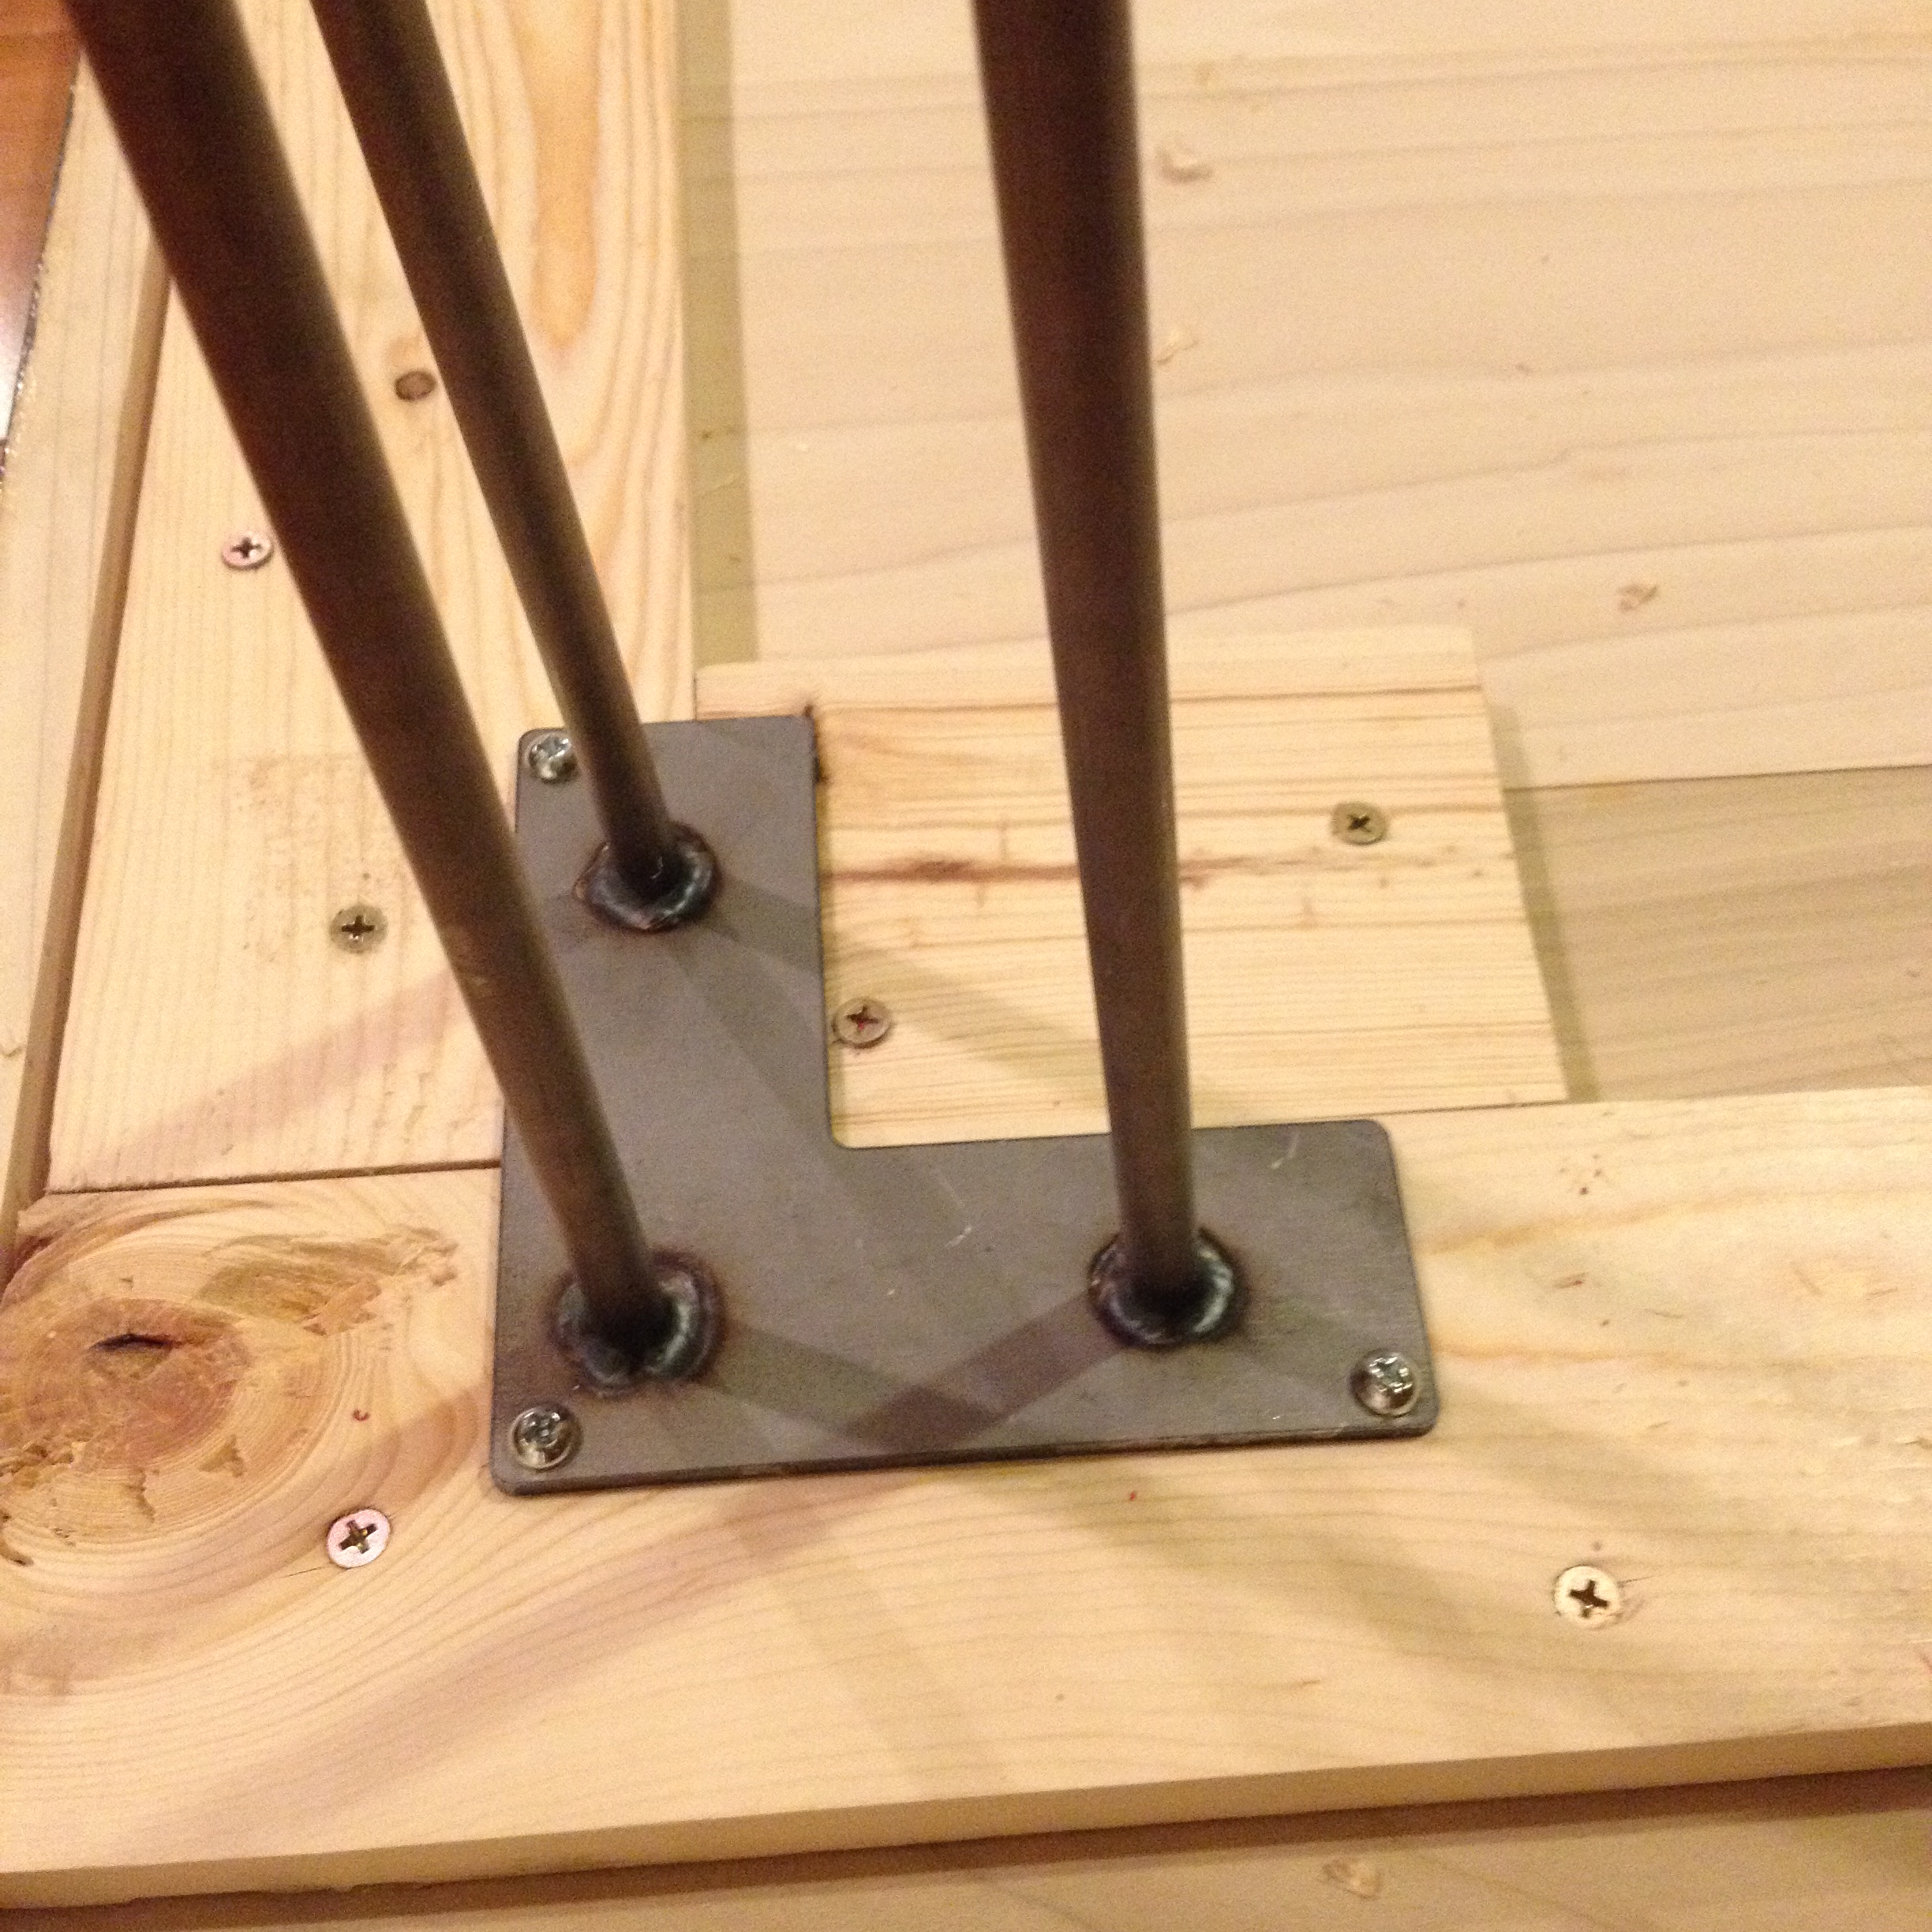
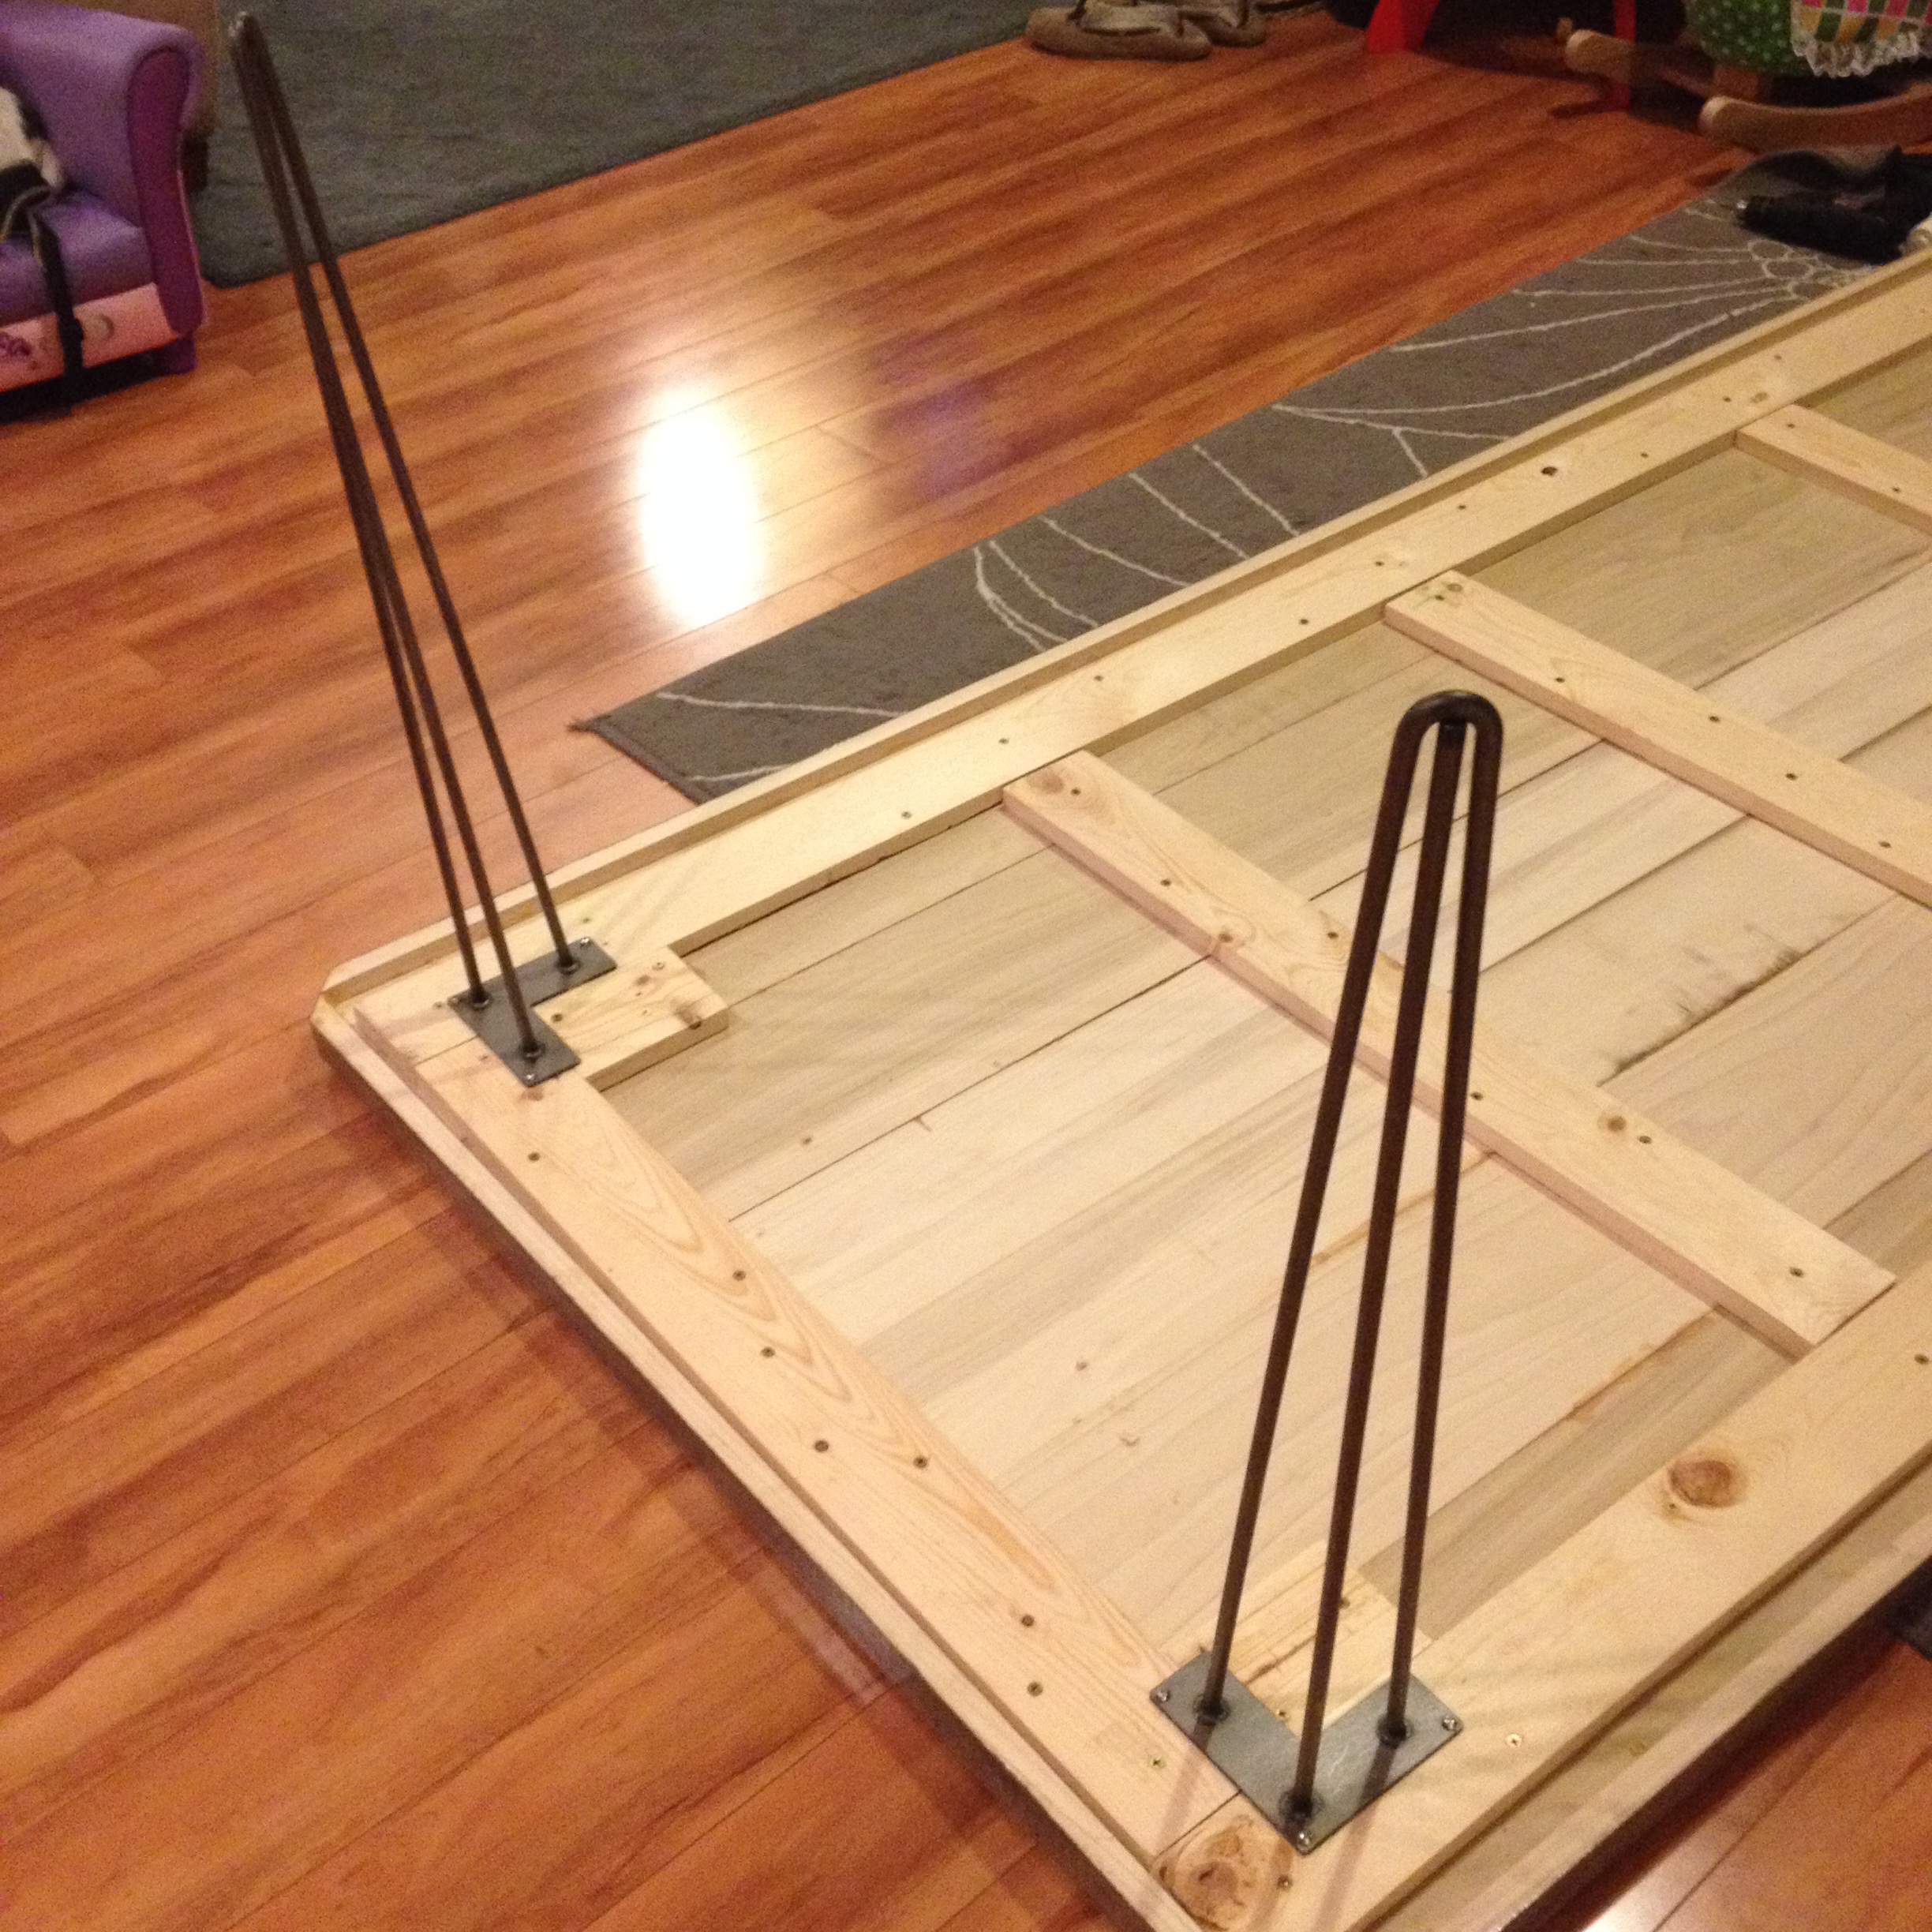
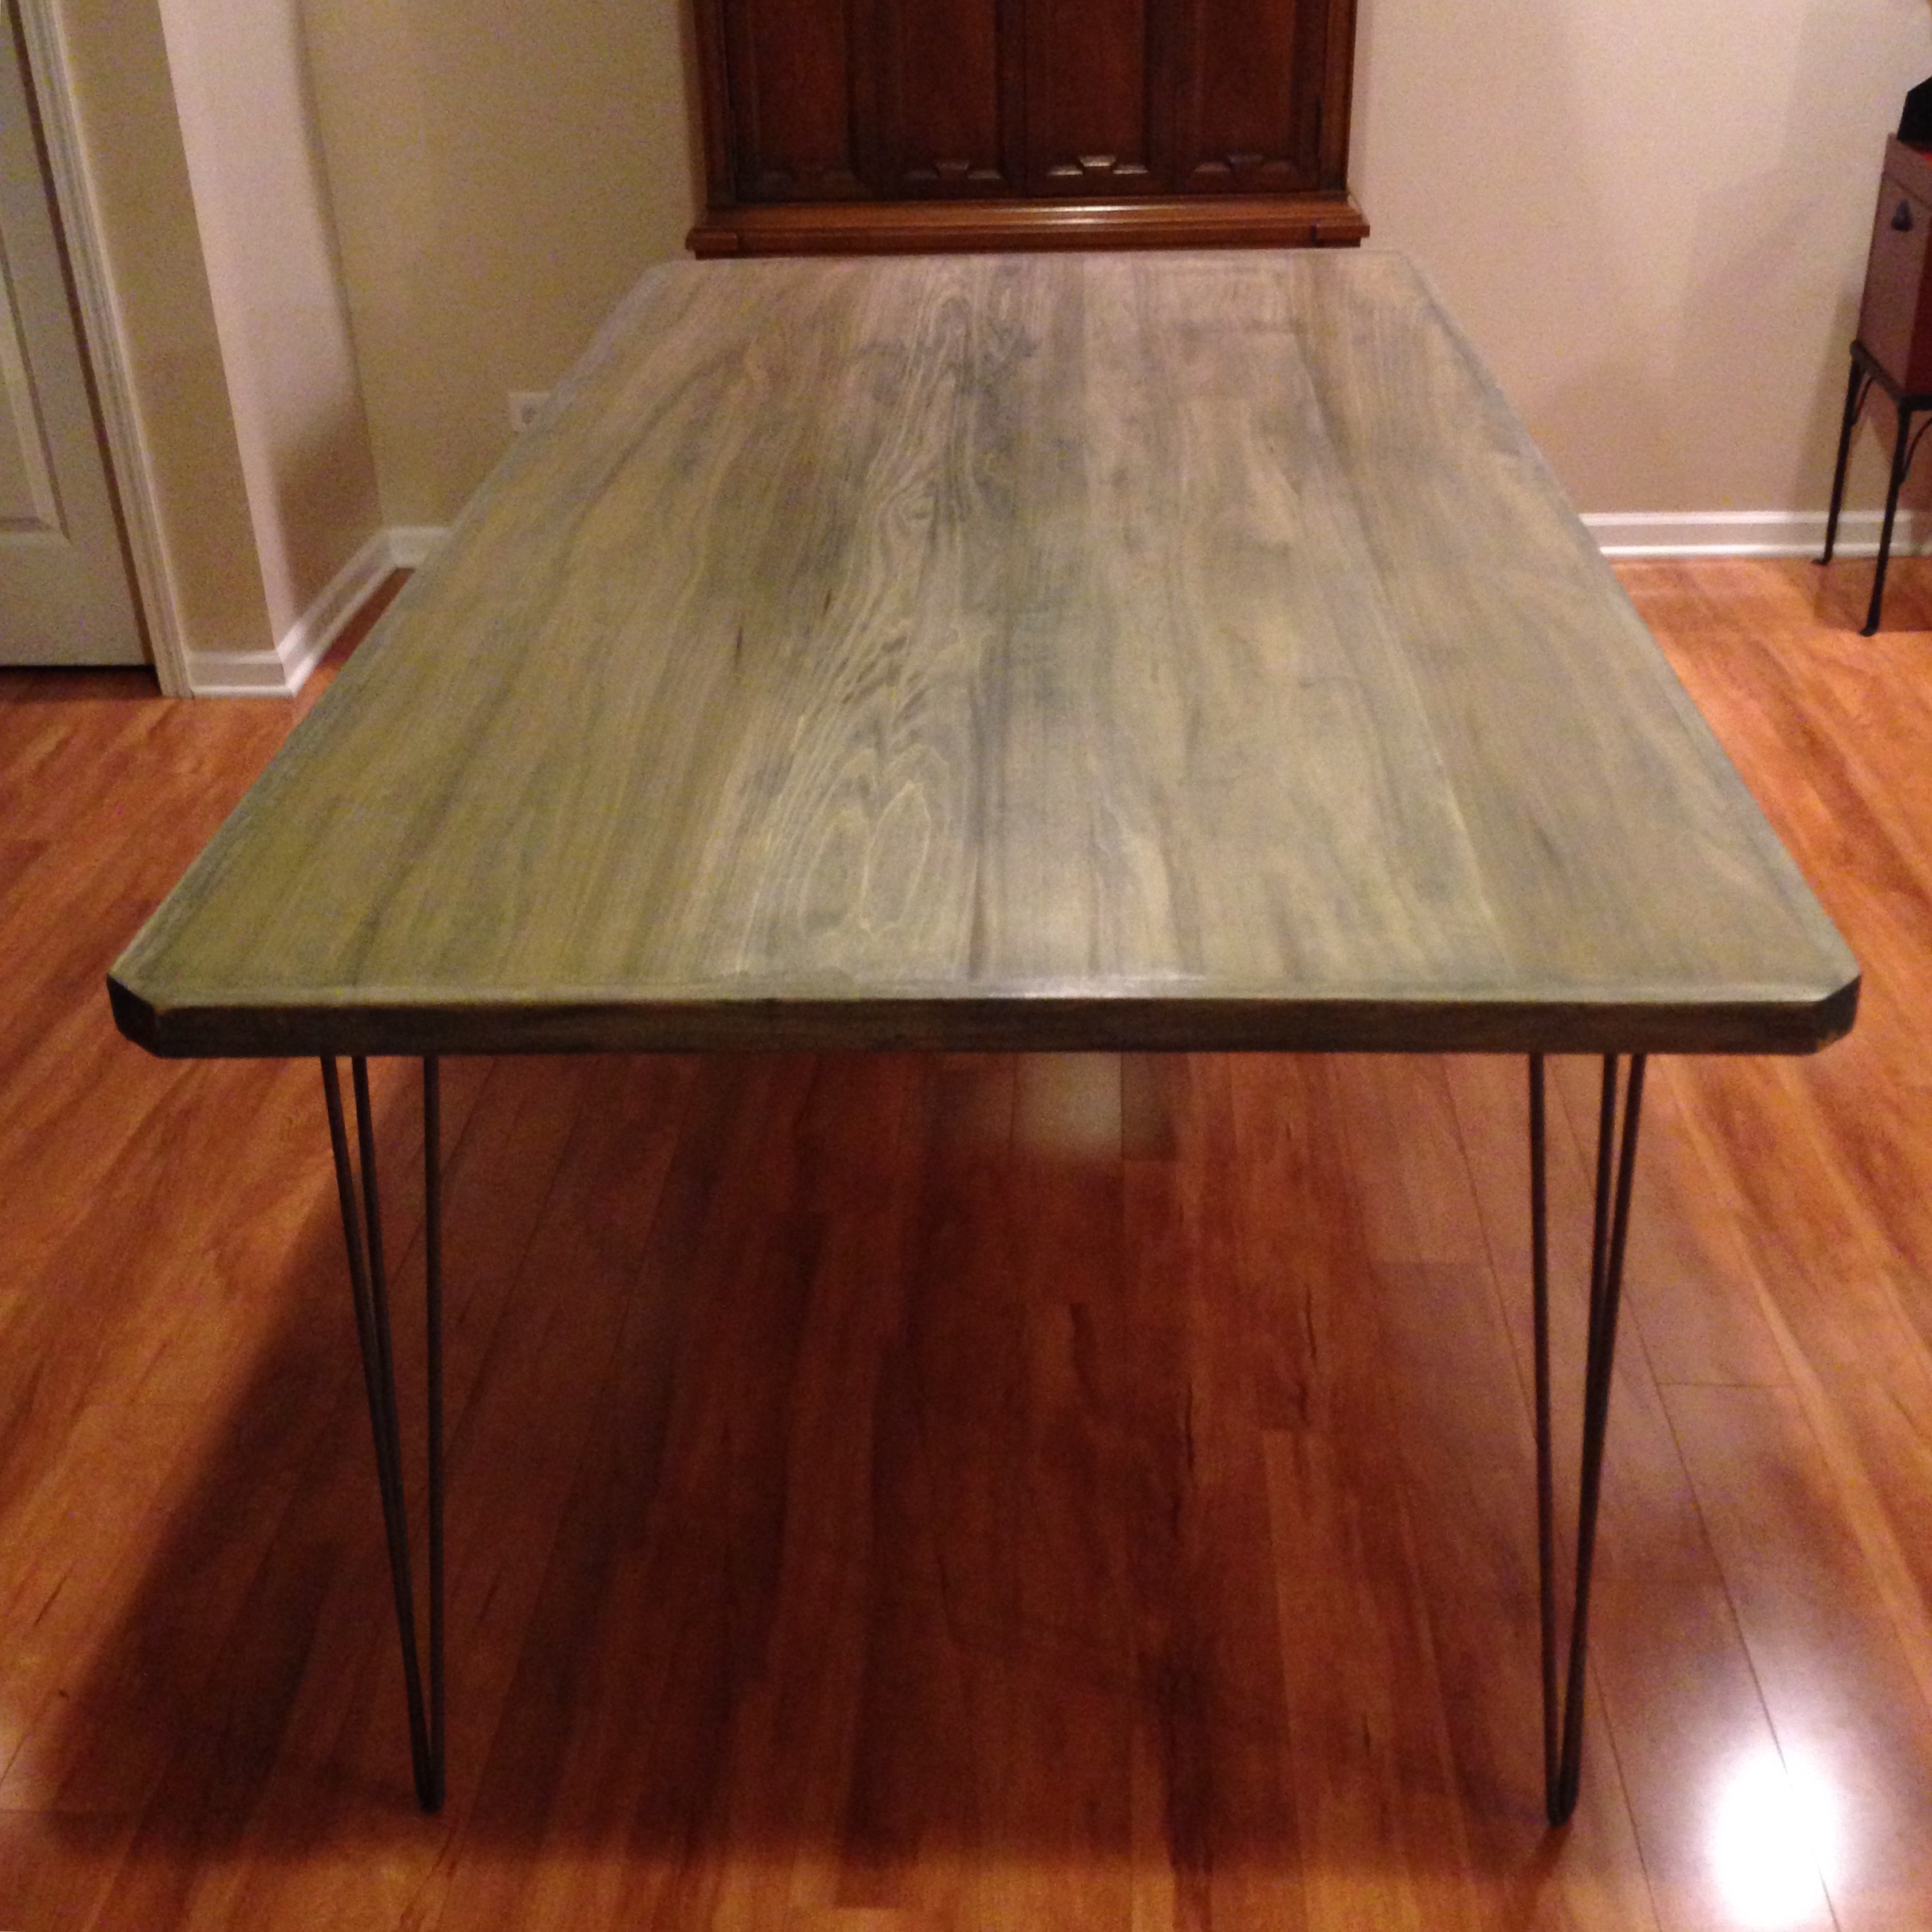
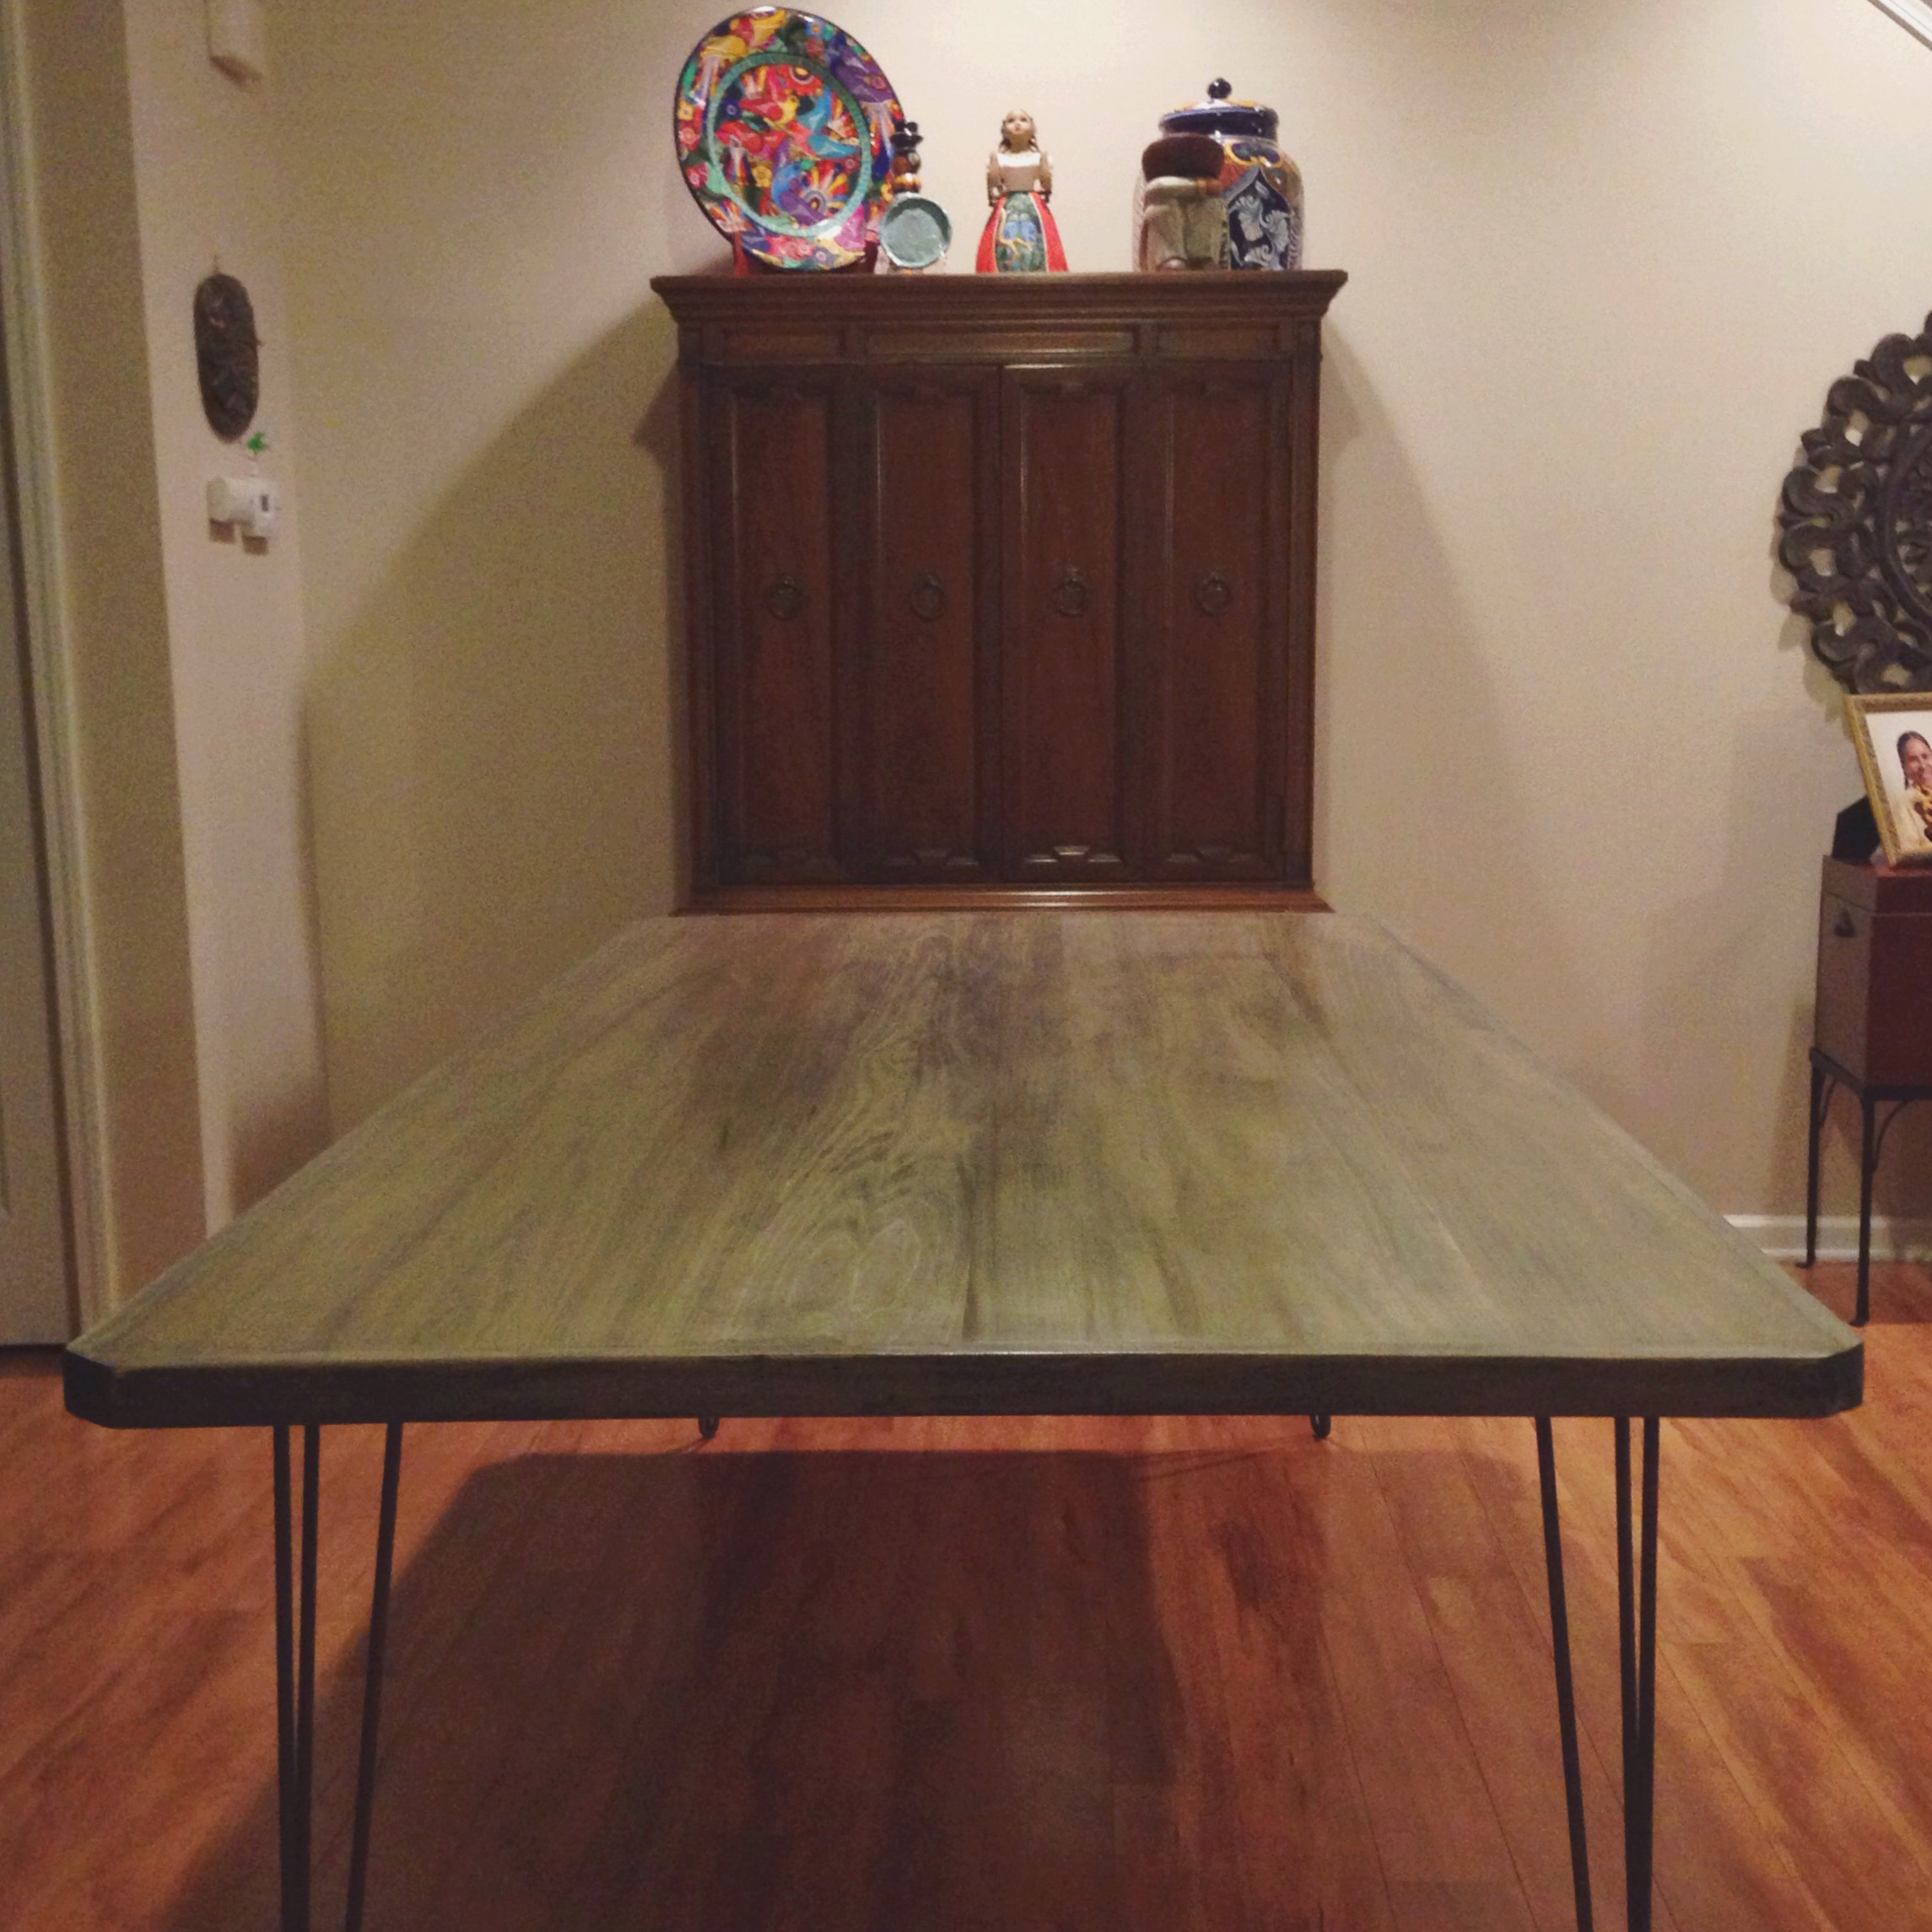
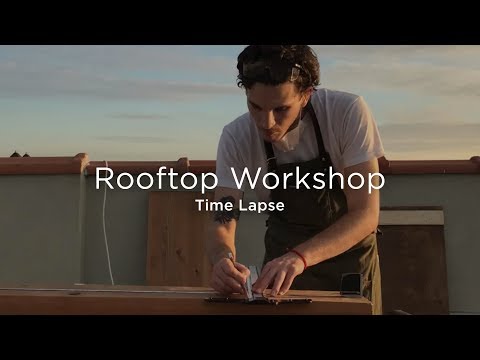
This was a family project that we wanted to share. We proud of the final product, but we give just a brief overview of the steps. Using poplar boards, we glued the sides overnight and built a pine frame to brace from underneath. To level the board edges we planed by hand, and sanded the full surface even. The surface was then sealed with 3 coats of shellac, wet-sanding between coats. Shellac is non-toxic and food safe once it cures. The last step was attaching the hairpin legs and sharing a delicious meal!