A message from Real Good Goods regarding COVID-19

We would like to take a moment to provide an update to the supporters, friends, and customers that we have encountered over the last six years and to any new visitors finding our shop today.

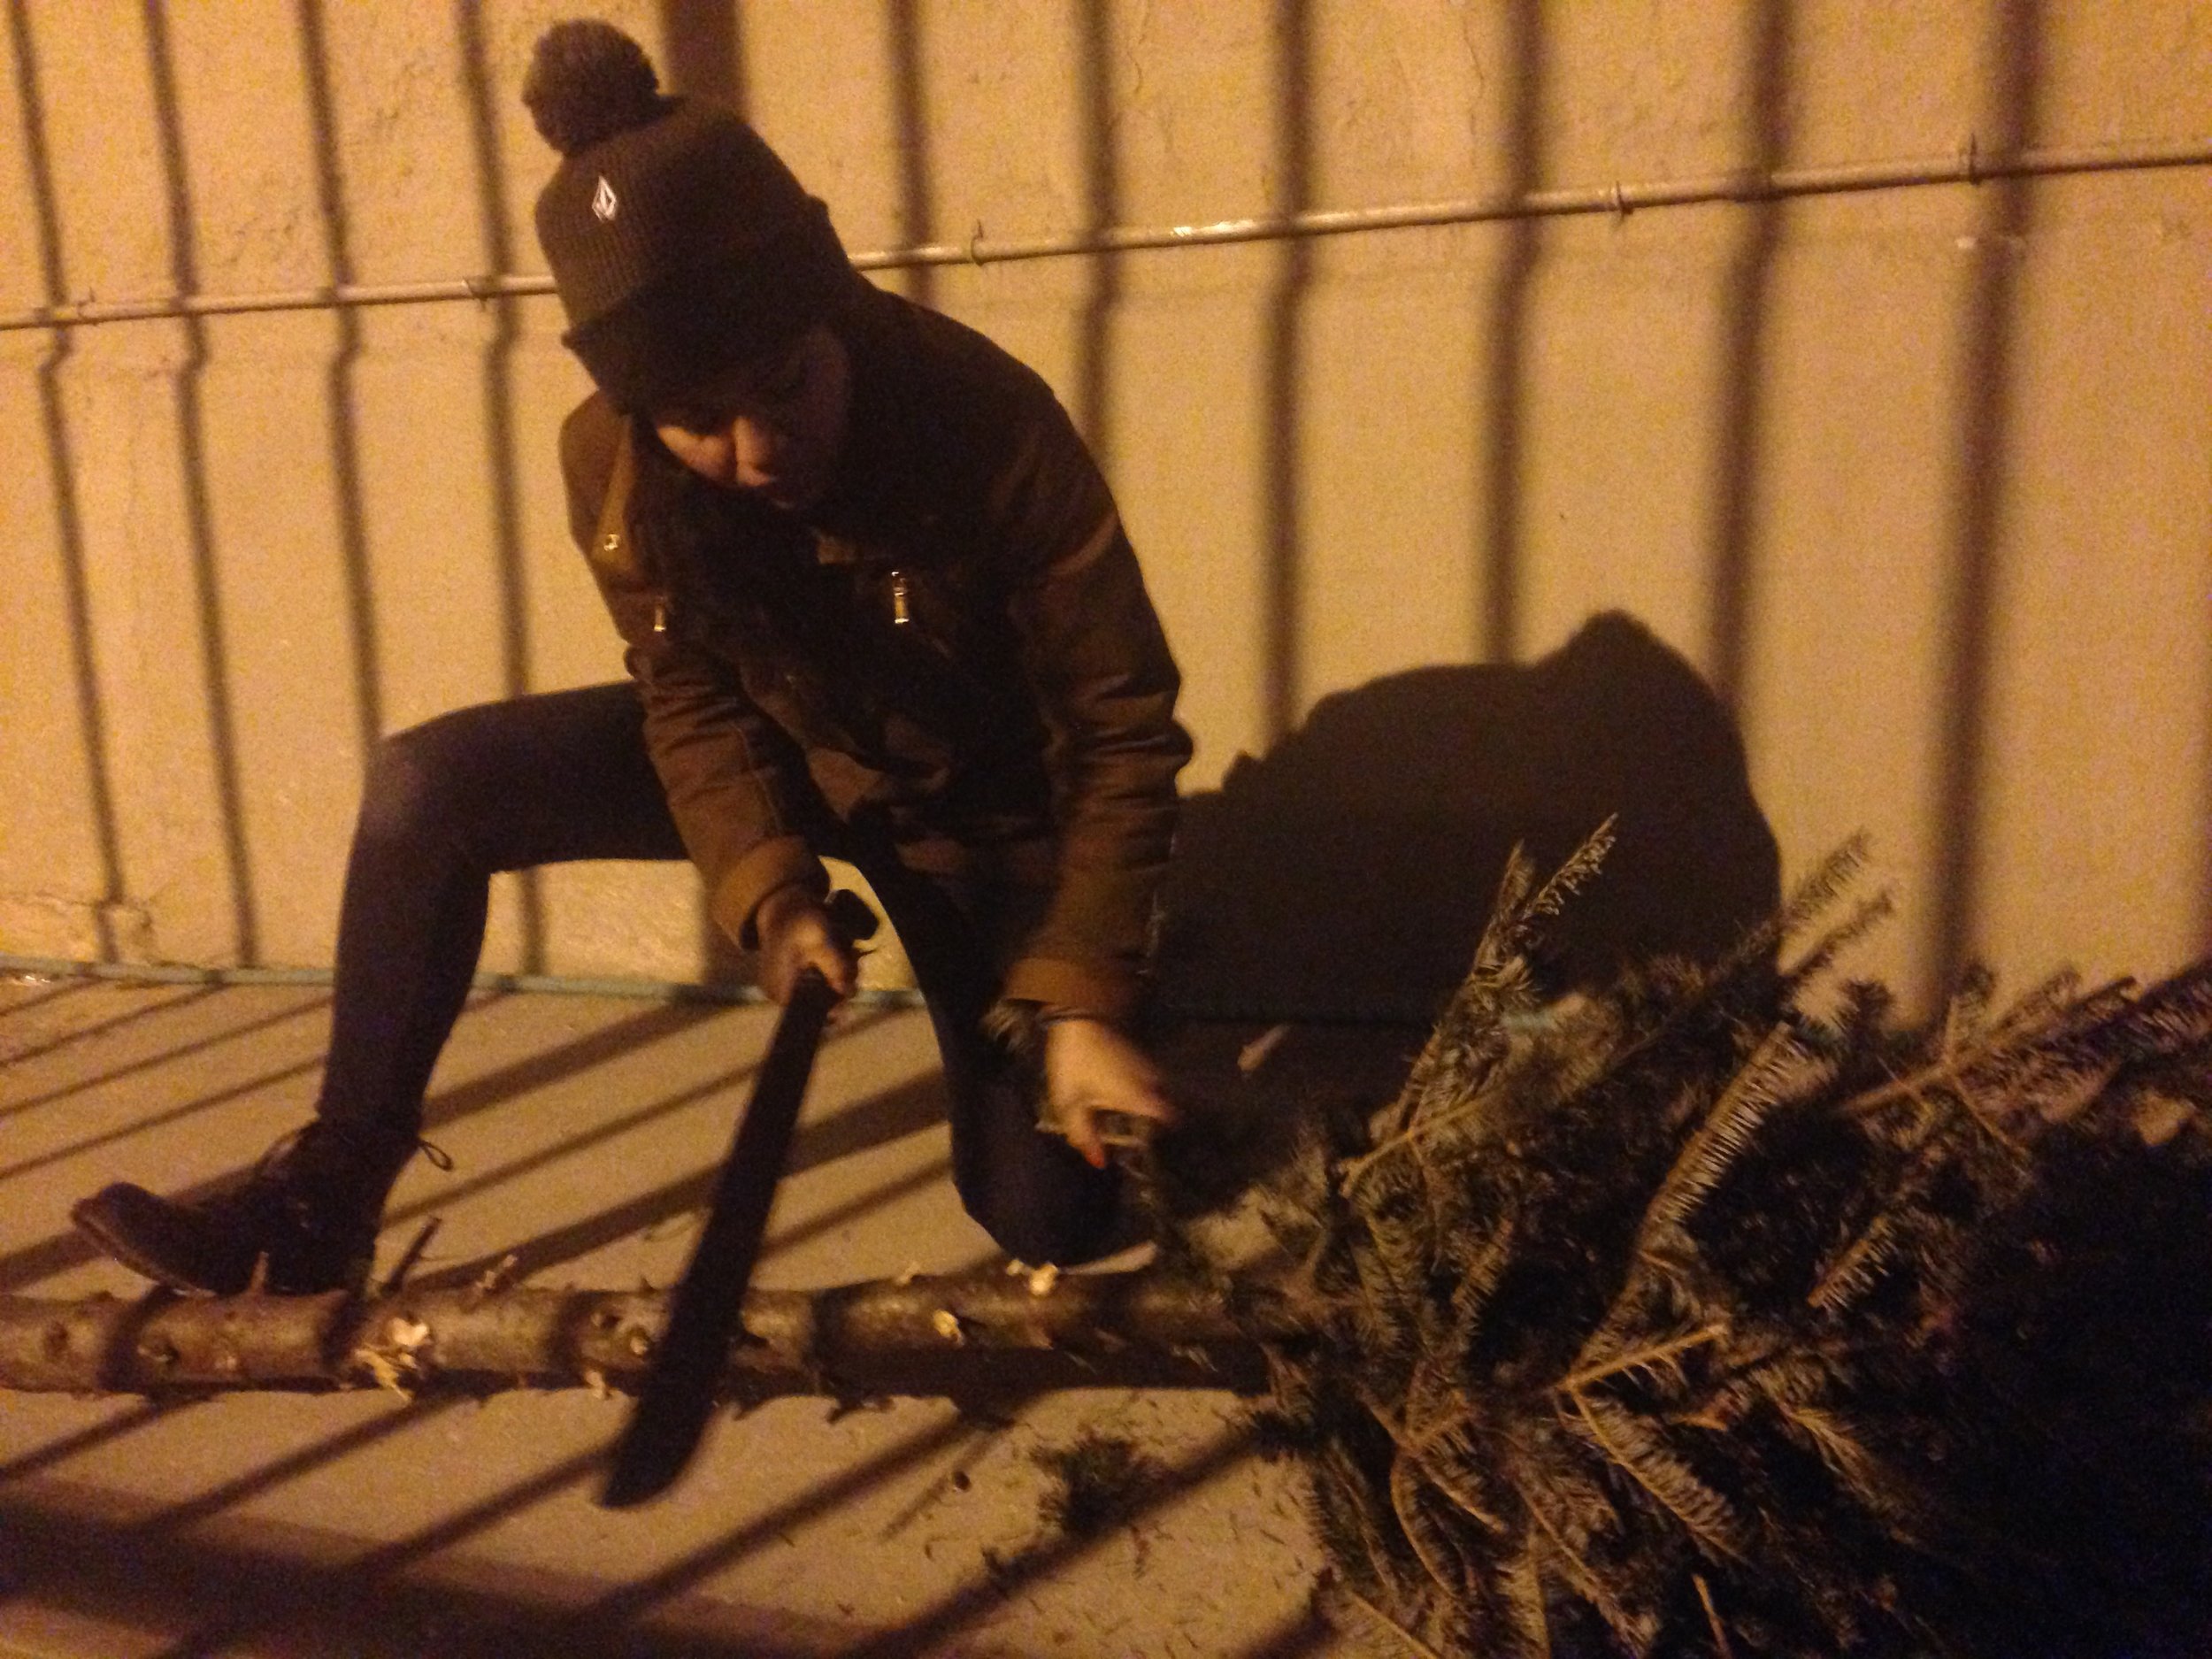
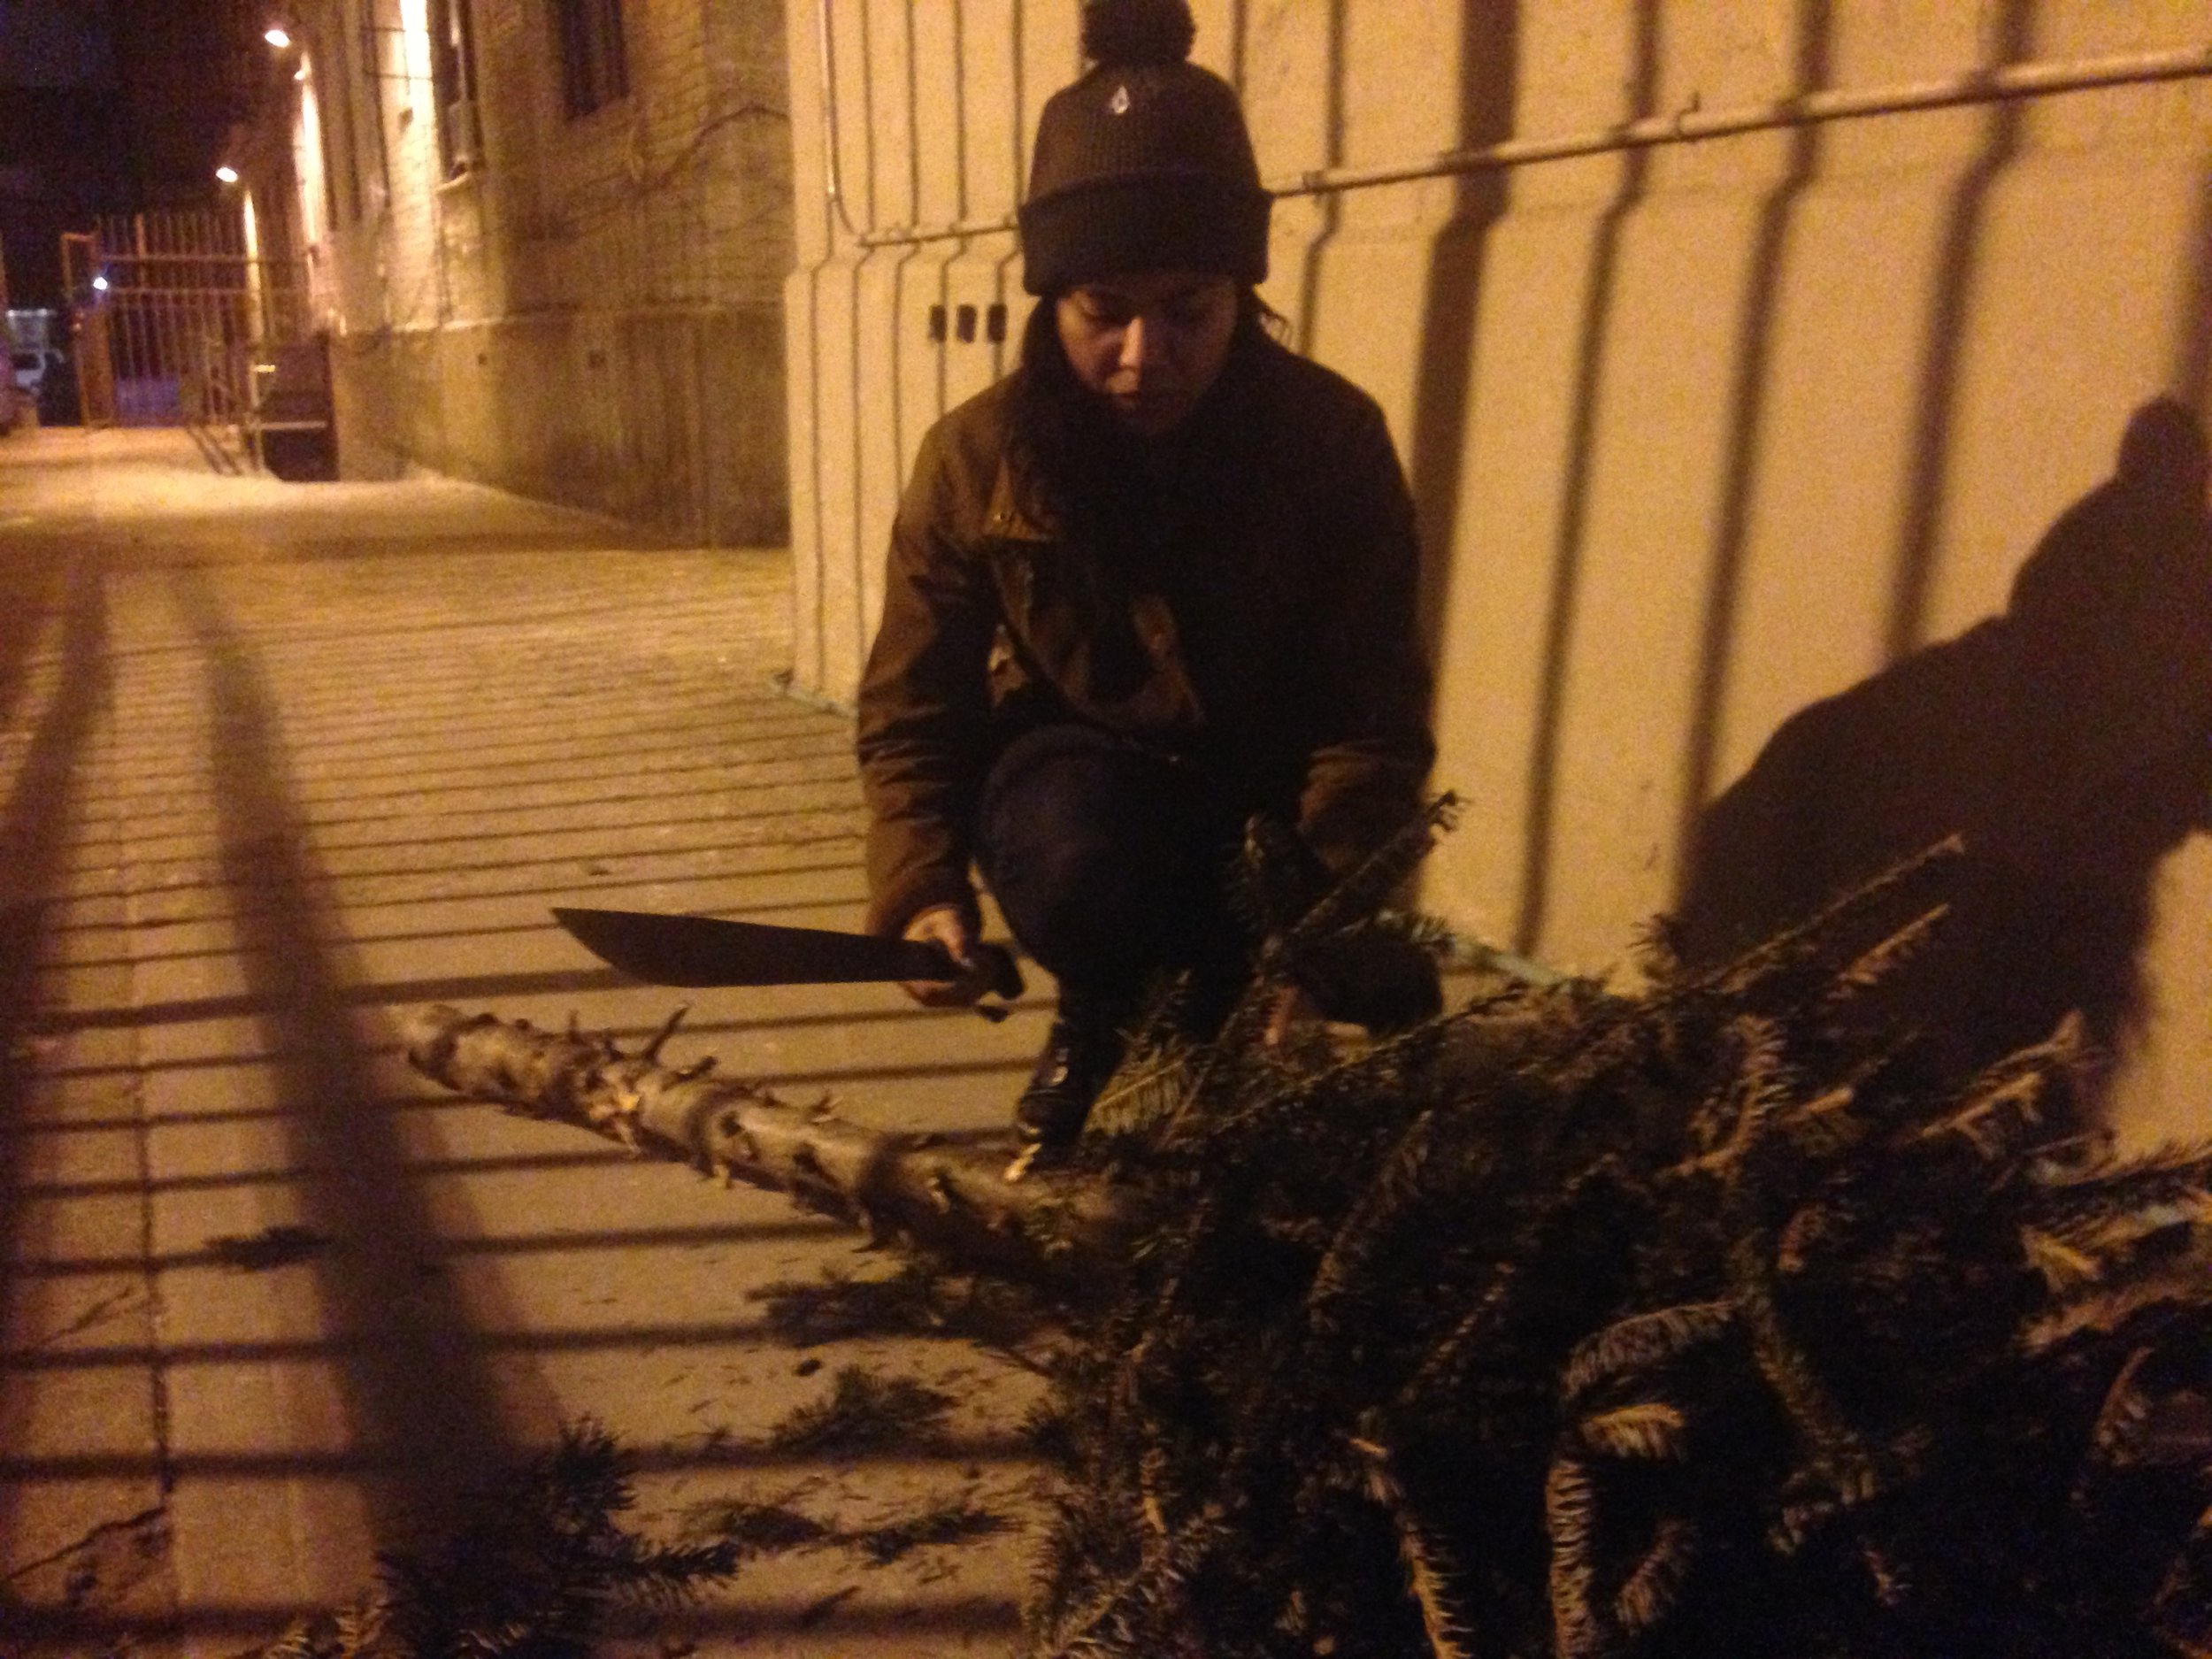
In January of this year, Real Good Goods temporarily closed its doors following the holiday season and before the first reports of COVID-19 reaching the United States. We were setting into motion our plan to move ourselves and our shop back to Brooklyn, NY, where Real Good Goods was founded. Our entire inventory was placed into a secure, climate-controlled storage facility while we figured out other logistics. Our online storefront was updated to notify visitors that any orders would not be shipped until April 30th.

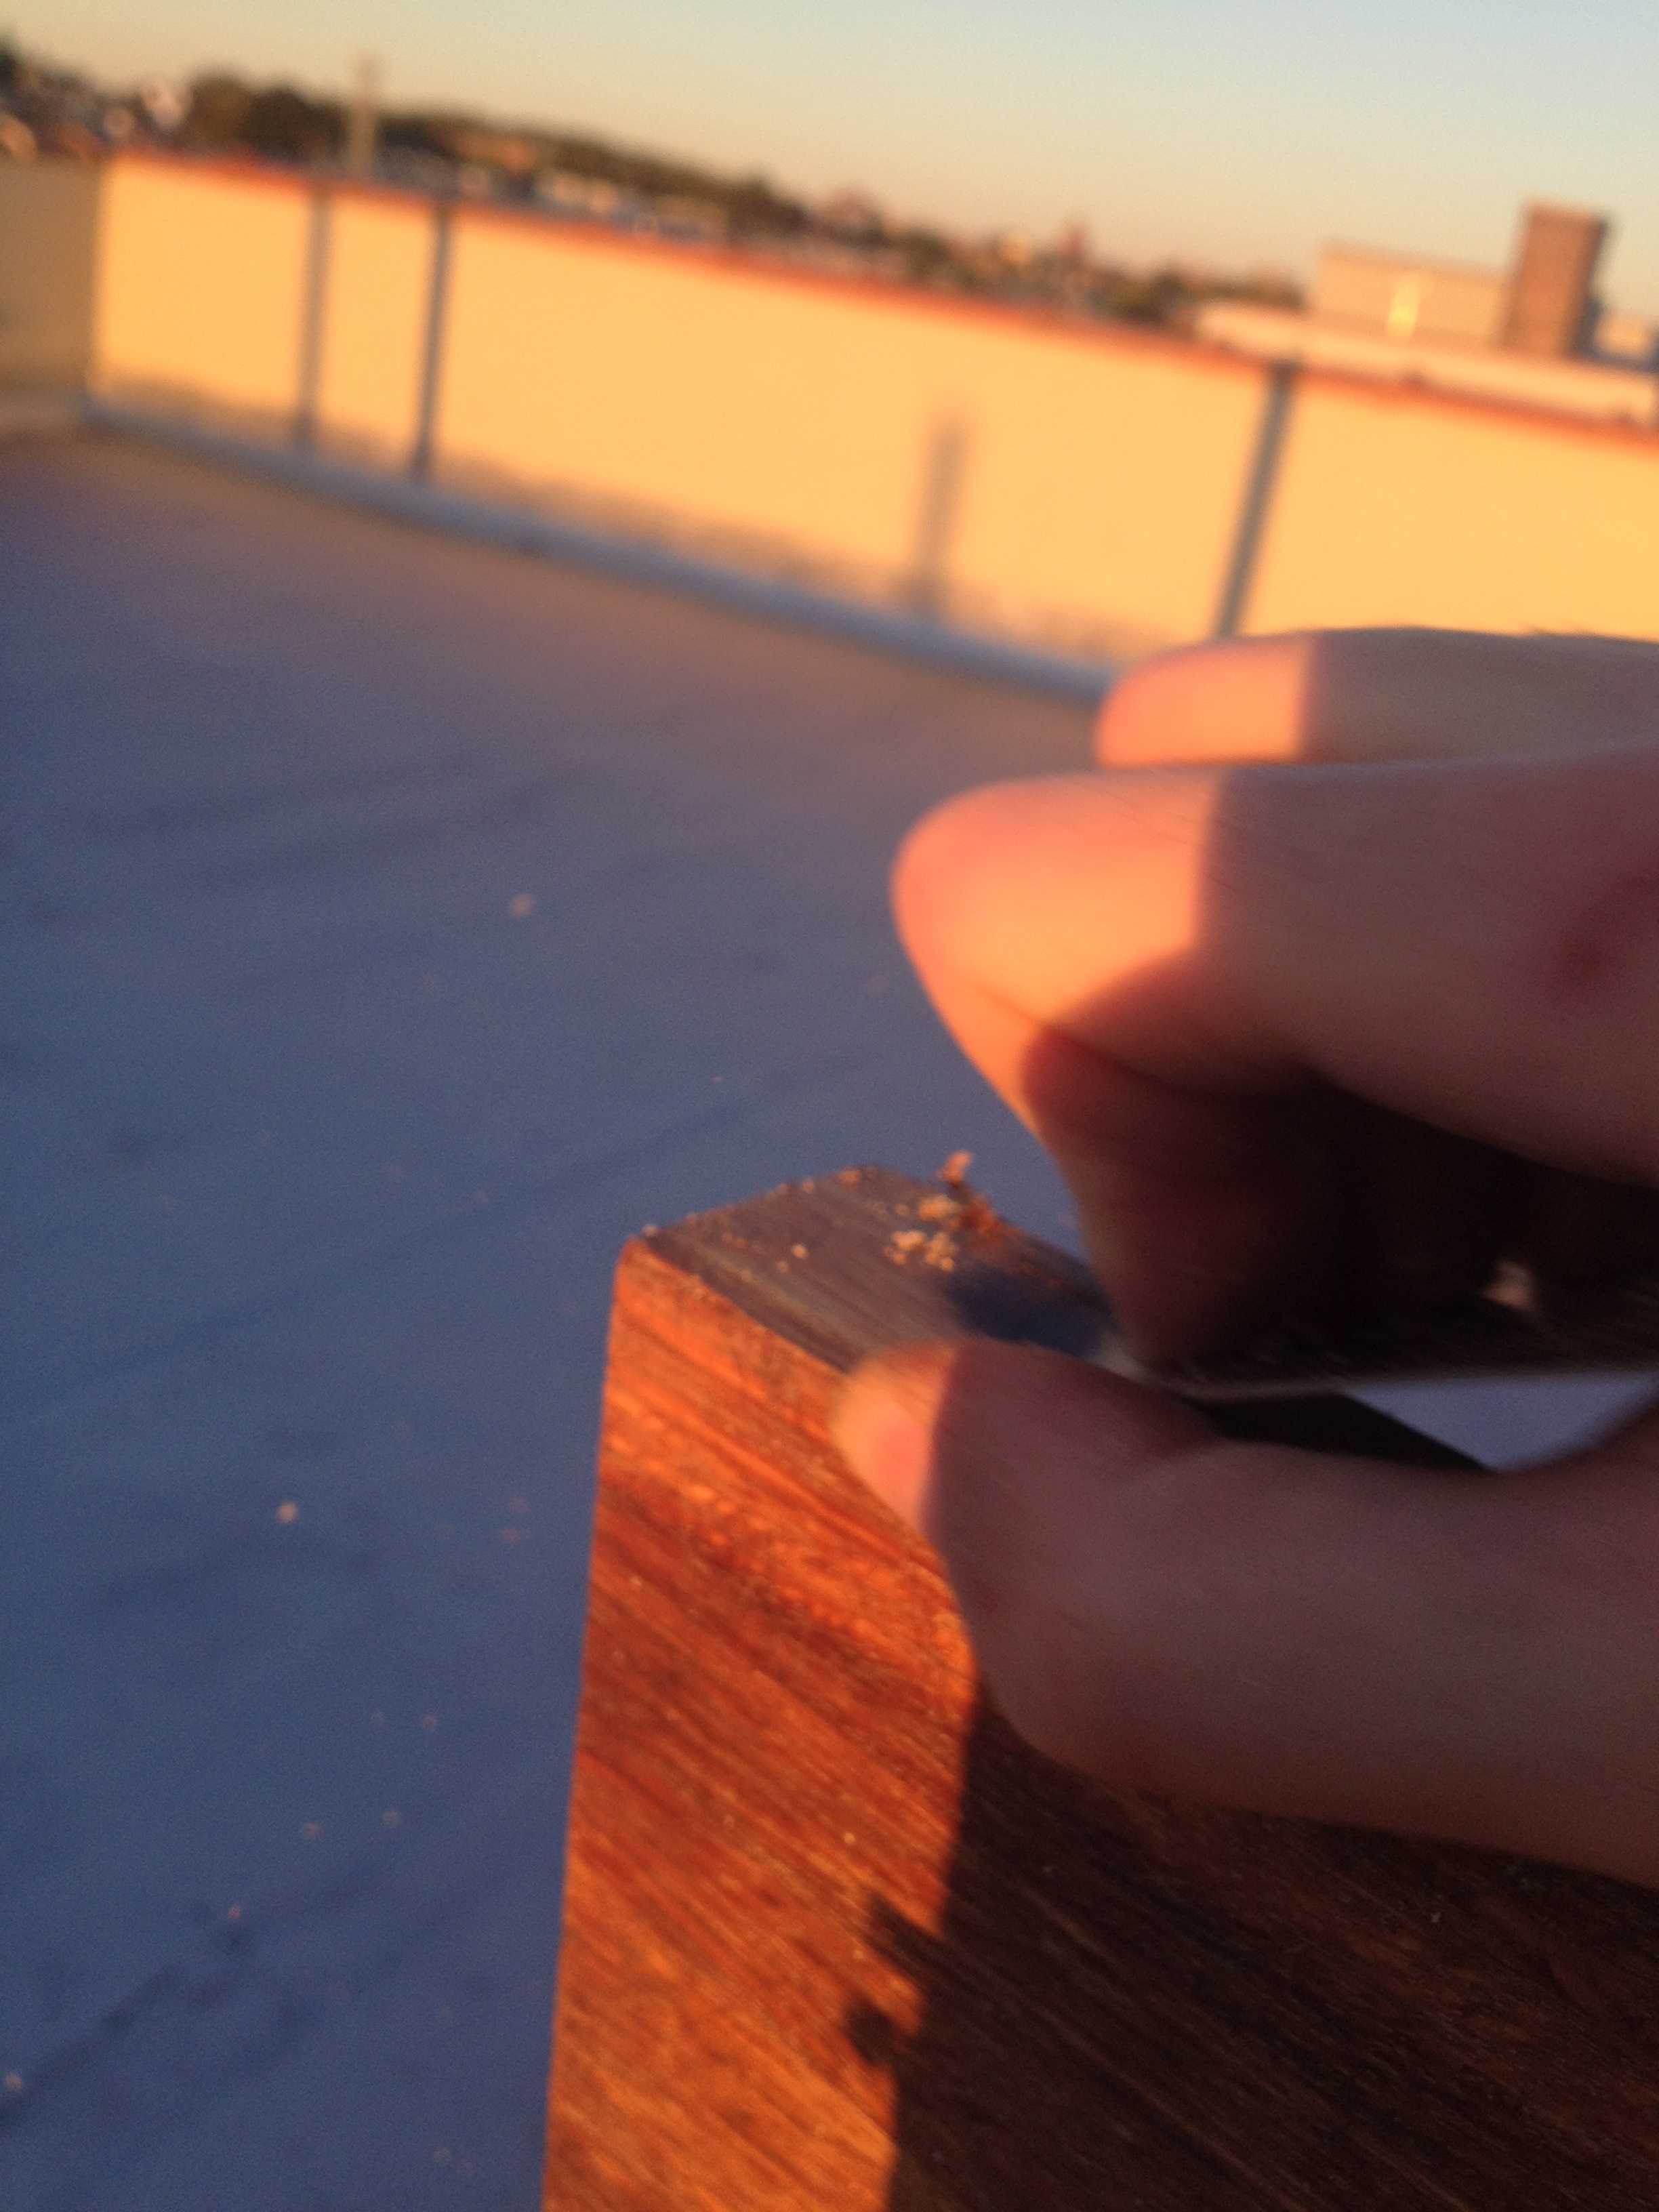
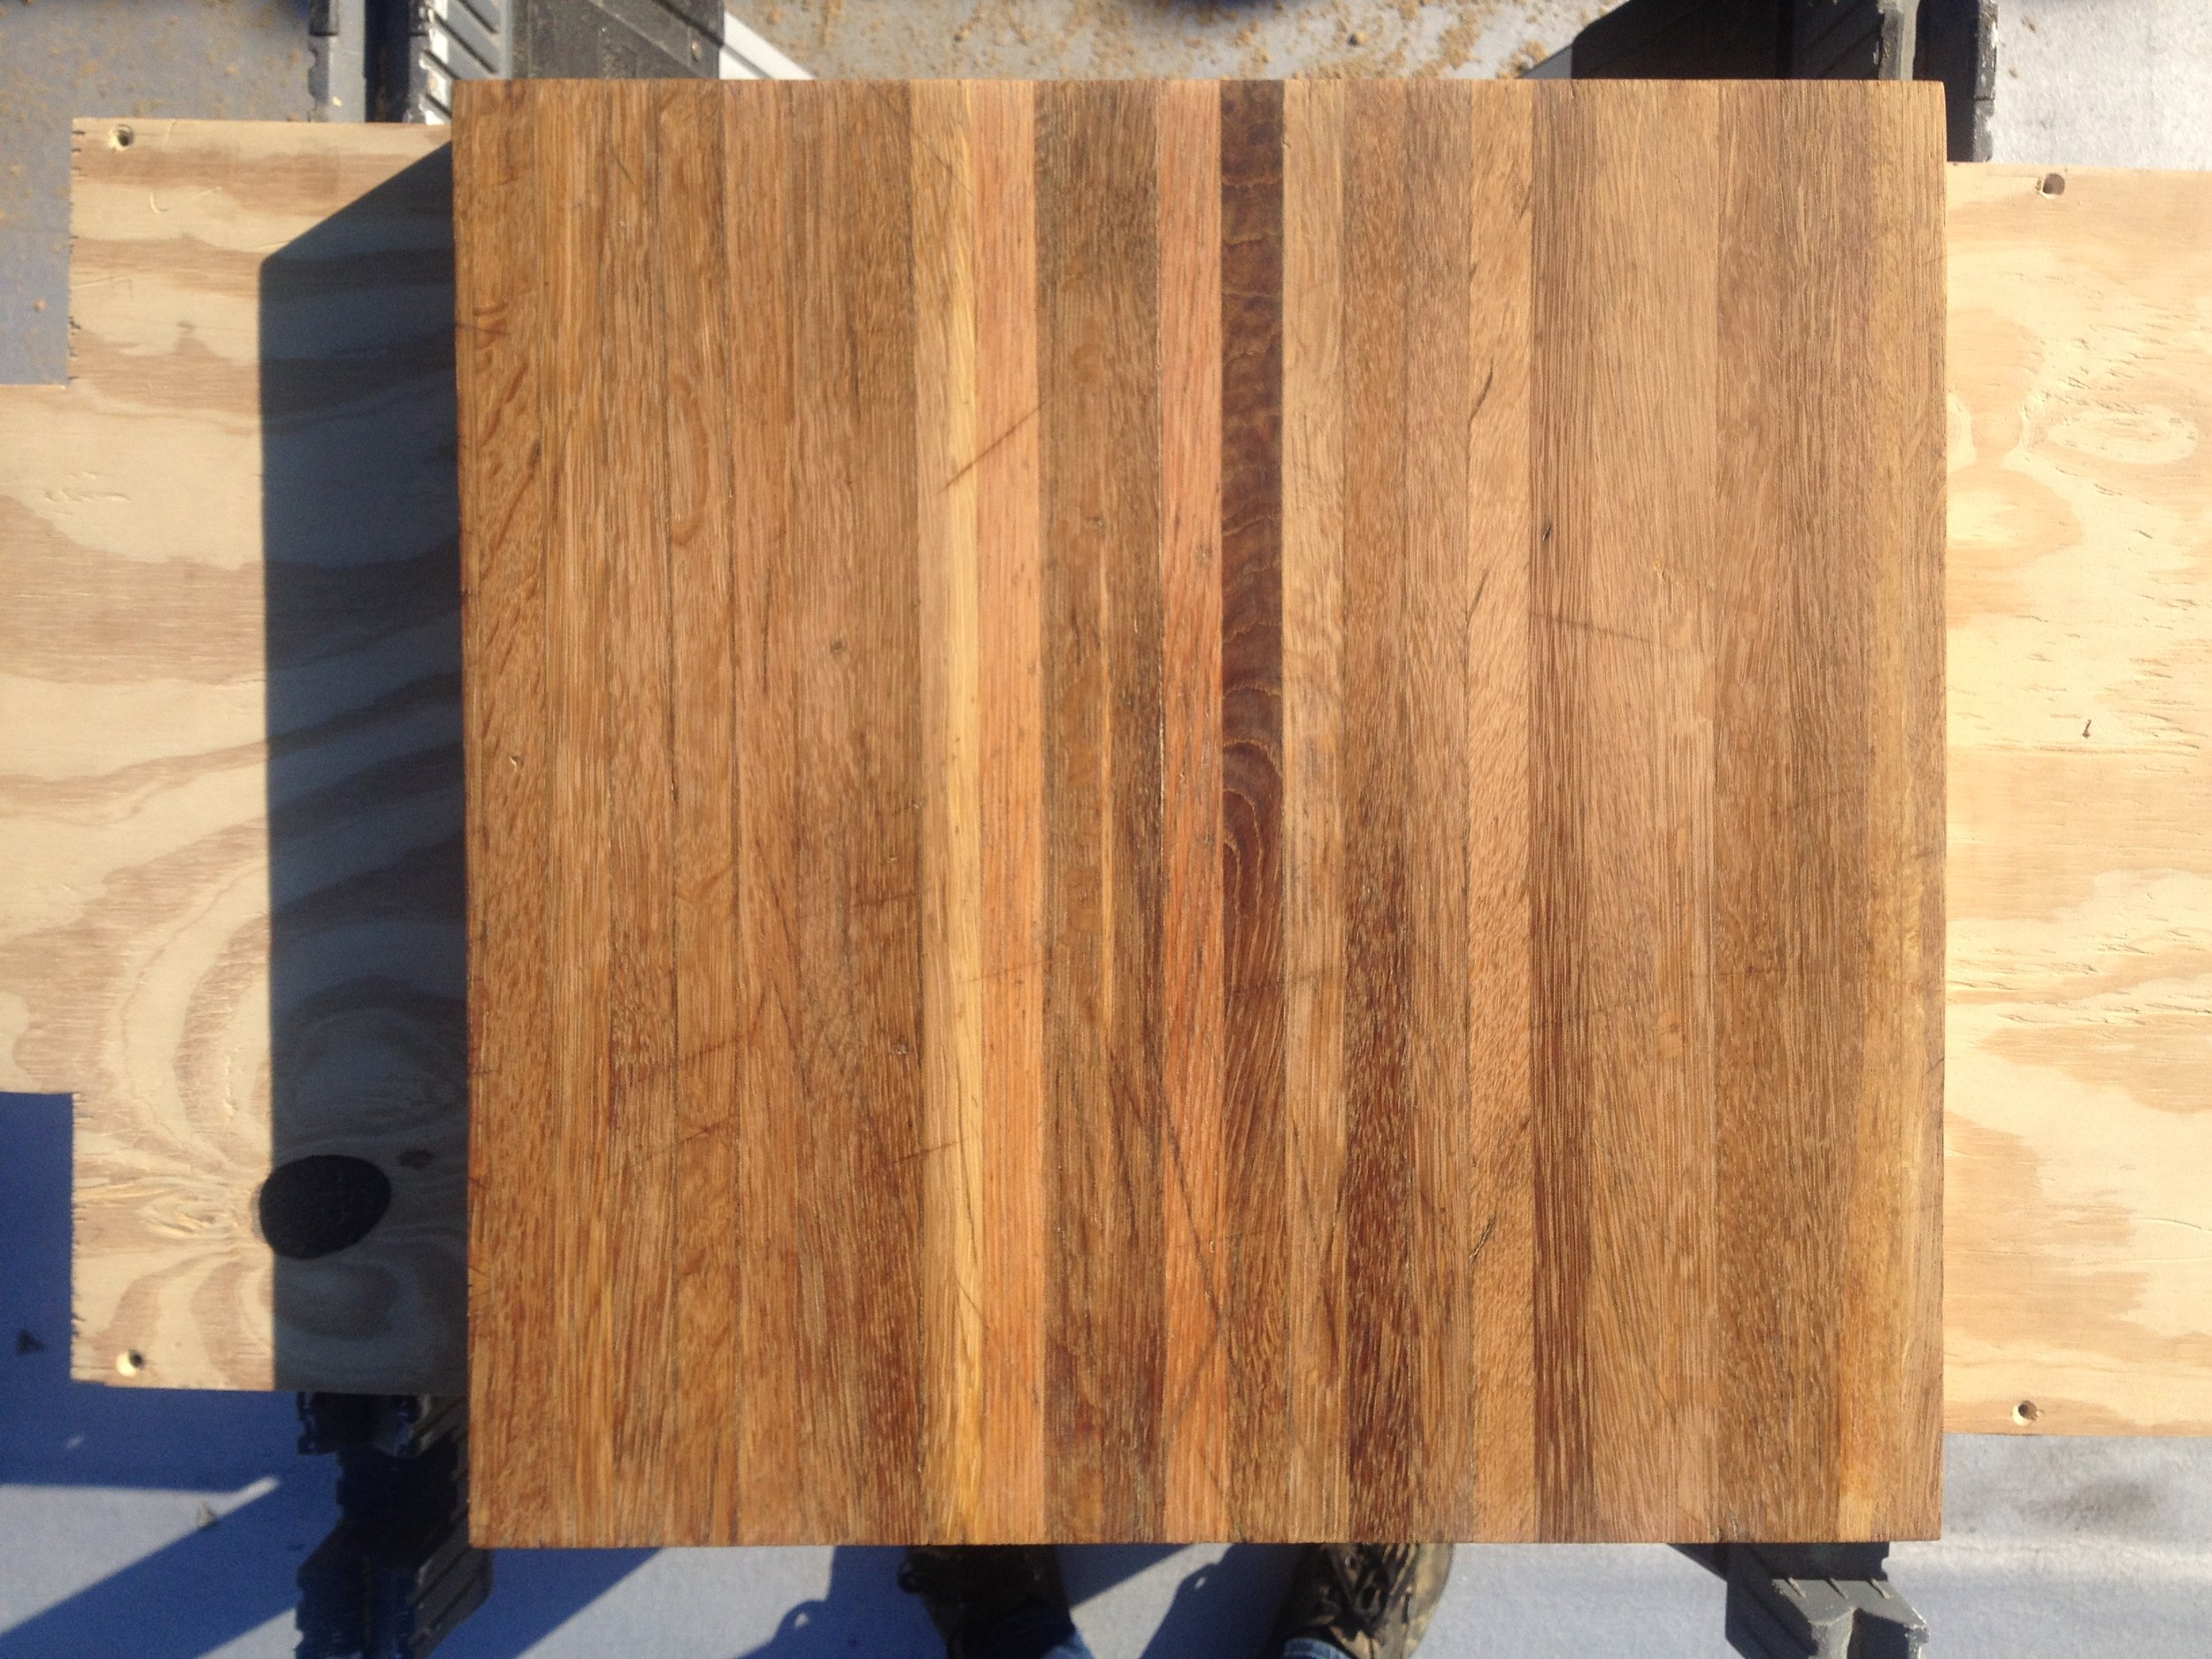
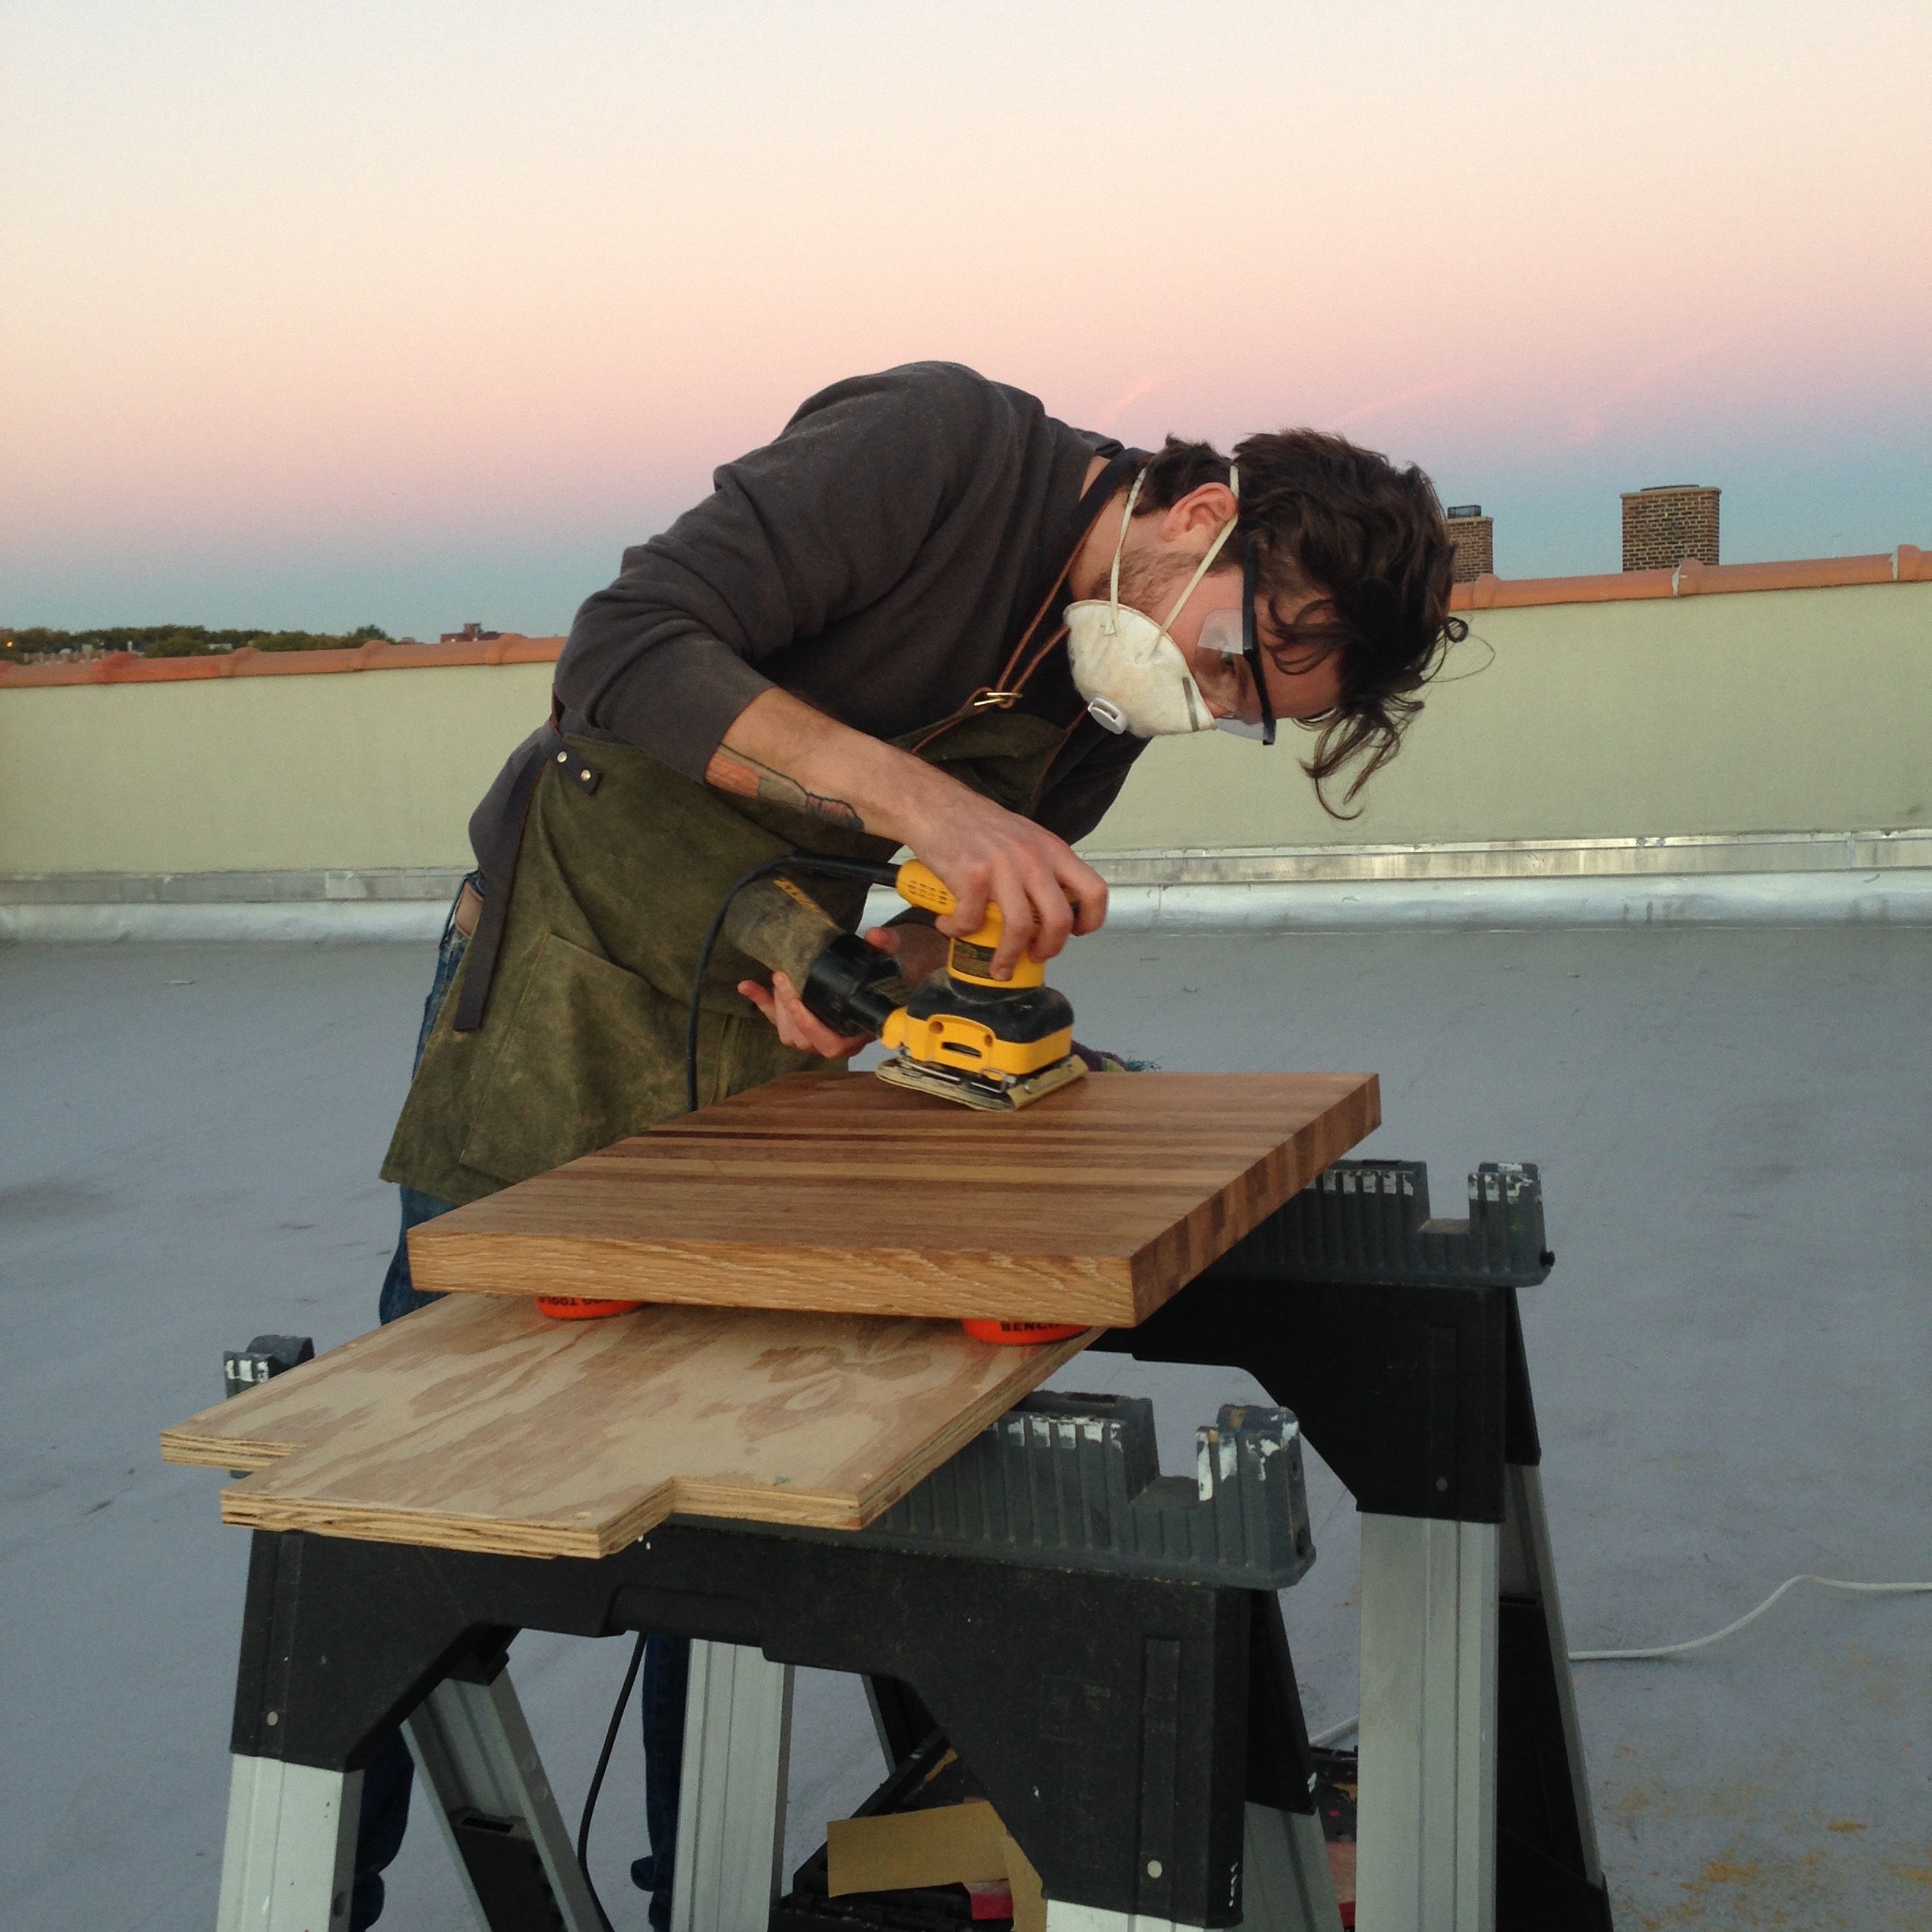
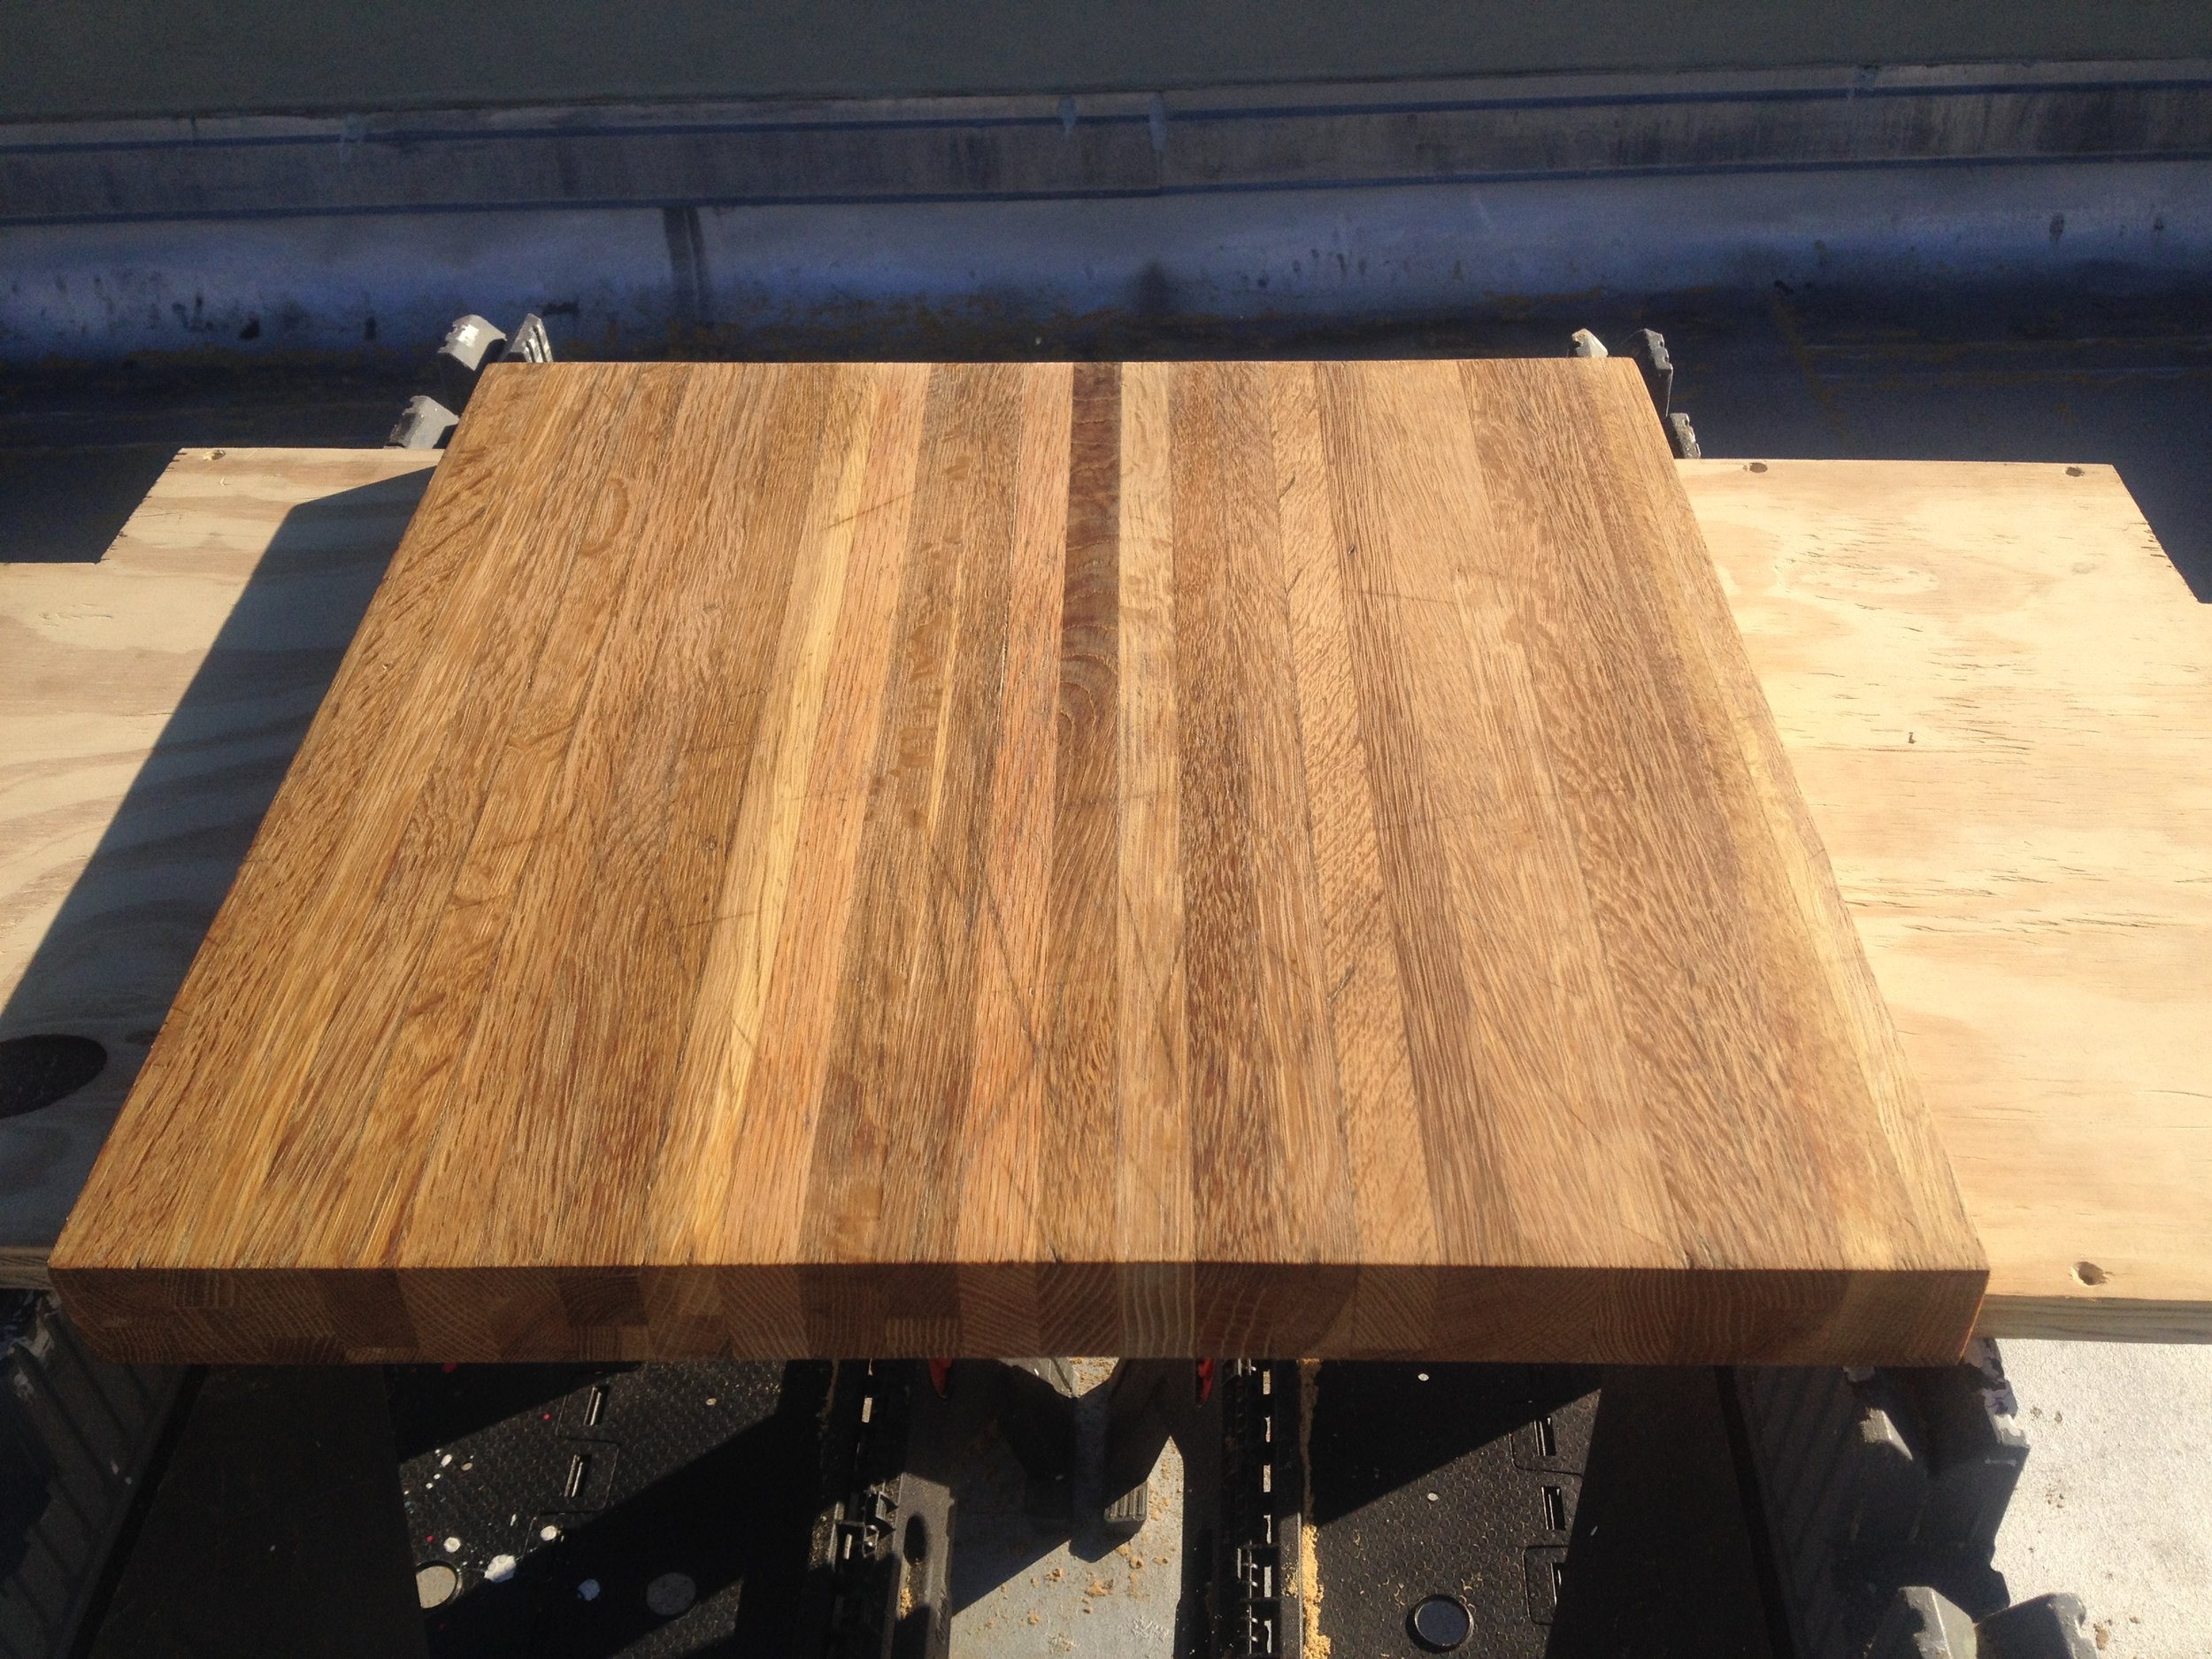
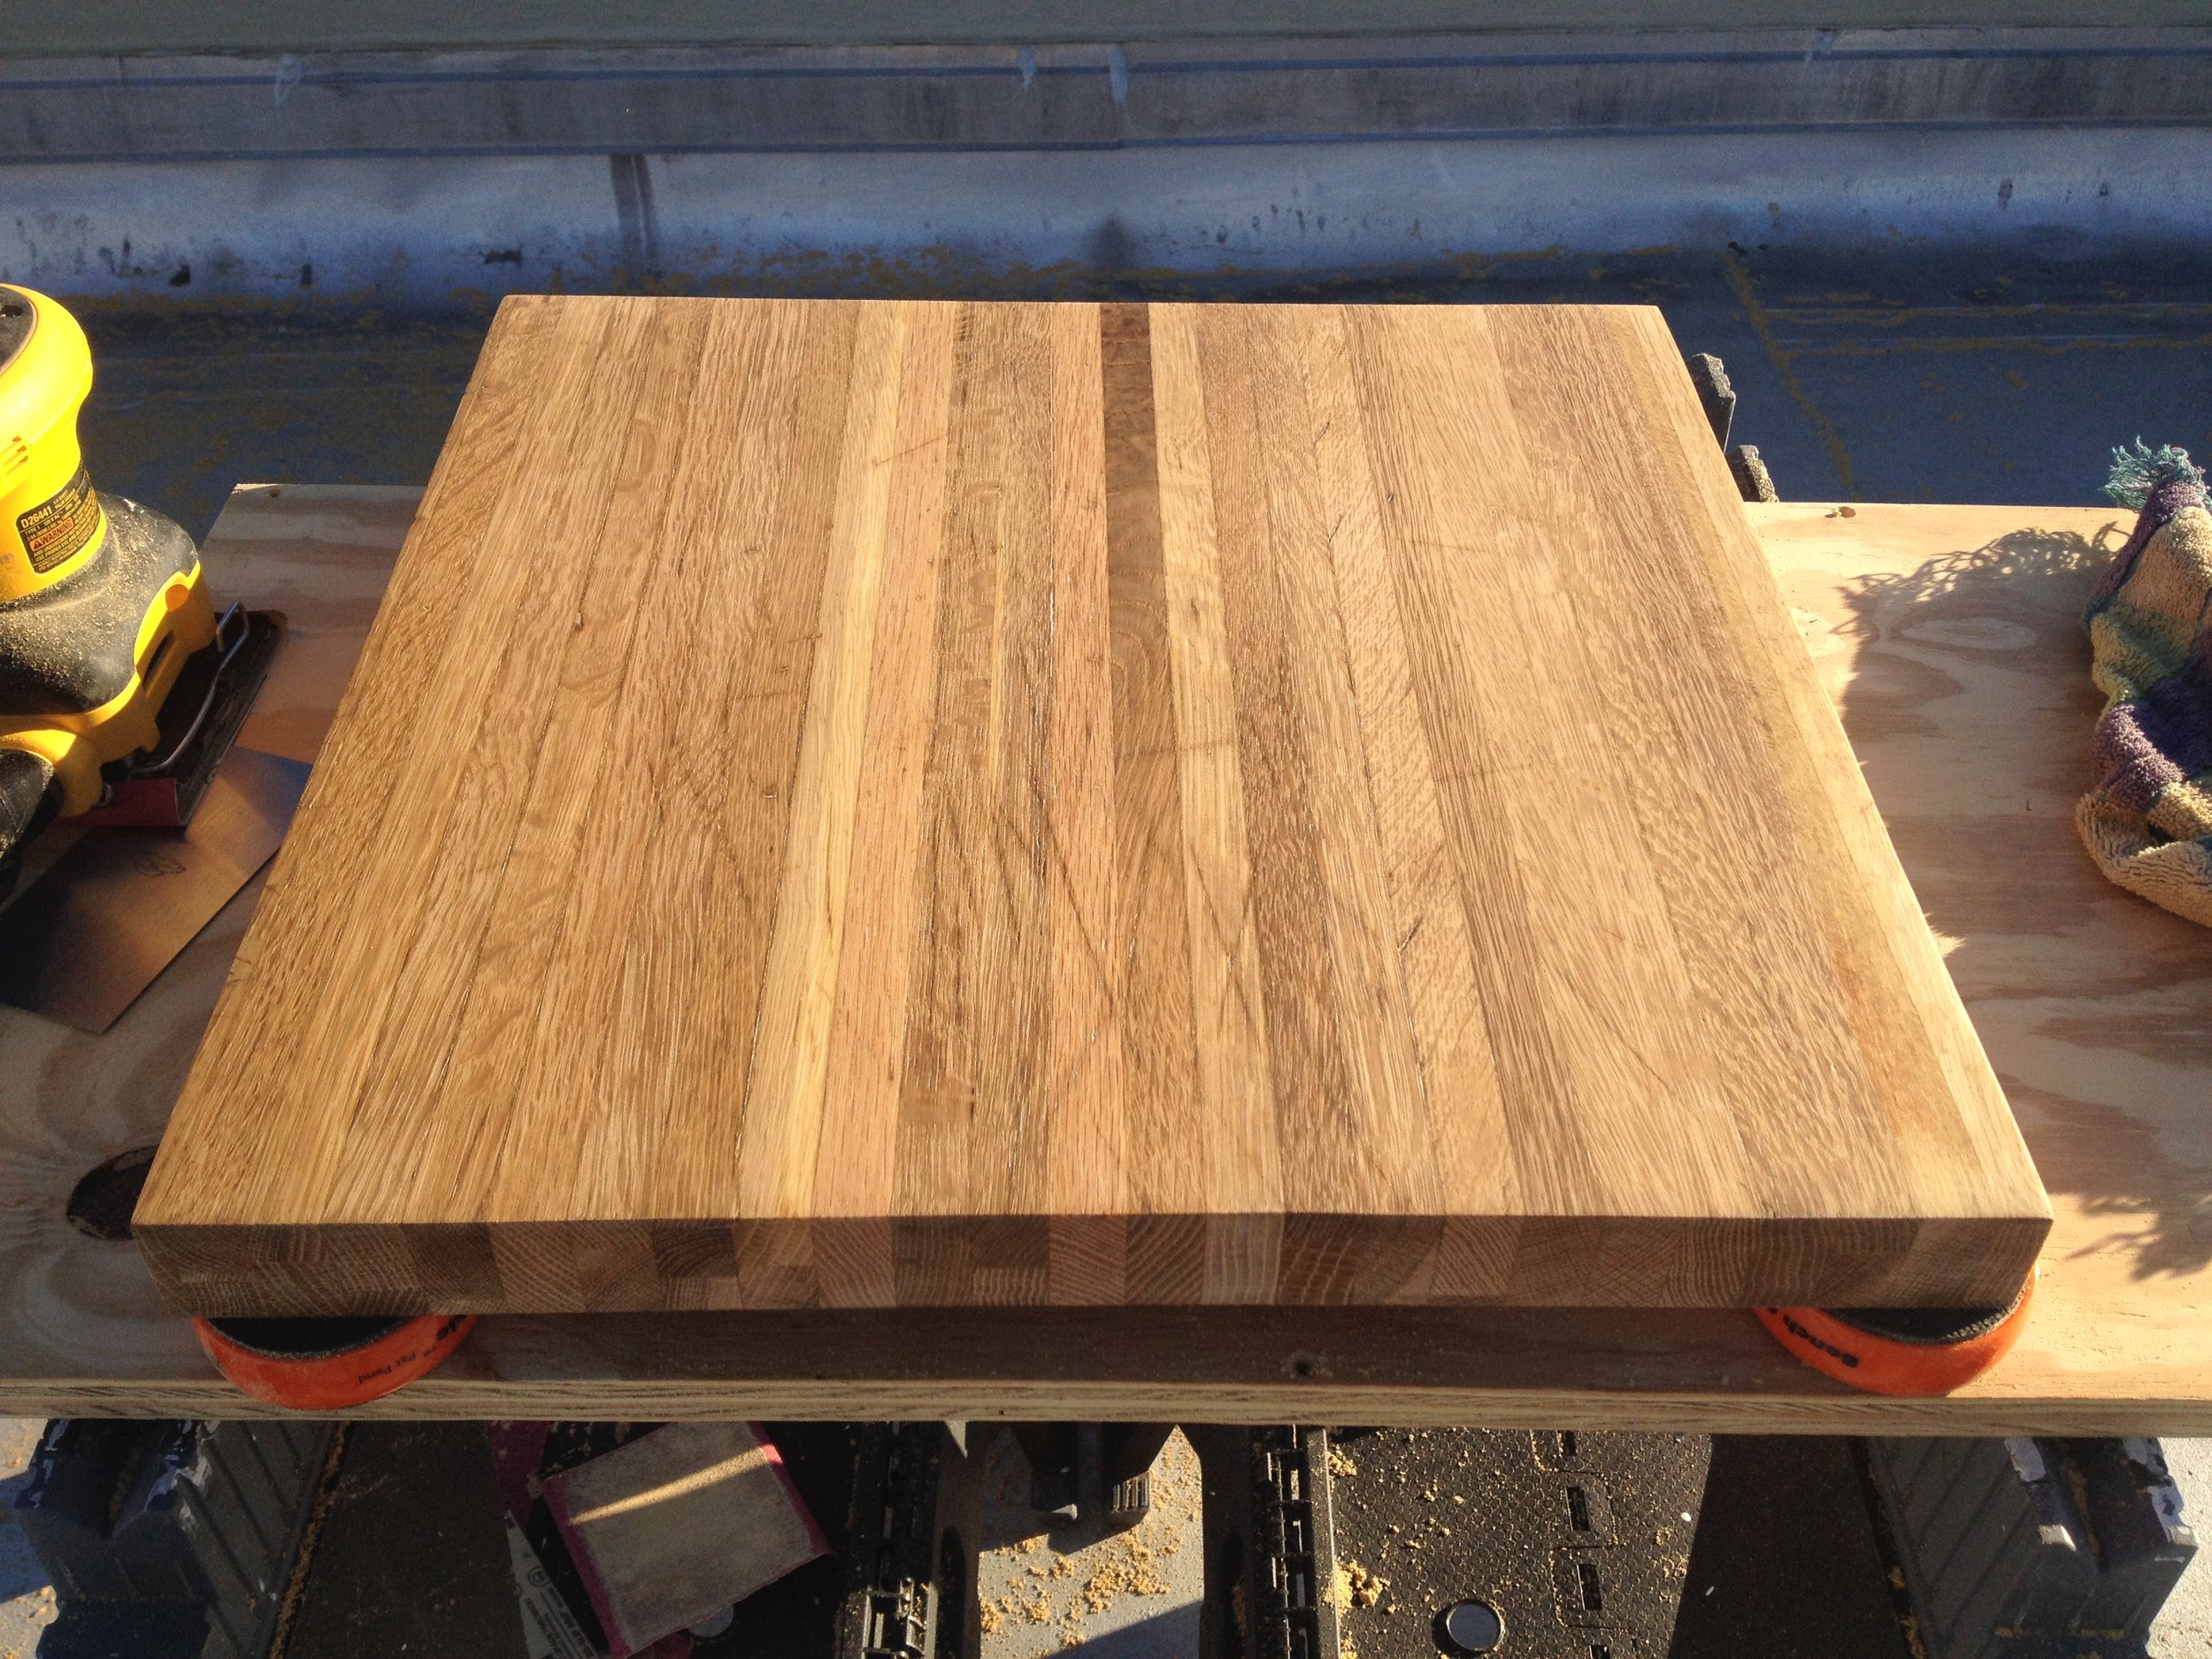
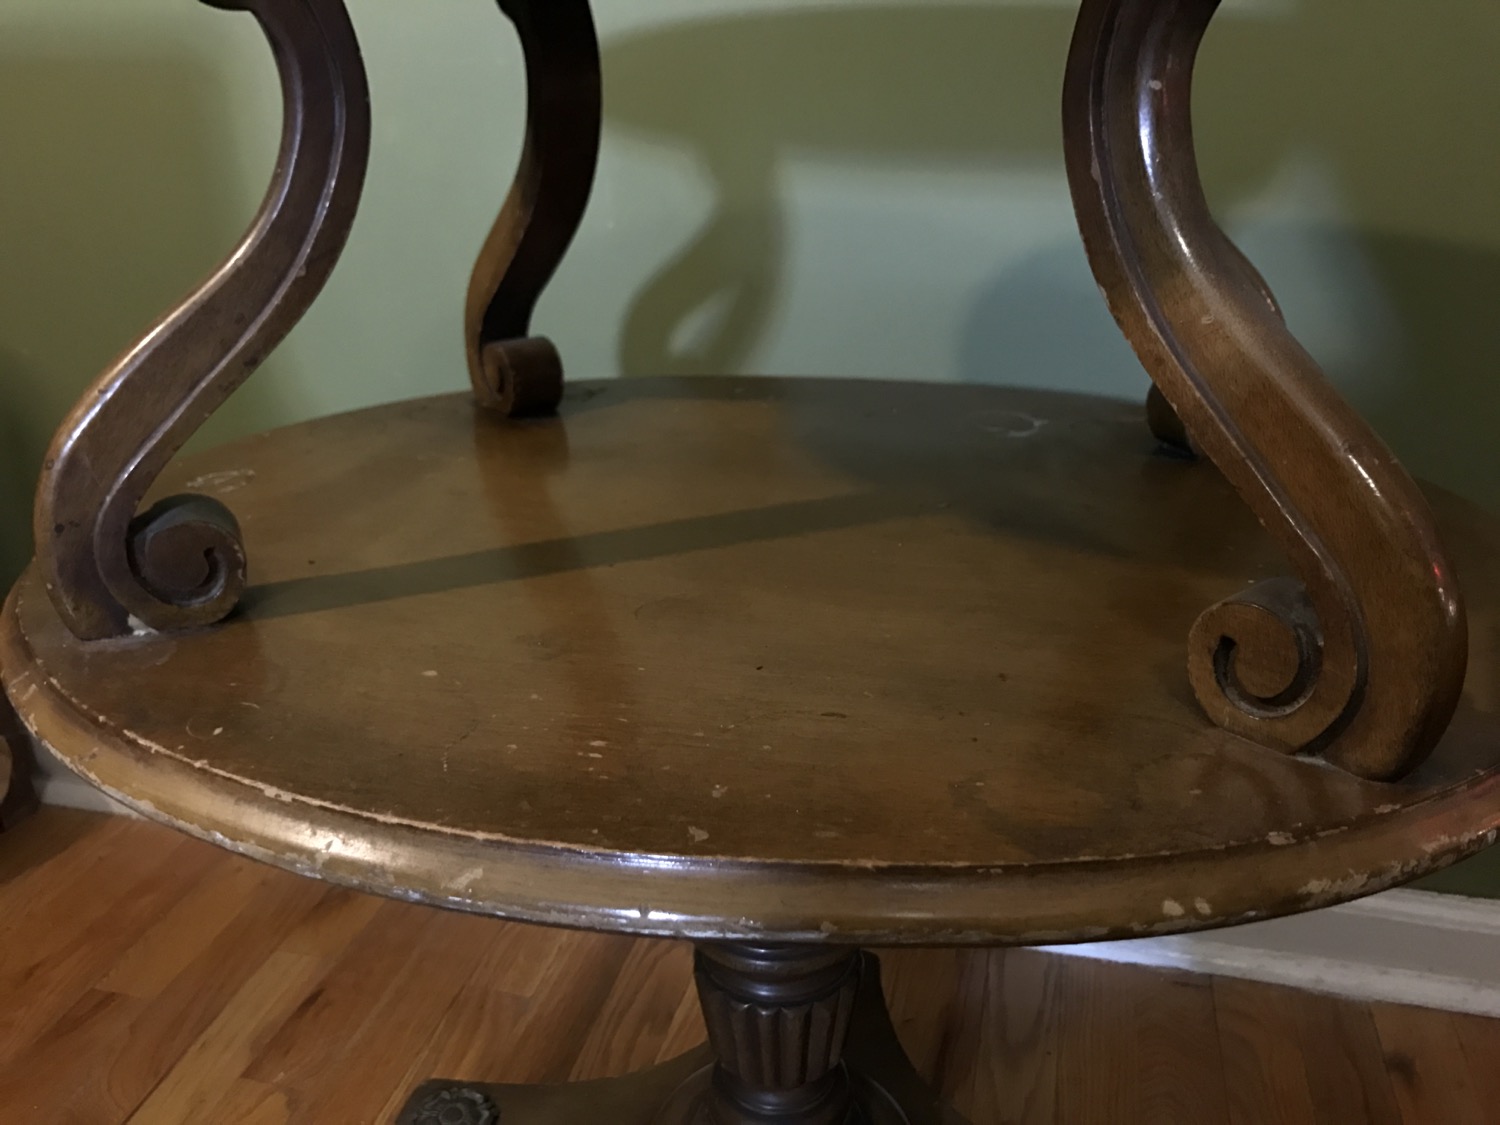
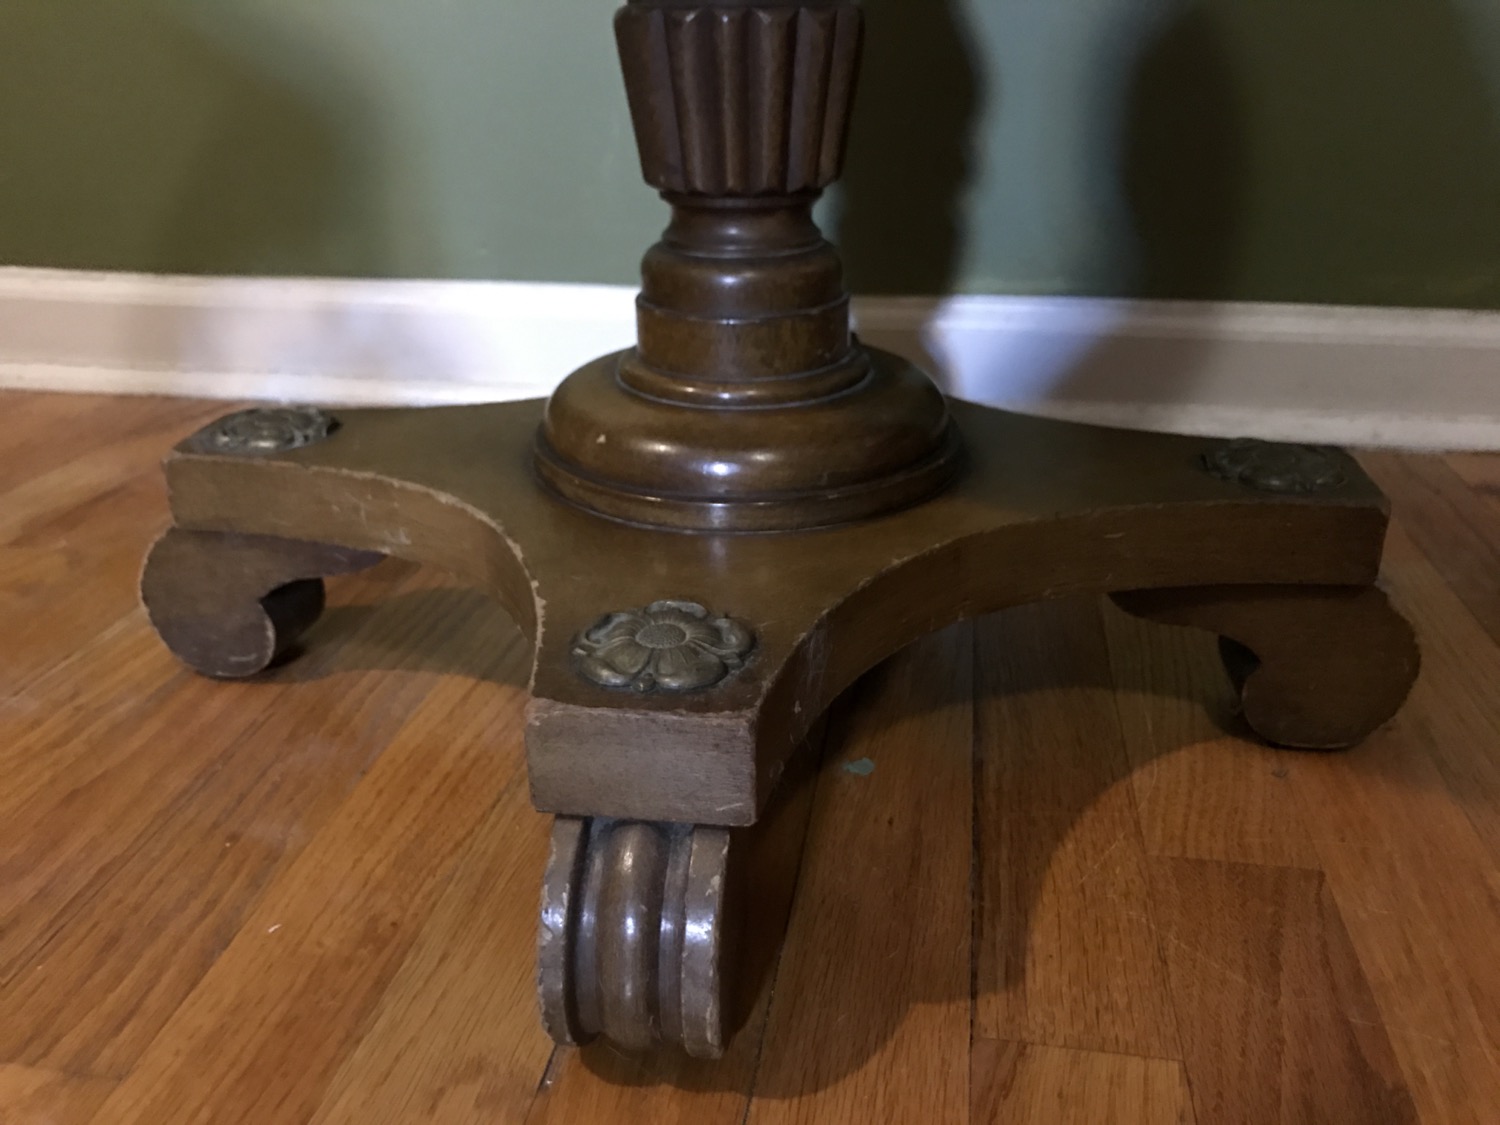
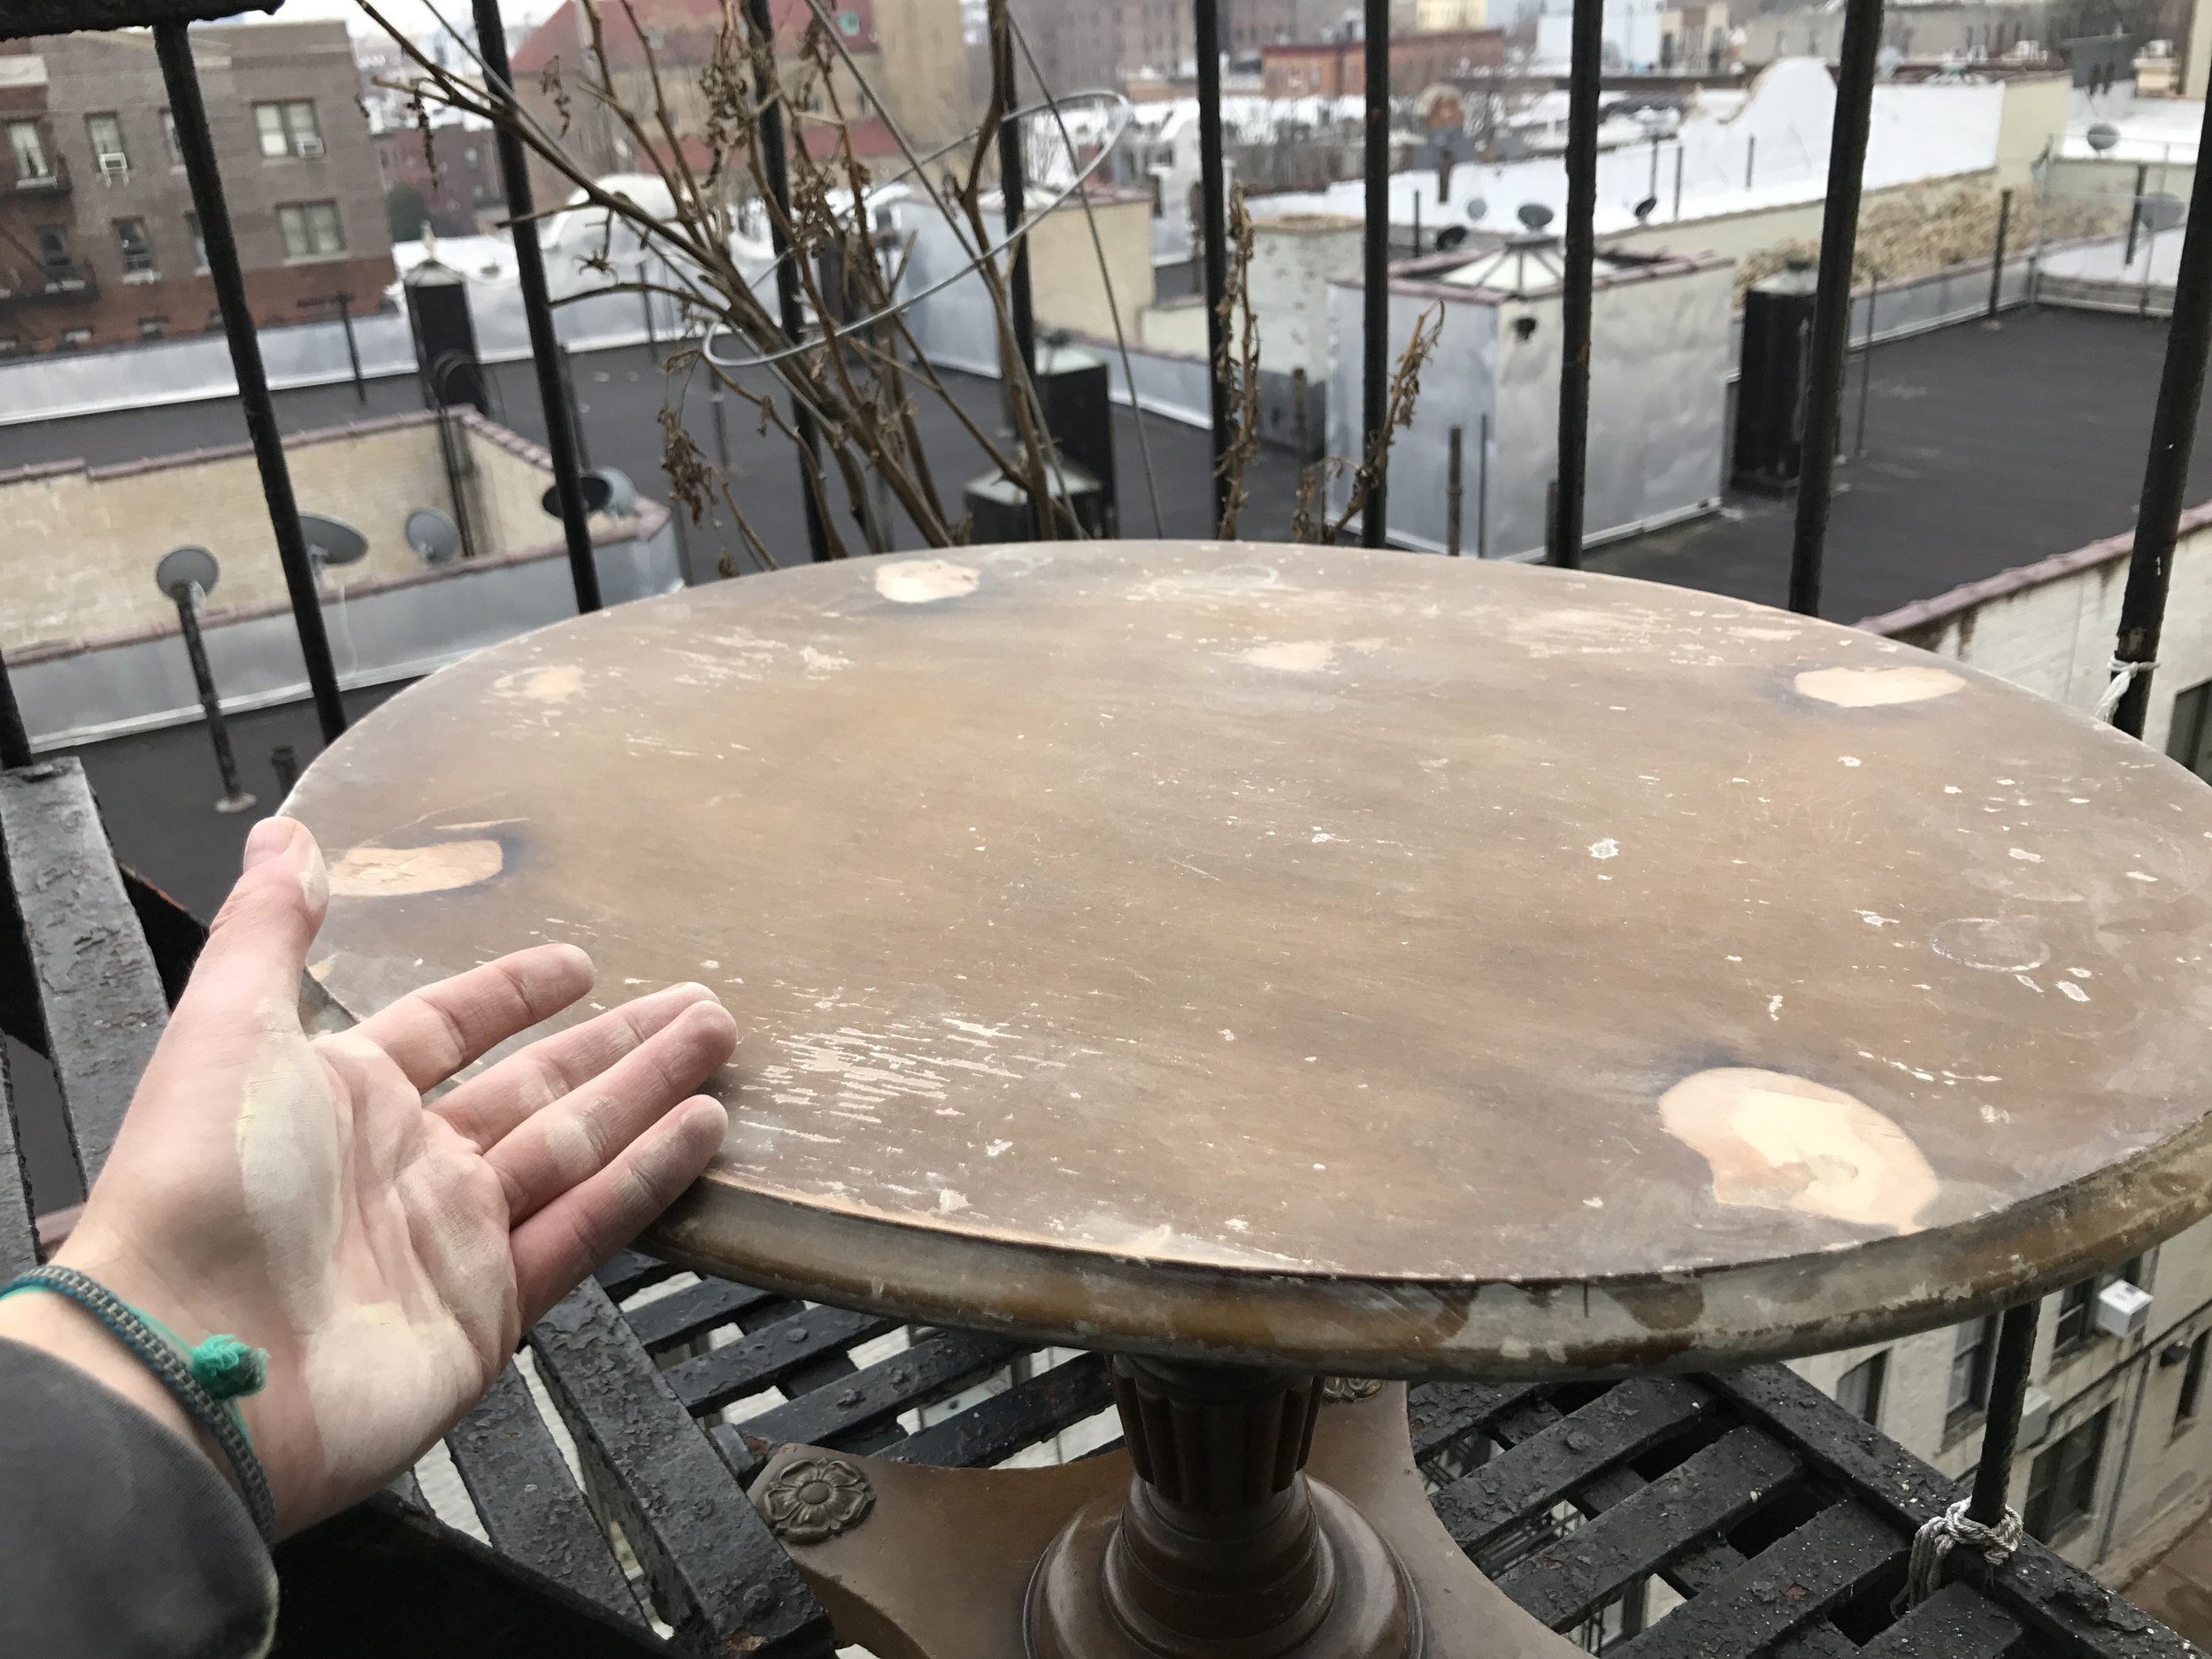
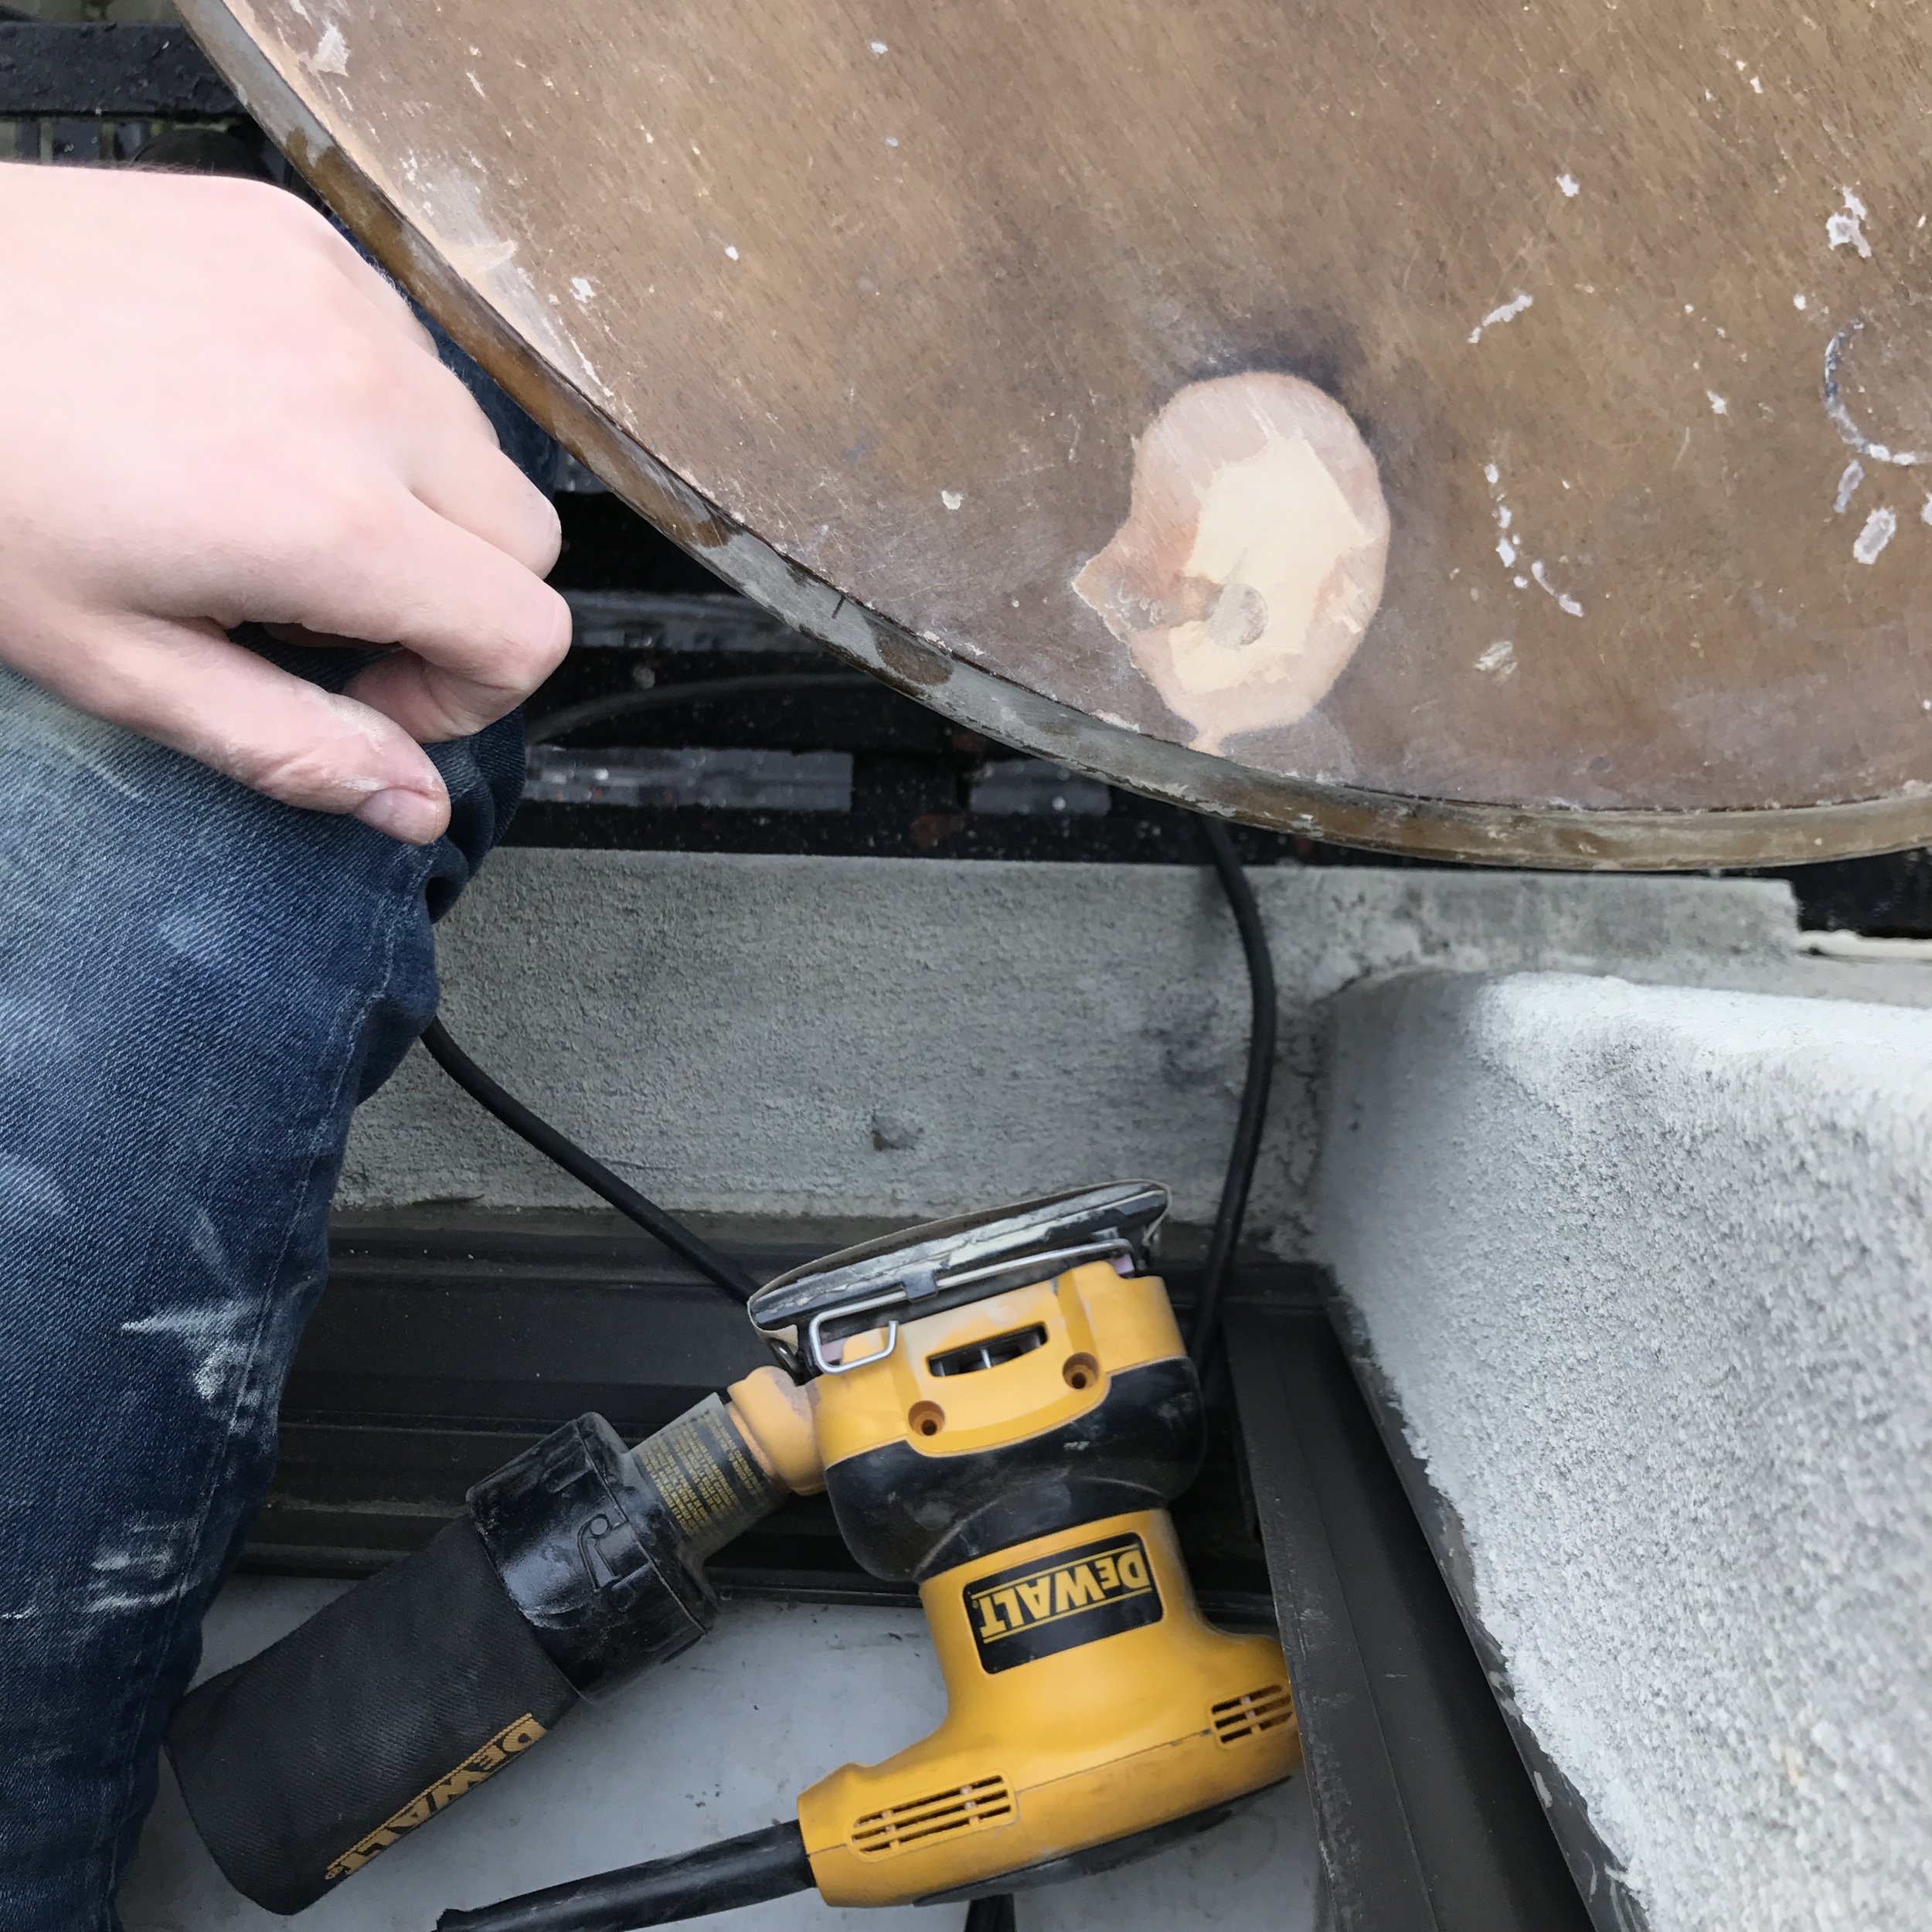
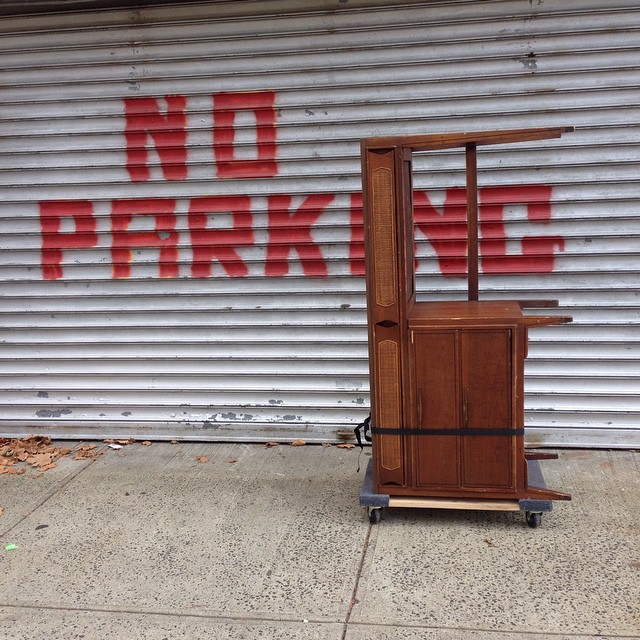
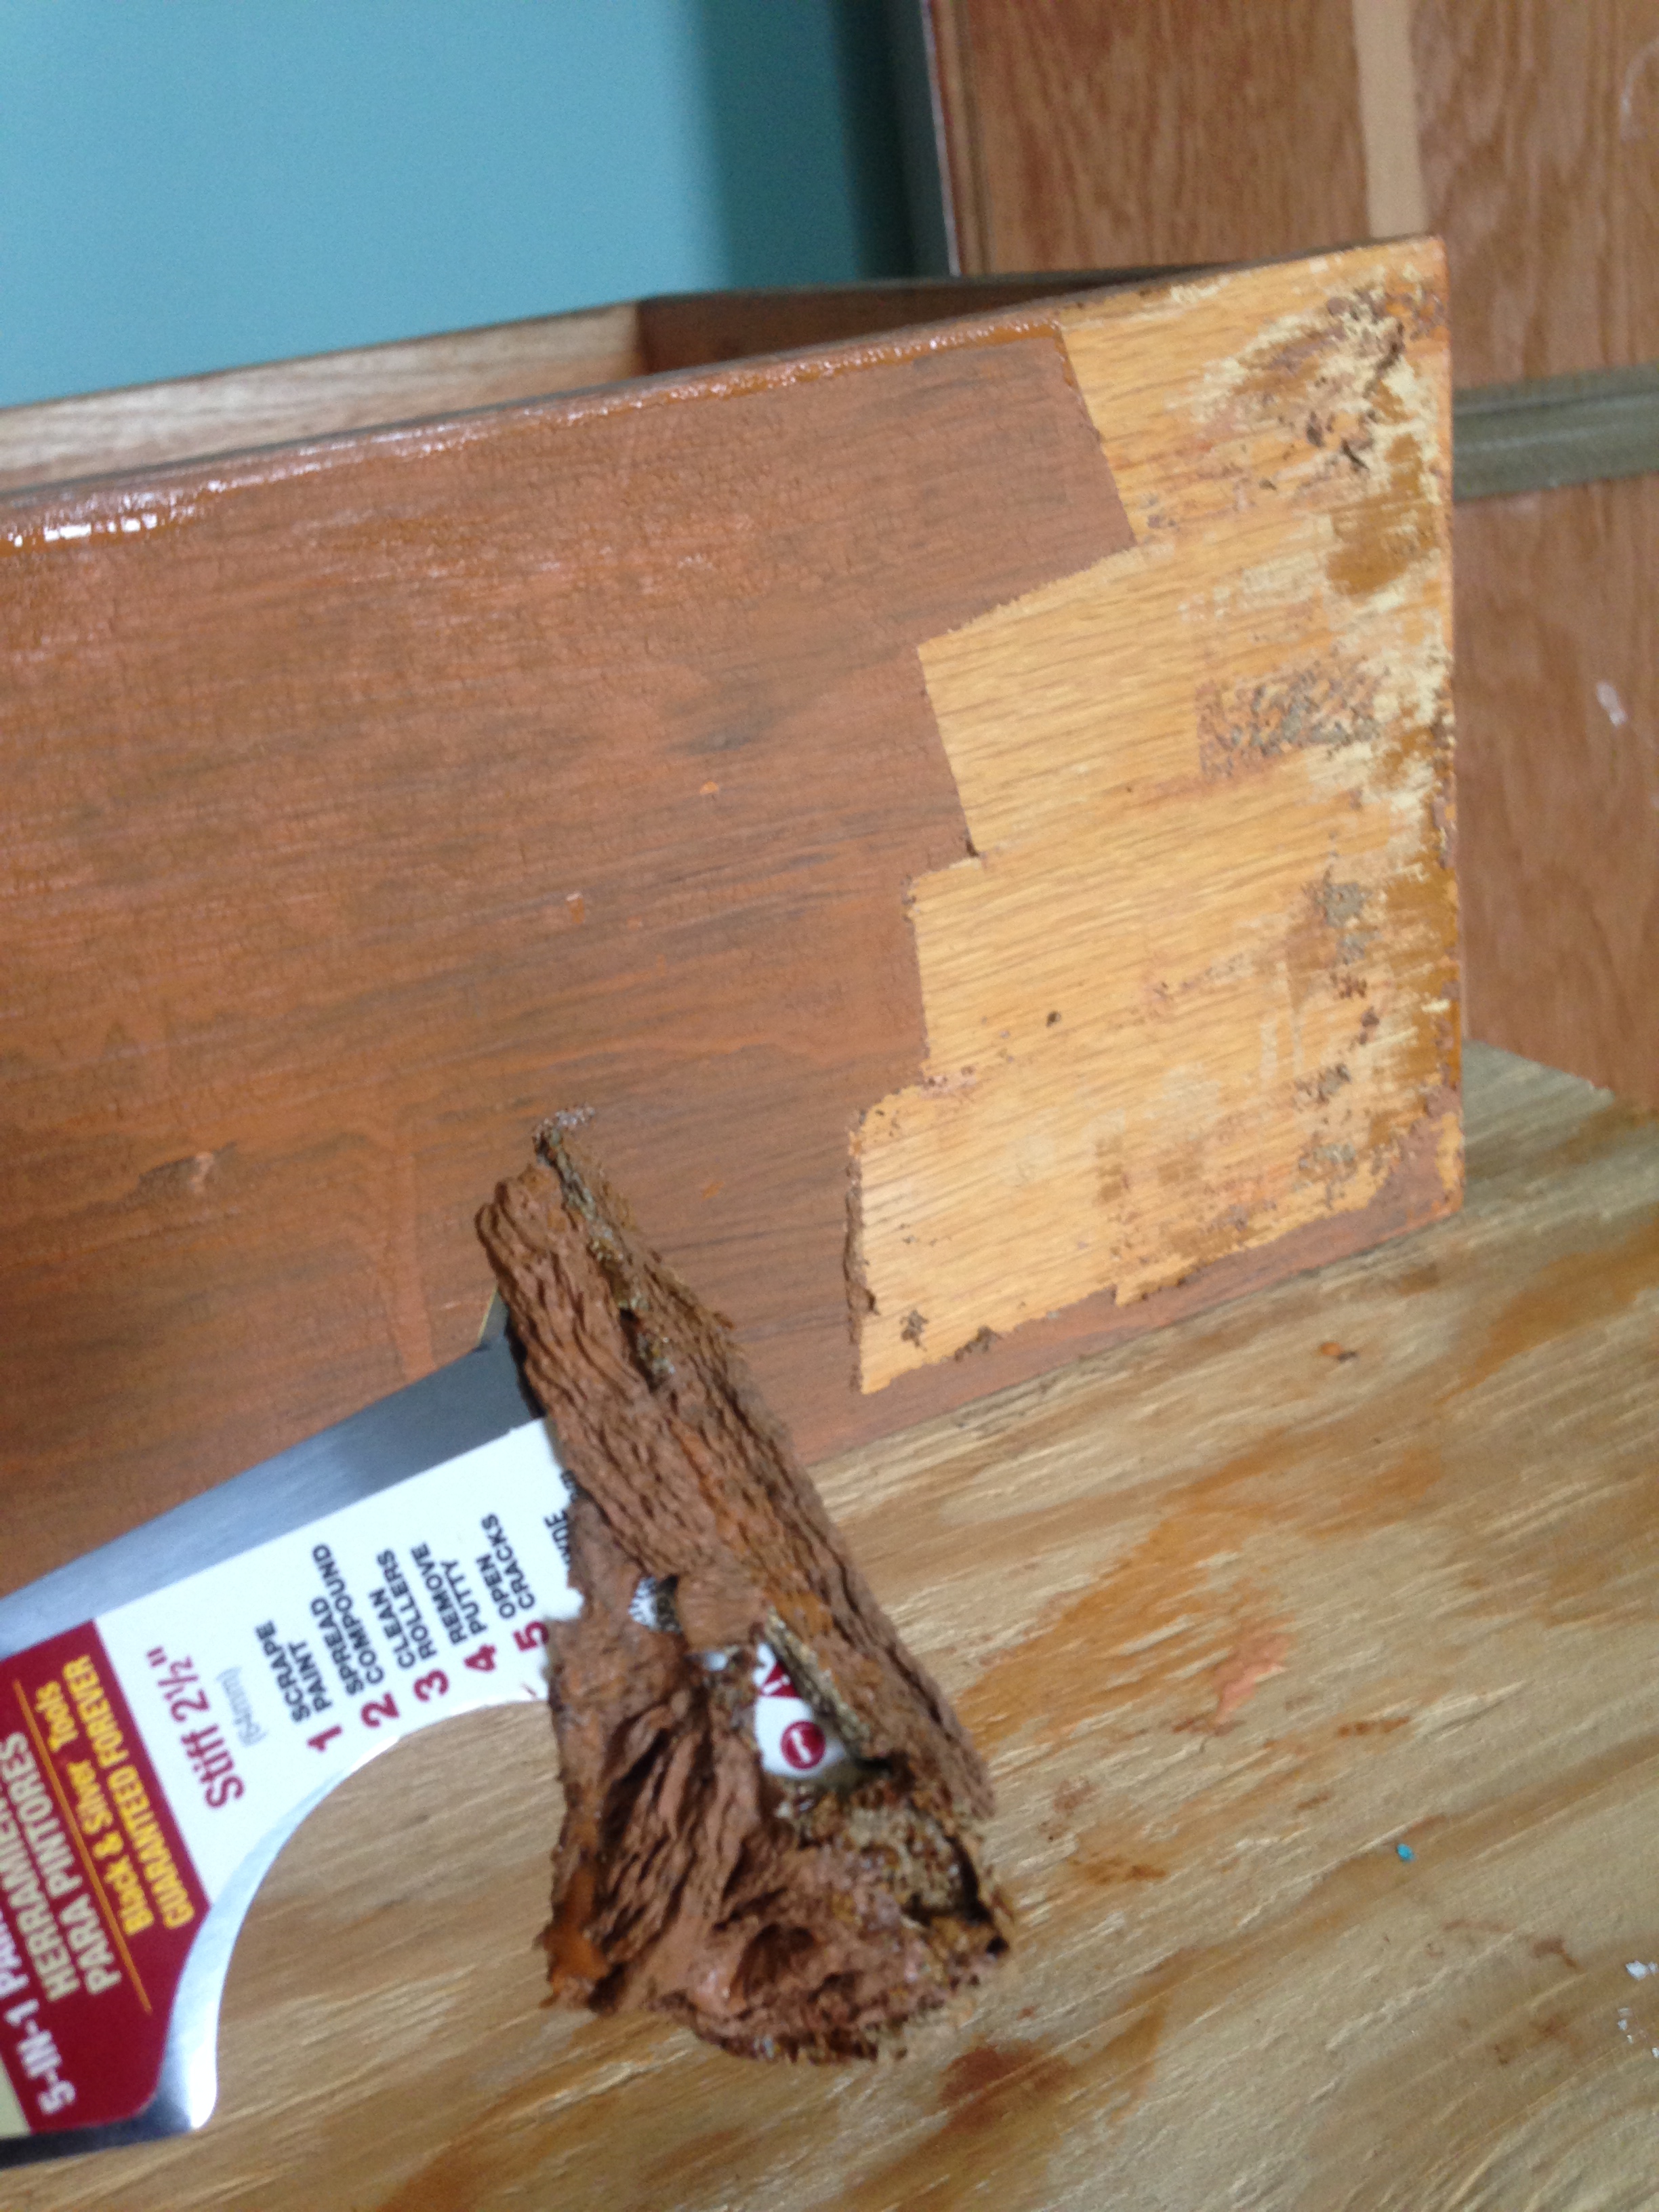
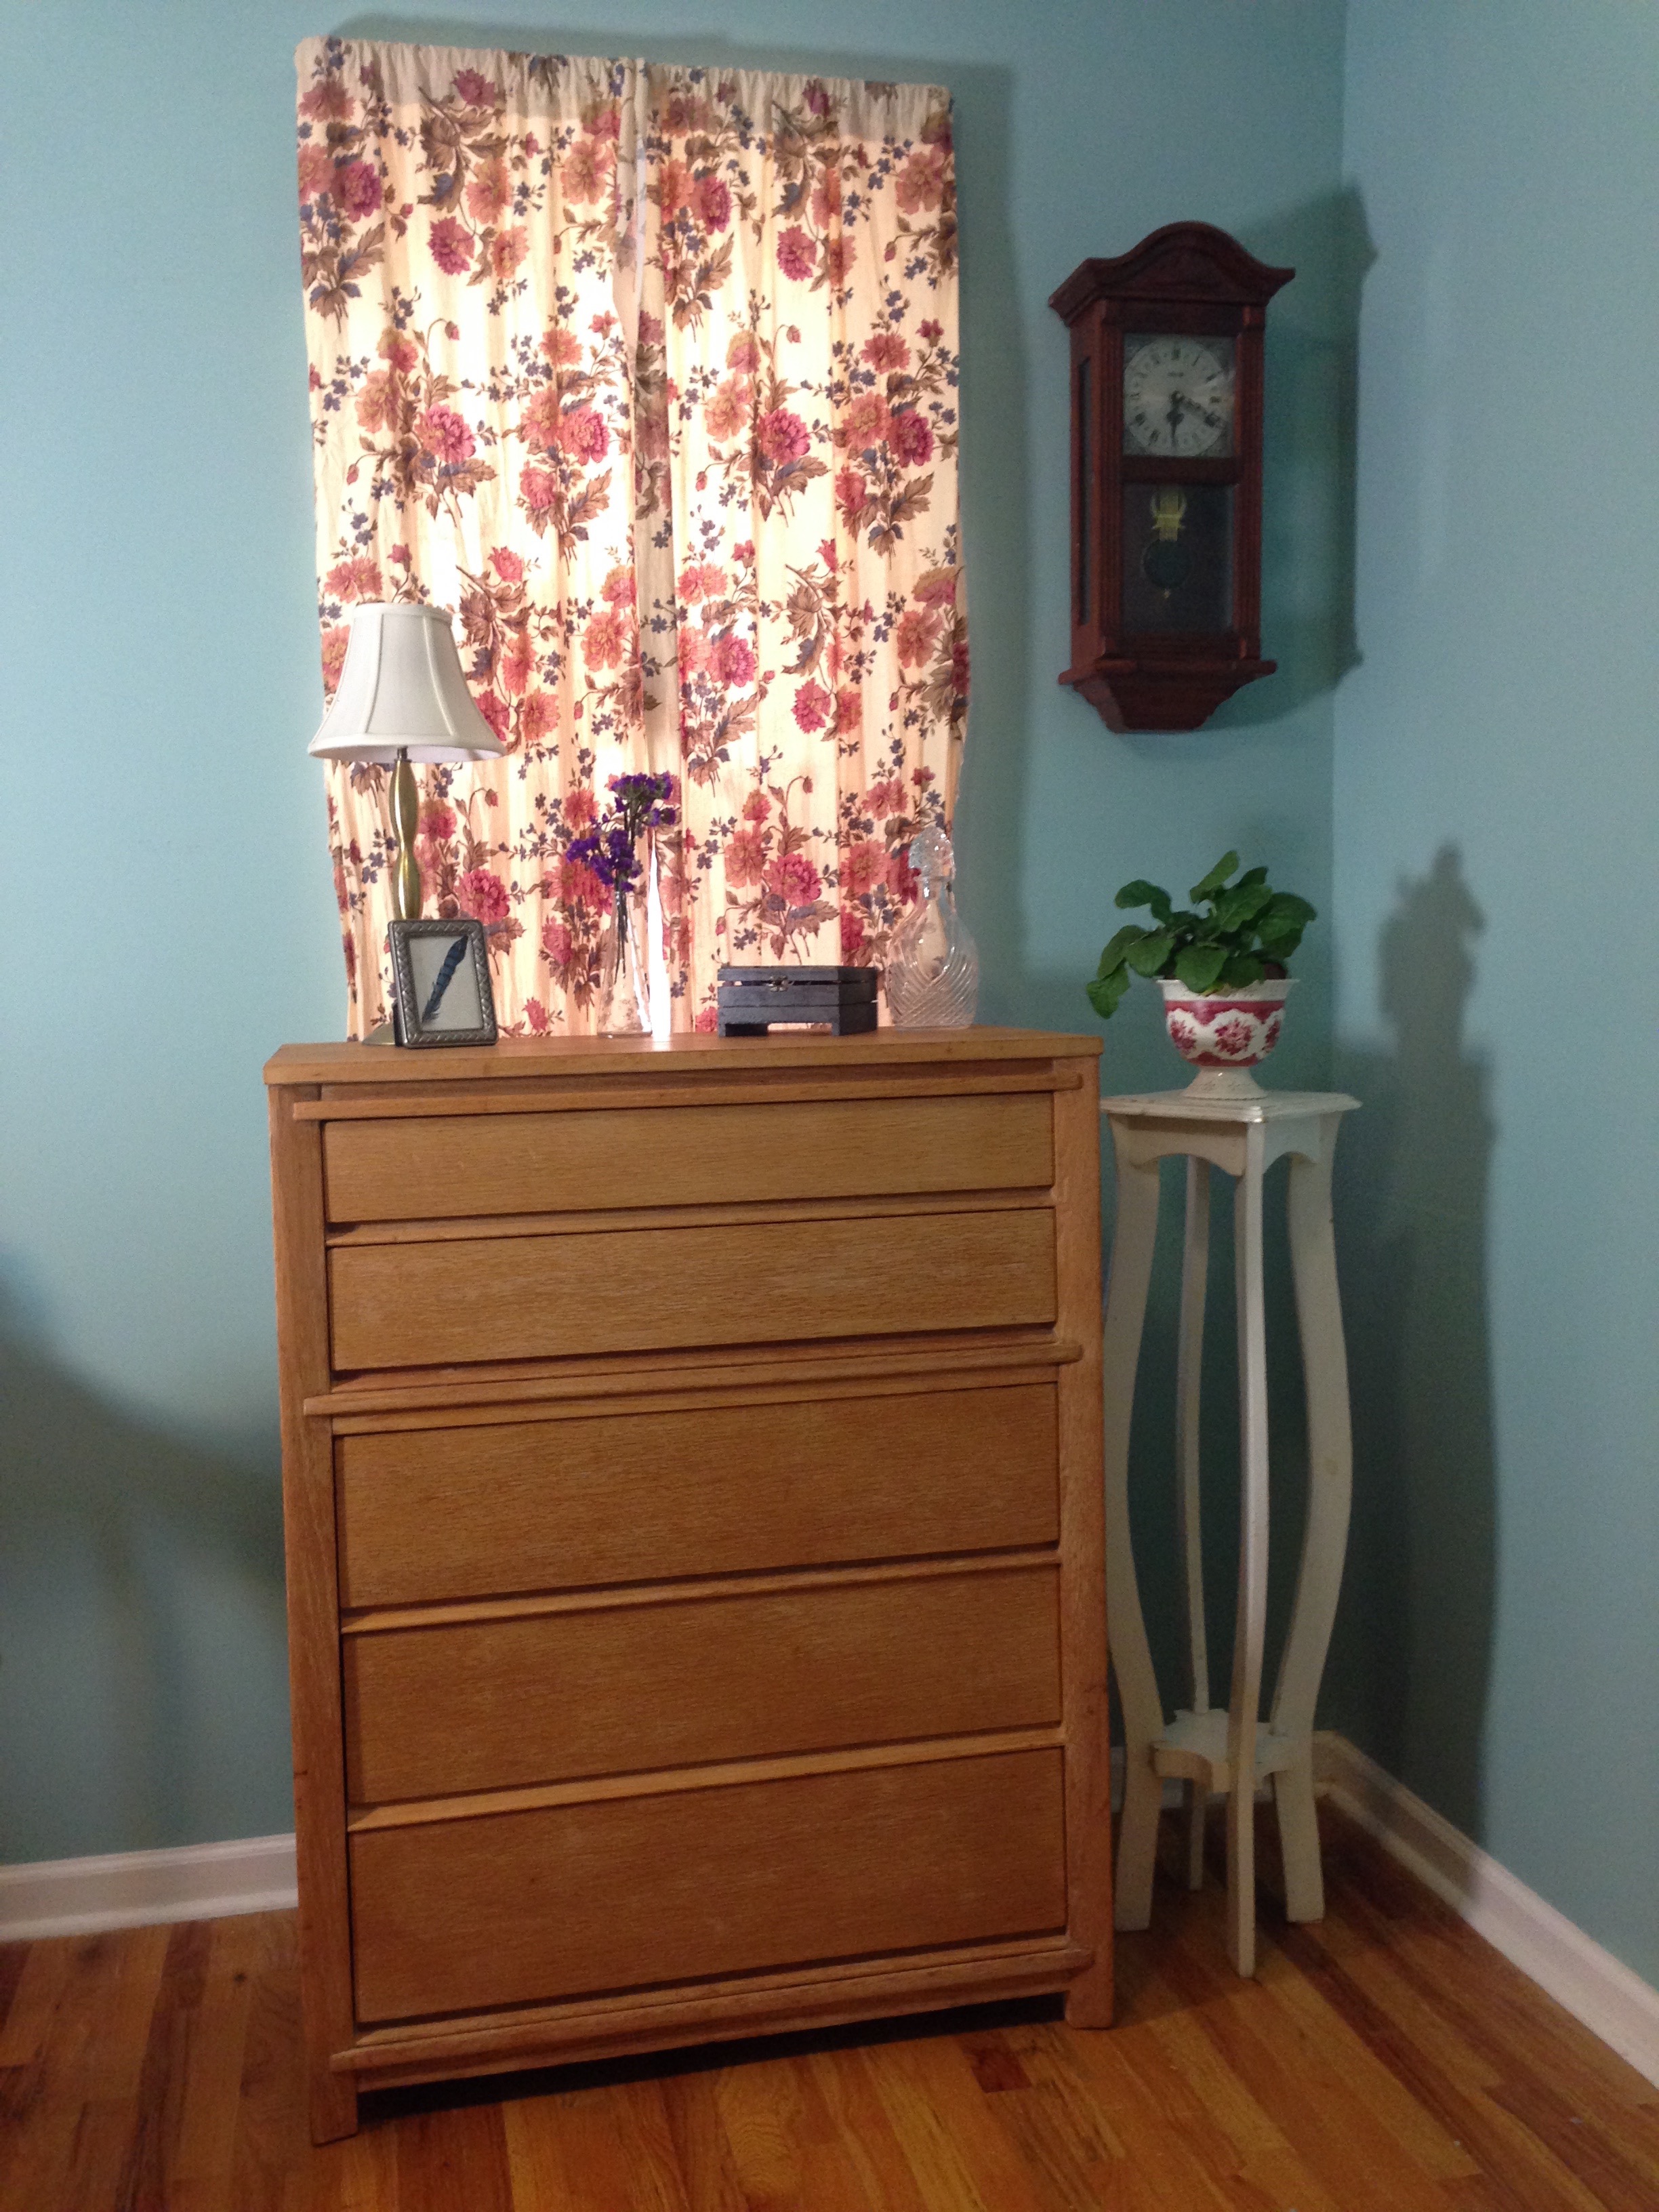
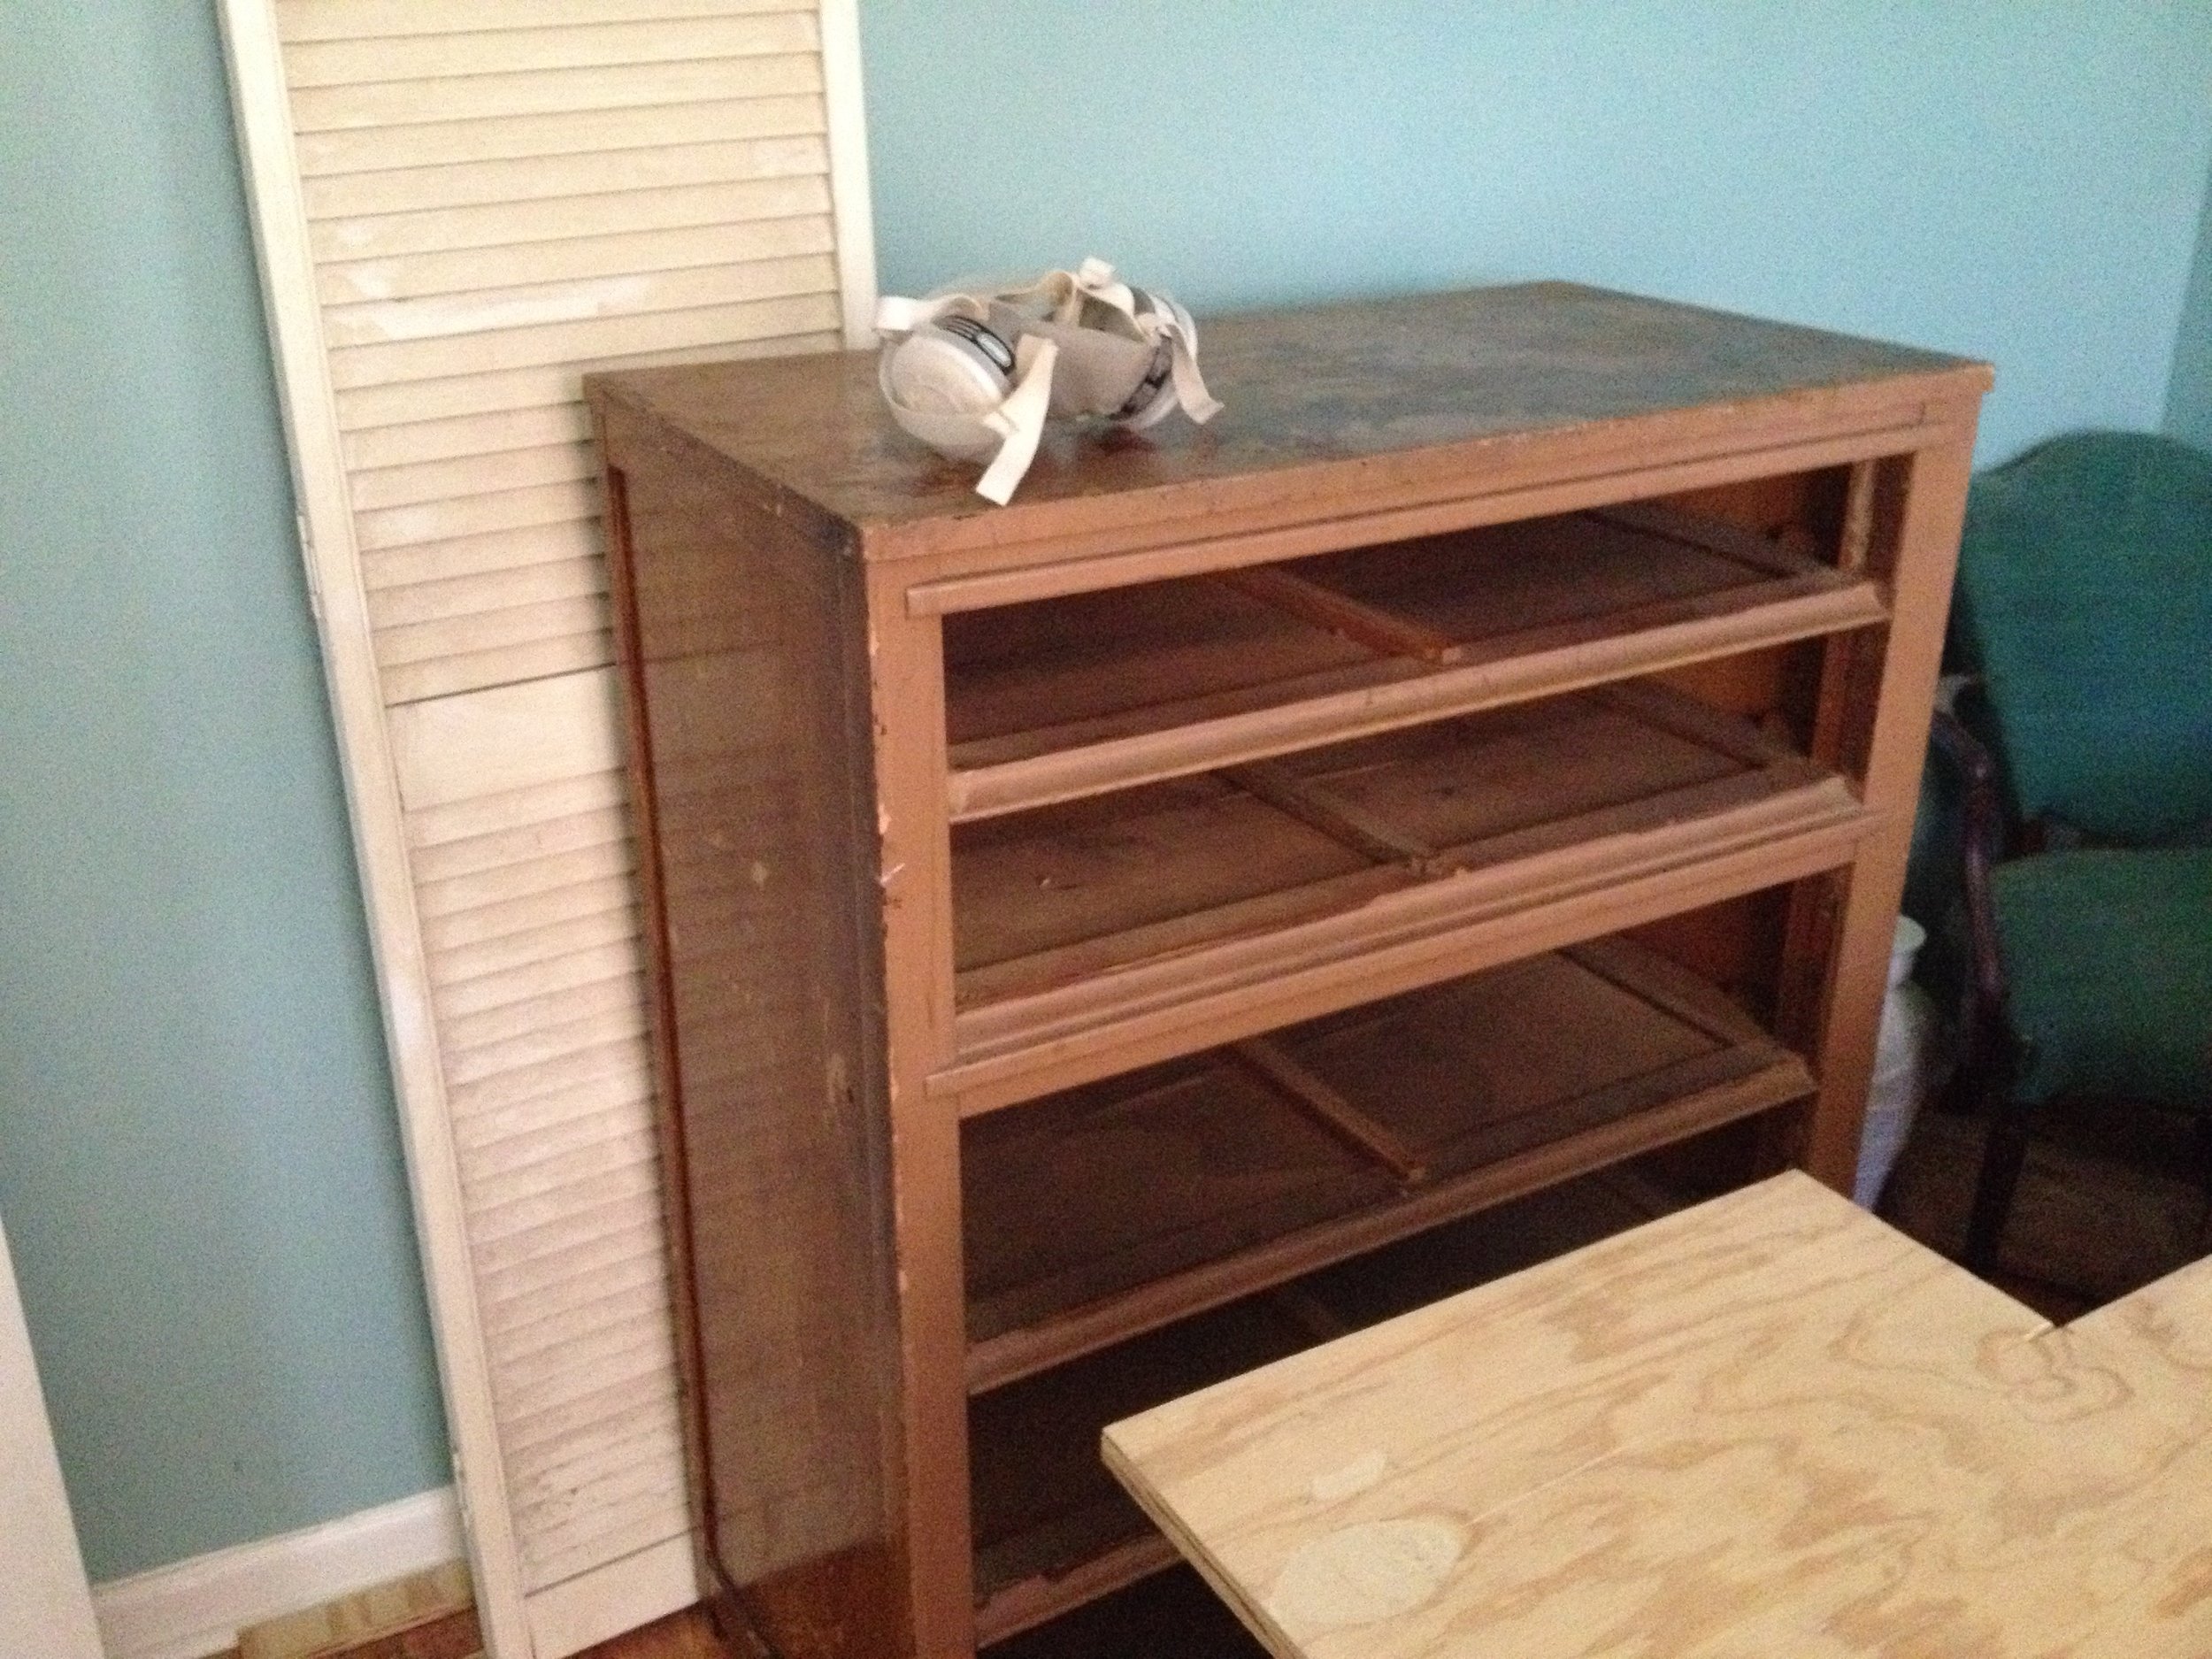
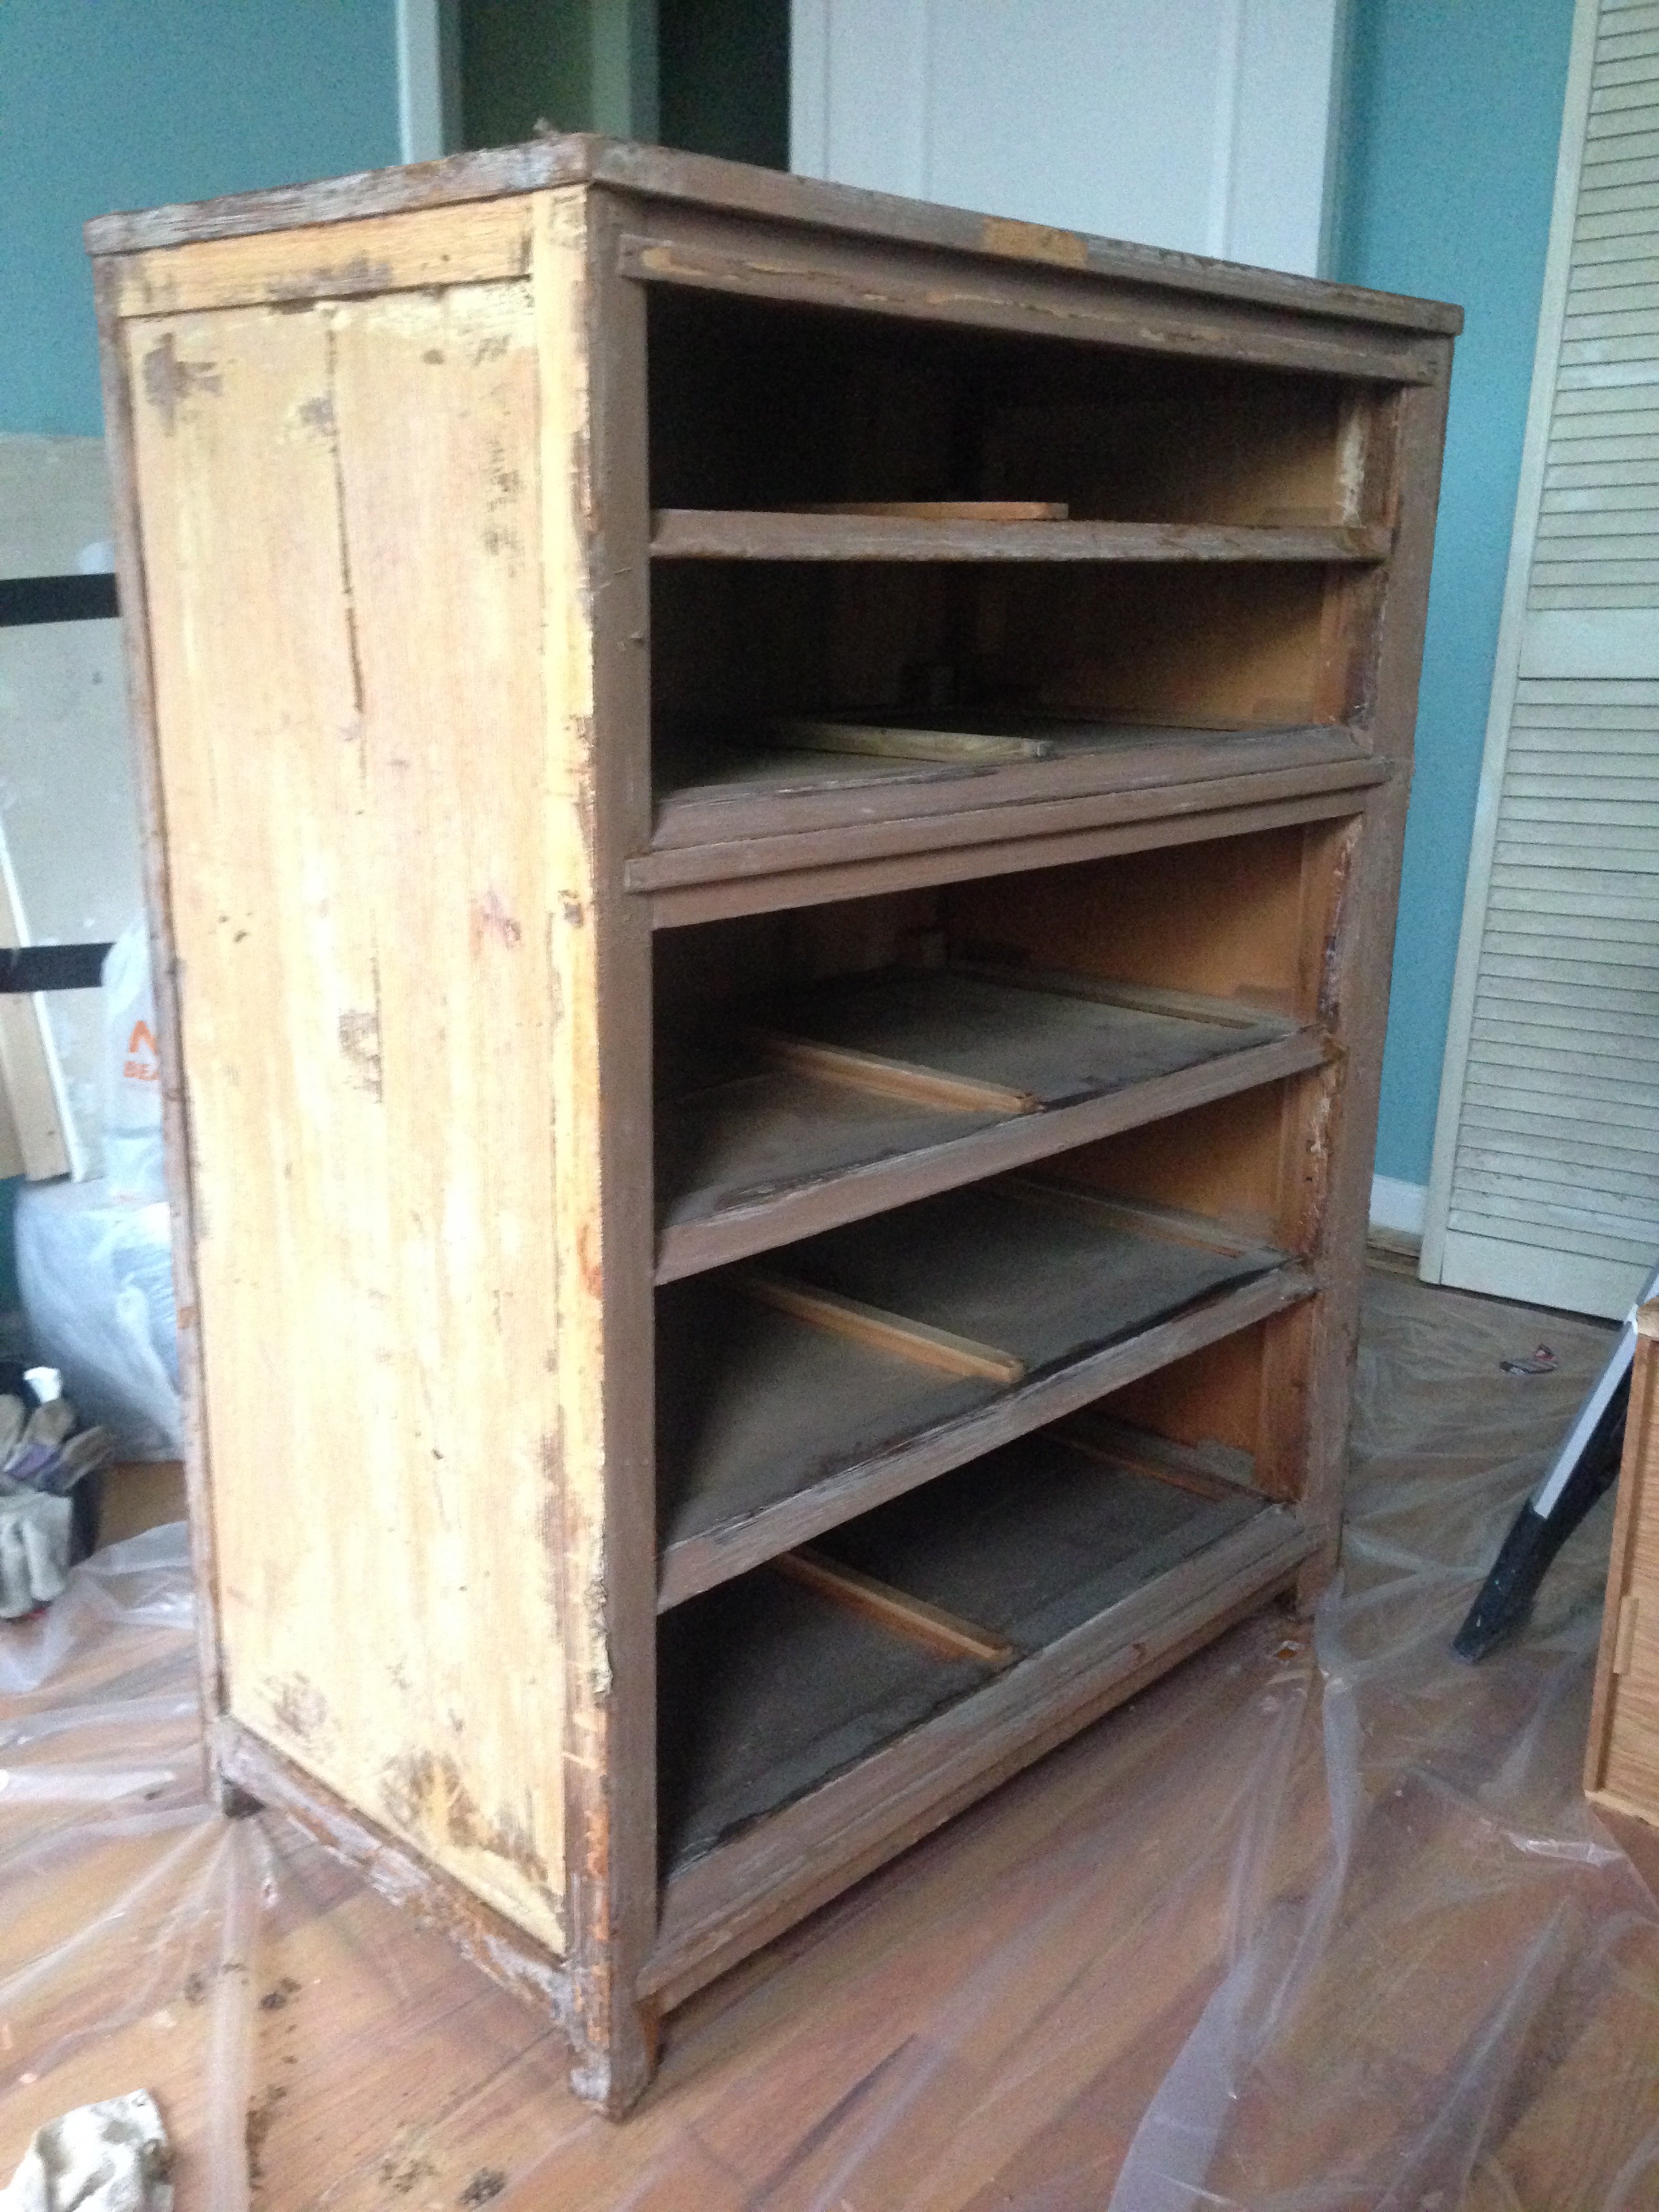
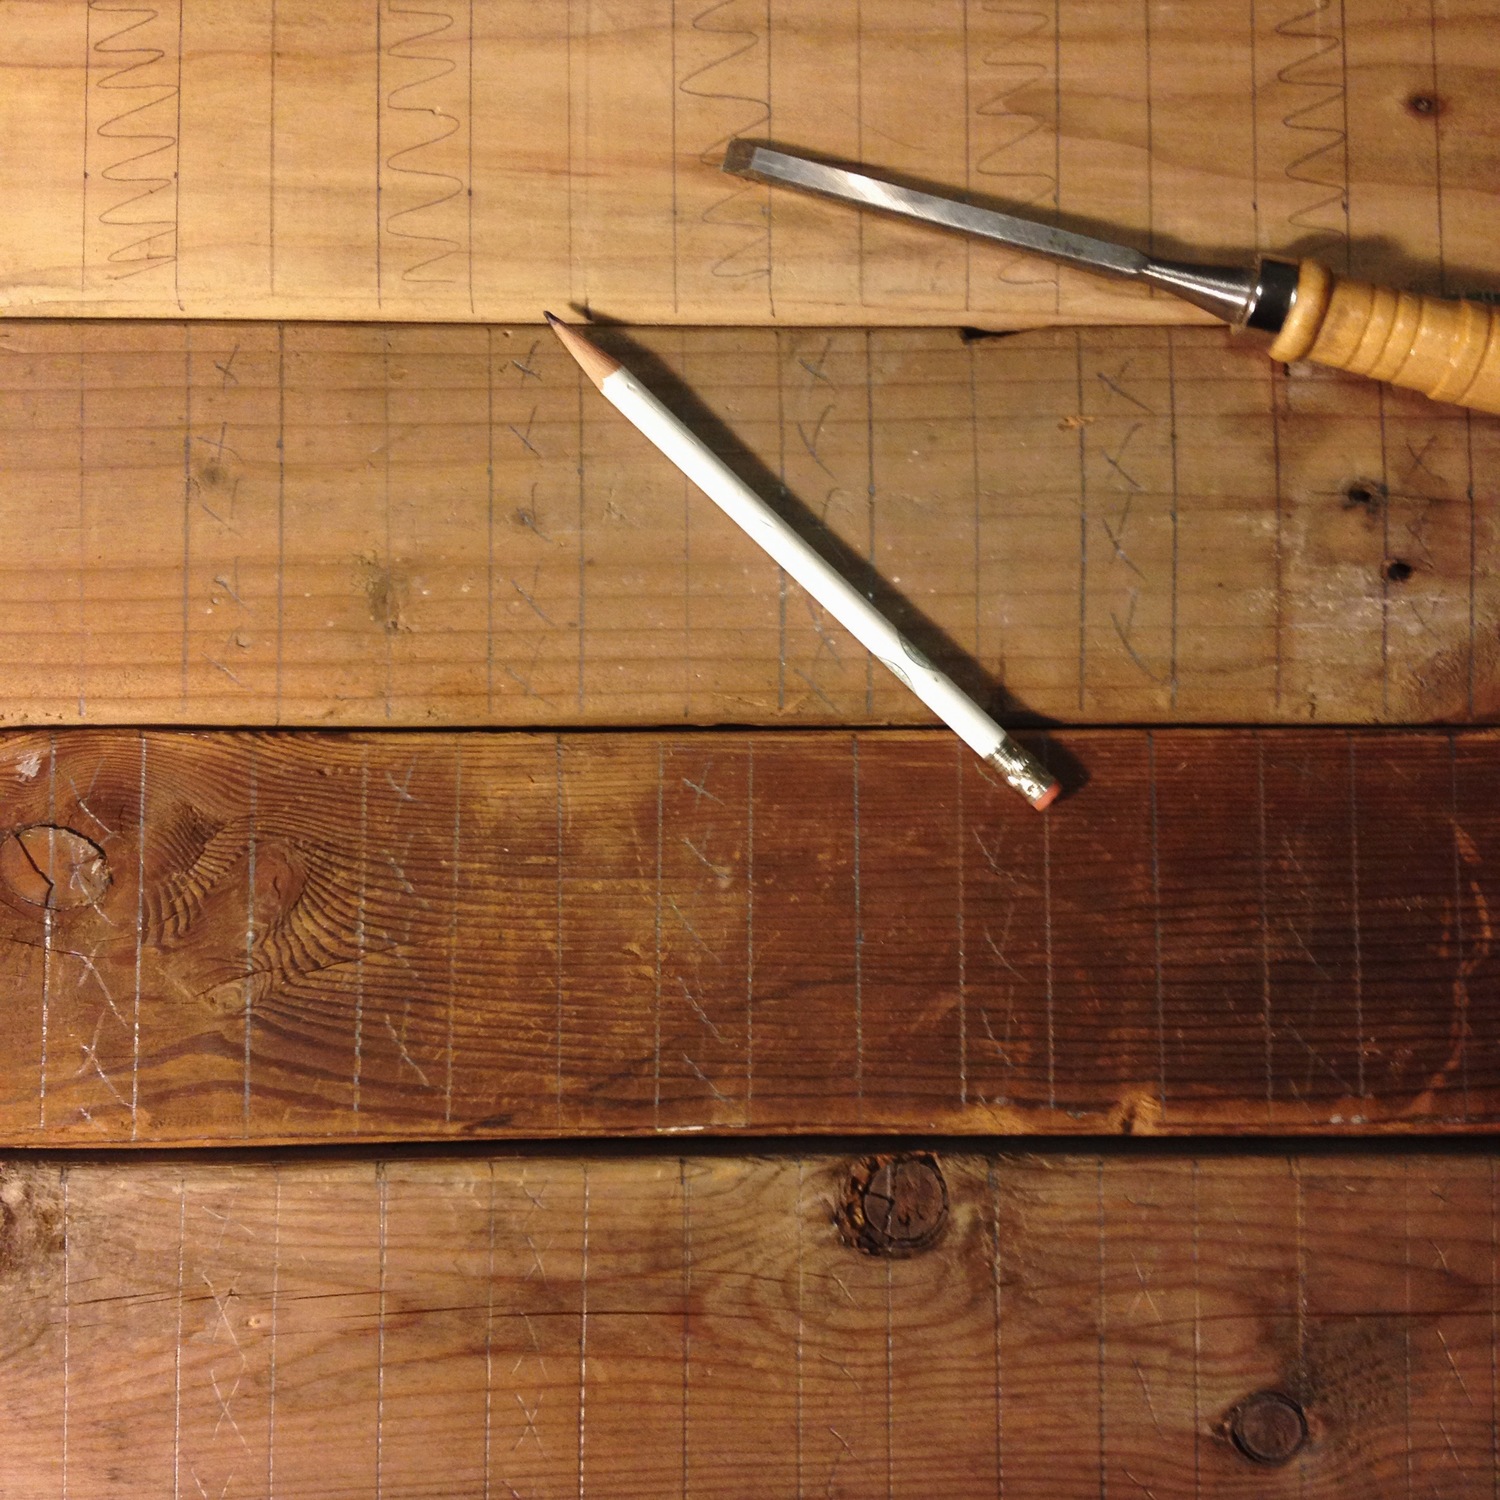
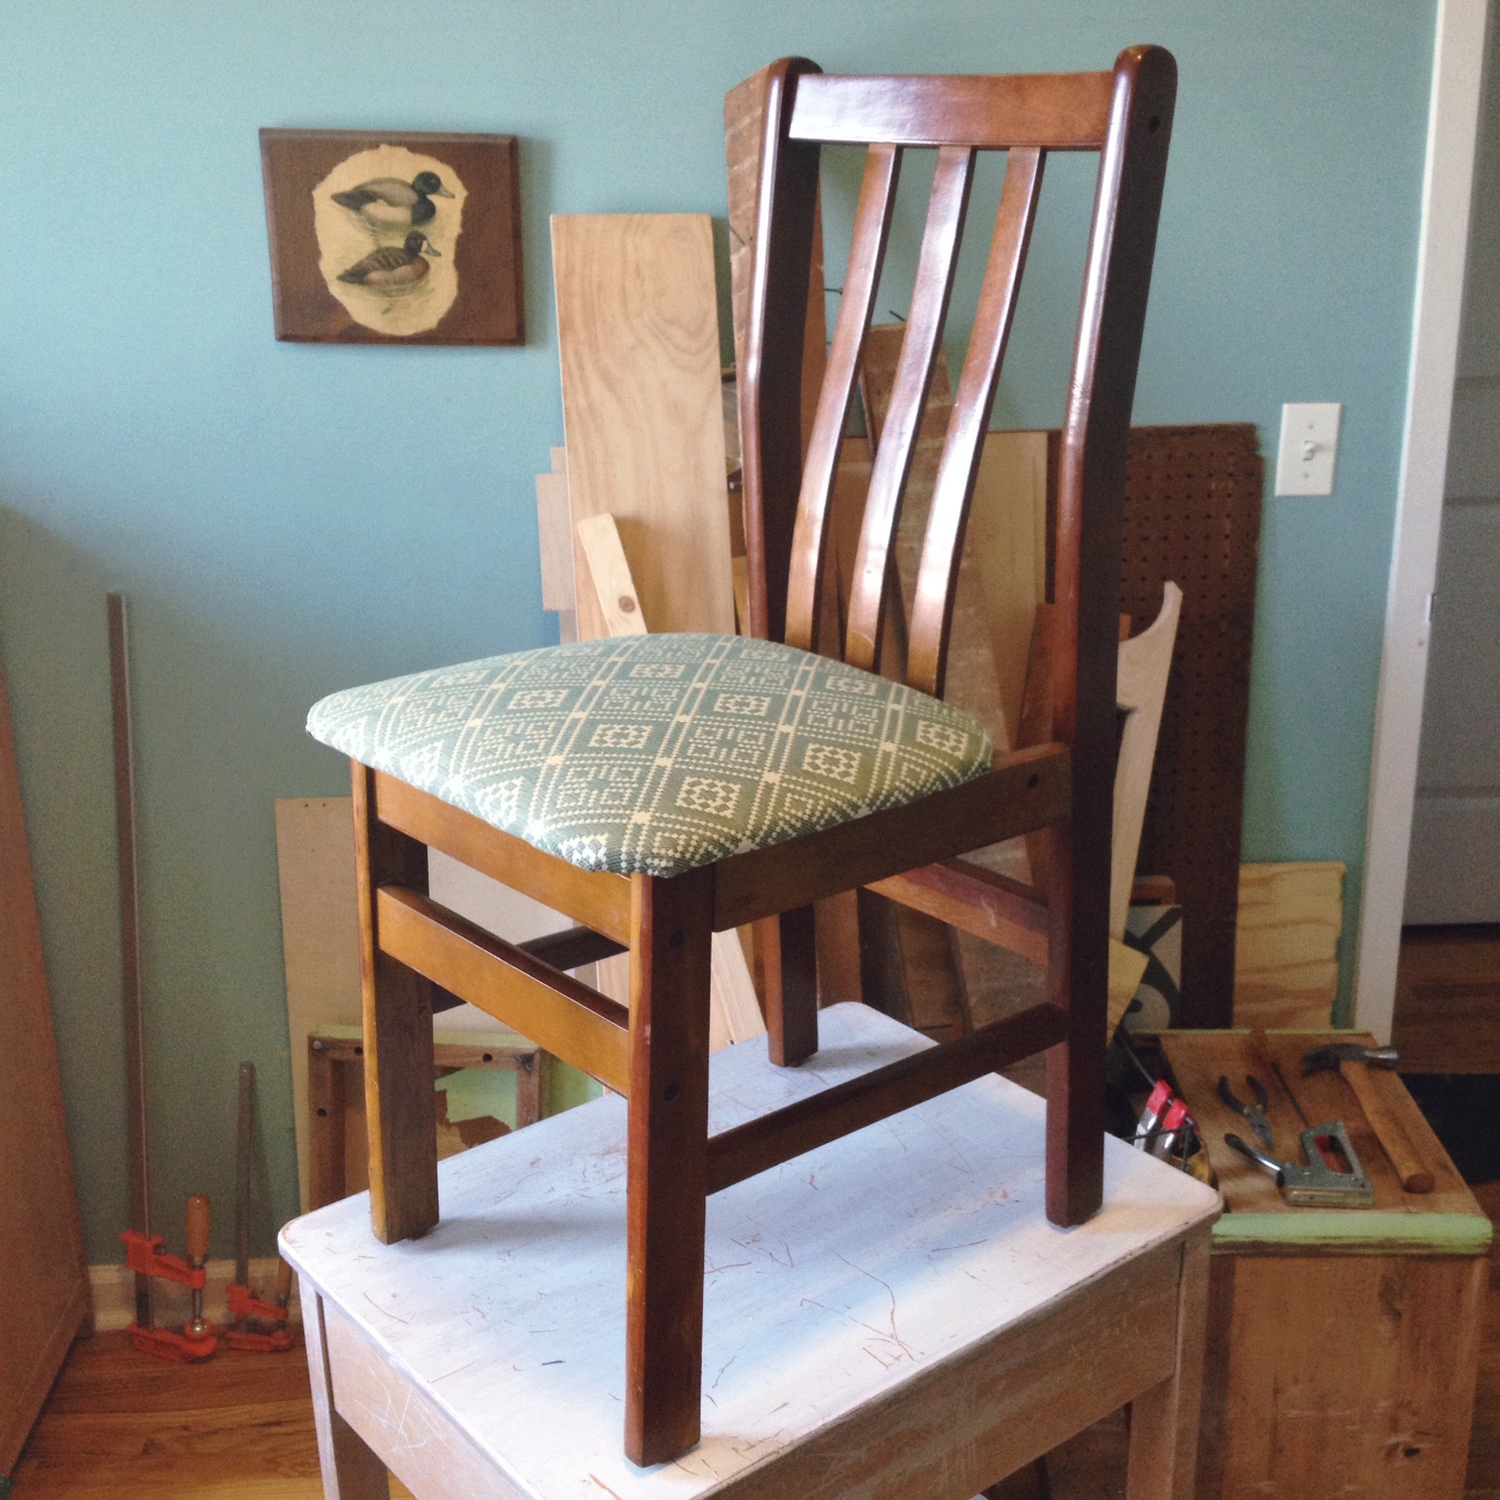
This has been an incredibly difficult time for small businesses everywhere. We make, ship, and restore everything ourselves. While we have settled in Brooklyn since then, we have made the decision to keep our items securely stored and temporarily halt any new sales and shipments through the foreseeable future. We value our customers, and safety is a priority that we take very seriously. Any new or pending orders have been refunded in full, customers have been notified, and we can only hope everyone will return at a later, safer time. We are grateful that everyone has been understanding and supportive. In truth, that’s all we can do, since we are all in this together.

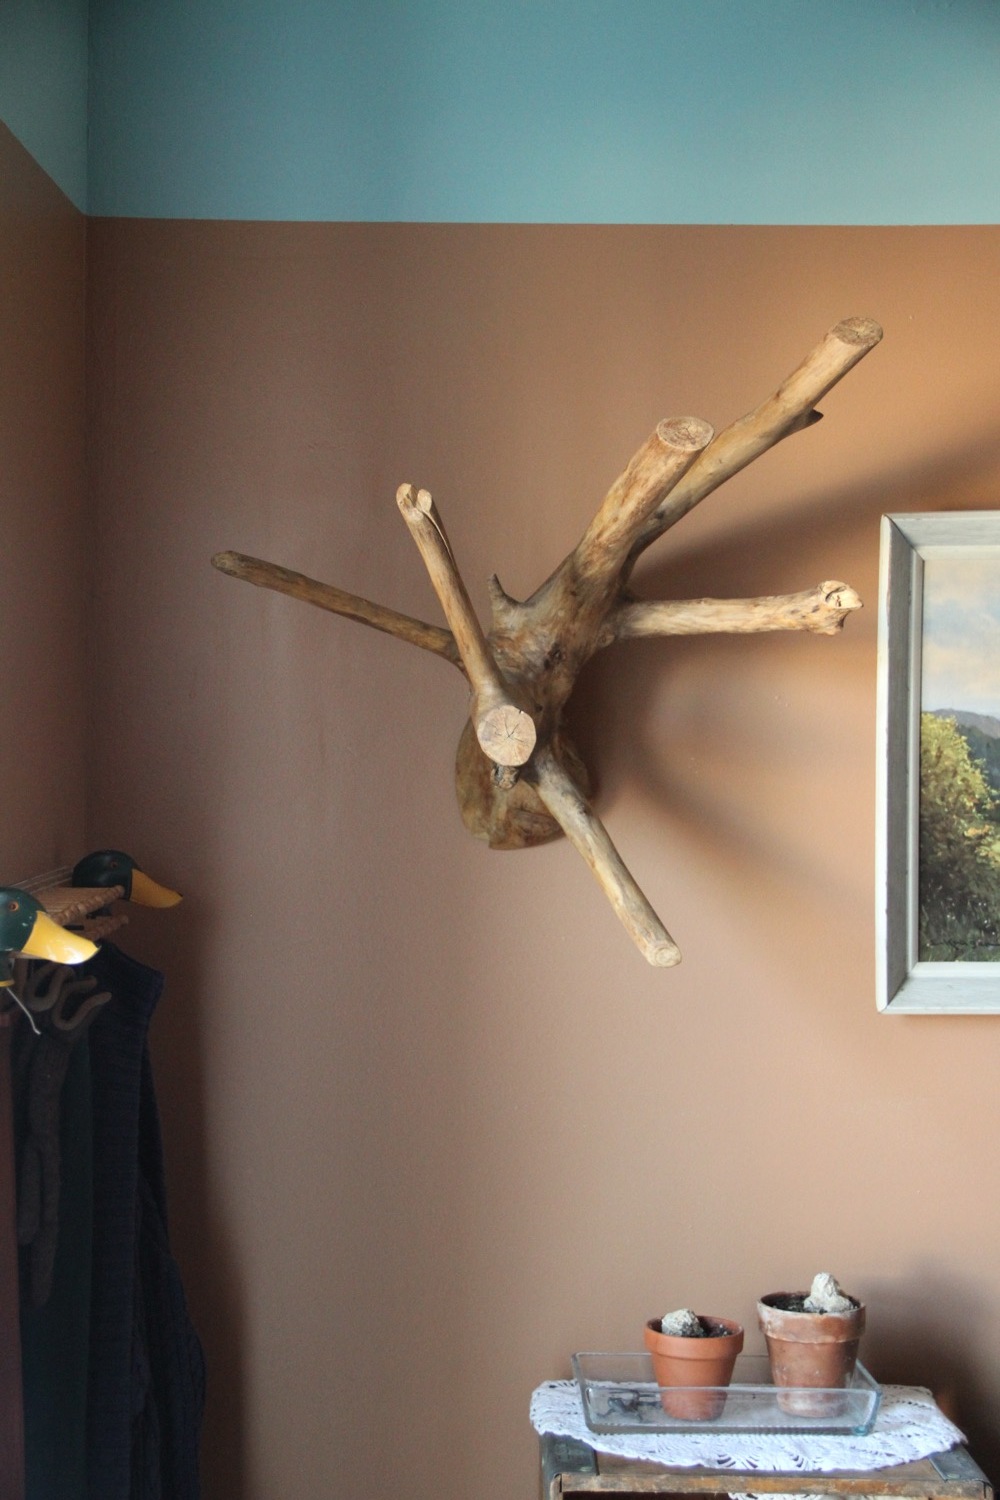
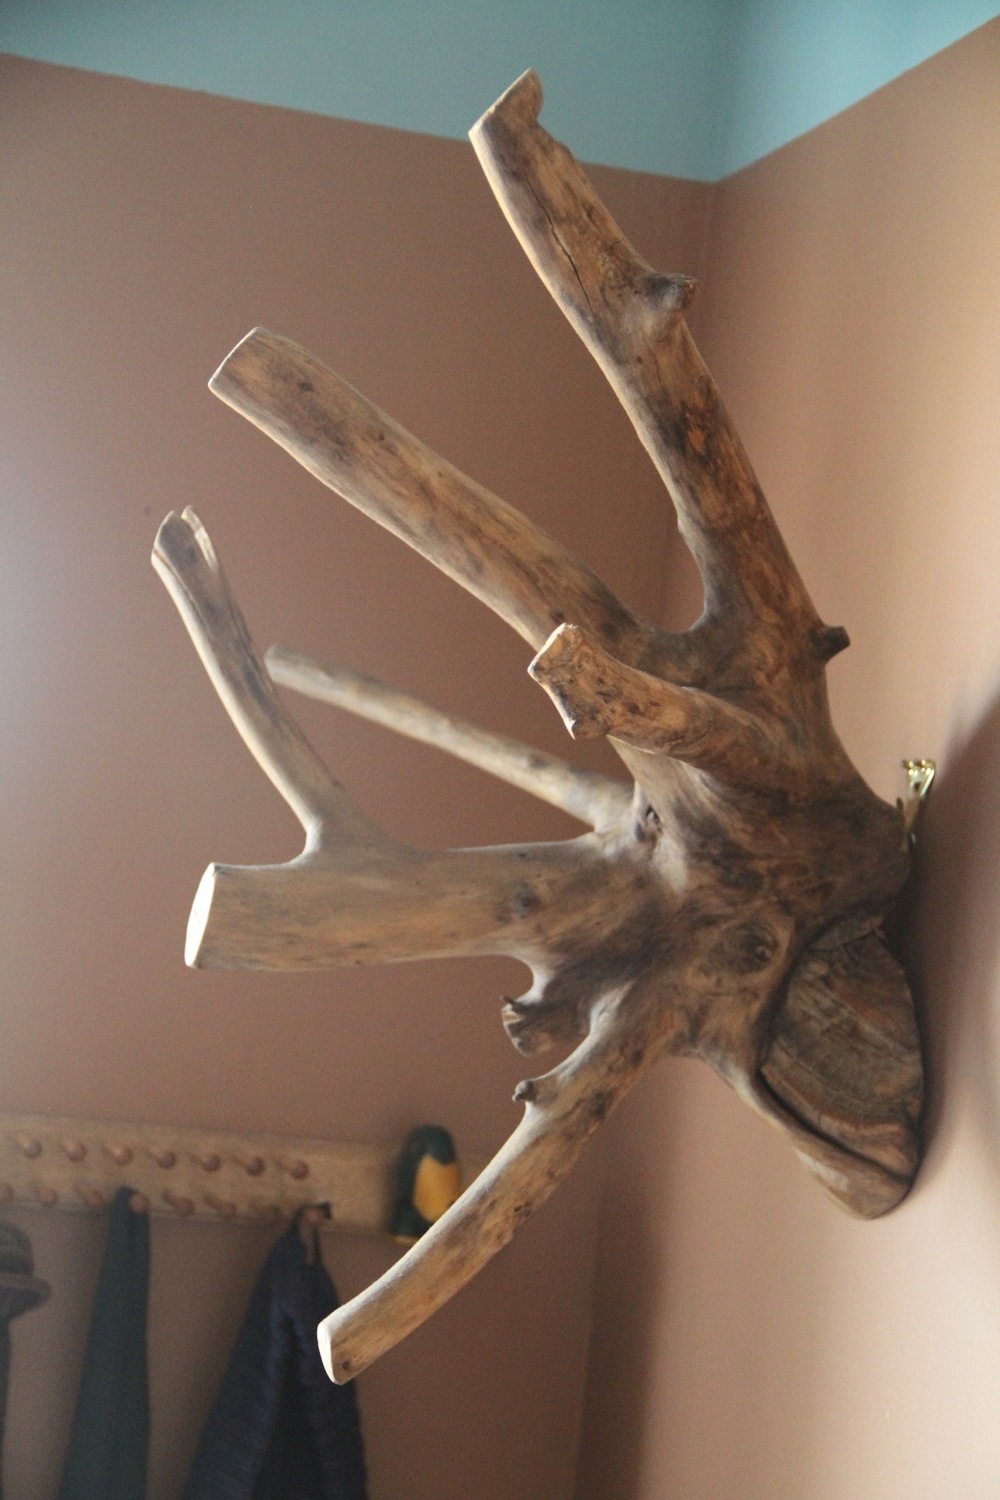
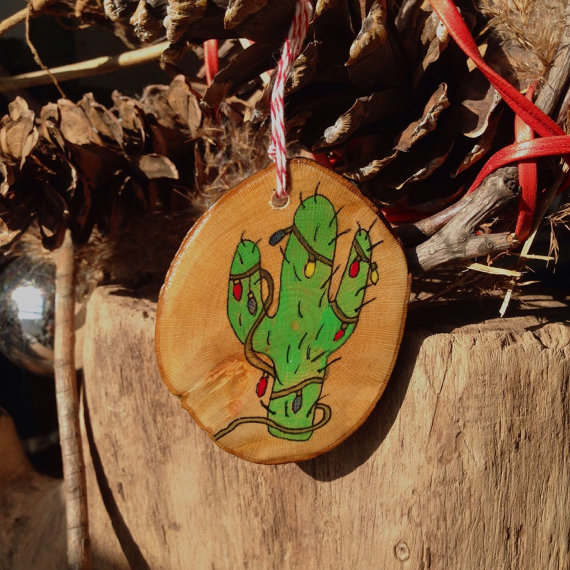
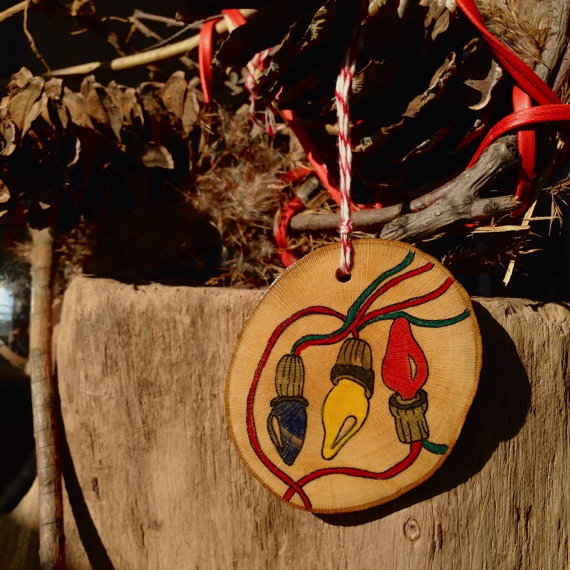
We realize we are one small business among many people, businesses, and organizations facing uncertainty during this global crisis. We plan to reopen to make and ship physical goods in the future and will continue to monitor reports and stay informed. During this time in isolation, we’ve decided to create digital goods to provide comfort, support, and contribute toward our mission. While that mission has always been to protect the environment through the reduction of waste in urban areas, we are also passionate about wildlife conservation. Biodiversity is not only essential to human life, it is imperative for the general health of all living species on Earth. There is no better time than now for humans to learn that we must coexist with nature to exist at all. 

All future profits from digital goods sales will be donated to The Rainforest Alliance bringing to light the relationship between human activities, deforestation, and zoonotic diseases like COVID-19. The Rainforest Alliance’s mission is to change how wildlife is affected by logging and deforestation, the expansion of agriculture into previously undisturbed areas, and the massive wildlife trade. These disruptions are directly altering the normal circulation of viruses and shift the composition, abundance, and behavior of viral reservoir species. These changes increase contact rates between virus-carrying animals and humans, and vice versa.

Please stay tuned for new announcements on our Instagram and Twitter accounts.

Thank you for your support. Stay safe, stay home, and wash your hands.

Olivia & George
Co-Founders, Real Good Goods

Caring for your cutting board

There’s nothing like preparing the first meal on your brand new cutting board. The first cut is a bit of exhilaration and hesitation as you draw your knife and potentially mar the beautifully smooth surface of your board. However, each knife strokes sliced across the grain probably equals a future fond memory of creating a delicious meal. At Real Good Goods, we love seeing well-used and well-loved butcher blocks, cheese boards, cutting boards, and the many other names given to the wooden unsung heroes of our kitchens, and we want to help ensure they get the very best care we feel they deserve.

While cooking and eating

While cooking you may not have a chance to wash all of your dishes before serving your meal. Before you sit down to eat, be sure you haven’t left liquid sitting on your cutting board, especially if you just sliced something juicy like tomatoes. Just give it a quick tilt in your sink and slide your knife at a 30-degree angle to swipe any liquid off the surface. Return it to the counter — never put your cutting board in the sink or in standing water. Now go enjoy your meal!

Washing your cutting board

Wash your board with mild soap and water, and stand upright on a rack or dry towel. Allow it to dry completely, probably overnight, before storing or oiling.

Again, never allow your board to soak in water. Pigment from fruit and vegetable may stain the surface. Sometimes this is temporary and it will disappear after a few washing. Soaking the board will not help, and will cause the wood to swell and deteriorate. Minor restoration may be necessary to remove stubborn stains.

Waxing your cutting board

To maintain its beauty and durability we recommend using our Organic Beeswax Board Butter to condition your cutting board. It’s also great for any wooden utensils, spoon rests, cookware, and wooden-handled knives. If you cook regularly, waxing at least once a month is best and only takes a few minutes.

Place a generous amount of board butter on your board. Spread into a thin layer across the entire surface, including the edges. Buff into the grain with a clean, lint-free cloth, and allow it to absorb overnight. Remove any excess with a clean cloth in the morning. If your board hasn’t been conditioned in a while, it may be very thirsty. Give it another coat if the surface still feels dry.

Our Organic Beeswax Board Butter is food-safe, non-toxic, and contains no solvents. Cloths used for waxing may be used multiple times if stored in a clean area, and can be safely disposed of as household waste later on.

Restorations

Cutting boards with deep cuts, chips, stains, or water damage may need some extra care by way of restoration. The resurfacing process for this can involve using a block plane or well-sharpened card scraper to remove the damaged layer. Lighter damage can be sanded with a rough (60-grit) sandpaper. To restore the like-new surface, continue sanding with progressively higher grit sand paper — first 120-grit, then 220-grit, and finally finish with 400-grit.

Our method of restoration at this stage is to bathe the board in oil 2-3 times. There are various types of appropriate and food-safe oils. We have researched and tested many of them and prefer using non-GMO Walnut Oil. Let the board stand upright overnight (8-12 hours) between each bath. The last step is to give it a coat of board butter following the waxing instructions above.

If restoring a cutting board sounds like a lot of work, it’s because it is! If you’re interested in having your cutting board restored, we can help. Contact us and we can assess the damage from a photo and provide you a quote in 24 hours. We have the tools and experience to get your cutting looking new again!

Salvaged maple for our butcher blocks

A great thing about NYC is you never know what's around any given corner. On a cold, rainy day, we stumbled upon a house renovation in SOHO. The workman had cut up what was once a beautiful maple countertop and put it on the curb. We were lucky enough to get to it before the rain swelled the wood.

 
salvaged-maple.jpg
 

We took all we could carry back to our shop, and made a series of beautiful maple cutting boards, cheese boards, and butcher blocks. We used the same restoration process that we've discussed in an earlier post, and sealed the boards with our Organic Beeswax Board Butter.

Salvaging Nature: Drying green wood at home

That backbone of Real Good Goods is to reduce and repurpose waste. Since humans produce a lot of waste, especially in densely populated areas like New York City, there's is hardly ever a shortage of opportunities to be creative. After the holiday and stormy weather however, we found new opportunities.

When working with live or green wood, it's necessary to let the wood dry before building anything with it. Green wood contains more moisture than seasoned wood, which has been dried through passage of time or by forced drying in kilns. It's considered to have 100% moisture content relative to air-dried or seasoned wood which is considered to have 20%. Though green lumber is more commonly used in arid regions of the United States, such as Arizona and parts of California, because the wood will dry more quickly. Damper regions often require kiln-dried wood, which must have a moisture content of 19% or less. Depending on thickness, it can take a considerable amount of time before it reaches that recommend moisture content when you don't have a kiln available. 


These Sycamore branch have been stored and air-drying for two years. Smaller pieces can be cut and dried in a household oven.

Drying wood in your home oven

  1. Set your oven racks so one is in the bottom and another is in the center. Place a large sheet pan on the bottom oven rack or line it with foil.

  2. Set the oven as close to 218° F as possible.

  3. If available, turn on the convection fan. Check the oven thermometer after 15 minutes have passed. Adjust the oven settings until the internal temperature reading is between 210° and 225° F.

  4. Place your wood on the center rack without letting them touch. Set smaller wood pieces perpendicular to the wires of the oven rack so they do not fall through. Dry the wood for 1 hour.

  5. While wearing heat-resistant gloves, remove a 2-3 pieces a varying sizes. Press the two metal contact points of the moisture meter to the surface of the wood to test. Return the wood to the oven if the desired moisture-level has not been reached.

  6. Test again every 15 minutes until moisture content reads 20% or less. Remove wood and place on a wire cooling rack in a dry place.


Research: Moroccan pendant lamps

 
moroccan-lamp.png
 

Sometimes we'll find an item that we know are cool and feel are valuable but require a bit of research for us to really grasp what we have. Research can be a pretty quick search online, or can go on and off for a couple days. It's important for us to properly represent the true name of an item and provide as much of a history as we can to the new owner of any piece. We feel instilling the authentic character and history of an item instills it's true value and ensures it to have a longer life than if it's, for example, just considered an "old chair."

A couple years ago we came across a building being gutted for renovation near Broadway and Canal Street. This is where SOHO and Chinatown meet in New York, and there is no shortage of street vendors selling goods. Sitting on a cheap, modern chair was a dust, rusted lantern. 


Learning about this lamp became actually quite a challenge, and one that we could fully conquer. These lamps turned out to be a bit difficult to date because they were produced over a long period of time. 

When we found it, there was only had a small paper tag attached that had "Handcrafted in Morocco" stamped on it.

From the research we've done, it's definitely from the 20th Century. Judging by the style of the metalwork and materials, it was most likely produced somewhere between 1950-1979. More modern designs a slightly less ornate and have simpler flourishes. They're sometimes called Moroccan Mosque Lanterns/Lamps, Hanging Pendant Lights, or Moorish Chandeliers.

The buyer of this lamp told us how much she appreciated learning about this, and we knew that it helped her become more acquainted with a new fixture in her everyday home life.

We built a table!

This was a family project that we wanted to share. We proud of the final product, but we give just a brief overview of the steps. Using poplar boards, we glued the sides overnight and built a pine frame to brace from underneath. To level the board edges we planed by hand, and sanded the full surface even. The surface was then sealed with 3 coats of shellac, wet-sanding between coats. Shellac is non-toxic and food safe once it cures. The last step was attaching the hairpin legs and sharing a delicious meal!

Restoring a butcher block

Think twice before tossing out a cutting board because of a few scratches consider the extent of its damage and having it restored. With a few hand tools, oil, and board wax you could have you board looking like new again. We'll walk you through the process of how we restore cutting boards at Real Good Goods.

First, we inspect the damage. This board has mostly a dry cracked surface, a few deep gashes, and burn marks on one side. Deep gashes and burns cause deeper damage that won't vanish completely, but afterward there will simply be a couple scars of well used board.

Next, we use a card scraper to being the resurfacing. Scrapers are inexpensive to buy and invaluable to own. Just be sure to keep them sharp! This will be the fastest and cleanest way to remove the surface damage. Otherwise begin sanding with coarse 60 grit sandpaper or a industrial strength scouring pad.

The scraper will get the surface to a very smooth surface, and you may stop resurfacing here if you wish. Otherwise, or if you are working with only sandpaper, move on to 220 grit and continue sanding. Finish with 400 grit for the final pass with your sander.

Finally we need to rehydrate and build a layer of protection for the wood from moisture. Bathe the cutting board generously on all side with mineral oil. Let the wood rest between baths for 12-24 hours to fully absorb. 24-hours after the 3rd bath, wax the board. We make our own Organic Beeswax Board Butter, and it's available in our shop. It's important to use organic beeswax for you cookware to ensure there are no pesticide or chemical fertilizers that can leach into your food. Spread a generous amount of board butter across the entire surface of your cutting board. Buff into the grain with a clean, lint-free cloth, and allow to absorb overnight. Remove any excess with a clean cloth in the morning. Repeat as needed.

You're ready to get cooking! Wash your board with mild soap and water, after using and allow to dry completely before storing or oiling. Never allow your board to soak in water or moisture to pool on the surface for long periods of time. When the coating wears off, reapply the board butter again on a completely dry board.

Restoration turned salvage

 
oval-table-1.jpg
 

Sometimes you can take all the extra care and safety measures possible, but accidents happen. We wear eye and ear protection while works, lift heavy items together, and wrap and strap pieces that are in transit. This was a best case scenario as no one was hurt, but the table above looked a bit different when we first acquired it.

While it was in storage this table was stacked on another. One day though, it fell and landed on the top tier, knocking it nearly clean off. It really would have been preferable to be clean off, but in this case it would take more work than anticipated to get the table back to an attractive condition.

We sawed off the ends of the remaining upper legs and dowels. Then used a planer and power sander to make these smooth too touch and rough the top surface before painting. With a couple coats of paint and a finish on top, the table looks even better than before!


Who is Kent Coffey?

You may have seen sets or piece stamped with the a makers mark branding with the name Kent-Coffey and a regal-sounding name -- "The Fanfare" or "The Pilot" -- for sale on Etsy, or Craigslist at far reaching and opposite ends of the pricing spectrum.

kent-coffey-brand.jpg

Who is Kent Coffey?

So far we've stumbled upon a few dressers and desks manufactured by Kent Coffey. Surprisingly each time these beautiful pieces were found curbside, waiting for the garbage truck when we happened to walk by. 

kent-coffey-desk-pick-up.jpg

 The Kent-Coffey Manufacturing Company was started in 1907 by Harold Coffey in Lenoir, North Carolina. Harold was a major influence in the North Carolina furniture industry during the early-twentieth century. He was a friend, neighbor and competitor of industry icons James Broyhill and John Bernhardt. The Kent Coffey company became popular in the 1950s and 60s. They mass produced low-end furniture which became very popular due to their reputation for being good quality and durable. Magazines advertised and popularized the iconic American dream home with matching living room and bedroom furniture sets -- made from solid oak and mahogany wood unlike the particle board found in mass-produced furniture today.

The company was sold to the Singer Furniture Company (a subsidiary of the company that produced Singer sewing machine) in 1983. Singer aggressively tried to diversify broadly but their attempts proved financially unsound, pushing the furniture division quickly into bankrupt. In 1997 their failing furniture division finally collapsed. Sadly the Kent-Coffey division was unable to stay in business after the parent company went under and finally closed its doors in 2001.

Genuine Kent Coffey pieces will have been stamped with the brand name Kent Coffey - usually inside a drawer or on the underside of a table. Sometimes these are in fantastic condition and others will need some work. Either way you might find yourself a beautiful mid-century piece made by a major in influence in furniture production.

How our device stands are born

We thought it would be nice to share a look at how we cut the blanks for our device stands. 

Once the blanks are cut they are ready for the a 2-3 step sanding process to clean up the surface, edges and to soften the existing imperfections from using reclaimed wood — chips, cracks, nail and screw holes, etc. Before the final sanding we drill and carve out the hole for the charger and cable run.

Once all sides are smoothed out, we bathe the wood in mineral oil and let it rest for a day. Then we seal it with our homemade recipe of Organic Beeswax Board Butter.


A New Challenge: Restoring a vintage school desk

This handsome piece has a lot of character, but most of that character has been carved into it's surface over many years of use by school children, including some choice swear words.

Every restoration begins with a discussion. We have to be careful just how much is restored. On one hand antiques and vintage items acquire wisdom and character over time, but what one person sees as beautiful characteristic, another might see as ugly damage. It's all subjective, but it can be tedious to step slightly outside of your own personal tastes and consider what is best for the piece. 

In the case of this wooden school desk we began with a general cleaning with wood soap to remove dirt, grim, and ink marks. Then any nicks that were obvious damage or sharp enough to cause injury were smoothed with 100 grit sandpaper. Those are finished with 220 grit sandpaper for a smooth finish. The metal and hardware is checked for surface rust and tightened. This piece was fortunately rust-free, but that would be lightly sanded with an extra fine grit as well. This wood get a coat of mineral once it's completely dry and the next day receives the final touch -- a coat of our Organic Beeswax Board Butter. 

Reupholstery

We've gotten a couple new chairs brought into the shop that require some love. Most of the time this requires the lost art of the ancients -- reupholstery. 

The first step will be removing all the screws and assessing the damage. This includes inspecting the surface for scuffs, scratches, and gouges, the screw holes for stripping, and the joints for any wiggle room or instability. Most of the scuffs can be cleaned up with some wood soap. In this chair we'll need to reseat the leg joints with wood glue, clamp it down, and let it set for at least 8 hours. Overnight is probably best.

In the meantime, we'll start removing the staples from the bottom of the cushion. The foam is still good, so we'll just need some new fabric. Make some clean folds, and pop in some new staples.

Voila, we have a brand new chair!

Press: The Guardian

Press: The Guardian

Most side hustlers start out knowing exactly what they want. But sometimes, the side hustle finds you. For Olivia Leyva and George Denison of Brooklyn-based Real Good Goods, salvaging and restoring one-of-a-kind wooden products was sparked by chance – and their resourcefulness, eyes for opportunity and passion for waste reduction.